Are you a collector of rocks and minerals like me? If so, you’ve probably wondered how to stick two rocks together to create something amazing.
Well, today we’re going to talk about the magical world of rock adhesives. Whether you’re a geology geek, a DIY fanatic, or simply someone who needs to mend a broken rock, finding the perfect glue is key.
Get ready to discover some super strong options that will keep your rocks intact and turn your display or artwork into something truly epic (pun intended).
What is Rock to Rock Bonding?
Contents
- 1 What is Rock to Rock Bonding?
- 2 Types of Adhesives Used for Bonding Rocks
- 3 Advantages and Disadvantages of Different Adhesives
- 4 Preparing the Surfaces Before Applying the Adhesive
- 5 Application Techniques for Different Adhesives
- 6 Curing Time for Different Adhesives
- 7 Factors to Consider When Choosing an Adhesive
- 8 Common Mistakes to Avoid When Bonding Rocks Together
- 9 Conclusion
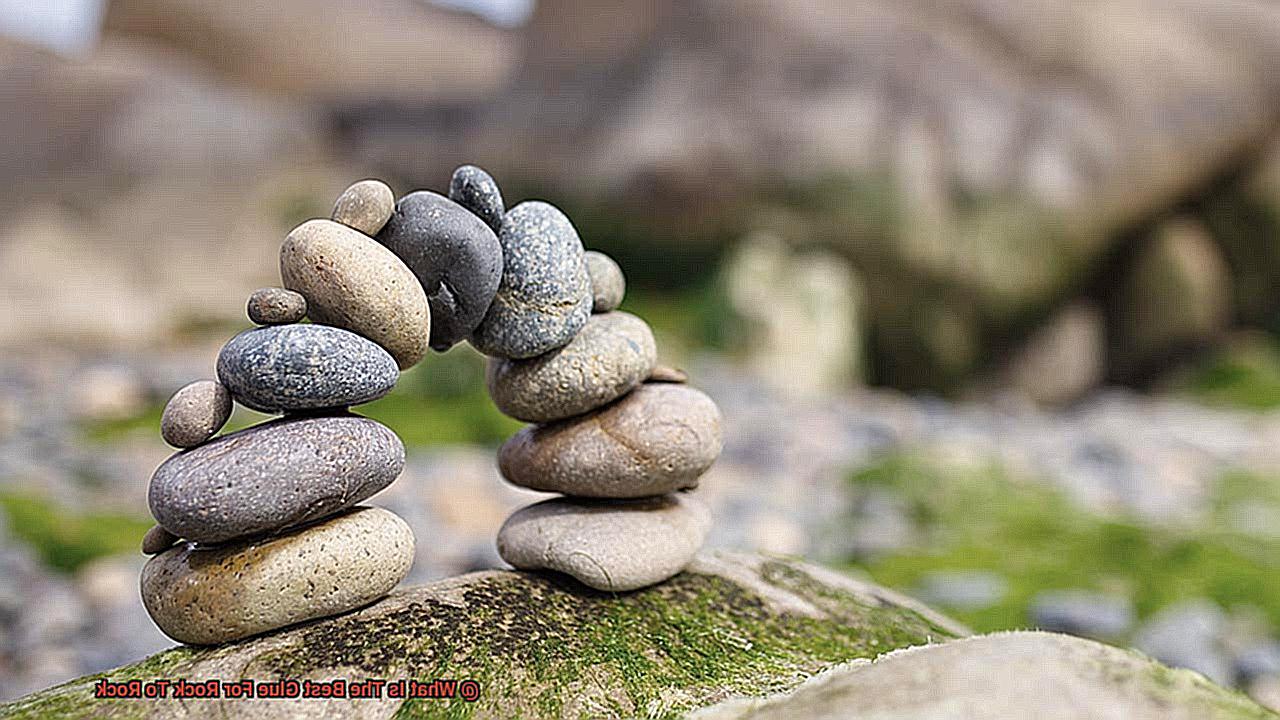
Rock to rock bonding is the secret behind stunning stone arrangements and secure rock constructions. This blog post will delve into the captivating world of rock to rock bonding, exploring techniques, considerations, and adhesive options that enable the creation of robust and visually appealing bonds between rocks.
Surface Preparation:
To embark on a successful rock bonding journey, proper surface preparation is paramount. Start by ensuring the rocks are clean, dry, and free from any debris or dirt. A thorough cleaning with mild detergent and water, followed by rinsing and drying, sets the stage for a strong bond. Additionally, roughening the surfaces with sandpaper or a wire brush enhances the adhesive’s grip.
Adhesive Selection:
Choosing the right adhesive for rock to rock bonding is crucial. Consider the specific properties of the rocks being bonded. Epoxy, with its exceptional strength and durability, is often recommended for heavy-duty applications.
Two-part epoxy or epoxy putty are popular options. Construction adhesive, known for its strength and suitability for outdoor use, is another common choice. Silicone-based adhesives offer flexibility and moisture resistance but may not provide as strong of a bond.
Strength and Durability:
Selected adhesives must withstand various environmental conditions such as temperature fluctuations, moisture exposure, and UV radiation. Opt for adhesives designed to endure these challenges to ensure long-lasting bonds.
Flexibility:
Rocks can expand or contract due to changes in temperature or moisture levels. Thus, flexibility in the chosen adhesive is crucial. This quality allows the bond to adapt to movements without compromising its strength.
Aesthetics:
Consider the aesthetic aspect of your project when selecting an adhesive. Transparent or color-matched adhesives seamlessly blend with rocks, resulting in visually appealing bonds.
Application and Curing:
Follow manufacturer instructions carefully when applying the chosen adhesive. Allow the adhesive ample time to cure before subjecting the bonded rocks to stress or pressure. Patience is key to achieving strong and durable bonds.
Types of Adhesives Used for Bonding Rocks
In this article, we’ll explore the fascinating realm of adhesives specifically designed for bonding rocks. Get ready to discover the secrets behind achieving a strong and long-lasting bond. Let’s dive in.
Epoxy Resin: The Unstoppable Force
When it comes to bonding rocks together, epoxy resin steals the show. This dynamic adhesive consists of two parts—a resin and a hardener—that, when combined, create a chemical reaction resulting in an unbreakable bond. Epoxy resin is renowned for its exceptional strength and durability, making it the perfect choice for securing rocks. Furthermore, it’s resistant to heat, water, and chemicals, ensuring that your bond will withstand the test of time.
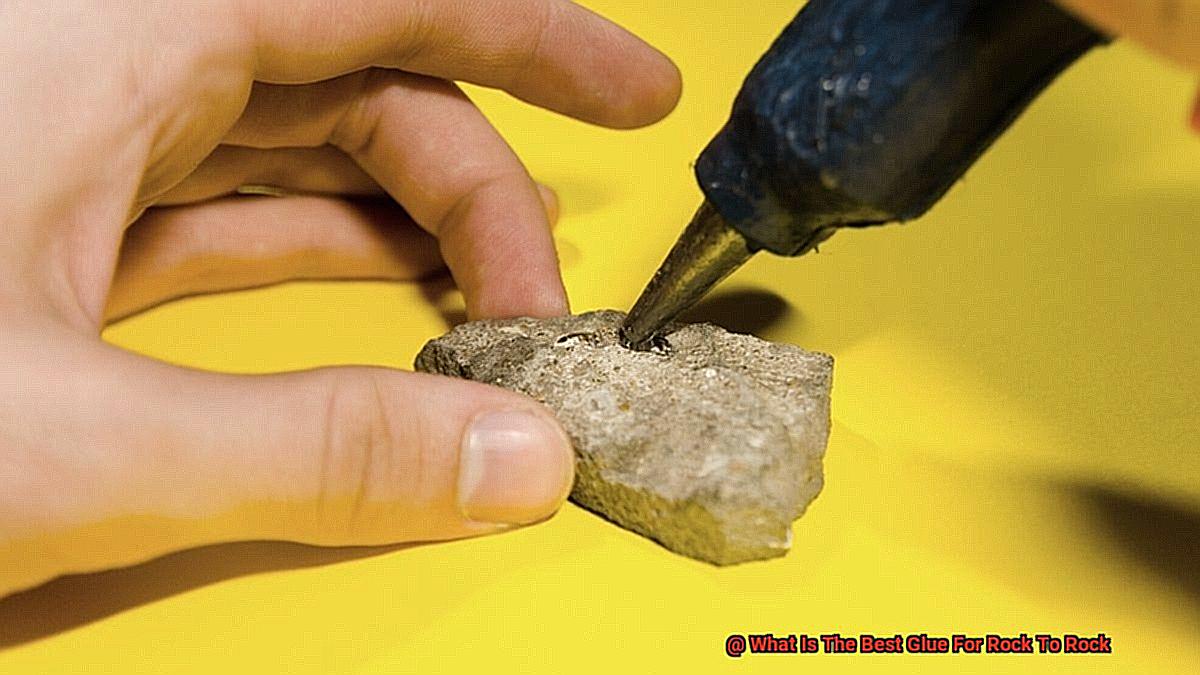
Cyanoacrylate Adhesive: The Instant Magic
For those seeking immediate bonding power, cyanoacrylate adhesive (commonly known as super glue) is your answer. This fast-acting adhesive instantly creates a strong bond upon contact with moisture. While not as robust as epoxy resin, super glue is ideal for small projects or quick repairs that require instant bonding capabilities.
Polyurethane Adhesive: The Master of Flexibility
Flexibility is the name of the game when it comes to polyurethane adhesive. This versatile adhesive cures when exposed to moisture in the air and forms an incredibly strong bond between rocks. Its flexibility allows it to withstand movement and vibrations without compromising its grip. Additionally, polyurethane adhesives are resistant to water, chemicals, and UV radiation, making them suitable for both indoor and outdoor applications.
Silicone Adhesive: Conquering Water Challenges
When working on projects involving water-related applications, silicone adhesives rise to the occasion. These remarkable adhesives boast excellent water resistance, creating a flexible bond capable of absorbing vibrations. Whether you’re bonding rocks in an aquarium or constructing a water feature, silicone adhesives have got your back.
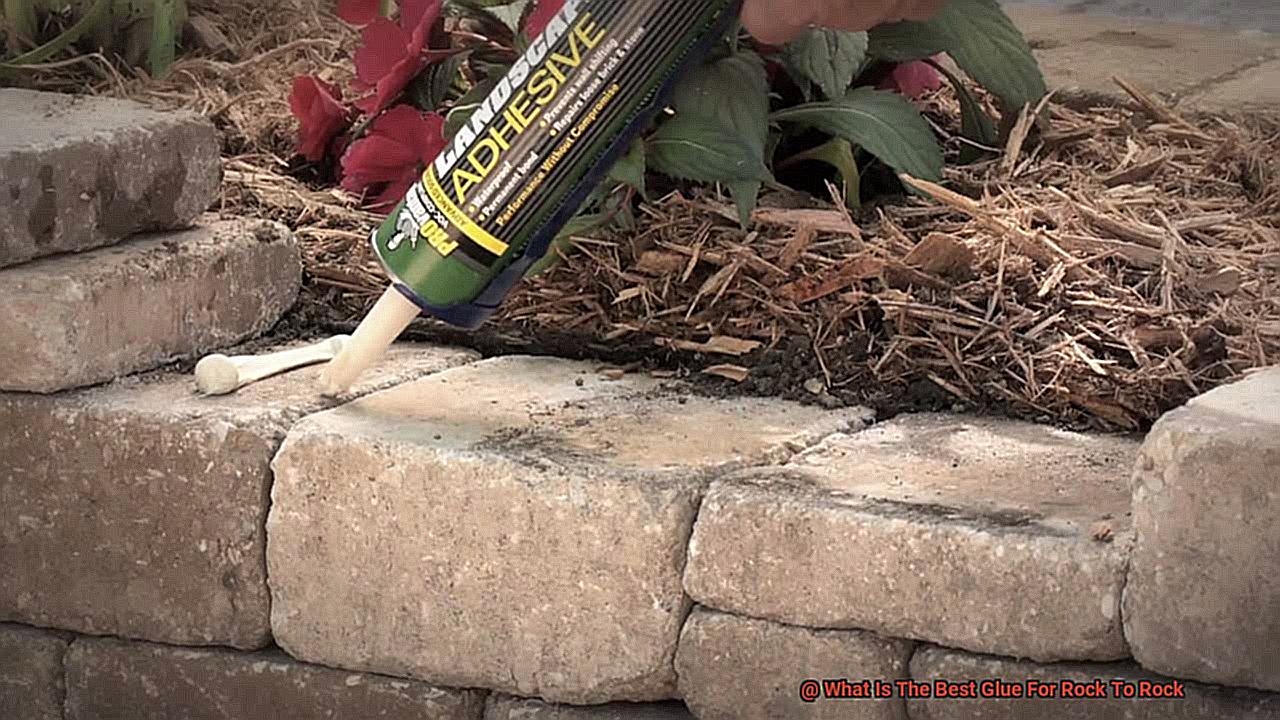
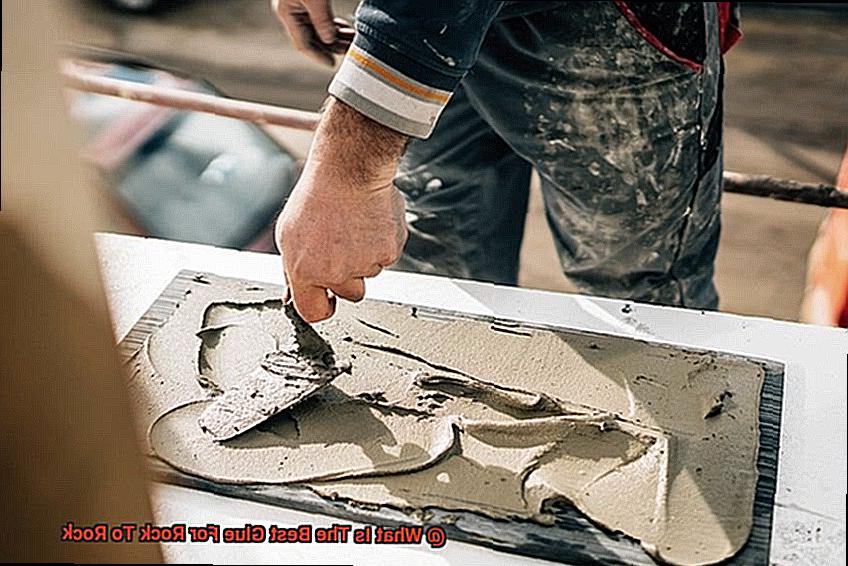
Construction Adhesive: The Hero of Heavy-Duty Bonding
When it comes to bonding heavy materials like rocks, construction adhesive is your superhero. This adhesive is specifically designed for heavy-duty applications and can withstand extreme conditions. Available in various formulations, such as epoxy-based or polyurethane-based, construction adhesive delivers a powerful and enduring bond capable of handling hefty loads.
Advantages and Disadvantages of Different Adhesives
Attention, craftsmen and craftswomen. Are you ready to elevate your projects to new heights? Today, we delve into the world of adhesives, uncovering the advantages and disadvantages of different options when it comes to bonding materials together. Let’s get started.
Epoxy Glue: The Rock Solid Option
Advantages:
- Unparalleled bonding power: Epoxy glue is a force to be reckoned with. It forms a durable and resilient bond, capable of withstanding heavy loads and vibrations.
- Versatility at its best: Whether your project is indoors or outdoors, epoxy glue has got you covered. It stands strong against water, chemicals, and heat.
- Quick and efficient: Say goodbye to tedious waiting times. Epoxy glue cures rapidly, allowing for faster completion of your projects.
Disadvantages:
- The noxious side: Be cautious. Epoxy glue emits toxic fumes during the curing process, necessitating proper ventilation.
- A sticky situation: Precise mixing of two components can be a messy affair when working with epoxy glue.
- Vulnerable to UV rays: Prolonged exposure to UV radiation may cause the bond to become brittle over time.
Cyanoacrylate Glue (Super Glue): The Speedy Solution
Advantages:
- Instant gratification: Super glue lives up to its name by forming an instant bond, ensuring swift project completion.
- Moisture? No worries: This adhesive provides good strength for smaller applications and holds up well against moisture.
Disadvantages:
- Size matters: Super glue’s strength may not be sufficient for larger or heavier materials.
- Fragile over time: Outdoor elements like sunlight and temperature fluctuations can make the bond brittle.
- No second chances: Once applied, repositioning is not an option due to the adhesive’s quick-setting nature.
Silicone Adhesive: The Flexibility Master
Advantages:
- Bend it like silicone: This adhesive offers excellent flexibility, making it ideal for materials that experience natural movements without cracking or breaking.
- Battle-tested against the elements: Silicone adhesive is resistant to water and temperature changes, making it perfect for outdoor applications.
- Easy on you, easy on the environment: User-friendly and free from toxic fumes during curing.
Disadvantages:
- Patience is a virtue: Compared to other adhesives, silicone adhesive requires a longer curing time, demanding careful handling and a touch of patience.
- Strength limitations: While formidable, silicone adhesive may not be as strong as epoxy glue, making it less suitable for heavy load-bearing projects.
Preparing the Surfaces Before Applying the Adhesive
When it comes to bonding rocks together, you want to ensure a strong and durable bond that will withstand the test of time. The key to achieving this lies in properly preparing the surfaces before applying the adhesive. So, let’s dive into the nitty-gritty of surface preparation.
First and foremost, cleanliness is key. Before you start bonding those rocks, take a moment to clean them thoroughly. Use a brush or a damp cloth to remove any dirt, dust, or debris from the surfaces. A clean surface is essential for the adhesive to work its magic.
Next, say goodbye to loose bits. If you spot any flaky or unstable areas on the rocks, it’s time to bid them farewell. Grab a chisel or a small hammer and gently chip away at these areas until you have a solid and stable surface. This step ensures that your bond will be rock-solid (pun intended).
To enhance the bond between the rocks, roughen up the surfaces. Get your hands on some sandpaper or a wire brush and lightly sand the areas you plan to bond. This creates texture and provides more surface area for the adhesive to grip onto, resulting in a stronger bond.
But wait, there’s more. Moisture can be your worst enemy when it comes to bonding rocks together. Before applying the adhesive, make sure the surfaces are bone dry. Give them ample time to air dry completely before moving forward.
Different adhesives may have specific requirements for surface preparation, so don’t skip this step. Some may require priming or applying a bonding agent before applying the glue. Follow the instructions provided by the adhesive manufacturer to ensure proper preparation of the surfaces.
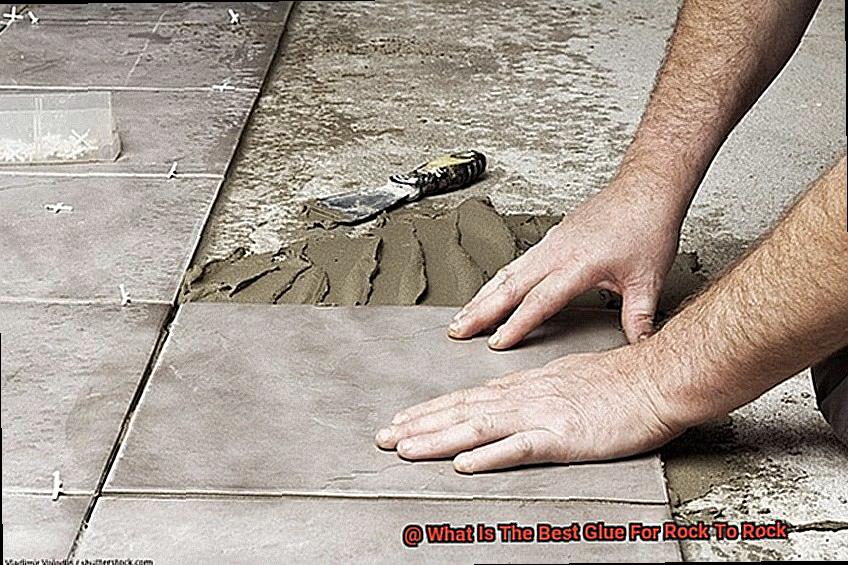
Now that your surfaces are clean, stable, roughened (if necessary), and dry, it’s time to apply the adhesive. Use a suitable applicator like a brush or a trowel to spread an even layer of adhesive on one of the surfaces. Remember, less is more – avoid going overboard with the glue as excess adhesive can squeeze out and make a mess.
After applying the adhesive, carefully press the two rock surfaces together. Apply firm and even pressure for a few minutes to allow the adhesive to set properly. Some adhesives may require longer curing times, so consult the manufacturer’s instructions for specific recommendations.
Last but not least, patience is a virtue. Let the adhesive cure completely before subjecting the bonded rocks to any stress or load. This can take anywhere from a few hours to several days, depending on the adhesive used. Be patient and resist the temptation to disturb or move the rocks during this curing period for a strong and durable bond.
Application Techniques for Different Adhesives
Rock bonding may seem like an activity reserved for geologists or construction workers. But hey, sometimes you just want to play architect with Mother Nature’s building blocks. Whether you’re creating a rock sculpture or repairing a cracked boulder, choosing the right adhesive and using the proper application techniques are essential for a sturdy bond that will stand the test of time.
One popular adhesive for bonding rocks is epoxy. It’s like the superhero of adhesives, known for its strength and excellent bonding properties. But before diving into the world of epoxy, make sure to clean those rocks like your life depends on it. Get rid of any pesky dirt, dust, or oils that might hinder the adhesive’s magical bonding powers.
Once your rocks are squeaky clean, it’s time to roughen them up a bit. No, not by insulting their rock pride, but by using sandpaper or a wire brush to create a better bonding surface for the epoxy. Think of it as giving your rocks a makeover – they’ll thank you later.
Now grab your trusty putty knife or trowel and get ready to mix some epoxy. Follow the manufacturer’s instructions carefully because we don’t want any superhero mishaps here. Typically, you’ll need to mix equal parts of resin and hardener to activate the adhesive’s superpowers.
Once your epoxy is mixed and ready to go, apply it to one surface of the rocks using your trusty tool. Spread it evenly over the surface, making sure every nook and cranny is covered. Then bring in the second rock and press it firmly against the first one. Think of it as a rock hug – you want those two lovebirds to stick together.
Hold on tight because now comes the waiting game. The curing time for epoxy can vary depending on the product you’re using, so be patient and give it enough time to work its magic. Some epoxies may require clamping or additional support to maintain pressure during the curing process, so don’t forget to read the label and follow the instructions.
But wait, there’s more. If epoxy isn’t your thing, you can also try cyanoacrylate (super glue) or polyurethane adhesives for your rock bonding adventures. Cyanoacrylate is perfect for smaller rocks or quick repairs, thanks to its quick drying time and strong bond. Polyurethane adhesives, on the other hand, are flexible and durable, making them ideal for rocks that might experience movement or stress.
No matter which adhesive you choose, always remember to prepare your surfaces properly, apply the adhesive evenly, and give it enough time to cure. Rushing the process might result in a weaker bond or even adhesive failure, and nobody wants that.
Curing Time for Different Adhesives
Understanding the curing times of different adhesives is crucial for achieving rock-solid bonds. Whether you’re repairing a cracked rock or crafting a stunning sculpture, the right adhesive can make all the difference. So, let’s dive into the world of adhesives and discover which ones are best for bonding rocks together.
Epoxy Adhesives:
Epoxy adhesives are the superheroes of rock bonding. With exceptional strength and durability, they handle even the toughest rock challenges. However, patience is key as epoxy’s curing time can range from minutes to hours. Follow the manufacturer’s instructions for optimal bond strength.
Cyanoacrylate (Super Glue):
For smaller rocks or quick repairs, cyanoacrylate adhesives are your go-to option. These super glues work their magic in seconds or minutes, but don’t be fooled by their speedy bonding. Allow enough time for the bond to reach its full strength before subjecting it to stress.
Polyurethane Adhesives:
If your rock project involves flexibility or exposure to moisture and temperature changes, polyurethane adhesives are your best bet. Curing time typically ranges from hours to days, giving you ample time to ensure a solid bond between your rocks.
Specialized Rock Adhesives:
Tailored specifically for rock bonding, these specialized adhesives offer shorter curing times compared to general-purpose ones. Consult manufacturer’s instructions for precise curing times.
Conclusion:
Choosing an adhesive with the appropriate curing time is essential for achieving strong and long-lasting bonds between rocks. Consider project requirements, desired bond strength, and time constraints. Follow manufacturer’s instructions and allow sufficient curing time to ensure your rock creations stand the test of time. So, channel your inner architect of nature and create stunning rock structures with confidence.
Factors to Consider When Choosing an Adhesive
When it comes to bonding rocks together, selecting the right adhesive is crucial for achieving a strong and durable bond. From bond strength to compatibility with different rock types, there are several factors that need to be considered. In this guide, we will explore the key factors to keep in mind when choosing an adhesive for rock-to-rock bonding.
Bond Strength:
To withstand heavy rock structures and external forces, opt for adhesives with high shear strength. These adhesives ensure that the bond can bear weight and resist any attempts to pull the rocks apart. Look specifically for adhesives designed for heavy-duty applications.
Compatibility:
Different rocks have varying porosity and texture, which affects adhesion. Choose an adhesive compatible with the specific type of rocks you are working with. Consulting experts or conducting compatibility tests can help determine the right adhesive.
Flexibility:
Natural movements and vibrations in rocks require flexible adhesives that can accommodate these shifts without compromising the bond. Epoxy-based adhesives are recommended for rock bonding due to their excellent flexibility properties.
Weather Resistance:
Rocks are exposed to rain, UV radiation, and extreme temperatures. Select an adhesive that can withstand these elements without deteriorating or losing bond strength. Look for adhesives offering resistance to water, UV rays, and temperature fluctuations.
Application Method:
Consider the ease of application when choosing an adhesive for rock bonding. Some adhesives come in squeeze tubes or cartridges with applicator nozzles, making direct application onto rocks convenient. Others may require mixing or special equipment, which can be more complex and time-consuming.
Drying Time:
Take into account the drying time of the adhesive, especially if you have time constraints. Some adhesives require longer curing times, while others offer quick-drying options. Consider your project timeline and select an adhesive that fits within your desired timeframe.
Safety:
Prioritize safety by choosing adhesives labeled as non-toxic, low VOC (volatile organic compounds), and safe for your specific application. Some adhesives emit strong odors or contain harmful chemicals that can be detrimental to human health and the environment.
Common Mistakes to Avoid When Bonding Rocks Together
Before you grab your glue and start sticking those stones together, it’s important to know the common mistakes to avoid. Bonding rocks together requires proper preparation, the right type of glue, and careful consideration of various factors. In this article, we’ll explore the common mistakes to avoid when bonding rocks together, ensuring that your project is a success.
Improper Surface Preparation:
One of the biggest mistakes people make when bonding rocks together is not properly preparing the surfaces before applying the glue. To ensure a strong bond, make sure to clean the surfaces thoroughly by removing any dust, dirt, or debris. Use a brush or cloth to remove loose particles and wipe the surfaces with a mild detergent solution. Additionally, roughening up the surfaces slightly using sandpaper or a file will create better adhesion.
Using the Wrong Type of Glue:
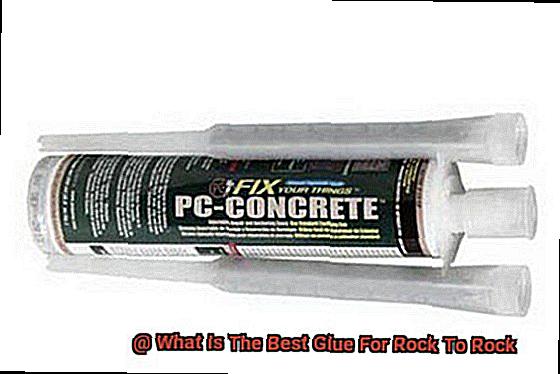
Not all glues are suitable for bonding rocks due to their porous and uneven surfaces. Using the wrong type of glue can result in a weak bond that easily breaks. It’s important to choose a glue specifically designed for bonding stone or masonry materials. Epoxy-based glues are often recommended for their strength and durability, as they can withstand environmental factors such as moisture and temperature changes.
Applying Too Much or Too Little Glue:
Finding the right amount of glue is crucial for a successful bond between rocks. Applying too much glue can lead to excess squeezing out from between the rocks, creating a messy appearance and weakening the bond. On the other hand, using too little glue may not provide enough adhesive strength. Follow the manufacturer’s instructions regarding the amount of glue to use for the specific type of rock being bonded.
Rushing the Bonding Process:
Patience is key when bonding rocks together. Rushing the bonding process can jeopardize the strength and durability of the bond. Allow sufficient time for the glue to fully cure and set before handling or putting any pressure on the bonded rocks. This typically takes at least 24 hours, but refer to the instructions provided with the glue for specific curing times.
Neglecting Weight and Stress Considerations:
Different types of rocks have varying densities and strengths. It’s important to consider the weight and stress that will be placed on the bonded rocks. Choose a glue that can withstand the specific weight requirements and environmental conditions. If the bonded rocks will be exposed to outdoor elements or heavy usage, opt for a glue that is resistant to moisture, temperature changes, and UV rays.
YMDZKL-hqeI” >
Also Read: How To Glue Rocks Together?
Conclusion
When it comes to bonding rocks together, finding the best glue is crucial.
But fear not, for I am here to guide you through this rocky journey. After much research and experimentation, it is clear that not all glues are created equal.
The ideal adhesive for rock to rock bonding should possess certain qualities: strength, durability, and compatibility with various types of rocks. One such glue that ticks all these boxes is epoxy resin.
With its ability to withstand extreme temperatures and resist water damage, epoxy resin proves itself as a reliable choice for any rock-related project.