Are you planning to add some tile magic to your wooden surfaces?
Whether you’re jazzing up a worn-out floor or adding pizzazz to your kitchen with a dazzling backsplash, finding the right glue is key to nailing that perfect tile installation. The wrong adhesive can send your tiles tumbling and leave you with a messy disaster.
So grab a cup of coffee, kick back, and let us be your guide through the sticky world of adhesives.
Types of Tiles and Their Adhesive Requirements
Contents
- 1 Types of Tiles and Their Adhesive Requirements
- 2 Preparing the Wood Surface for Tile Installation
- 3 Adhesive Options for Glue on Tile on Wood
- 4 Epoxy Adhesives
- 5 Mastic Adhesives
- 6 Polyurethane-Based Construction Adhesives
- 7 Proper Application Techniques
- 8 Considerations When Selecting an Adhesive for Tile on Wood
Selecting the right adhesive is crucial when tiling wood surfaces to ensure a sturdy and enduring installation. Different types of tiles have specific adhesive requirements that must be met for proper bonding. In this article, we will delve into the various types of tiles commonly used on wood surfaces and explore their adhesive needs.
Ceramic Tiles:
Renowned for their resilience and water resistance, ceramic tiles are a popular choice for wood surfaces. To install ceramic tiles on wood, thin-set mortar adhesive is typically used. This cement-based adhesive is mixed with water, creating a smooth paste that is applied onto the wood surface with a trowel. Subsequently, the ceramic tiles are firmly pressed into the adhesive, establishing a secure bond.
Porcelain Tiles:
Denser and more durable than ceramic tiles, porcelain tiles also necessitate thin-set mortar adhesive for installation on wood surfaces. However, due to their weight, it is imperative to employ high-quality adhesive specifically designed for porcelain tiles. This ensures the tiles remain steadfastly bonded to the wood surface over time.
Natural Stone Tiles:
Natural stone tiles like marble, granite, or slate lend elegance and beauty to any space. These exquisite tiles have unique adhesive requirements owing to their characteristics. Modified thin-set mortar adhesive is often recommended for natural stone tiles as it contains additives that augment bonding while preventing staining or discoloration of the stone.
Glass Tiles:
Installing glass tiles on wood surfaces can present challenges due to their smooth and non-porous nature. For this reason, epoxy adhesive is frequently advised for glass tile installations on wood. This specialized adhesive delivers formidable bonding strength and moisture resistance, ensuring the preservation of the wood surface.
Mosaic Tiles:
Comprising small individual tiles mounted on mesh sheets, mosaic tiles offer artistic versatility for wood surfaces. Thin-set mortar adhesive can be employed to install mosaic tiles on wood. However, it is essential to ensure an even distribution of the adhesive, with the mesh backing being fully embedded for proper support.
Conclusion:
When tiling wood surfaces, it is vital to consider the type of tile being used and its specific adhesive requirements. Ceramic, porcelain, natural stone, glass, and mosaic tiles each possess distinct characteristics and bonding needs. Adhering to manufacturer’s instructions and seeking professional advice guarantee a successful and enduring tile installation on wood surfaces.
Preparing the Wood Surface for Tile Installation
However, before diving into the tile installation process, it’s crucial to properly prepare your wood surface for a strong and durable bond between the tiles and the wood. In this article, we will guide you through a step-by-step process to ensure a successful tile installation. Let’s get started.
Step 1: Clean Thoroughly
Begin by sweeping or vacuuming the wood surface to remove any dirt, dust, or debris. A clean canvas is vital for a flawless tile installation.
Step 2: Inspect and Repair
Give your wood surface a close look to identify any signs of damage or rot. Repair or replace any problematic areas before proceeding. Remember, a solid foundation is key to a long-lasting tile installation.
Step 3: Roughen Up the Surface
To enhance the bond between the wood surface and the adhesive, grab medium-grit sandpaper and start sanding. Use a circular motion to create a rough texture across the entire surface. This step ensures a strong grip between the tiles and the wood.
Step 4: Wipe Away Dust
After sanding, use a damp cloth to wipe down the wood surface and remove any lingering dust. Ensure it is completely dry before moving forward as moisture can interfere with the adhesive’s effectiveness.
Step 5: Prime Time
Apply a high-quality primer specifically designed for wood surfaces. This will seal the wood and provide a smooth and even surface for the adhesive. Follow the manufacturer’s instructions for application.
Step 6: Allow for Drying Time
Patience is key here. Allow the primer to dry completely, which may take a few hours or overnight depending on the product used. Rushing this step can compromise the bond between the tiles and the wood.
Step 7: Test Run
Before committing to adhesive, perform a test run by placing a few tiles on the prepared wood surface without any adhesive. This allows for adjustments if needed before permanently adhering the tiles.
Adhesive Options for Glue on Tile on Wood
Selecting the perfect adhesive is vital for a long-lasting installation that withstands the test of time. With an overwhelming array of adhesive options available, it can be challenging to determine which one is best suited for your project. In this comprehensive guide, we will explore the various adhesive options for gluing tile onto wood surfaces, offering you a clear understanding of each option’s benefits.
One adhesive option that stands out for gluing tile onto wood is epoxy adhesive. Renowned for its exceptional bonding strength and unwavering durability, epoxy adhesives provide an ideal solution for heavy-duty applications or areas exposed to high moisture levels, such as bathrooms or kitchens. Comprised of two components—a resin and a hardener—epoxy adhesives must be meticulously mixed before application. Once blended, they deliver outstanding adhesion and can endure the expansion and contraction that occurs between wood and tile materials.
Another popular choice for glue on tile on wood is polyurethane construction adhesive. Known for its robust bond and flexibility, polyurethane adhesives adhere seamlessly to a variety of surfaces, including wood and tile. Furthermore, they exhibit excellent resistance to moisture, making them an ideal option for spaces with heightened humidity levels. Available in both liquid and foam formulations, polyurethane adhesives offer unparalleled versatility during application.
Acrylic adhesives present another viable choice for gluing tile onto wood surfaces. Typically water-based, acrylic adhesives boast ease of use and effortless cleanup. With their remarkable adhesion capabilities and flexibility, acrylic adhesives allow for slight movement between the wood and tile materials. Optimal for lighter weight tiles or decorative applications, acrylic adhesives provide a reliable solution.
It is important to note that not all adhesive options suit every type of tile or wood. Certain tiles, such as porcelain or natural stone tiles, may necessitate specific adhesive types. Therefore, consulting the manufacturer’s recommendations or seeking professional advice is crucial to ensure the correct adhesive is selected for your specific tile and wood combination.
Before applying any adhesive, meticulous preparation of the wood surface is essential. Ensure it is clean, dry, and free from any dust or debris. Lightly sanding the wood surface creates a rough texture that enhances adhesive bonding. Additionally, applying a primer or sealer to the wood surface improves adhesion and prevents moisture infiltration.
During the adhesive application process, it is imperative to follow the manufacturer’s instructions precisely. Apply the adhesive evenly and in the appropriate amount to guarantee a robust bond. Allow ample drying or curing time before subjecting the glued tile on wood surface to stress or pressure.
Epoxy Adhesives
When it comes to bonding tile to wood surfaces, the choice of adhesive is critical in ensuring a durable and long-lasting installation. Epoxy adhesives have emerged as a popular choice due to their exceptional strength, durability, and versatility. In this article, we will delve into the world of epoxy adhesives, exploring their unique properties and benefits for bonding tile to wood surfaces.
The Chemistry Behind Epoxy Adhesives:
Epoxy adhesives consist of two components – a resin and a hardener. When these two components are combined, they undergo a chemical reaction known as curing, transforming from a liquid into a solid. This chemical transformation creates an incredibly strong bond between the tile and wood surfaces, ensuring a secure and lasting hold.
Unparalleled Strength and Durability:
One of the defining characteristics of epoxy adhesives is their exceptional strength. Unlike regular glue or construction adhesive, epoxy adhesives provide an unyielding hold that can withstand the test of time. This makes them the perfect choice for tile installations on wood surfaces where maintaining a secure bond is paramount.
Precision Application with Extended Working Time:
Another advantage of epoxy adhesives is their extended working time. Unlike fast-setting adhesives that leave little room for adjustment, epoxy adhesives offer a generous window for precise application. This allows you to position and align the tiles perfectly before they are permanently bonded to the wood surface.
Resistant to Moisture, Heat, and Chemicals:
Epoxy adhesives are engineered to resist harsh conditions. They exhibit excellent resistance to moisture, heat, and chemicals, making them ideal for high-moisture areas like bathrooms or kitchens. With epoxy adhesives, you can have confidence that your tile installation will remain intact even in challenging environments.
Proper Surface Preparation for Optimal Results:
To achieve optimal results with epoxy adhesives, proper surface preparation is crucial. This involves thoroughly cleaning the wood surface and removing any existing finishes or coatings that may hinder adhesion. By creating a clean and smooth surface, you establish the ideal foundation for a strong bond between the tile and wood.
Choosing the Right Formulation:
Epoxy adhesives come in various formulations, each tailored to specific applications. Regular epoxy adhesive, fast-setting epoxy adhesive, and epoxy putty are among the options available. It is essential to consult the manufacturer’s recommendations to determine which formulation best suits your specific tile and wood combination.
Mastic Adhesives
When it comes to tile installation on wood surfaces, finding the perfect adhesive is paramount. Step forward mastic adhesives, the unsung heroes of the glue world. In this article, we will delve into the remarkable world of mastic adhesives and explore why they are the ultimate choice for bonding tile to wood surfaces. From their exceptional bond strength to their rapid drying time and moisture resistance, mastic adhesives offer an array of benefits that position them as a top contender for any tile installation project.
Powerful Bonding Capabilities:
Mastic adhesives have been meticulously engineered to create a formidable bond between tile and wood surfaces. Unlike other substrates, wood possesses more flexibility, which can lead to tile shifting or cracking if not properly adhered. Mastic adhesives tackle this challenge head-on by ensuring a secure bond that can withstand heavy foot traffic and various forms of stress.
Swift Drying Time:
Time is of the utmost essence when tackling any home improvement project. Luckily, mastic adhesives boast a relatively speedy drying time, often within 24 hours. This means you won’t have to endure prolonged waiting periods before reveling in the beauty of your newly tiled wood surface.
Impressive Moisture Resistance:
Wood and moisture are not always compatible companions, often resulting in swelling and warping. However, mastic adhesives act as an impenetrable shield between the wood and tiles, providing exceptional moisture resistance. This not only ensures the longevity of your tile installation but also helps preserve the structural integrity of the wood.
Unmatched Versatility:
Mastic adhesives possess unparalleled versatility and can be employed for various tile installations on wood surfaces. Whether you’re working with ceramic, porcelain, or natural stone tiles, mastic adhesives are up to the challenge, offering a reliable bond regardless of the type of tile or wood being used.
Special Considerations for High-Moisture Areas:
While mastic adhesives are generally suitable for most tile on wood applications, it’s essential to consider specific circumstances. In high-moisture areas like bathrooms or kitchens, where water exposure is more likely, it is advisable to opt for waterproof adhesives or thin-set mortars. These alternatives provide enhanced moisture resistance and durability, ensuring optimal performance in such demanding environments.
Polyurethane-Based Construction Adhesives
Polyurethane-based construction adhesives are the ultimate solution. Let’s explore why these adhesives are the ideal choice for your tile-wood bonding needs.
Moisture Masters:
- Exceptional resistance to moisture prevents mold and deterioration.
- Hygienic and long-lasting bond in high-moisture areas like bathrooms or kitchens.
Bonding Brilliance:
- Creates tight molecular bond with tile and wood.
- Ensures tiles stay put even under heavy foot traffic and everyday wear and tear.
Flexibility at its Finest:
- Absorbs impact and movement without cracking or breaking.
- Prevents tile cracks or damage to wood due to changes in humidity or temperature.
Outdoor Warriors:
- Resistant to UV rays, weathering, and aging.
- Perfect for exterior tile installations that withstand harsh elements.
Proper Application Techniques
Proper application techniques are crucial when using glue to attach tile to wood surfaces. These techniques ensure a strong and durable bond that can withstand heavy foot traffic and outdoor conditions. Here are the key steps to follow for proper application:
- Surface Preparation: Before applying the glue, it is essential to prepare the wood surface properly. Clean the surface thoroughly, removing any dust, dirt, or debris that could hinder the bonding process. Use a vacuum cleaner or a damp cloth to ensure a clean and smooth surface.
- Sanding: If the wood surface is rough or uneven, sanding it lightly can make a significant difference. This step creates a smoother and more even surface, allowing for better adhesion between the tile and wood.
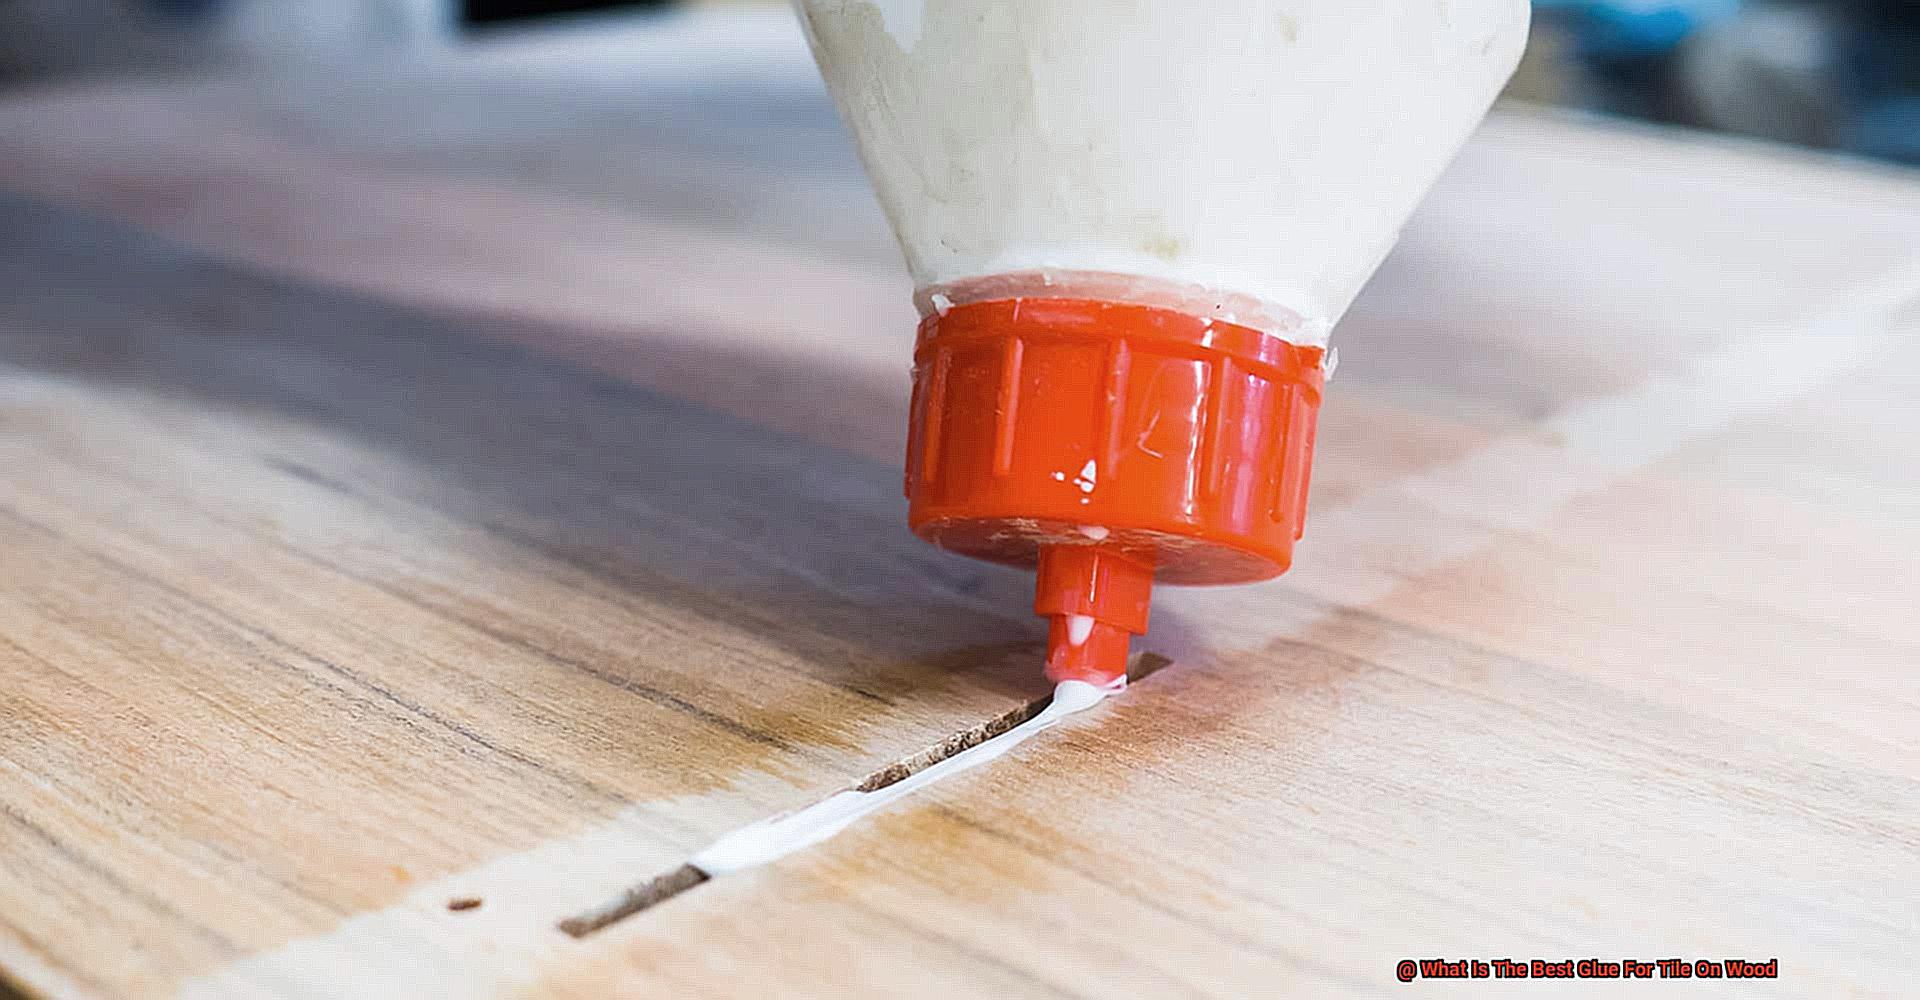
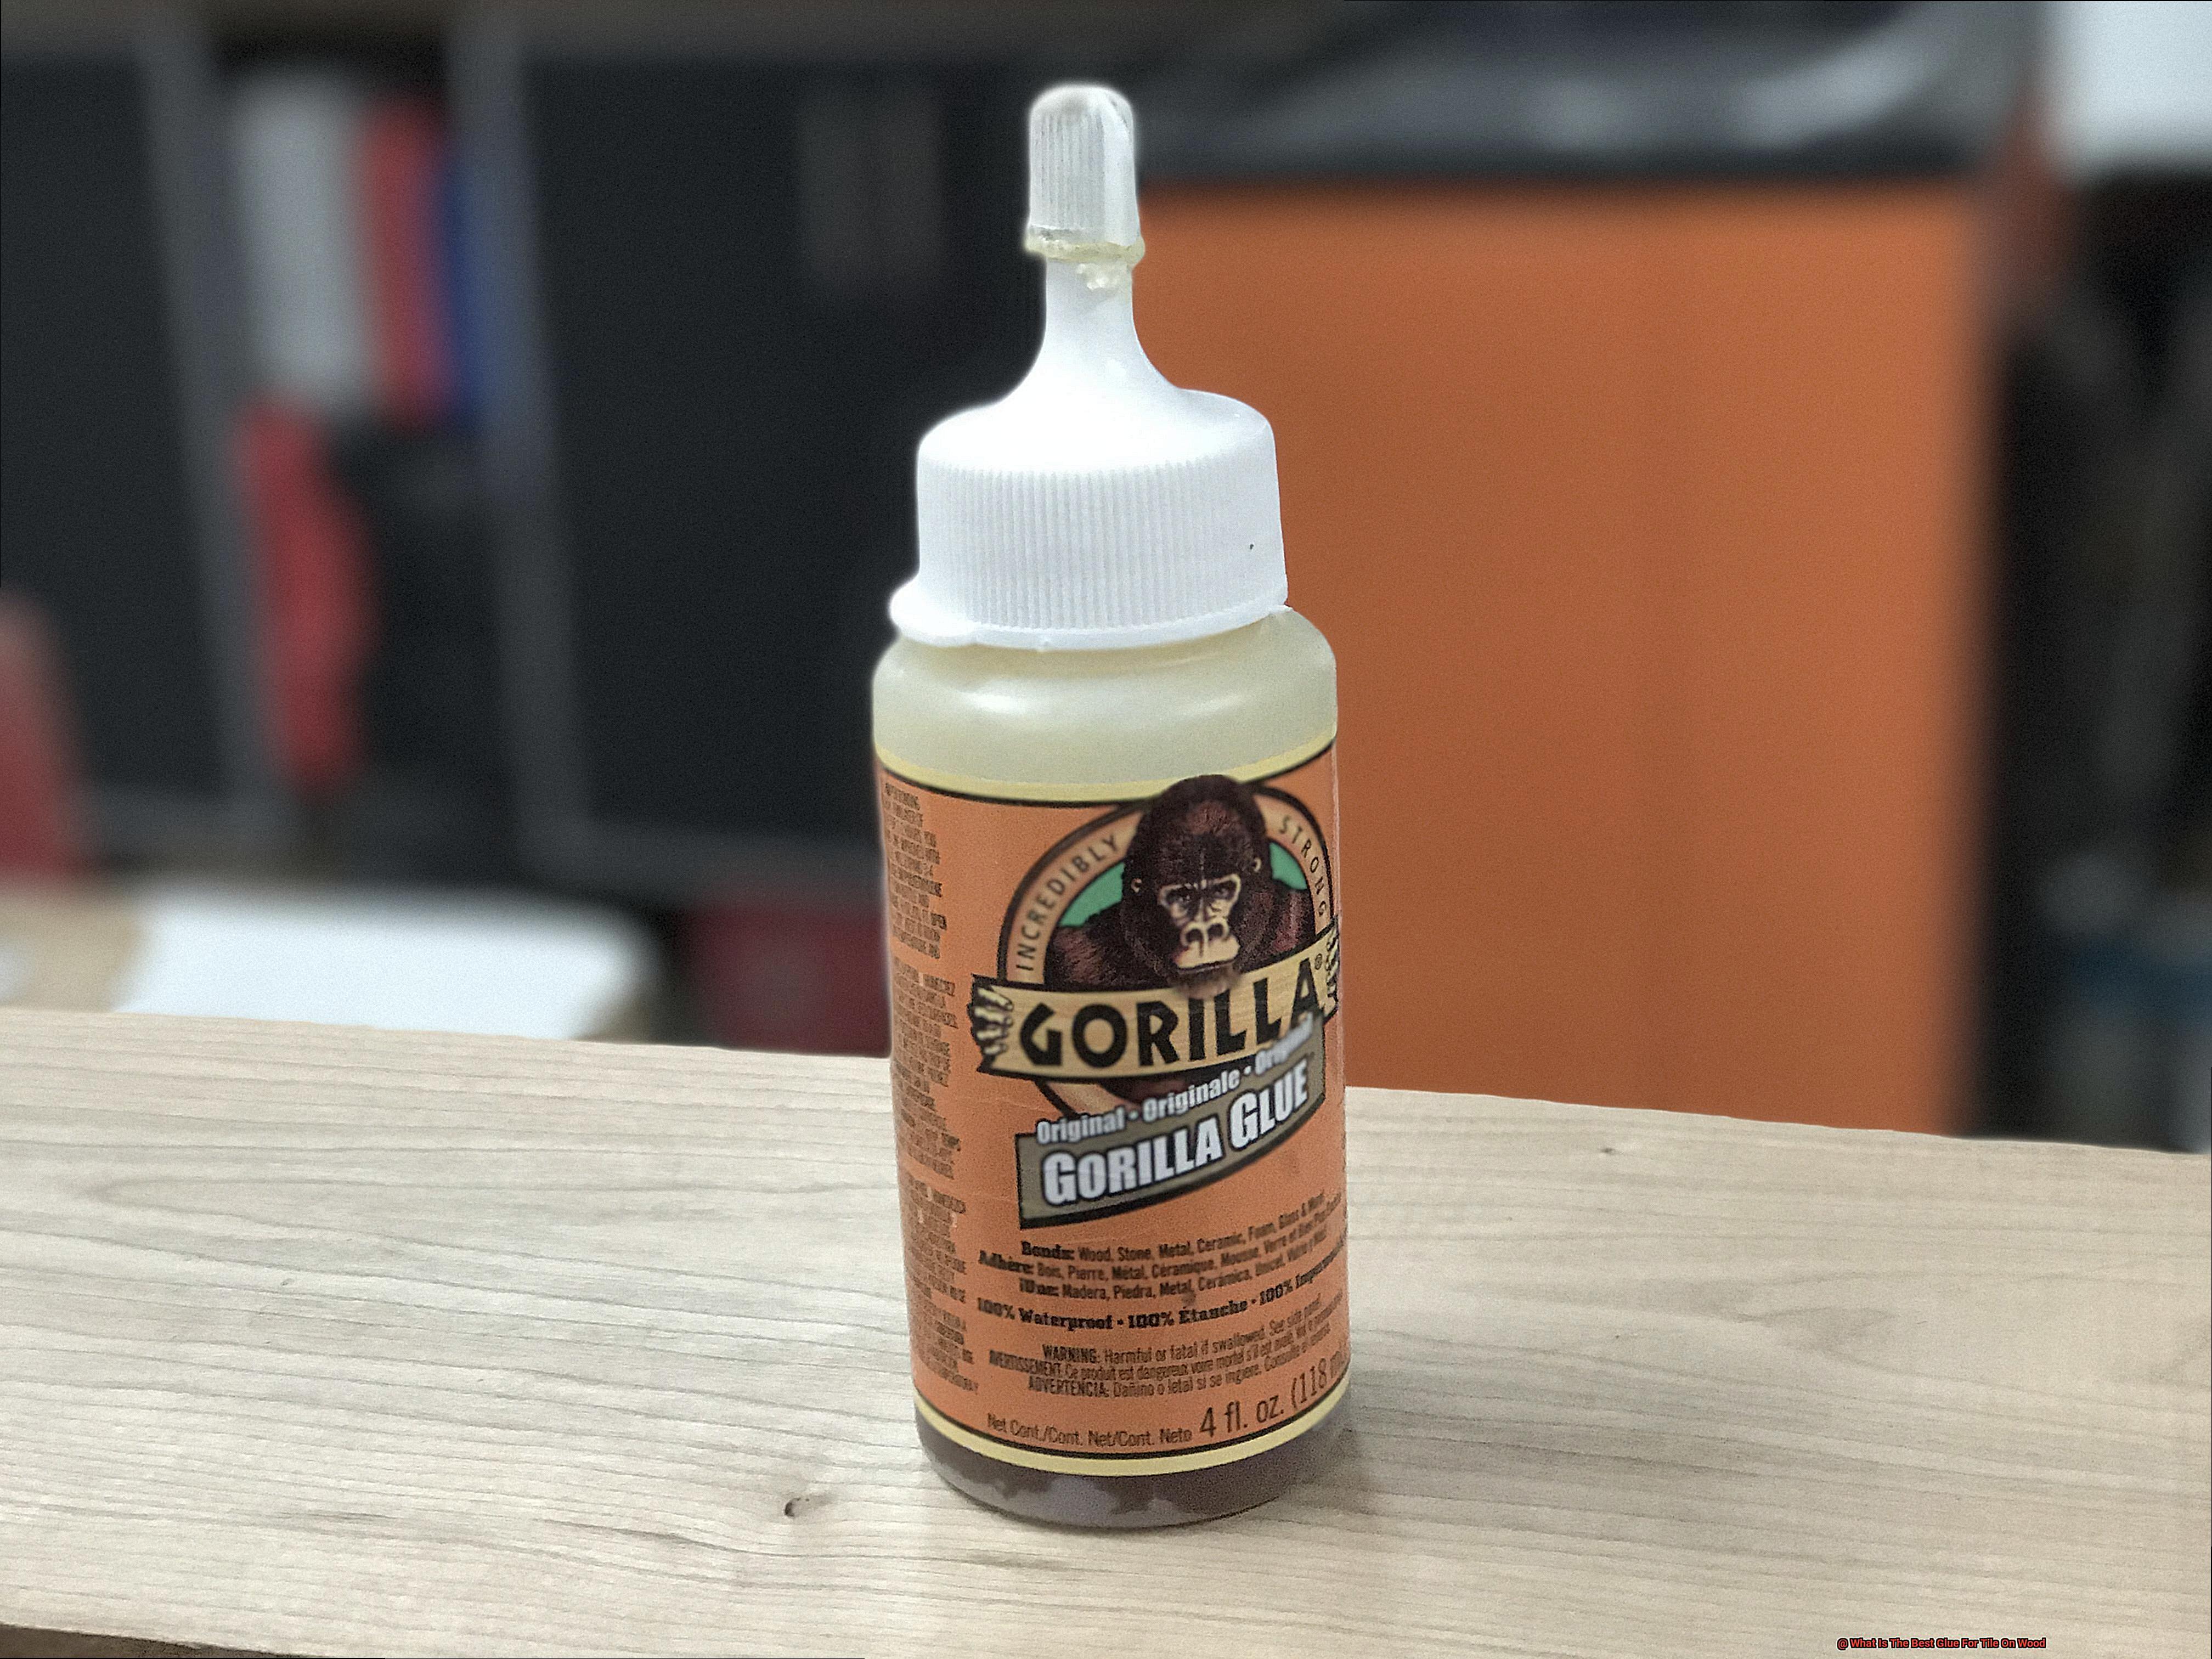
- Glue Selection: Choose a glue specifically designed for tile on wood applications. Epoxy, polyurethane, or modified silicone adhesive are common options. Select a glue that offers strong bonding properties for optimal results.
- Mixing Glue (if applicable): Some glues require mixing before application. Follow the manufacturer’s instructions carefully, ensuring that the glue is mixed thoroughly and evenly. Proper mixing ensures consistent bonding power.
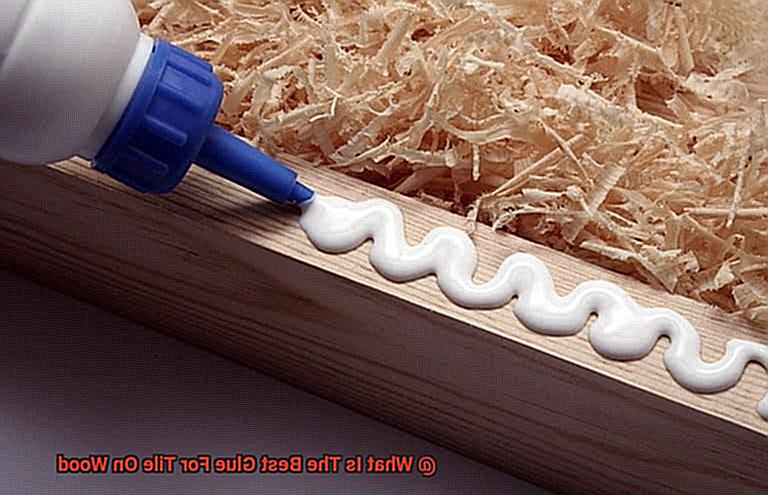
- Applying the Right Amount of Glue: Remember the Goldilocks rule when applying the glue – not too little, not too much, but just right. Insufficient glue may result in weak bonding, while excessive glue can cause squeeze-out or unevenness. Follow the manufacturer’s guidelines regarding coverage and spacing between adhesive beads.
- Spreading Glue Evenly: Use a trowel or notched spreader to spread the glue evenly over the wood surface. This step ensures there are no gaps or air pockets between the tile and wood, preventing any surprises when walking on your newly tiled floor.
- Pressing Tiles Firmly: Apply even pressure across each tile when pressing them onto the wood surface. This ensures proper adhesion and prevents loose tiles that can ruin your overall design.
- Cleaning Excess Glue: If any excess glue squeezes out from between the tiles, remove it promptly. Use a damp cloth or sponge to wipe away the excess glue before it dries. This helps maintain a flawless tile installation.
- Drying and Curing: Allow the glued tiles to dry and cure according to the manufacturer’s instructions. This typically involves leaving the tiles undisturbed for a specific period, allowing the glue to fully bond and harden. Patience is key for a strong and long-lasting bond.
Also Read: How To Glue Tile To Wood?
Considerations When Selecting an Adhesive for Tile on Wood
Selecting the right adhesive for tile on wood requires careful consideration of several factors. First and foremost, compatibility is crucial. You need an adhesive specifically designed for bonding tile to wood surfaces. Using the wrong adhesive can result in a weak bond or even complete failure of the tile installation.
Moisture resistance is another important consideration. Wood is porous and absorbs moisture easily, so it’s essential to choose an adhesive with good moisture resistance properties. This is particularly important in areas like bathrooms and kitchens, where water and humidity exposure is common. Moisture-resistant adhesives prevent wood from swelling or warping, which could cause tiles to loosen or crack over time.
Flexibility is key when selecting an adhesive for tile on wood. Wood surfaces expand and contract with changes in temperature and humidity, so the adhesive must accommodate these movements without compromising the bond between the tile and wood. Flexible adhesives prevent cracks in grout lines or tiles when wood expands or contracts.
Strength is crucial too. The adhesive should be strong enough to support the weight of the tiles and withstand regular foot traffic. Look for adhesives with high shear strength, which measures resistance against forces acting parallel to bonded surfaces.
Consider the application method as well. Some adhesives come pre-mixed, while others require mixing before use. Choose an adhesive that matches your skill level and comfort with application methods. Also, check if any special tools or equipment are needed for proper installation.
Drying time matters too. Quick-drying adhesives are beneficial when you have limited time to complete the installation, but follow the manufacturer’s instructions for curing time to ensure a strong bond between tile and wood.
Lastly, consider ease of cleanup. Some adhesives can be difficult to remove or clean up if excess adhesive squeezes out during installation. Opt for an adhesive that allows for easy cleanup, saving you time and effort.