Ready to give your home a makeover? Adding a mirror to a wooden surface can instantly level up your interior game. But here’s the catch: you need the right glue to make sure that mirror stays put. Not all glues are created equal, my friend.
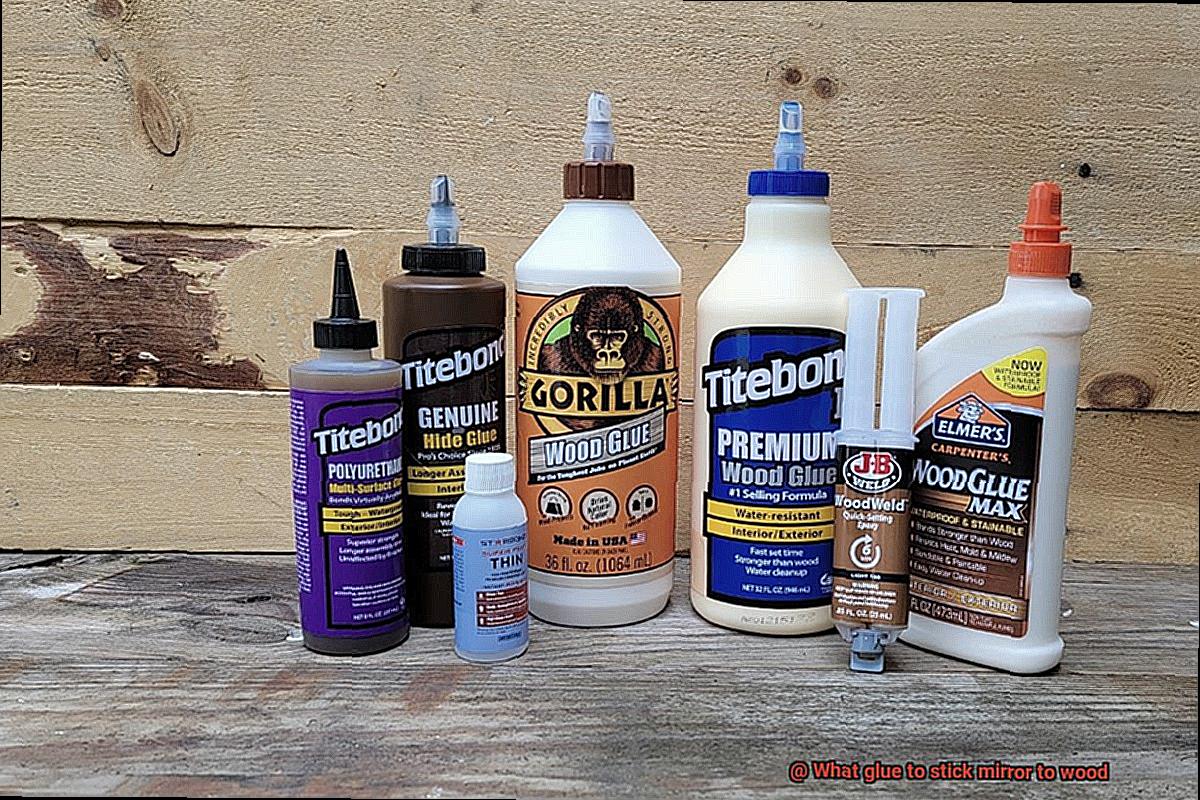
Let’s dive into the nitty-gritty of the three most popular glues for sticking mirrors to wood: epoxy, construction adhesive, and silicone adhesive.
Epoxy glue is like the superhero of adhesives. It’s strong and durable, ensuring that mirror won’t budge an inch. Plus, it can handle moisture and chemicals without breaking a sweat. The only downside? Mixing it just right and maybe needing some clamps during the curing process. So it takes a bit more time, but trust me, it’s worth it.
Construction adhesive is all about simplicity and convenience. It’s super strong and plays nice with both mirror and wood. Just slap it on, stick ’em together, and voila. However, be careful because this glue tends to expand while drying. If you’re not careful, you might end up with a distorted reflection staring back at you.
Now let’s talk silicone adhesive – perfect for mirrors on wood. Why? Because it’s flexible as heck and doesn’t mind getting wet. It acts like a cushion between the mirror and wood, adjusting to any movement in the wood itself. The only drawback? It takes its sweet time to dry. So if you’re in a rush, this might not be your best bet.
In conclusion, while all three glues have their charms, epoxy glue steals the show when it comes to sticking mirrors on wood like a boss. Its unbeatable strength, resistance to moisture, and long-lasting bond make professionals swear by it. But hey, don’t forget to consider what your project needs to make it shine.
Stay tuned for our next blog post, where we’ll guide you step-by-step on how to flawlessly attach mirrors to wood using epoxy glue. Get ready to impress your guests with stunning mirror displays that will stand the test of time.
So, my friend, what are you waiting for? Let’s get gluing.
Factors to Consider When Choosing a Glue
Contents
- 1 Factors to Consider When Choosing a Glue
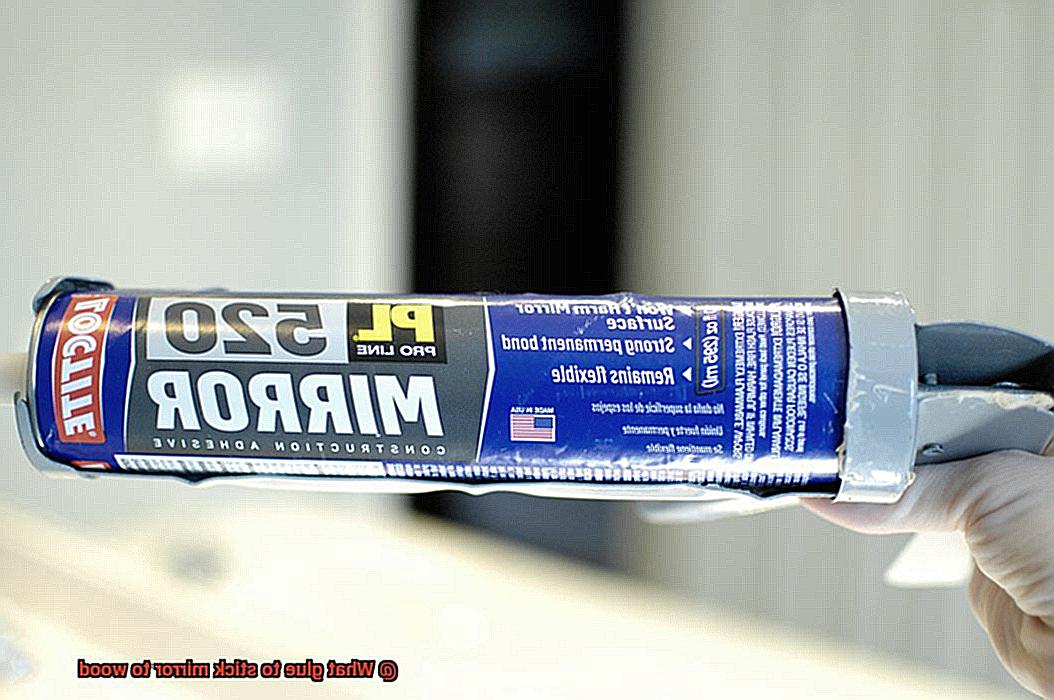
- 2 Construction Adhesive as a Bonding Agent
- 3 Benefits of Using Mirror Mastic or Mirror Adhesive
- 4 Epoxy Adhesives for Smaller or Lightweight Mirrors
- 5 Preparing the Wood and Mirror Surfaces for Glue Application
- 5.1 Step 1: Cleaning the Wood Surface
- 5.2 Step 2: Sanding the Wood Surface
- 5.3 Step 3: Wipe Away Dust and Debris
- 5.4 Step 4: Cleaning the Mirror Surface
- 5.5 Step 5: Removing Stubborn Stains or Residues
- 5.6 Step 6: Ensuring a Dry Mirror Surface
- 5.7 Step 7: Enhancing Adhesion (Optional)
- 5.8 Step 8: Protecting Mirror Edges
- 6 Applying the Glue Correctly
- 7 Securing the Mirror in Place
- 8 Alternative Methods of Securing Mirrors
- 9 Conclusion
When it comes to sticking a mirror to wood, the glue you choose can make or break the success of your project. To ensure a secure and long-lasting bond, there are several factors to consider. From adhesive strength to compatibility, drying time, and even aesthetics, selecting the right glue is essential. In this comprehensive guide, we will explore the key factors that should be taken into account when choosing a glue for sticking mirrors to wood.
Adhesive Strength:
The adhesive strength is the backbone of any successful mirror installation. Look for glues specifically designed for bonding heavy objects or mirror installation. These glues provide the necessary strength to withstand the weight and stress of the mirror, ensuring it stays firmly in place.
Compatibility:
To avoid any unwanted mishaps, ensure that the glue you choose is compatible with both the mirror and wood surface. Some glues may react with certain types of mirrors or wood, leading to discoloration or damage. Check the manufacturer’s recommendations to ensure compatibility before applying the glue.
Drying Time:
Time is of the essence, especially when you have a project deadline looming over you. Opt for glues that offer a quick drying time without compromising on adhesive strength. This way, you can complete your project efficiently and save precious time.
Waterproof and Moisture Resistance:
Bathrooms or areas prone to moisture demand a glue that can withstand water and humidity. Choose a waterproof and moisture-resistant glue to prevent any damage or detachment of the mirror due to exposure to these elements.
Ease of Application:
Nobody wants a messy and complicated glue application process. Look for glues that come with applicators or user-friendly packaging, making it convenient to apply and distribute evenly on the surfaces. Easy application ensures a smooth process and prevents messy mistakes.
Safety Precautions:
Safety should never be compromised when working with adhesives. Opt for glues that are non-toxic and do not emit strong fumes during application and drying. Additionally, ensure proper ventilation in the working area to protect yourself and others.
Longevity:
Consider the longevity of the bond when selecting a glue for sticking mirrors to wood. Look for glues that provide a durable and long-lasting bond, ensuring that the mirror remains securely attached to the wood surface for an extended period. This will give you peace of mind knowing that your mirror will stay in place for years to come.
Aesthetics:
If the glue will be visible after installation, consider its appearance. Some glues dry clear or transparent, while others may leave a noticeable residue. Choose a glue that matches the desired aesthetic of your project, so it seamlessly blends in with the overall design.
Construction Adhesive as a Bonding Agent
Construction adhesive is a powerful and versatile bonding agent that is commonly used in construction and woodworking projects. When it comes to attaching mirrors to wood surfaces, construction adhesive is the go-to solution for ensuring a strong and long-lasting bond.
One of the key advantages of using construction adhesive for this purpose is its incredible strength. This glue is specifically formulated to withstand heavy loads, making it perfect for securely holding up those beautiful but weighty mirrors. With construction adhesive, you can say goodbye to the fear of your mirror crashing down unexpectedly.
Versatility is another standout feature of construction adhesive. It can be used on various types of wood surfaces, including plywood, solid wood, and even engineered wood products. No matter what type of wood you’re working with, this glue has got you covered. It’s like having a trusty sidekick in your woodworking adventures.
When it comes to challenging elements like moisture and temperature changes, construction adhesive truly shines. Mirrors are often exposed to humidity and varying temperatures, which can wreak havoc on some adhesives. But fear not. Construction adhesives are built to withstand these conditions like superheroes, providing a reliable bond that won’t budge.
To ensure the best results when using construction adhesive as a bonding agent, it’s important to follow the manufacturer’s instructions diligently. Cleanliness is key, so make sure both the wood surface and the back of the mirror are free from any dirt or debris before applying the adhesive. And remember, thin and even application is the secret sauce for proper bonding.
Benefits of Using Mirror Mastic or Mirror Adhesive
When it comes to hanging a mirror on a wooden surface, mirror mastic or mirror adhesive is the ultimate solution. This specially formulated glue offers numerous advantages over other types of adhesives, ensuring a secure and long-lasting bond between your mirror and the wooden surface. In this blog post, we will explore the benefits of using mirror mastic or mirror adhesive in detail, providing you with all the reasons why it’s the go-to choice for professionals and DIY enthusiasts alike.
Unmatched Bonding Power:
Mirror mastic is engineered to provide an incredibly strong bond between the mirror and the wood surface. Unlike traditional glues or adhesives, it can withstand vibrations and movements without compromising its stability. With mirror mastic, you can say goodbye to worries about your mirror falling off unexpectedly, even in high-traffic areas.
Resilience Against Moisture:
Bathrooms and kitchens are notorious for their high humidity levels, which can lead to fogged up mirrors or mold and mildew growth around the edges. Mirror mastic is specially designed to withstand moisture, ensuring that your mirror remains intact and free from damage in these moisture-prone areas. It acts as a barrier, protecting your mirror from the effects of humidity and preserving its clarity.
Easy and Convenient Application:
Mirror mastic comes in various forms such as tubes, cartridges, or pre-cut strips, making it convenient and user-friendly for any project. Its adjustable curing times allow for repositioning before the adhesive fully sets, ensuring a precise and hassle-free installation. Whether you’re a professional or a DIY enthusiast, using mirror mastic will make your mirror-hanging process a breeze.
Flawless Aesthetic Appeal:
Unlike other glues that may leave behind visible residue or require additional cleaning steps, mirror mastic dries clear and seamlessly blends with the mirror and wood surface. This provides a clean and professional finish, enhancing the overall aesthetic appeal of your mirror installation. With mirror mastic, you can achieve a flawless look that complements any room decor.
Long-lasting Durability:
Mirror mastic is built to last. It is resistant to temperature fluctuations, ensuring that your mirror remains securely attached even in extreme conditions. It does not shrink or expand with changes in temperature or humidity, preventing any warping or distortion over time. Mirror mastic provides a reliable and durable bond that will stand the test of time.
Epoxy Adhesives for Smaller or Lightweight Mirrors
Mirrors have the power to transform any space, adding depth, style, and functionality. But when it comes to attaching smaller or lightweight mirrors to wooden surfaces, you need an adhesive that can deliver a strong and reliable bond. In this article, we will delve into the world of epoxy adhesives and explore the step-by-step process for bonding mirrors to wood surfaces, ensuring a secure and long-lasting attachment.
Research and Select the Right Epoxy Adhesive:
To start your journey towards the perfect bond, embark on a quest for a high-quality epoxy adhesive specially formulated for glass and wood bonding. Look for adhesives that boast exceptional bonding strength and durability. Pay close attention to the recommended curing time and application instructions provided by the manufacturer.
Prepare the Surfaces:
Before diving into the adhesive application, prepare both the mirror and the wood surface meticulously. Cleanse them of any dirt, dust, or residue that might hinder adhesion. Employ a mild cleaner or rubbing alcohol to ensure a pristine surface, and allow them to bask in the glory of complete dryness. This crucial step sets the foundation for a strong bond that will withstand the test of time.
Mix the Epoxy Adhesive:
Embrace your inner alchemist and follow the manufacturer’s instructions to concoct the perfect mixture of epoxy adhesive. Typically composed of two components – resin and hardener – these magical elements must be combined in the recommended ratio to activate their adhesive powers. Exercise precision as you follow these instructions, paving the way for optimal results.
Apply the Epoxy Adhesive:
With your mixture ready to work its magic, take up your brush or applicator and gracefully spread a thin layer of epoxy adhesive onto the wooden surface. Cover every inch of the area where the mirror will rest, ensuring an even distribution that will bring balance to the bond. Resist the temptation to go overboard with the adhesive, as too much can lead to uneven bonding or unsightly oozing from the edges.
Attach the Mirror:
With a delicate touch, place the mirror onto the adhesive-coated wood surface, carefully aligning and positioning it with precision. Gently press down on the mirror, forging a connection with the adhesive that holds promise for a steadfast bond. Consider employing clamps or weights to keep the mirror in place while the adhesive sets.
Allow for Curing Time:
Patience is key as you navigate the final stages of your bonding journey. Respectfully adhere to the manufacturer’s instructions regarding the curing time of the epoxy adhesive. This sacred period requires you to leave the bond undisturbed for a specified duration, which can span from a few hours to an entire night. Honoring this time frame ensures that your bond emerges with unrivaled strength.
Preparing the Wood and Mirror Surfaces for Glue Application
Mirrors have the power to instantly elevate any space, but to ensure their long-lasting beauty, it’s crucial to properly prepare the wood and mirror surfaces before applying glue. In this guide, we’ll walk you through the essential steps to create a bond that will stand the test of time.
Step 1: Cleaning the Wood Surface
Thoroughly clean the wood surface with a damp cloth or sponge, removing any dust, dirt, or debris. A clean and smooth surface is key for optimal glue adhesion.
Step 2: Sanding the Wood Surface
Increase the surface area for the glue to bond with by sanding the wood surface with medium-grit sandpaper. Sand in the direction of the wood grain to create a rough texture that enhances adhesion.
Step 3: Wipe Away Dust and Debris
After sanding, use a tack cloth or slightly dampened soft cloth to wipe away any dust or debris. Ensure the surface is completely dry before proceeding.
Step 4: Cleaning the Mirror Surface
Clean the mirror surface using a non-ammonia-based glass cleaner or a vinegar and water mixture. Gently wipe the mirror in circular motions with a lint-free cloth. Avoid excessive liquid that could seep behind the mirror.
Step 5: Removing Stubborn Stains or Residues
For stubborn stains or residues on the mirror, use a specialized glass cleaner or rubbing alcohol. Rub gently until the affected area is clean.
Step 6: Ensuring a Dry Mirror Surface
Before applying glue, ensure the mirror surface is completely dry. Moisture can compromise adhesive properties and weaken the bond.
Step 7: Enhancing Adhesion (Optional)
For an extra secure bond, roughen the backside of the mirror with sandpaper or use an etching solution. This creates a textured surface that allows the glue to grip more securely.
Step 8: Protecting Mirror Edges
Apply painter’s tape or masking tape around the edges of the mirror to create a protective barrier. This safeguards the mirror from accidental spills or smudges during glue application.
Applying the Glue Correctly
Today, we embark on the art of applying glue correctly to create a strong and everlasting bond between a mirror and wood. Whether you’re sprucing up your home or unleashing your creative side, mastering this process is essential. So, let’s gather our tools and delve into the world of glue application.
Step 1: Cleanliness is Key.
First things first, ensure that both the mirror and wood surface are spotless. Eliminate any pesky dust or debris using a mild detergent or glass cleaner for the mirror, while giving the wood a light sanding if necessary. Remember, a clean canvas sets the stage for success.
Step 2: Choose the Glue Wisely
Not all glues are created equal, my friends. Consider factors such as the mirror’s weight and the type of wood you’re working with when selecting your adhesive. Epoxy, construction adhesive, or mirror adhesive are all viable options. Double-check their compatibility with both materials before proceeding.
Step 3: The Test Run
Would you plunge headfirst into uncharted waters without first testing their depth? Similarly, conduct a small test run on an inconspicuous area to ensure compatibility between your chosen glue and both the mirror and wood. This simple precaution can save you from potential disasters down the road.
Step 4: Apply with Precision
Equip yourself with a small brush or applicator and gently apply an even layer of glue onto the wood surface. Exercise caution here; using too much glue can lead to unsightly appearances as it oozes out from under the mirror. Remember, less is more.
Step 5: Let’s Stick It Together
The moment of truth has arrived. Carefully position the mirror onto the wood surface, ensuring perfect alignment. Apply gentle pressure to forge a robust connection between the two surfaces. Perfection is our goal.
Step 6: Patience, my friend
Resist the urge to rush. Allow the glue to dry completely according to the manufacturer’s instructions. This may entail several hours or even overnight, so refrain from disturbing your masterpiece during this time. Trust me; the wait will be worthwhile.
Step 7: Inspect and Perfect
Once the glue has dried, inspect the bond between the mirror and wood. Be on the lookout for any weak areas or gaps. If you spot imperfections, consider applying additional glue or seeking professional assistance for a flawless finish.
Securing the Mirror in Place
When it comes to securing a mirror to wood, ensuring a strong and reliable bond is crucial.
In this comprehensive guide, we will explore the necessary steps for securely attaching a mirror to wood using the appropriate adhesive and installation techniques.
By following these instructions, you can achieve a secure and long-lasting installation that enhances both the aesthetic appeal and safety of your mirror.
Step 1: Choose the Right Adhesive:
- Silicone adhesive: Apply an even layer on the back of the mirror to cover the entire surface.
- Construction adhesive: Apply small dots or lines to prevent excess glue from oozing out.
- Epoxy resin: Mix equal parts of resin and hardener, apply an even coating, and press firmly against the wood.
Step 2: Clean Both Surfaces:
Thoroughly clean the back of the mirror and the wood surface using mild detergent or glass cleaner to remove any dirt, dust, or grease that could hinder adhesion.
Step 3: Consider Mechanical Fasteners:
For added support, use mirror clips or brackets as mechanical fasteners. Follow manufacturer instructions for proper installation.
Step 4: Apply the Adhesive:
Follow specific instructions for your chosen adhesive. Apply evenly on the back of the mirror or in small dots/lines, depending on the adhesive type.
Step 5: Press and Align:
Carefully press the mirror against the wood surface, ensuring perfect alignment. Use a level or measuring tape for accurate placement.
Step 6: Allow for Proper Drying Time:
Refer to adhesive instructions for recommended drying time. Avoid moving or handling the mirror until it has fully cured.
Step 7: Inspect for Imperfections:
Once the adhesive has dried completely, inspect the mirror for any imperfections or gaps. Make necessary adjustments or reapply adhesive if needed.
Alternative Methods of Securing Mirrors
Mirrors are a beautiful addition to any space, but securing them to wood can be a challenge. While traditional methods like screws and nails are effective, there are alternative methods that can provide a hassle-free and reliable solution. In this blog post, we will explore different techniques for securing mirrors, including the power of glue.
Mirror Mounting Clips:
Mirror mounting clips are specifically designed to securely hold mirrors in place. These clips can be easily attached to a wood frame using screws or nails. With various sizes and styles available, you can find the perfect clip to accommodate different mirror thicknesses and frame designs. Mirror mounting clips provide a secure hold that keeps your mirror in place.
Adhesive Tapes:
Adhesive tapes or double-sided mounting tapes offer a drill-free option for securing mirrors to wood surfaces. These strong and durable tapes provide a reliable bond between the mirror and the wood. Clean both surfaces thoroughly before applying the tape, ensuring there is no dust or debris. Apply the tape along the edges or back of the mirror, pressing it onto the wood for optimal adhesion.
Liquid Adhesives:
Liquid adhesives, such as epoxy or construction adhesive, provide a permanent and strong bond between the mirror and wood. Follow the manufacturer’s instructions carefully for proper application and curing time. Clamping or applying pressure during the curing process may be necessary to ensure a tight bond.
Removable Adhesive Strips:
For temporary solutions or smaller mirrors, removable adhesive strips or hooks are an excellent choice. These strips offer a quick and damage-free way to hang mirrors on wood surfaces. While they may not be as strong as other methods, they provide convenience and flexibility.
Mechanical Fasteners:
For larger and heavier mirrors that require extra support, mechanical fasteners like screws or nails may be necessary. Select appropriate fasteners based on the mirror’s weight, size, and the type of wood being used. Pre-drilling pilot holes in the wood can help prevent splitting or cracking when inserting the fasteners.
4ElbQ18bkXU” >
Also Read: How To Glue Mirror On Wall Without Nails?
Conclusion
When it comes to sticking a mirror to wood, choosing the right glue is crucial.
You want a glue that will provide a strong and durable bond, ensuring that your mirror stays securely in place. One option to consider is using a construction adhesive specifically designed for bonding materials like wood and glass.
These adhesives are formulated to provide excellent strength and long-lasting hold. Another option is using a heavy-duty adhesive such as epoxy or polyurethane glue.
Whichever glue you choose, be sure to follow the manufacturer’s instructions carefully for the best results.