Ready to give your kitchen a fresh new look with a shiny new worktop? Well, before you start measuring and cutting, there’s one crucial step you can’t afford to overlook: choosing the right glue to join those worktops together flawlessly. Trust me, this decision can make or break the durability and appearance of your kitchen masterpiece.
But don’t worry, I’ve got you covered. In this blog post, we’re going to dive deep into the world of adhesives and explore the best options for joining kitchen worktops. We’ll talk about everything from trusty epoxy to versatile contact adhesives. By the time we’re done, you’ll have all the knowledge you need to pick the perfect glue for your project.
So, let’s roll up our sleeves and get ready to ensure those worktops stay securely bonded and looking absolutely stunning in your brand-new kitchen.
Types of Glue for Joining Kitchen Worktops
Contents
- 1 Types of Glue for Joining Kitchen Worktops
- 2 Advantages and Disadvantages of Epoxy Resin
- 3 Advantages and Disadvantages of Polyurethane Adhesive
- 4 Advantages and Disadvantages of Adhesive Tapes
- 5 Factors to Consider When Choosing the Right Glue
- 6 Preparing the Surfaces Before Applying Glue
- 7 Applying the Glue Properly
- 8 Other Factors to Consider When Joining Kitchen Worktops
- 9 Conclusion
Choosing the right type of glue is crucial for ensuring a strong and durable bond when joining kitchen worktops. With various options available, it’s essential to consider factors such as strength, durability, moisture resistance, and compatibility with the worktop material. In this article, we will explore five different types of glue and provide insights on how to choose the best one for your kitchen worktops.
Two-Part Epoxy Adhesive:
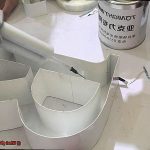
Two-part epoxy adhesive is renowned for its exceptional bonding properties and unmatched durability. Composed of two components that require careful mixing before application, this glue forms a robust bond that can withstand heavy use and exposure to moisture. Its resistance to spills and humidity makes it an ideal choice for kitchens. However, due to the meticulous mixing process involved, it may not be as user-friendly as other glues.
Polyurethane Adhesive:
Polyurethane adhesive is another popular option known for its excellent bonding capabilities and water resistance. This flexible glue is suitable for kitchens where moisture exposure is common. Compared to epoxy adhesive, polyurethane adhesive does not require mixing and can be easily applied using a caulking gun. However, patience is required during installation as it may take longer to cure.
Wood Glue or Carpenter’s Glue:
For those on a budget, wood glue or carpenter’s glue provides a cost-effective option. These water-based glues offer a strong bond between wooden surfaces but may not be as durable as epoxy or polyurethane adhesives. While they are suitable for dry areas in the kitchen, they may not withstand prolonged exposure to moisture.
Specific Adhesives for Laminate and Solid Surface Worktops:
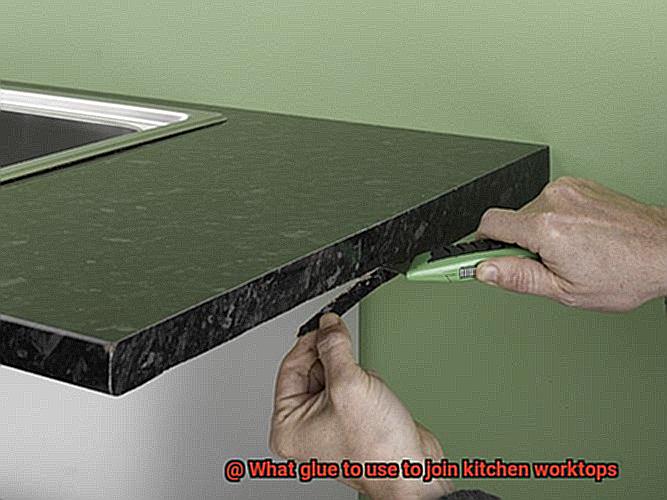
Laminate worktops often require contact adhesive, which is applied to both the worktop surface and the laminate sheet before they are pressed together. This type of adhesive provides an instant bond. On the other hand, solid surface worktops may require a specialized adhesive recommended by the manufacturer to ensure optimal bonding. It is crucial to consider the specific requirements of your worktop material when choosing a glue.
Considerations and Tips:
When selecting a glue for joining kitchen worktops, it is essential to follow the manufacturer’s instructions for proper application and surface preparation. Thoroughly cleaning and roughening the surfaces to be bonded can contribute to the effectiveness of the glue joint.
Additionally, it is important to consider factors such as strength, durability, moisture resistance, and compatibility with the worktop material.
Consulting with the manufacturer or a knowledgeable professional can help ensure that you choose the right glue for your specific needs.
Choosing the right glue for joining kitchen worktops is crucial for achieving a strong and long-lasting bond. Two-part epoxy adhesive and polyurethane adhesive are popular choices due to their excellent bonding properties and resistance to water.
Advantages and Disadvantages of Epoxy Resin
Choosing the right adhesive for joining kitchen worktops is essential for a strong and seamless finish. Epoxy resin has gained popularity for its adhesive properties and aesthetic appeal. However, it’s important to weigh the advantages and disadvantages before making a decision. In this article, we will explore the pros and cons of using epoxy resin for joining kitchen worktops, helping you make an informed choice.
Advantages of Epoxy Resin:
- Strong Bonding: Epoxy resin is renowned for its exceptional adhesive capabilities, creating a durable bond between materials like wood, laminate, and stone. This ensures that the joint between worktops remains stable, even under heavy use.
- Seamless Finish: Unlike other glues that leave visible lines or gaps, epoxy resin offers a seamless finish. It fills in irregularities, creating a smooth surface that enhances the aesthetic appeal of your kitchen worktops.
- Water and Heat Resistance: Epoxy resin is highly resistant to water and heat, making it perfect for kitchen applications. It can withstand high temperatures without degrading or losing its adhesive properties. Its non-absorbent nature prevents moisture-related issues like warping or swelling of the worktops.
- Versatility: Epoxy resin comes in various formulations, allowing for versatility in usage. It can be used with different worktop materials such as wood, granite, quartz, and laminate. This flexibility enables homeowners to choose their desired worktop material without worrying about compatibility issues with the glue.
Disadvantages of Epoxy Resin:
- Application Time: Applying epoxy resin can be time-consuming compared to other glues. It requires carefully mixing two components – a resin and a hardener – in specific proportions before applying them to the surfaces to be joined. Following the manufacturer’s instructions for proper curing and bonding is crucial.
- Limited Working Time: Once mixed, epoxy resin has a limited working time before it starts to harden. Users need to work efficiently and quickly to apply the glue and join the worktops before it becomes too viscous to use. This can be challenging for larger or more complex worktop installations that require multiple joints to be made simultaneously.
- Cost: Epoxy resin is relatively more expensive compared to other glues in the market. The cost varies depending on the brand, quality, and quantity required for the job. While it offers excellent bonding properties and durability, homeowners with a tight budget may want to consider alternative gluing options.
- Potentially Hazardous: It’s important to note that epoxy resin contains chemicals that can be hazardous if not handled properly. Some individuals may be sensitive or allergic to these chemicals, leading to skin irritation or respiratory issues. To ensure safety, always follow manufacturer instructions, wear protective gear, and work in a well-ventilated area.
Advantages and Disadvantages of Polyurethane Adhesive
Selecting the appropriate adhesive is paramount when joining kitchen worktops, as it determines the strength and quality of the final result. One popular choice is polyurethane adhesive, which offers a wide range of benefits. However, like any product, it also has its drawbacks. In this article, we will delve into the pros and cons of using polyurethane adhesive for kitchen worktops, empowering you to make an informed decision for your next project.
Advantages:
Strong Bond:
Polyurethane adhesive is renowned for its exceptional bonding strength. It creates a durable and long-lasting bond between surfaces, making it an ideal choice for joining kitchen worktops. Whether you have a wooden or stone worktop, polyurethane adhesive can effectively bond the surfaces together, ensuring a robust connection capable of withstanding heavy loads.
Versatility:
One of the key advantages of polyurethane adhesive is its versatility. It can be used on various materials such as wood, laminate, granite, and quartz. This makes it a popular option for joining different types of kitchen worktops. Regardless of the material of your worktop, polyurethane adhesive can deliver a reliable and secure bond.
Flexibility:
Polyurethane adhesive offers flexibility that allows it to absorb vibrations and movements without compromising the bond. In a kitchen environment where temperature fluctuations and daily use can cause slight movements in the worktops, this flexibility ensures that the adhesive remains intact and the bond remains strong.
Waterproof:
Polyurethane adhesive exhibits remarkable resistance to water and moisture. It forms a waterproof seal between the joined surfaces, preventing water damage or warping. This property is particularly critical in kitchens where worktops are frequently exposed to water. By choosing polyurethane adhesive, you can rest assured that your worktops are protected against moisture-related issues.
Disadvantages:
Longer Curing Time:
One drawback of polyurethane adhesive is its extended curing time compared to other types of adhesives. It may take several hours or even days for the adhesive to fully cure and achieve maximum bond strength. This can be a disadvantage if you need to use the kitchen immediately after joining the worktops. Patience is required to allow the adhesive to cure properly.
Difficult to Remove:
Once polyurethane adhesive has cured, it forms a strong and permanent bond that can be challenging to remove or separate the bonded surfaces. If you ever need to replace or repair your kitchen worktops, it may require more effort and potentially result in damage to remove the bonded surfaces. Therefore, careful consideration should be given to potential future changes or repairs before using polyurethane adhesive.
Advantages and Disadvantages of Adhesive Tapes
If you’re considering using adhesive tapes to join your kitchen worktops, there are several advantages and disadvantages to be aware of. Let’s dive in and explore these aspects in more detail.
Advantages:
- Ease of Use: Adhesive tapes are incredibly user-friendly. Unlike other bonding methods that require specialized tools or skills, adhesive tapes can be easily applied by anyone. No need to hire a professional or spend hours figuring out complicated instructions. Simply peel off the backing and stick the tape onto the desired surface. It’s that easy.
- Versatility: Adhesive tapes come in various types and forms, making them suitable for a wide range of applications. Whether you’re joining different materials or need to bond uneven surfaces, there’s a tape available to suit your specific needs. From general-purpose tapes to specialized ones for specific materials or conditions, the options are endless. This makes adhesive tapes a perfect choice for joining kitchen worktops made from different materials like wood, laminate, or stone.
- Bonding Strength: Adhesive tapes are known for their strong bonding capabilities. They create a secure and durable bond between surfaces, ensuring that your joined worktops stay in place even under heavy usage. The adhesive used in these tapes is formulated to provide excellent adhesion, allowing them to withstand the weight and pressure typically experienced in kitchen environments.
Disadvantages:
- Limited Load-Bearing Capacity: Despite their strong bonding strength, adhesive tapes have limitations when it comes to load-bearing capacity. Depending on the type and thickness of the tape, it may not be suitable for joining heavy worktops or countertops that will be subjected to significant weight or pressure. In such cases, alternative bonding methods like screws or heavy-duty adhesives may be more appropriate.
- Temperature Sensitivity: Adhesive tapes can be sensitive to extreme temperatures. High heat can cause the tape to soften, potentially compromising its bonding strength. Similarly, extremely cold temperatures can make the tape brittle and less effective in maintaining a secure bond. So, if your kitchen worktops are exposed to extreme temperature variations or if you frequently use hot appliances on the surface, it’s important to choose an adhesive tape that can withstand these conditions.
- Limited Aesthetics: Adhesive tapes may not be the most visually appealing choice for joining kitchen worktops. The tapes are often visible along the seams, which can disrupt the overall appearance of the worktops. However, some specialty tapes are designed to be more discreet or match specific materials, offering a better aesthetic result.
Factors to Consider When Choosing the Right Glue
When it comes to choosing the right glue for joining kitchen worktops, there are several factors that you should consider. These factors can make a significant difference in the success of your project. Here are some key considerations to keep in mind:
- Material Compatibility: Different worktop materials require specific types of glue for optimal adhesion. Whether you’re working with laminate, wood, or granite, it’s crucial to choose a glue that is compatible with the materials you are bonding.
- Strength and Durability: Kitchen worktops endure heavy use, so it’s essential to select a glue that offers high tensile and shear strength. Look for glues that can withstand the chopping, cutting, and heat from hot pots and pans. Additionally, consider the resistance of the glue to moisture and chemicals to ensure a long-lasting bond.
- Application Method: Consider your comfort level with different application methods. Some glues come in easy-to-use tubes with a nozzle, making application a breeze. Others may require mixing or specialized tools. Choose a glue that aligns with your preferences and capabilities.
- Drying Time: The drying time of the glue can impact your project timeline. Quick-drying glues allow you to continue working sooner, while others may require extended drying or curing periods. Consider your timeline and choose accordingly to avoid delays.
- Ease of Cleanup: Glue spills and excess adhesive can be a hassle to clean up. Opt for glues that offer easy cleanup options, such as water-based glues that can be wiped away with a damp cloth or adhesive removers designed specifically for the glue you are using.
- Safety Considerations: Prioritize safety by choosing non-toxic glues that are safe for use in food preparation areas. Take the time to read product labels and opt for glues certified for use in kitchen environments.
- Longevity and Reversibility: Think about whether you anticipate the need for future repairs or alterations. Some glues create permanent bonds, making it challenging to disassemble or reposition the worktops. Others offer more flexibility for future adjustments. Consider your long-term plans and choose a glue that aligns with those expectations.

Preparing the Surfaces Before Applying Glue
Well, hold your horses. Before you start slapping on glue like there’s no tomorrow, let’s talk about the crucial step that often gets overlooked – preparing the surfaces. Trust me, it’s the secret sauce to achieving a rock-solid bond. So, let’s dive into the nitty-gritty of surface preparation before applying glue.
First things first, let’s clean those worktops like our lives depend on it. Bid farewell to grease, dirt, and residue by using a mighty mild detergent or cleaning solution. Give them a good scrub with a cloth or sponge, and make sure they’re bone-dry before moving forward.
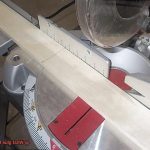
Next up, let’s smooth things out. Grab your trusty sandpaper or sanding block and gently sand the edges and joining surfaces of the worktops. This creates a rough texture that acts like velcro for the glue – it clings on with all its might.
Now, we can’t forget about cleanliness. Use a vacuum cleaner or a cloth to banish every speck of dust and debris from the surfaces. Remember, a clean surface is the foundation for a bond that will never waver.
But wait, there’s more. Sometimes, you need an extra boost to achieve an unbreakable bond. Enter primer or adhesive promoter – the superhero sidekick of glue. If you’re working with tricky materials like laminate or non-porous surfaces, these bad boys improve adhesion by creating a stronger bond between the glue and the worktops. Just make sure to follow the manufacturer’s instructions to a T and let that primer dry completely.
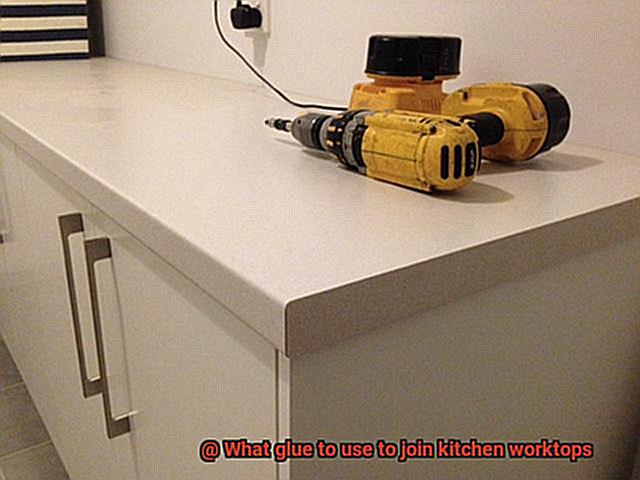
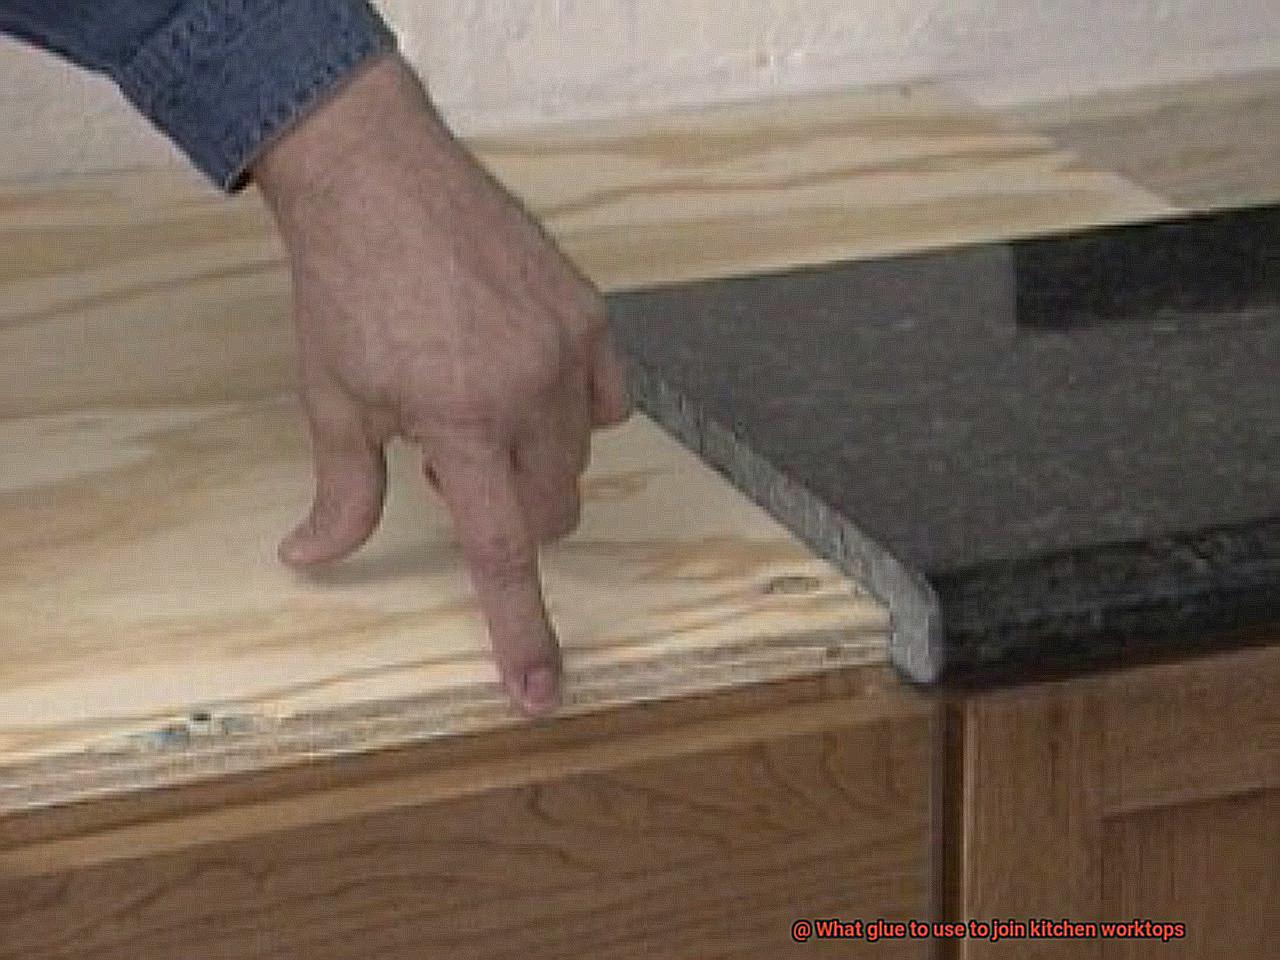
Last but not least, we need stability during the bonding process. Don’t leave your worktops hanging. Use clamps or weights to hold them in place while the glue works its magic. This prevents any sneaky movement or shifting that could sabotage your hard work.
Applying the Glue Properly
Crafting a professional and successful joint between kitchen worktops requires the proper application of glue. Whether you are installing a new worktop or repairing an existing one, understanding the correct procedures and techniques is essential for achieving a strong and durable bond. Here are some important considerations to keep in mind when applying glue for joining kitchen worktops:
- Choose the right adhesive: Selecting the appropriate glue is crucial for a successful joint. Two-part epoxy adhesive is highly recommended for its exceptional bonding strength, resistance to moisture and heat, and long-lasting results. It is important to choose a glue specifically designed for bonding laminate or solid surface materials commonly used in kitchen worktops.
- Prepare the surfaces: Before applying the glue, it is vital to thoroughly clean and prepare the surfaces that need to be joined. Remove any dust, grease, or debris using a mild detergent or solvent cleaner. Ensure that both surfaces are completely dry before proceeding with the gluing process. To enhance adhesion, lightly roughen the surfaces with sandpaper.
- Follow the manufacturer’s instructions: Carefully read and follow the instructions provided by the adhesive manufacturer. Typically, two-part epoxy adhesives require equal amounts of resin and hardener to be mixed together. Thoroughly mix the components using a disposable stick or spatula until a uniform color is achieved. Avoid mixing excessive amounts of adhesive at once to prevent it from hardening prematurely.
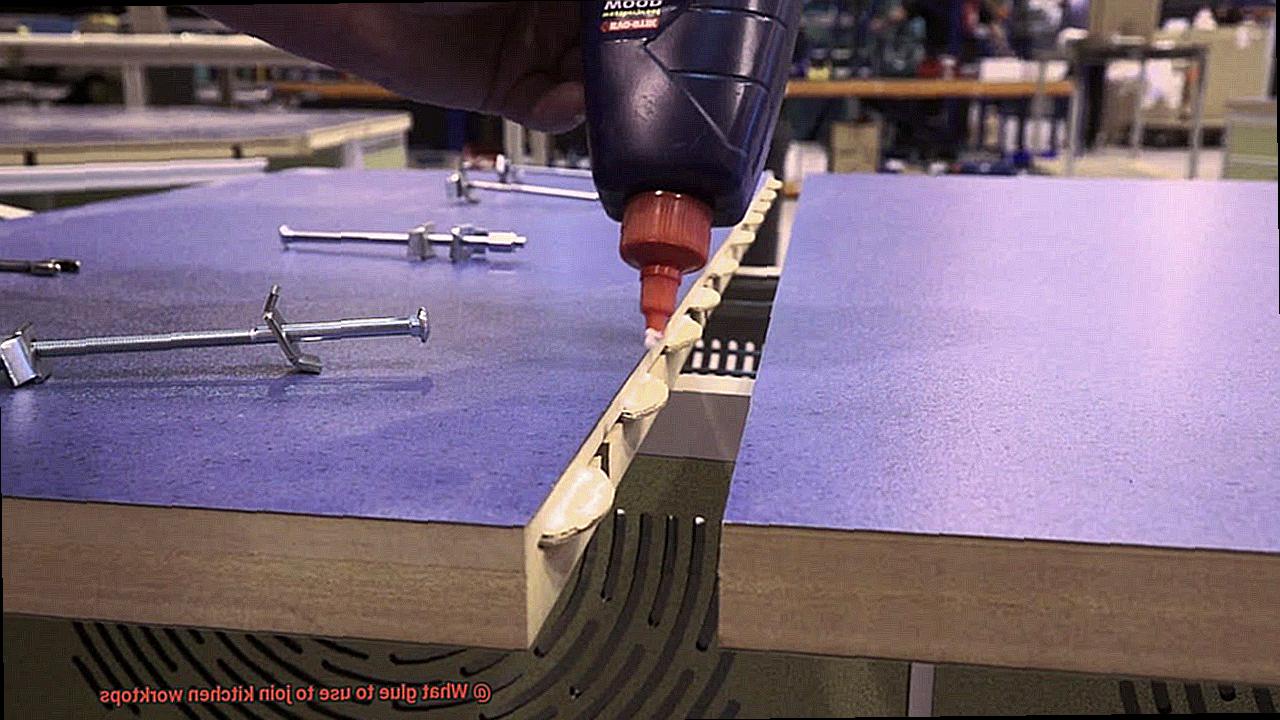
- Apply the glue evenly: Using a notched trowel or disposable spreader, spread the mixed adhesive onto one of the surfaces. The size of the notches on the trowel should correspond to the thickness of the worktop material to ensure proper bonding. Be mindful not to apply too much glue, as it may result in excess squeeze-out and messy joints.
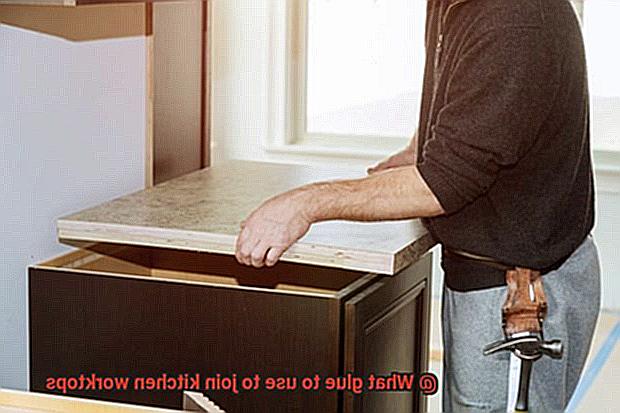
- Join and align the surfaces: Once the glue has been applied, carefully align and join the two surfaces together. Apply even pressure across the entire area to ensure a uniform bond. To hold the worktops in place while the glue cures, use clamps or heavy objects. Follow the manufacturer’s instructions regarding the curing time, as it may vary depending on the adhesive used.
- Remove excess glue promptly: After joining the worktops, immediately remove any excess glue that squeezes out from the joint using a damp cloth or sponge. This prevents hardened glue from interfering with the final finish of the worktop. Take care not to apply excessive water, as it may affect the performance of the adhesive.
Other Factors to Consider When Joining Kitchen Worktops
When joining kitchen worktops, there are several other factors to consider in addition to choosing the right glue. These factors include the type of material used, surface preparation, environmental conditions, clamping, and curing time.
The type of material used for the kitchen worktops is an important consideration. Different materials require different glues and techniques for joining. For example, laminate worktops require a glue specifically designed for bonding laminate surfaces, while solid wood worktops require a wood adhesive. It is important to choose a glue that is compatible with the material being used to achieve a strong and lasting bond.
Proper surface preparation is also crucial for a successful join. The worktop surfaces should be cleaned and sanded to ensure better adhesion. Any dirt, dust, or grease should be removed using an appropriate cleaner. Roughening the surfaces with sandpaper creates a better bonding surface for the glue. It is important to follow the manufacturer’s instructions regarding surface preparation, as each type of glue may have specific requirements.
The temperature and humidity of the working environment can affect the bonding process. Glues typically have specific temperature ranges in which they work best. It is important to ensure that the room temperature falls within this range during application and curing of the glue. High humidity levels can interfere with the bonding process by slowing down or preventing proper curing of the adhesive. Controlling these environmental factors will help ensure optimal bond strength.
Clamping is an essential step in joining kitchen worktops. Applying pressure with clamps helps keep the worktops tightly secured while the glue cures, ensuring a strong and even bond. The type and number of clamps required will depend on the size and shape of the worktops being joined. It is important to follow the manufacturer’s guidelines on clamping pressure and duration to achieve the best results.
Allowing sufficient curing time is crucial for the glue to fully set and achieve its maximum strength. Different glues have different curing times, ranging from a few hours to several days. It is important to be patient and resist the temptation to move or use the worktops before the glue has fully cured. Rushing this step can compromise the bond and lead to failure in the long term.
Conclusion
When it comes to joining kitchen worktops, choosing the right glue is crucial.
You want a glue that will provide a strong and durable bond, capable of withstanding the demands of daily kitchen use. One option that stands out is epoxy resin adhesive.
This powerful adhesive creates a solid and permanent bond, ensuring your worktops stay securely joined together for years to come. Another popular choice is polyurethane adhesive, known for its excellent bonding properties and resistance to moisture and heat.
Whichever adhesive you choose, make sure to follow the manufacturer’s instructions for application and allow sufficient curing time for optimal results.