Planning to bake a cake for that special occasion but unsure how to keep those decorations in place?
When it comes to cake decorating, there’s a whole world of options to make sure your cake looks absolutely stunning.
From delicate fondant flowers to sparkling edible glitter, the key is finding the perfect adhesive to make everything stick seamlessly. Whether you’re a seasoned pro or just starting out in the kitchen, this blog post will walk you through a variety of methods for sticking things to a cake.
So grab your piping bag and get ready for a deliciously creative journey into the art of cake decoration.
Using frosting or icing as edible glue
Contents
- 1 Using frosting or icing as edible glue
- 2 Using melted chocolate or candy melts
- 3 Royal icing as a strong adhesive
- 4 Gum paste glue for intricate designs and delicate decorations
- 5 Sticking non-edible items to a cake safely
- 6 Considering moisture content and environment
- 7 Alternative methods: Fondant adhesive, piping gel, or gelatin solution
- 8 Tips for achieving successful adhesion on different types of cakes
- 9 Conclusion
Cake decorating is a meticulous art that demands an eye for design and attention to detail. Among the essential techniques in this craft is the use of frosting or icing as edible glue to attach decorations. This versatile method allows for boundless creativity while ensuring the secure placement of your embellishments. In this article, we will explore the process of using frosting or icing as edible glue, offering valuable tips to help you achieve both a steadfast bond and stunning cake designs.
The Process:
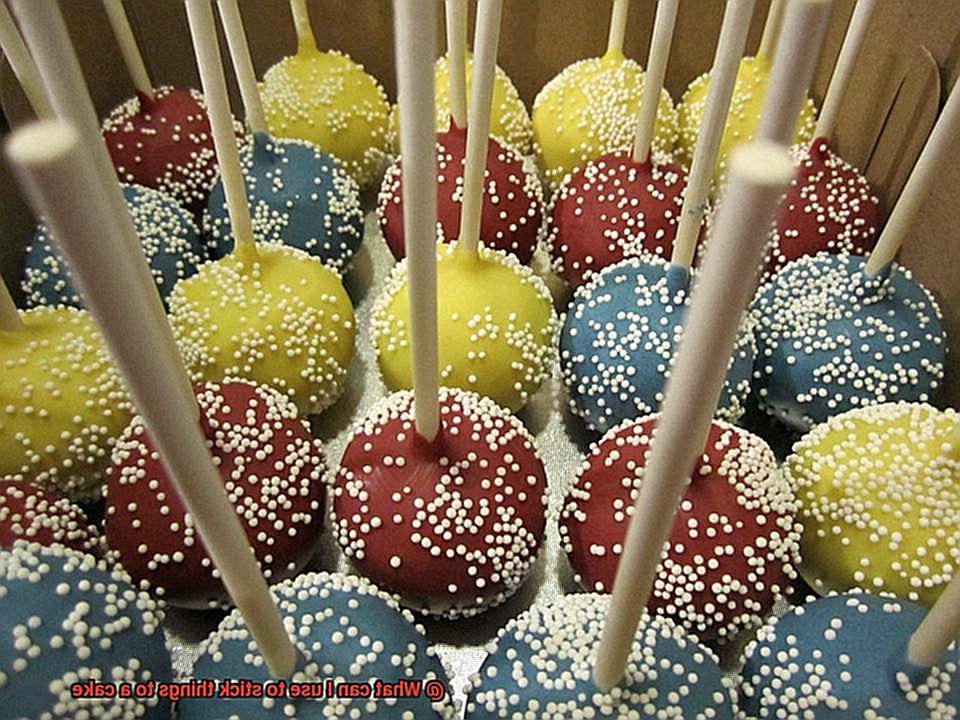
- Preparing Your Decorations: Before attaching the decorations, ensure that they are ready to be used. These can include fondant shapes, edible flowers, enticing candies, or even delectable cookies. The options are limitless.
- Tailoring Consistency: To utilize frosting or icing as edible glue, a slight thickening is necessary. Add more powdered sugar to achieve the desired consistency. This adjustment will enhance the adhesive properties, ensuring a steadfast bond between the decorations and the cake surface.
- Applying the Edible Glue: Utilize a small offset spatula or a piping bag fitted with a round tip to apply a modest amount of frosting or icing onto the back of the decoration. Be generous enough to secure the bond but refrain from excess application, which may result in spillage.
- Pressing and Holding: Gently press the decoration onto the designated spot on the cake, exerting light pressure for a secure attachment. Maintain this pressure for a few seconds until you are confident that it will not shift.
Tips for Achieving a Secure Bond:
- Considering Frosting or Icing Type: Buttercream frosting boasts a softer consistency, making it ideal for shorter-term stability. On the other hand, royal icing hardens when dry, rendering it suitable for intricate designs requiring prolonged stability.
- Enhancing Support: For larger or heavier decorations, such as fondant figures or structures, consider inserting toothpicks or small dowels into the decorations, fortifying them before securing them onto the cake. This additional support ensures long-lasting stability.
- Refrigeration for Delicate Decorations: When working with delicate or fragile decorations and employing buttercream frosting, refrigerating the cake briefly can be beneficial. The chilling process firms up the frosting, safeguarding against accidental smudging or damage.
- Minimizing Handling: Once the decorations are attached, it is prudent to refrain from unnecessary touching or movement. Excessive handling can loosen their adherence, potentially compromising the overall design. Treat your cake with care.
Using melted chocolate or candy melts
Cake decorating is an art form that brings joy to any occasion. Whether you’re a professional baker or a home enthusiast, the use of melted chocolate or candy melts as edible glue can elevate your cake decorations to a whole new level. This comprehensive guide will take you on a journey through the effective utilization of these ingredients in various cake decorating techniques, including adhering decorations, stacking cake layers, and creating intricate designs that will leave your taste buds and eyes satisfied.
Melted chocolate or candy melts as adhesive:
- Transforming these ingredients into adhesive magic requires proper preparation. Start by melting them in a microwave-safe bowl or double boiler.
- To ensure even melting, chop the chocolate into small pieces.
- In the microwave, heat the chocolate in short bursts, stirring between each interval until it becomes smooth and fully melted.
- If using a double boiler, place the chopped chocolate in a heatproof bowl set over simmering water and stir constantly until it reaches its gooey state of perfection.
Attaching lightweight decorations:
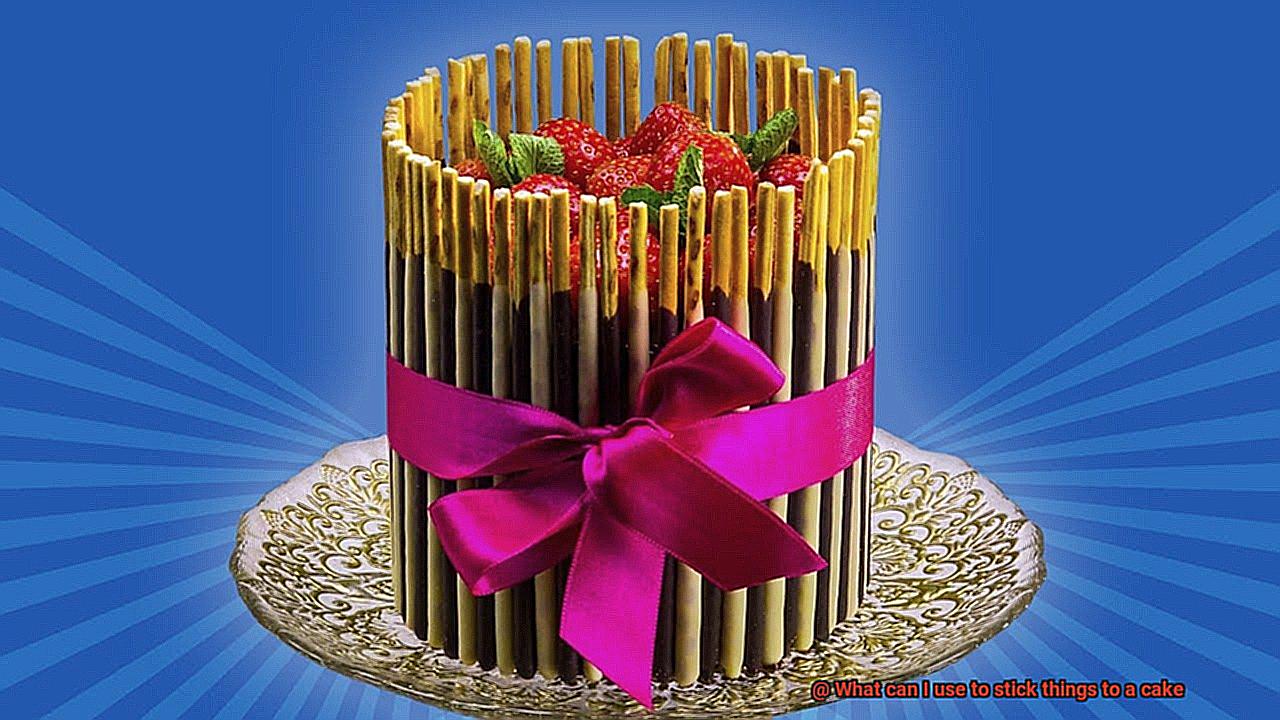
- For sprinkles, edible pearls, and small candies, dip the back of each decoration into the melted chocolate.
- Gently press the decoration onto the cake, allowing the melted chocolate to act as an adhesive that securely holds everything in place.
Attaching heavier decorations:
- To tackle heavier decorations like fondant accents or larger decorative pieces, equip yourself with a small brush or toothpick.
- Dip it into the melted chocolate and apply it to the back of the decoration.
- With gentle pressure, press the decoration onto the desired spot on the cake.
- Hold it for a few seconds to let the chocolate set and create a bond that can withstand any challenge.
Stacking cake layers:
- The process of stacking cake layers begins with ensuring that both sides of the cake are clean and dry.
- Apply a thin layer of melted chocolate onto one side of a cake layer using an offset spatula or butter knife.
- Carefully place the next layer on top and press down gently.
- Repeat this process until all layers are perfectly aligned and secured.
- The melted chocolate acts as a glue, ensuring the stability and structural integrity of your cake masterpiece.
Creating intricate designs:
- Elevate your cake design game by filling a piping bag with melted chocolate.
- Snip off a small portion of the tip to create a fine opening for precision.
- Squeeze the bag gently to pipe intricate designs onto parchment paper or a silicone mat.
- Once the chocolate design has hardened, carefully peel it off and attach it to your cake using more melted chocolate as an adhesive.
Royal icing as a strong adhesive
Royal icing is here to save the day. With its unrivaled bonding properties, royal icing reigns supreme as the go-to choice for attaching anything to your delectable creations.
Now, let’s delve into the captivating world of royal icing. This magical concoction is a simple blend of powdered sugar, egg whites, and a dash of lemon juice or water. Its consistency can be easily adjusted by adding more or less liquid, allowing you to achieve the perfect thickness for your decorating needs.
But how exactly does royal icing transform into a powerful adhesive? Prepare yourself for the tantalizing details. First and foremost, ensure that your cake surface is clean and dry. This adhesive genius works wonders on fondant, gum paste, and various types of icing. Smooth out any imperfections in the mixture before application to guarantee a flawless finish.
When it’s time to apply the icing, remember that less is more. A sparing amount will prevent any slipping or drooping of your exquisite decorations. Once applied, behold the magic as royal icing dries hard and forms an unbreakable bond between the cake and the embellishment. No longer must you fear mishaps during transportation or display.
Now, let’s explore the realm of possibilities for this edible adhesive marvel. Flowers, figurines, edible images – nothing is beyond the grasp of royal icing. It holds firm to even your wildest cake decoration dreams. However, bear in mind that for weighty or fragile adornments, alternative adhesives may be required.
Gum paste glue for intricate designs and delicate decorations
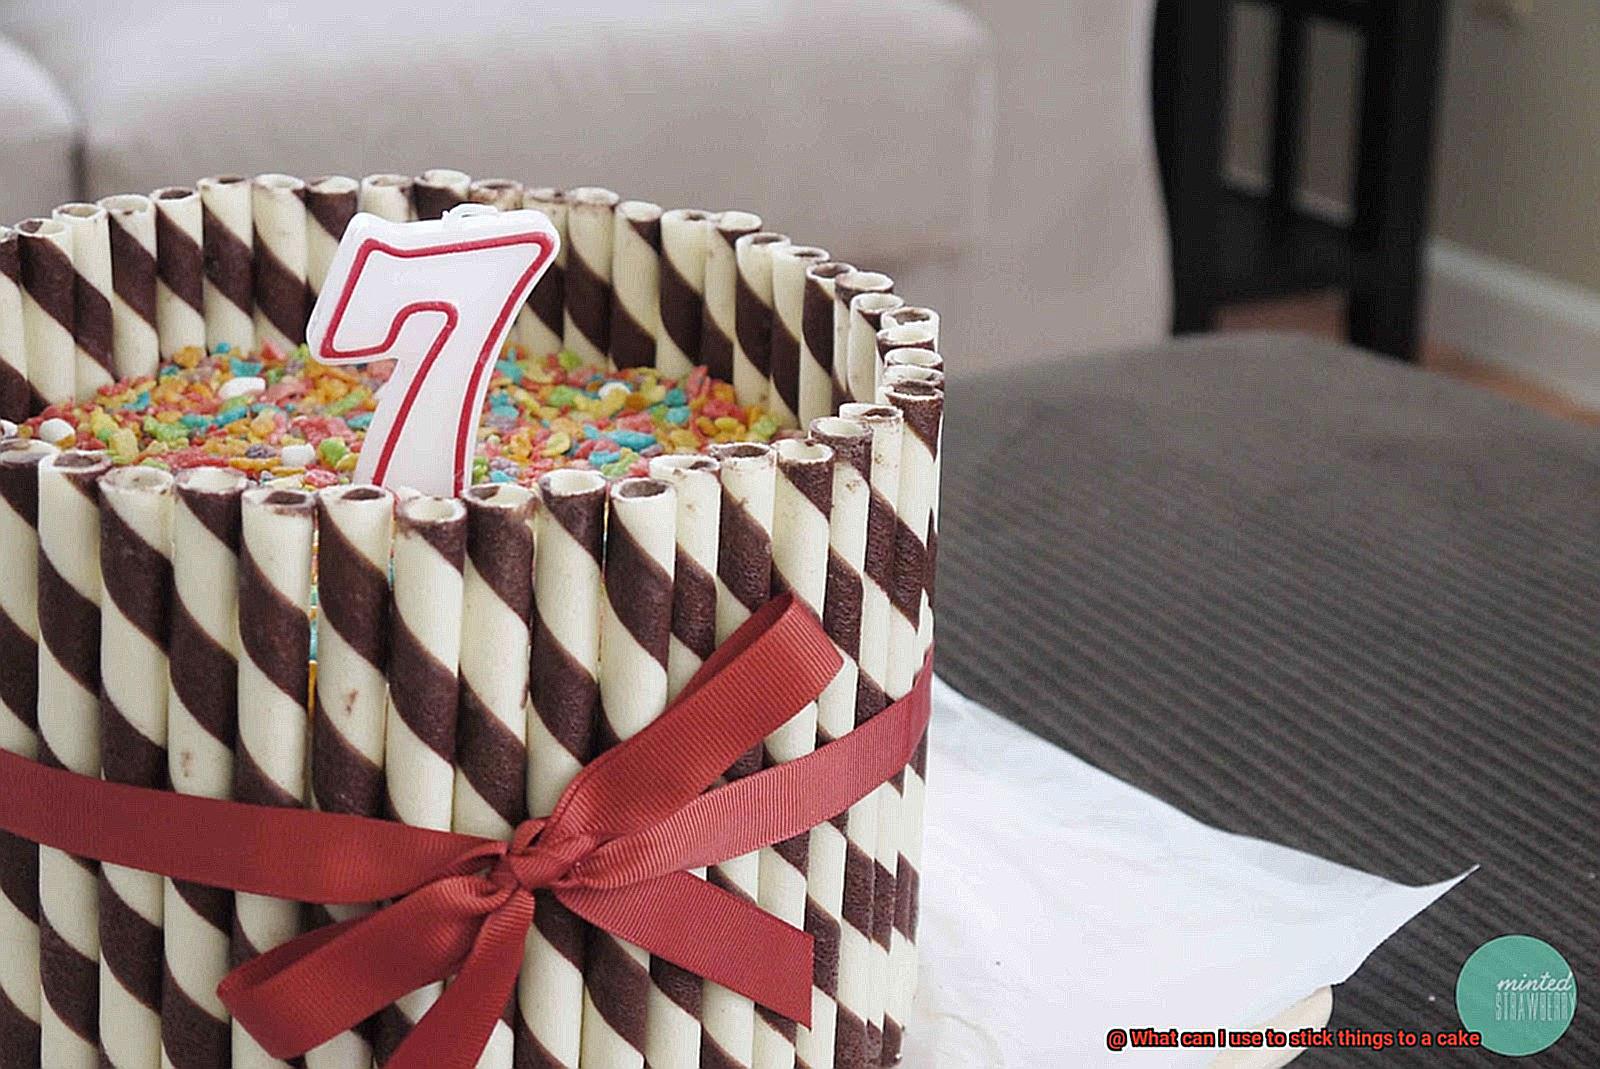
Prepare to take your cake decorating skills to breathtaking new heights with the help of gum paste glue. This enchanting adhesive is specially formulated for intricate designs and delicate decorations, guaranteeing that your cake creations are not only visually stunning but also structurally flawless. Unleash your inner artist as we delve into the advantages and considerations of utilizing gum paste glue.
Advantages of Gum Paste Glue:
- Crystal-Clear Finish: A standout feature of gum paste glue is its ability to dry completely clear. Bid farewell to unsightly residue and welcome flawlessly attached decorations that seamlessly meld into your cake’s design.
- Effortless Application: Thanks to its convenient tube or bottle packaging and slender tip, gum paste glue allows for precise and effortless application. No more grappling with messy glue mishaps – simply squeeze, apply, and witness the magic unfold.
- Unyielding Adhesion: The thick and adhesive consistency of gum paste glue guarantees a steadfast bond between the cake and decorations. You can trust that your delicate designs will remain securely in place, even during transportation or display.
Considerations for Using Gum Paste Glue:
- Moderation is Key: Remember, a little goes a long way when it comes to gum paste glue. Applying an excessive amount can result in excess moisture, potentially causing the gum paste to soften or droop. Exercise caution by using just enough glue to secure your decorations without overwhelming them.
- Allow Ample Drying Time: Patience is the secret ingredient. To achieve optimal results, grant your gum paste glue sufficient time to dry completely before handling or transporting the cake. Drying time may vary based on humidity and temperature, so plan accordingly.
- Edible and Allergy-Friendly: Did you know that gum paste glue is safe for consumption if accidentally ingested? However, it’s always prudent to inform guests of any edible glues used on the cake, particularly individuals with dietary restrictions or allergies.
Versatility and Limitations:
Gum paste glue is not limited to attaching decorations; it can also be employed to join different pieces of gum paste together, enabling the creation of intricate and elaborate designs. Nonetheless, bear in mind that heavier or bulkier items may require alternative attachment methods, such as dowels or floral wire.
Sticking non-edible items to a cake safely
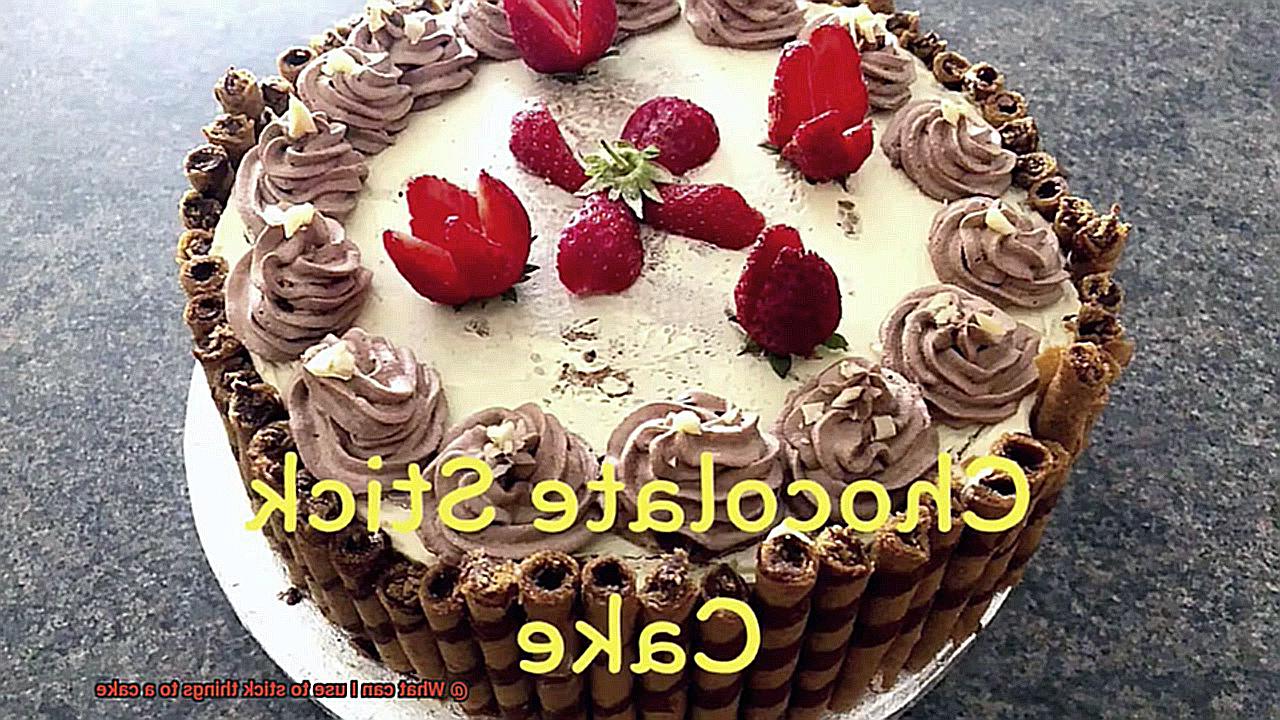
As an expert in the art of sticking non-edible items to cakes securely, I am here to share with you some invaluable tips and tricks that will help you bring your cake decorating dreams to life.
One of the simplest and most popular methods for attaching non-edible items to a cake is using edible glue or royal icing. These food-safe substances can be easily prepared at home using common ingredients like powdered sugar and egg whites. Edible glue and royal icing are ideal for securing decorations such as fondant cutouts, flowers, or even small toys onto your cake. The best part? They are completely safe to consume, so there are no health risks to worry about.
If you are working with lightweight objects or decorations that require additional support, another option is to use toothpicks or skewers. Simply insert the toothpick or skewer into the non-edible item and gently push it into the cake, ensuring it holds firmly in place. This method is particularly effective for smaller items and provides stability without causing any damage to the cake.
However, if you are dealing with heavier objects like larger decorations or structures, it is best to opt for food-safe adhesives specifically designed for cakes. These specialized adhesives can be found at specialty baking stores and are formulated to be safe for consumption. Be sure to carefully read the product labels and ensure they are suitable for use on cakes.
When attaching non-edible items to a cake, durability and stability are crucial considerations. If you anticipate that the cake will be moved or transported, using a stronger adhesive like melted chocolate or candy melts can provide superior security. These substances harden quickly and effectively adhere non-edible items onto the cake, ensuring they stay in place throughout their journey.
It is important to note that certain non-edible items may require additional precautions. For instance, if you plan to use fresh flowers, ensure they are pesticide-free and have not been treated with any harmful chemicals. Similarly, when utilizing metallic or plastic decorations, verify that they are food-safe and free from any toxic elements that could leach onto the cake.
Before applying any adhesive or method to the entire cake, it is always wise to conduct a test run on a small, inconspicuous area. This allows you to verify that the adhesive does not compromise the cake’s appearance or taste and gives you an opportunity to make any necessary adjustments before proceeding with the decorations.
Lastly, clear communication is key. Inform the consumer or recipient of the cake about any non-edible items used in the decoration. Provide explicit instructions on which parts are safe to eat and which should be removed before consumption to prevent any accidents or health concerns.
Considering moisture content and environment
Moisture content and environment are two essential factors to consider when it comes to cake decorating. The moist nature of cakes can pose a challenge when trying to adhere decorations, requiring specialized adhesives that are not only effective but also edible. Edible glues and adhesive gels, crafted from food-grade ingredients, offer a magical solution. These substances are designed to work seamlessly on moist surfaces, ensuring decorations stay firmly in place without compromising taste or quality.
However, the environment in which a cake is displayed must also be taken into account. Whether it’s a scorching summer day or a humid outdoor celebration, the heat can wreak havoc on traditional adhesives. To combat this, royal icing and melted chocolate become your best friends. These options not only create a strong bond between the cake and decorations but also harden when cooled. Say goodbye to saggy flowers and sliding sprinkles – these adhesives can withstand even the harshest conditions, ensuring your masterpiece remains intact.
Of course, safety should never be overlooked. It is crucial to consider any allergies or dietary restrictions of guests when selecting adhesives. By choosing ingredients that are safe for consumption and clearly communicating this information, you can avoid any potential mishaps.
Alternative methods: Fondant adhesive, piping gel, or gelatin solution
Get ready to discover some fantastic alternative methods for attaching decorations to your cakes. We all know that creating a stunning cake masterpiece is only half the battle – keeping those decorations in place can be a real challenge. But fear not, because we have the perfect solutions for you: fondant adhesive, piping gel, and gelatin solution.
Let’s start with fondant adhesive, the tried-and-true choice for sticking decorations to fondant-covered cakes. This magical glue is specially formulated to secure fondant pieces together or adhere them to your cake. It’s incredibly easy to apply and dries clear, leaving no residue or unsightly marks. Fondant adhesive is perfect for delicate fondant flowers or intricate designs, ensuring they stay firmly in place without causing any damage to the cake’s surface.
Next up, we have piping gel – not just a versatile tool for creating writing and glazing effects, but also an excellent adhesive. With its slightly thicker consistency, piping gel is ideal for larger and heavier decorations. Simply brush on a small amount, press your decoration onto the cake, and voila. Your masterpiece stays exactly where you want it.
If you prefer a natural alternative, look no further than the gelatin solution. Made from animal collagen, this edible glue can be dissolved in water to create a sticky liquid that works like magic. Brush it onto the back of your decorations, press them onto the cake, and let it set as it cools down. The result? A strong bond without the need for synthetic adhesives.
Now that you know about these alternative methods, let’s recap their advantages and purposes. Fondant adhesive is ideal for delicate fondant decorations, piping gel is perfect for larger or heavier decorations, and gelatin solution offers a natural option for those who prefer to avoid synthetic adhesives.
Remember, when selecting an adhesive, consider the type of cake you’re working with. For buttercream cakes, piping gel is your best bet as it adheres well to the buttercream surface.
Tips for achieving successful adhesion on different types of cakes
When it comes to creating a masterpiece cake, it’s not just about the taste; it’s also about the presentation. The key to achieving a picture-perfect cake lies in the adhesion of decorations. Whether you’re working with a delicate sponge cake or a dense chocolate cake, here are some tips and techniques to ensure your decorations stick like glue.
The Power of Frosting:
Frosting or icing isn’t just for making your cake look pretty; it can also act as an edible glue. The sticky texture of frosting makes it perfect for attaching lightweight items such as fondant decorations or edible paper. Simply apply a small amount of frosting to the back of the decoration and press it firmly onto the cake. Voila. Your decorations are securely in place.
Edible Adhesives for Heavy-Duty Decorations:
For heavier or more intricate decorations like sugar flowers or figurines, you may need something stronger than frosting. Edible adhesives are specially formulated to provide a strong hold without compromising the taste or texture of your cake. You can find these adhesives in specialty baking stores, or you can make your own by mixing tylose powder with water or dissolving gum paste in edible glue.
Knead, Brush, and Tack It Up:
When working with fondant or gum paste, kneading them until they’re soft and pliable ensures better adhesion. To make them stick even better, lightly brush the surface with water or vodka to create a tacky surface that aids in adhesion. This extra step will prevent cracking or breaking during the decorating process.
Support Structures for Tricky Attachments:
Some objects just can’t be attached directly with frosting or edible adhesive, especially if they’re heavy or non-edible. In these cases, support structures come to the rescue. Insert food-safe dowels, skewers, or toothpicks into the cake to provide stability. Attach the items to the support structure using strong adhesive like melted chocolate or royal icing. Then, insert the structure into the cake for a secure hold.
Consider the Environment:
When working with cakes and adhesives, it’s crucial to consider the temperature and humidity of your environment. High humidity can cause decorations to become soft or melt, while extreme cold temperatures can cause them to crack or break. Work in a cool and dry room, and if necessary, refrigerate the cake before attaching decorations for optimal adhesion.
gfc0heeMRmY” >
Conclusion
When it comes to sticking things to a cake, there are several options you can explore.
One popular choice is using frosting or icing as an adhesive. The creamy texture of these sweet toppings allows for easy attachment of decorations like fondant shapes or edible flowers.
Another option is using melted chocolate or candy melts, which not only act as glue but also add a delicious flavor to your cake. For a more secure hold, consider using toothpicks or skewers to anchor heavier items onto the cake.
Just make sure to inform your guests about any inedible elements before they take a bite.

