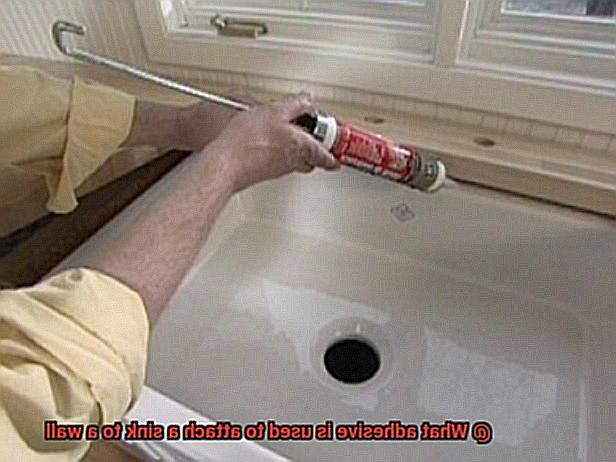
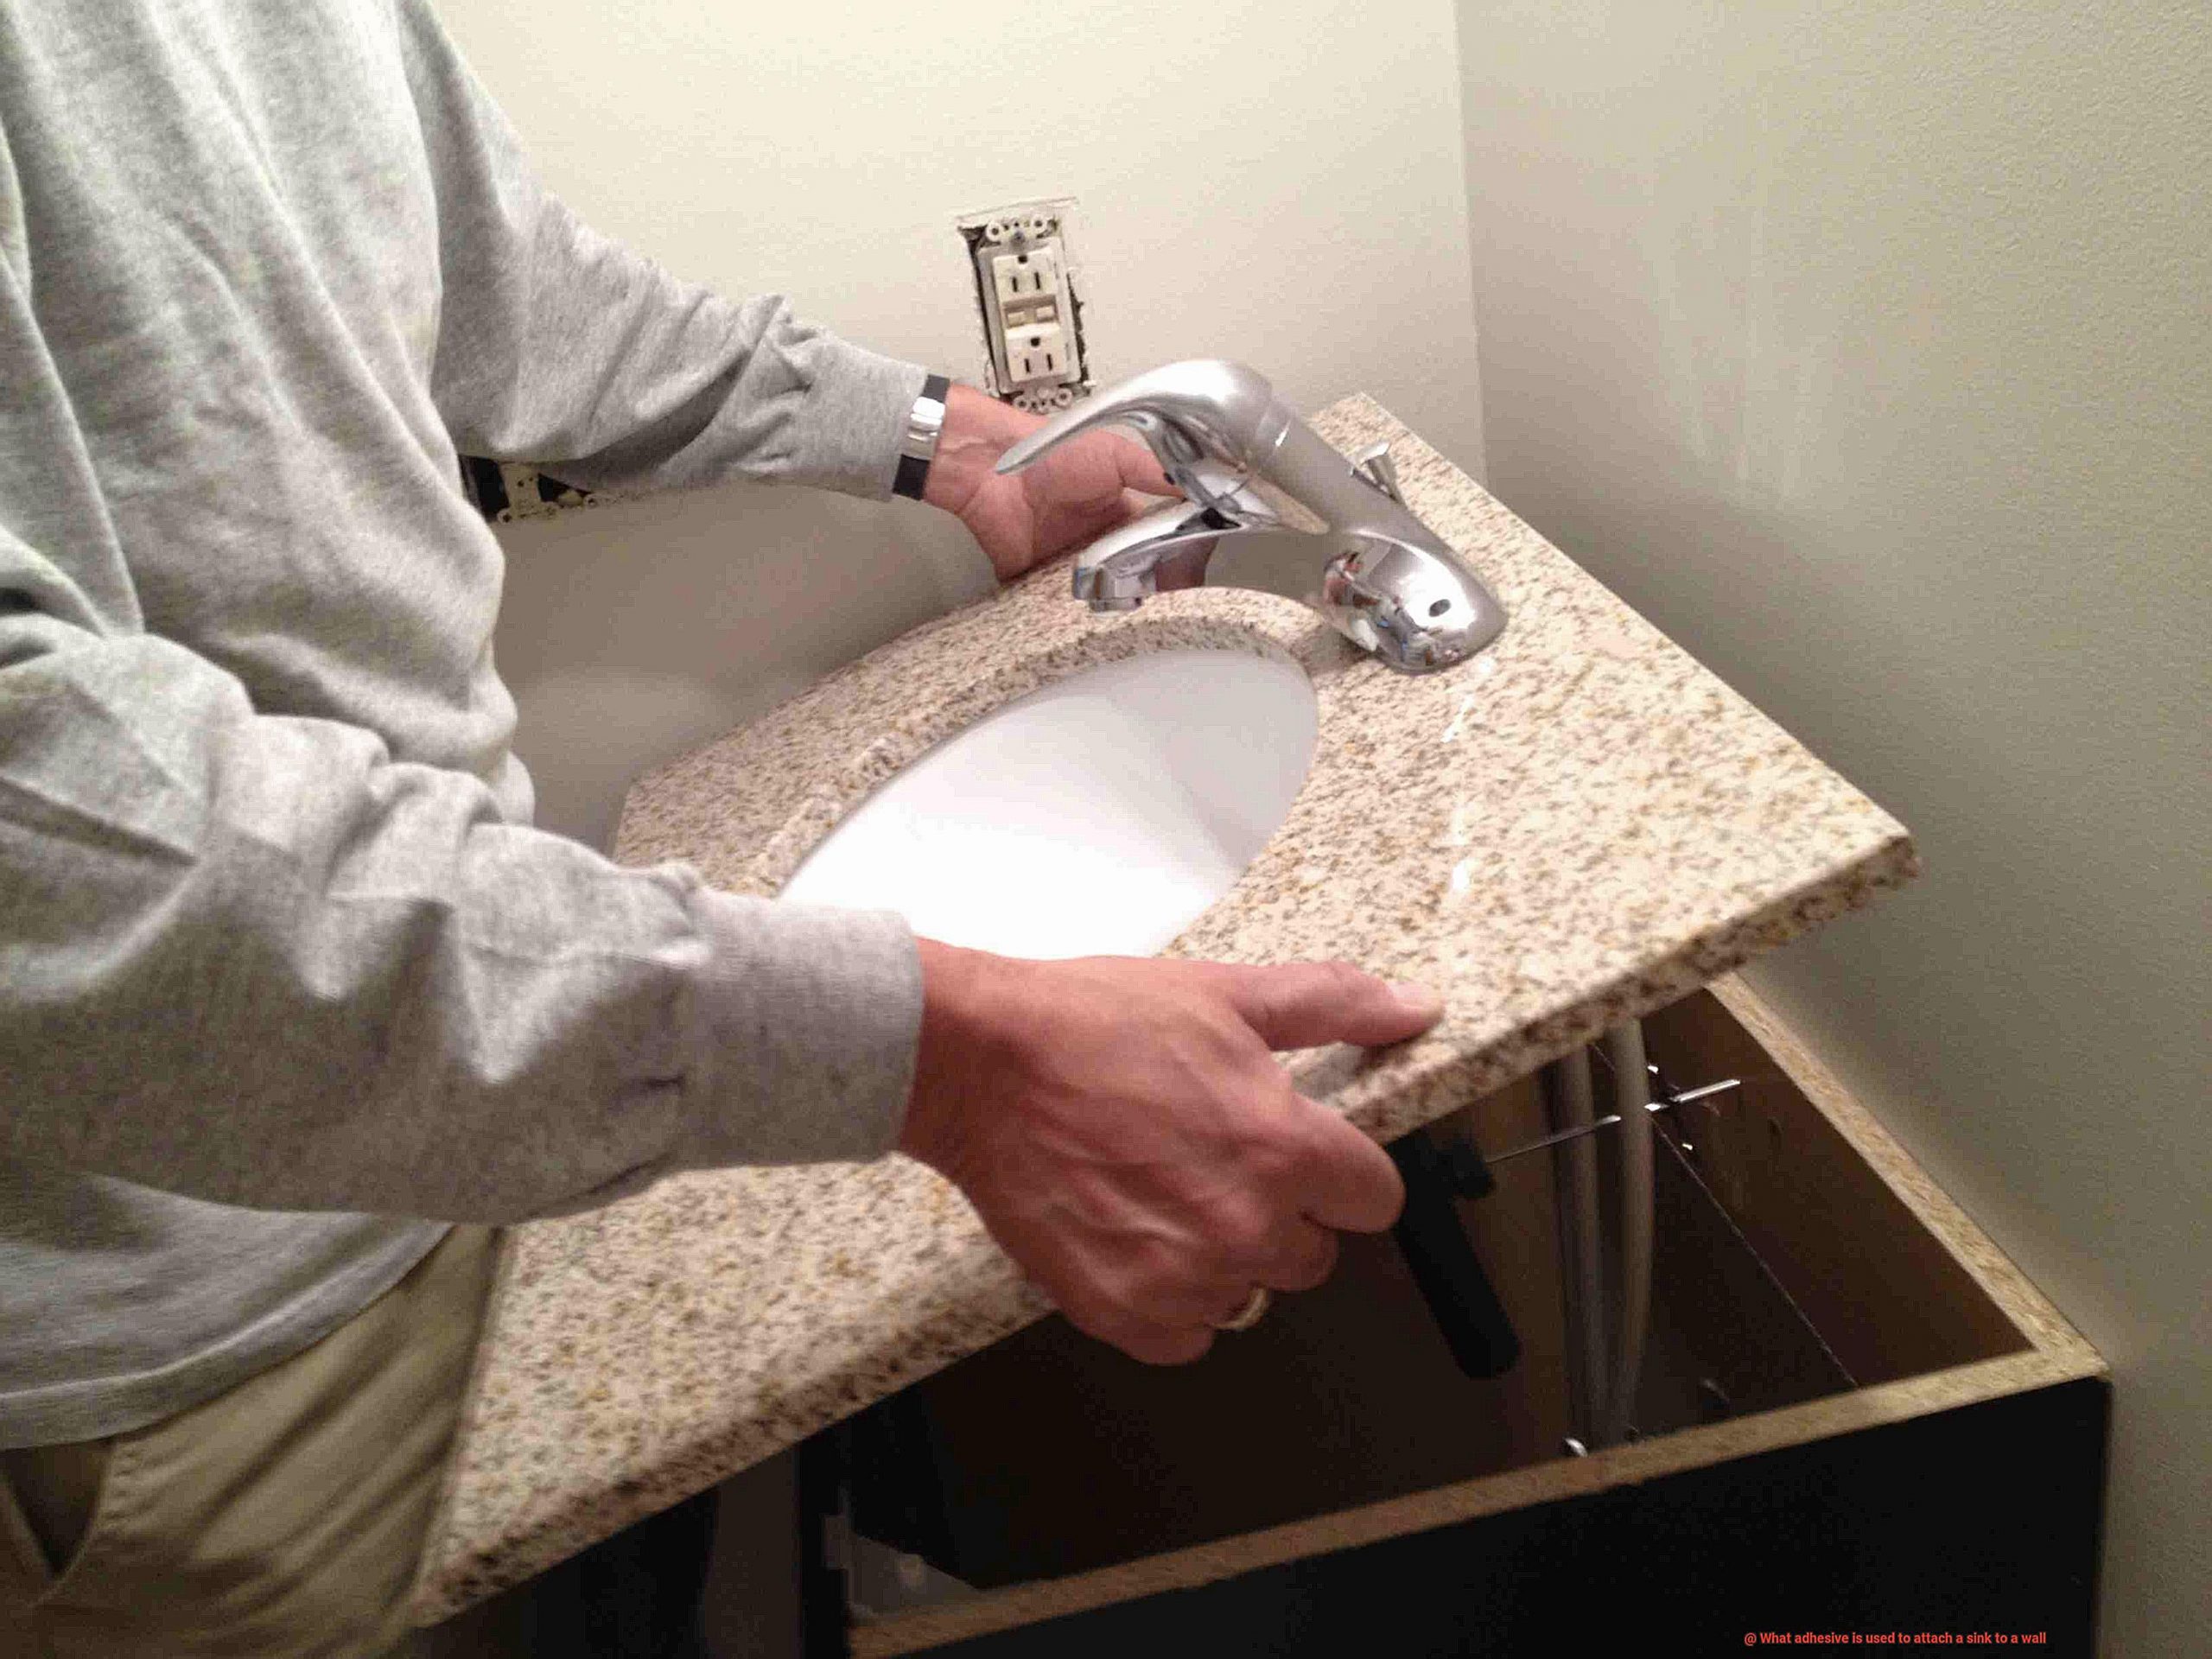
Are you gearing up to give your bathroom or kitchen a facelift with a brand new sink? Before you get started, have you thought about what adhesive you should use to attach the sink to the wall?
With so many adhesives available in the market, it can be overwhelming to choose the right one. But don’t worry. We’re here to help. In this blog post, we’ll explore everything you need to know about the adhesive used to attach a sink to a wall.
A wobbly sink can not only ruin your day but also pose serious safety hazards. That’s why it’s crucial to use a high-quality adhesive that can bear the weight of your sink and its contents while keeping it firmly attached to the wall.
We’ll take you through different types of adhesives, their unique features, and benefits. Plus, we’ll share some tips and tricks on how to apply them correctly for a smooth installation process.
So, buckle up and join us as we dive into the world of sink adhesives and discover how easy it is to securely attach your sink to the wall.
Types of Adhesives for Attaching a Sink to a Wall
Contents
- 1 Types of Adhesives for Attaching a Sink to a Wall
- 2 Silicone Adhesive: Pros and Cons
- 3 Epoxy Adhesive: Pros and Cons
- 4 Construction Adhesive: Pros and Cons
- 5 Factors to Consider When Choosing the Right Adhesive
- 6 Preparing the Surface for Application
- 7 Applying the Adhesive Properly
- 8 Curing and Finishing the Project
- 9 Conclusion
Attaching a sink to a wall requires careful consideration of the adhesive used to ensure a strong and long-lasting bond. Here are five sub-sections that explain the different types of adhesives that can be used and their specific benefits.
Silicone Adhesive
This type of adhesive is often used for attaching sinks to walls because it is waterproof and can withstand moisture. It is also flexible, which makes it ideal for use in areas where there may be movement or vibration. Silicone adhesive remains flexible after it dries, allowing for some expansion and contraction due to temperature changes. It is perfect for use on ceramic or porcelain sinks, but not recommended for heavy sinks.
Epoxy Adhesive
Epoxy is a two-part adhesive known for its strength and durability. It creates a strong bond between surfaces and can be used to attach sinks to walls made of various materials such as ceramic, porcelain, and stone. However, epoxy sets quickly, so it’s important to work quickly when using this type of adhesive. It is ideal for use with heavy sinks that require a strong bond.
Construction Adhesive
This type of adhesive is designed for bonding materials together permanently. It can be used on a variety of surfaces, including concrete, wood, and metal. Construction adhesive is very strong and can withstand heavy loads, making it perfect for attaching heavy sinks to walls. However, it may not be ideal for use in areas with high moisture levels.
Polyurethane Adhesive
Polyurethane adhesive is a high-strength adhesive that is ideal for use in areas where there may be movement or vibration, such as attaching a sink to a wall in a mobile home or RV. It is waterproof and can withstand high levels of moisture. This type of adhesive remains flexible after it dries, allowing for some movement between the sink and the wall.
Manufacturer-Specific Adhesives
Some sink manufacturers provide specific adhesives designed to work with their products. These adhesives are designed to work with the specific materials of the sink and the wall, providing a secure bond. It is important to follow the manufacturer’s instructions when using these adhesives to ensure proper installation.

In conclusion, selecting the right adhesive for attaching a sink to a wall depends on various factors such as the materials being used, the moisture level in the area, and the conditions under which the sink will be attached.
Silicone Adhesive: Pros and Cons
As an expert in this field, I have researched and compiled a list of the pros and cons of using silicone adhesive for this purpose.
First and foremost, silicone adhesive is waterproof, making it an excellent option for sinks. It can withstand exposure to water without losing its adhesive properties or breaking down over time. Its flexibility also allows it to expand and contract with temperature changes without losing its grip, which is perfect for areas that experience extreme temperatures.
Silicone adhesive creates a strong bond that can withstand significant weight, ensuring that your sink stays in place for an extended period. However, there are also some potential drawbacks to consider. For example, once it has cured, it can be challenging to remove without damaging the wall or sink itself. Replacement or removal of the sink in the future may require additional effort and cost.
Additionally, silicone adhesive may not adhere well to all surfaces. While it works best on non-porous surfaces like tile or metal, it may not perform as well on porous surfaces like drywall or wood. Therefore, it’s crucial to determine the type of surface you will be attaching the sink to before using silicone adhesive.
Epoxy Adhesive: Pros and Cons
When it comes to attaching sinks to walls, epoxy adhesive is a popular and reliable choice. Its strong bonding properties make it a go-to option for those seeking durability and strength. However, like any adhesive, epoxy has its pros and cons that should be considered before use.
One of the primary benefits of using epoxy adhesive is its versatility in bonding to a variety of surfaces, such as ceramic, porcelain, marble, and granite. This makes it an excellent choice for sink attachment, regardless of the materials involved. Additionally, epoxy adhesive is incredibly strong and can handle significant weight without breaking down over time.
On the flip side, one of the major drawbacks to using epoxy adhesive is its slow curing time. Depending on the specific product and conditions, it can take several hours or even days for the adhesive to fully cure. This means that you’ll need to plan ahead and allow ample time before using your newly attached sink. However, the tradeoff is a long-lasting and reliable bond that can withstand heavy usage.
Another potential downside is the difficulty in removing epoxy adhesive once it has cured. Due to its strong bonding properties, it can be challenging to replace or reposition your sink in the future if needed. It’s important to carefully consider whether or not you’ll need to make changes to your sink’s placement before committing to epoxy adhesive.
Lastly, epoxy adhesive can be sensitive to temperature and moisture. Extreme temperatures can cause the adhesive to become brittle or weaken over time, while exposure to water can cause it to break down or lose its bonding strength. It’s important to keep these factors in mind when deciding if epoxy adhesive is right for your sink attachment needs.
To ensure optimal use of epoxy adhesive, it’s crucial to follow all manufacturer instructions carefully and take proper safety precautions. This includes wearing gloves and working in a well-ventilated area. With proper use and care, epoxy adhesive can provide a long-lasting and reliable bond for your sink attachment needs.
Construction Adhesive: Pros and Cons
This popular option boasts numerous benefits that make it a top choice for many homeowners, but it’s important to weigh the pros and cons before making a final decision.
Let’s start with the pros. Perhaps one of the most significant advantages of using construction adhesive is its incredible bonding strength. This specialized glue is designed to hold together even the heaviest of materials, making it an ideal choice for sink installations. Moreover, its extended drying time allows for precise positioning and adjustment of your sink before permanently setting in place.
In addition to its impressive bonding strength, construction adhesive is also highly resistant to moisture and temperature changes. Bathrooms and kitchens are often exposed to water and heat, but this adhesive can withstand these conditions with ease, ensuring your sink remains securely attached to the wall for years to come.
However, there are some potential drawbacks to consider as well. For example, removing construction adhesive can be a challenging task if you ever need to uninstall or replace your sink. Additionally, the fumes emitted during installation can be strong and potentially harmful if inhaled in large quantities, so proper ventilation is key.
Factors to Consider When Choosing the Right Adhesive
Choosing the right adhesive is essential to ensure that your sink stays securely attached to the wall. With so many options available, it can be overwhelming to pick the right one. Fortunately, we’ve done the research for you. Here are some crucial factors to consider when choosing the right adhesive for attaching a sink to a wall.
- Weight: The weight of your sink is an essential factor to consider when choosing an adhesive. The heavier the sink, the stronger the adhesive needs to be. Make sure you check the weight limit of the adhesive before making your choice.
- Material Compatibility: Different adhesives work better with specific materials. For instance, an adhesive that works well with porcelain sinks may not work well with stainless steel sinks. It’s crucial to check for compatibility before making a purchase.
- Environmental Conditions: The environment in which your sink will be installed is another critical factor to consider. If it will be in a damp area such as a bathroom or kitchen, you’ll want to choose an adhesive that is water-resistant or waterproof. This will ensure that the adhesive doesn’t break down over time due to exposure to moisture.
- Ease of Installation and Removal: The ease of installation and removal is another factor to consider when choosing an adhesive. Some adhesives are more difficult to remove than others and can damage the sink or wall in the process. Therefore, it’s vital to choose an adhesive that is easy to install but also easy to remove if necessary.
Preparing the Surface for Application
Preparing the surface for application is an essential step in ensuring that your sink and wall have a strong and long-lasting bond. As an expert in this field, I’ve compiled some crucial steps to follow for optimal results.
First and foremost, it’s important to remove any old adhesive, caulk or grout from the surface. A scraper or putty knife can be used to gently remove any residue present on the wall. After removing the old adhesive, it’s time to clean the surface thoroughly with a degreaser or all-purpose cleaner. This will ensure that the surface is free of any dirt, dust or grease that could interfere with the adhesive’s performance.
Once the cleaning process is complete, rinse the surface with water and allow it to dry completely. If your wall is painted, lightly sanding it with fine-grit sandpaper will create a rough texture that will aid in better adhesion. Conversely, if your wall is made of tile, it should be cleaned and scored with a diamond blade to create a rough texture.
In addition to preparing the wall surface, it’s crucial to prepare the sink as well. Flip your sink upside down on a soft surface like a towel or blanket and thoroughly clean it with a degreaser or all-purpose cleaner. Ensure that there is no adhesive residue or debris present on the underside of the sink.
By following these simple yet crucial steps, you can guarantee that your sink and wall will have a strong bond that will last for years to come. A clean, dry, and roughened surface is critical for proper adhesion of the adhesive. So take your time and prepare both surfaces meticulously for optimal results.
Applying the Adhesive Properly
Without it, your sink could become unstable, wobbly, and even fall off the wall. To avoid this nightmare scenario, follow these steps to ensure that you apply the adhesive properly and create a strong bond between your sink and wall.
- Step one: Clean those surfaces. Before applying any adhesive, make sure both the sink and wall are completely clean and free from any debris or dirt. This will help to ensure that the adhesive bond is not compromised by any unwanted particles.
- Step two: Follow the instructions carefully. Different adhesives may have different application techniques, so make sure you follow the manufacturer’s instructions when applying the adhesive. Some may require a specific pattern or amount of time to set before attaching the sink.
- Step three: Check for levelness. Before attaching the sink to the wall with adhesive, use a level tool to make sure that it’s even on all sides. If it’s not level, adjust it before the adhesive sets – otherwise, you’ll be stuck with a crooked sink.
- Step four: Allow sufficient drying time. After attaching the sink to the wall, make sure to give it enough time to dry and set according to the manufacturer’s instructions. Rushing this step could cause the bond between the sink and wall to weaken or fail altogether.
Curing and Finishing the Project
Before you start using it, it is important to understand the significance of curing and finishing the project.
Curing time is a crucial step that should not be rushed. Waiting at least 24 hours before adding any weight or stress to the sink will ensure a strong and secure attachment. Rushing this step could lead to a disaster, such as waking up in the middle of the night to a loud crash and finding your sink lying on the floor in pieces. So, be patient and allow the adhesive to cure properly.
While your adhesive is curing, it is important to keep an eye on your sink and ensure that it remains level and in position. Even a slight shift during this time can cause an uneven attachment, which can result in damage to both the wall and sink. So, take care and avoid any unwanted movements.
Once your adhesive has cured, it is time to finish the project by sealing any gaps or spaces between the sink and wall. This step not only provides a polished look to the project but also prevents water from seeping behind the sink and causing damage. A waterproof silicone caulk that is flexible enough to withstand any movement or shifting of the sink should be used for this step. Choose a caulk color that matches your sink or wall for a seamless finish.
tm215ZZJZUQ” >
Conclusion
To sum it up, selecting the right adhesive for attaching a sink to a wall is crucial to ensure that it stays put for years to come. With so many options in the market, it’s important to consider various factors such as weight, material compatibility, environmental conditions, and ease of installation and removal.
Silicone adhesive is an excellent choice for sinks due to its waterproof properties and flexibility. On the other hand, epoxy adhesive boasts strength and durability but requires careful handling due to its quick setting time. Construction adhesive is versatile and resistant to moisture and temperature changes but can be challenging to remove if needed.
Proper preparation of surfaces before application is key for optimal adhesion. Following manufacturer instructions during application and allowing sufficient drying time are also critical steps in creating a strong bond between your sink and wall.
Remember not to rush curing time as this can compromise the strength of the bond. Finishing off the project by sealing any gaps or spaces between the sink and wall with waterproof silicone caulk provides a polished look while preventing water damage.
By following these tips and tricks, you can confidently attach your sink to the wall with an adhesive that suits your needs.


