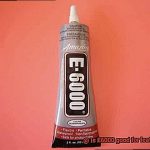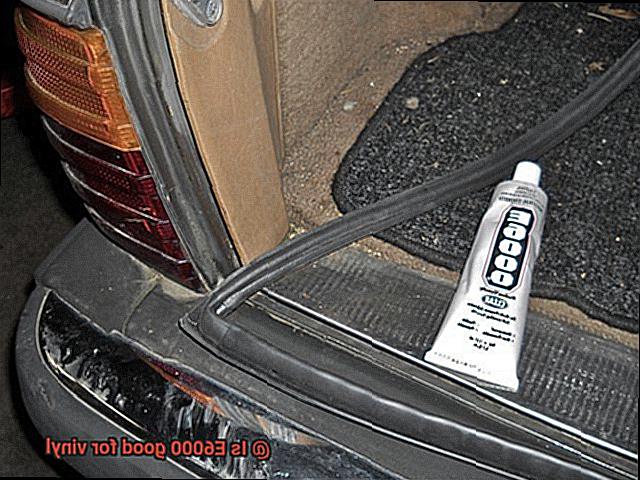
Are you on the hunt for a trusty adhesive that can handle all your vinyl projects? Well, look no further because E6000 is here to save the day.
This adhesive has become a favorite among crafters, DIY enthusiasts, and even the pros thanks to its mind-blowing bonding abilities. Whether you’re jazzing up some vinyl upholstery, fixing up those worn-out vinyl accessories, or getting creative with vinyl crafts, E6000 is an absolute game-changer.
In this post, we’re diving deep into why E6000 is the ultimate sidekick for your vinyl adventures. Say goodbye to wimpy bonds and say hello to results that will last a lifetime with E6000.

So stick around and let’s get ready to rock your world with this incredible adhesive.
What is E6000?
Contents
- 1 What is E6000?
- 2 Advantages of Using E6000
- 3 Is E6000 Suitable for Vinyl Bonding?
- 4 Preparation Before Applying E6000 on Vinyl
- 5 How To Apply E6000 on Vinyl
- 6 Curing Time for Maximum Strength Bonding of E6000 and Vinyl
- 7 The Limitations of Using E6000 with Vinyl
- 8 Considerations Before Using E6000 on Vinyl Projects
- 9 Conclusion
When it comes to crafting, DIY, or repair projects involving vinyl, finding the right adhesive can make all the difference. Look no further than E6000 adhesive – a versatile and powerful bonding solution that has become the go-to choice for enthusiasts and professionals alike. In this article, we’ll explore the features, uses, and advantages of E6000 adhesive for bonding vinyl and other materials.
Versatility at Its Best:
E6000 adhesive stands out for its ability to adhere to a wide range of surfaces, including vinyl. Want to bond vinyl materials together? Or attach items to a vinyl surface? E6000 has got you covered with its reliable and durable bond. But it doesn’t stop there – this adhesive is also compatible with fabric, wood, metal, glass, ceramics, and more. Talk about versatility for your different projects.
Crafting with Confidence:
For crafters, E6000 is a game-changer. Its strong adhesive properties allow you to attach embellishments, beads, rhinestones, or any decorative elements to vinyl surfaces without causing damage or residue. The clear drying formula ensures that it seamlessly blends with your project, enhancing its aesthetic appeal.
Reliable Bonding Power:
E6000 is renowned for its exceptional bonding strength. Once cured, it creates a bond that’s as strong as Hercules himself. Whether you’re repairing a broken vinyl chair or creating custom crafts that demand a secure attachment, E6000 delivers the strength and durability you need. However, it’s crucial to perform a patch test before applying the adhesive on a large area to ensure compatibility with your specific vinyl material.
Tips for Success:
To achieve optimal results with E6000 on vinyl:
- Thoroughly clean both surfaces from dirt, dust, or oils.
- Gently sand the vinyl surface to boost the bond.
- Apply a thin layer of E6000 adhesive on one surface.
- Firmly press the surfaces together.
- Allow sufficient time for the adhesive to cure, considering temperature and humidity factors.
Considerations:
While E6000 is effective in many cases, it’s vital to consider your project’s specific requirements. Different vinyl types may have varying adhesion properties, so performing a small test before applying the adhesive is recommended. If your project involves moisture or extreme temperature changes, explore specialized adhesives formulated for vinyl bonding.
Advantages of Using E6000
E6000 adhesive is a game-changer when it comes to working with vinyl materials. Its numerous advantages make it an essential tool for both professionals and DIY enthusiasts. Let’s delve into the benefits of using this incredible adhesive.
First and foremost, E6000 offers a strong bond that ensures your vinyl material stays firmly in place. It has exceptional bonding strength, making it perfect for repairing small tears or undertaking larger installation jobs. No matter the size or complexity of your project, E6000 provides the secure adhesion needed to keep your vinyl securely attached.
Versatility is another advantage of E6000. It can be used on various types of vinyl, including rigid vinyl, flexible vinyl, and vinyl fabric. This makes it an ideal choice for a wide range of applications, such as repairing torn vinyl upholstery, attaching vinyl trim, or bonding vinyl tiles to a surface. With E6000, you have the flexibility to tackle any vinyl project that comes your way.
In addition to its versatility, E6000 is also waterproof and weatherproof. Once cured, it creates a durable and resilient bond that can withstand exposure to moisture, humidity, and extreme temperatures. This makes it perfect for outdoor applications where the vinyl may be exposed to rain, sun, or other harsh environmental conditions. You can trust that your vinyl projects will remain intact and unaffected by the weather.
When working on projects involving vinyl materials, time is often of the essence. E6000 understands this and offers a relatively quick drying time compared to other adhesives on the market. While the exact drying time may vary depending on factors such as temperature and humidity, E6000 typically sets within 10-20 minutes and reaches its full strength within 24-72 hours. This means you can complete your projects efficiently without extended waiting periods.
Durability is another standout feature of E6000. Once fully cured, it forms a strong bond that can withstand regular wear and tear. The bond remains flexible, allowing for the natural movement of the vinyl material without compromising its integrity. This durability ensures that your vinyl projects maintain their quality and appearance over an extended period, reducing the need for frequent repairs or replacements.
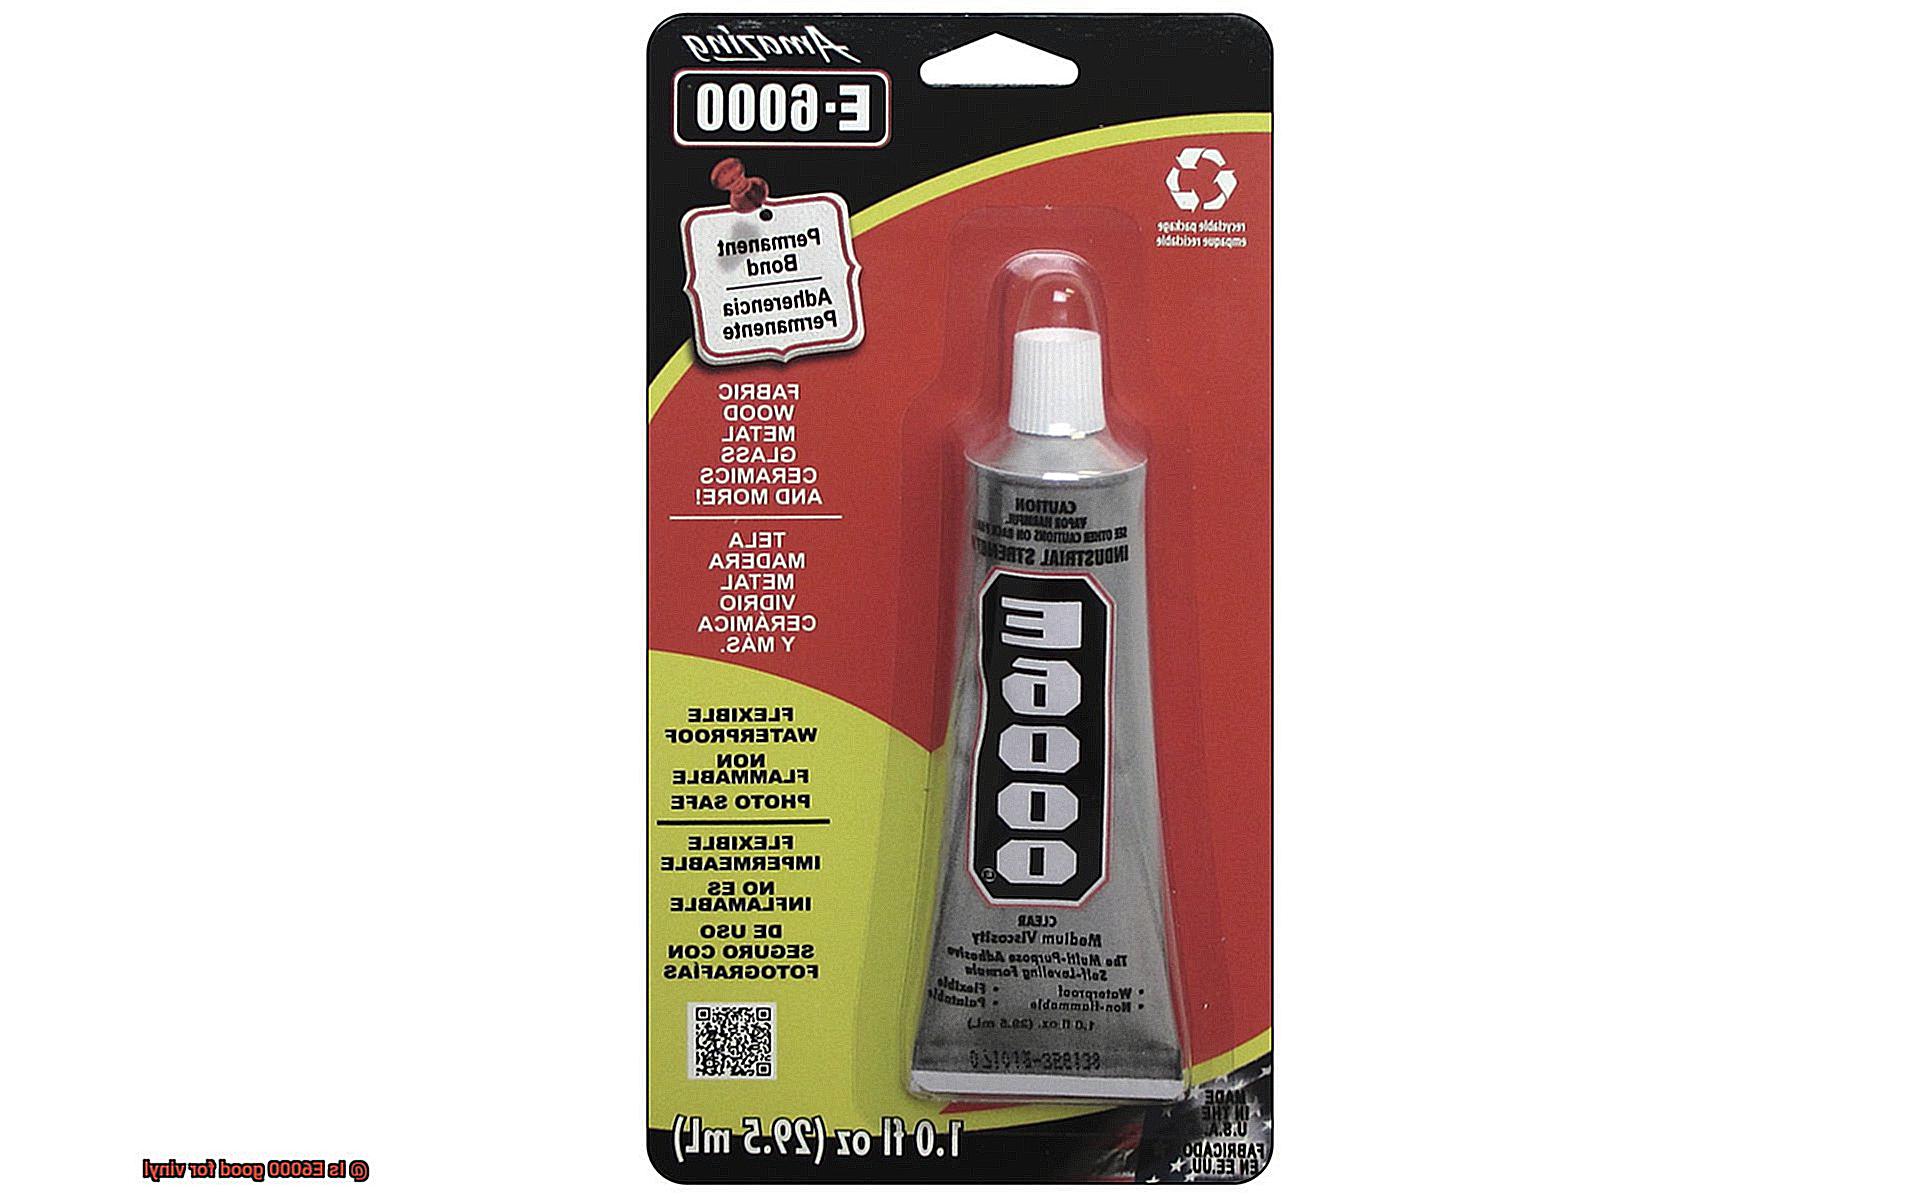
Applying E6000 is a breeze. It comes in a convenient tube or bottle, allowing for precise and controlled dispensing of the adhesive. The consistency of E6000 is also ideal for vinyl projects, as it is thick enough to prevent excessive dripping or running while still providing sufficient coverage. Additionally, E6000 can adhere to various materials commonly used alongside vinyl, such as wood, metal, and fabric. This makes it a versatile adhesive choice for multi-material projects.
Is E6000 Suitable for Vinyl Bonding?
When it comes to bonding vinyl, there’s a wide range of adhesive options available. One popular choice is the mighty E6000 adhesive, known for its strong bonding capabilities and versatility. However, before diving into the world of E6000, it’s important to consider whether it’s the right choice for your vinyl bonding needs. Let’s take a closer look at why E6000 can be suitable for vinyl bonding:
- Compatibility with Different Types of Vinyl: Vinyl comes in various flavors, such as PVC, PU, and vinyl-coated fabrics. Each type has its own chemical composition and properties that can impact the bonding process. Before slapping on some E6000, it’s crucial to ensure compatibility with the specific type of vinyl you’re working with. A small test on an inconspicuous area can save you from potential headaches down the road.
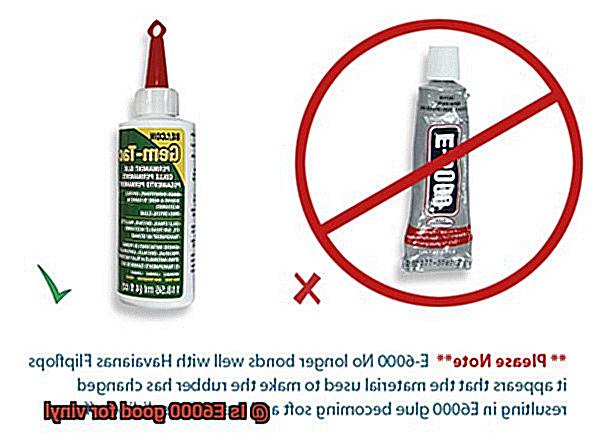
- Issues with Bonding: While E6000 is a superstar adhesive on many surfaces, some users have reported issues with it not bonding well with certain types of vinyl. Weak bonds are the last thing you want when working on a project that requires durability. That’s why it’s worth considering other adhesives specifically designed for vinyl bonding, as they may provide better long-term performance.
- Yellowing or Discoloration: Picture this: you’ve painstakingly bonded your vinyl pieces together using E6000, only to find them yellowing or discoloring over time. Not exactly what you had in mind for your upholstery or automotive interior project, right? This is where using an adhesive specifically formulated for vinyl bonding can save the day and prevent unsightly color changes.
- Surface Preparation: Like any good relationship, the bond between E6000 and vinyl requires a solid foundation. Proper surface preparation is key to achieving a strong and long-lasting bond. Make sure the surface is clean, dry, and free from any dust or debris. To take it up a notch, give the surface a gentle roughing up with sandpaper to enhance the adhesive’s grip.
Preparation Before Applying E6000 on Vinyl
Are you ready to embark on a magnificent vinyl project that demands the unrivaled strength of E6000 adhesive? But, before you plunge into the depths of creativity, it’s crucial to prepare your vinyl surface adequately.
This preparation will ensure a bond so robust and enduring that it can withstand the test of time. So, in this captivating blog post, we will guide you through the essential steps to get your vinyl surface primed for the magical touch of E6000, enabling you to achieve breathtaking results for your project.
Clean Thoroughly:
Let us begin our quest for perfection by giving your vinyl surface a thorough cleansing. With the gentle touch of a mild detergent or soap and water solution, banish any lingering traces of dirt, dust, or greasy fingerprints. However, beware. The path to greatness does not tolerate harsh chemicals or solvents, as they may damage the delicate vinyl. Rinse the surface with pure water and allow it to bask in the sun’s warm embrace until it dries completely. Remember, any moisture or residue left behind might cast a shadow upon the adhesive’s effectiveness.
Lightly Sand the Vinyl:
Now, let us delve deeper into the realm of adhesion excellence. Equip yourself with fine-grit sandpaper and lightly caress the vinyl surface. This act of gentle abrasion will grant it a new texture, one that entices the adhesive to hold on with unwavering determination. After this intimate encounter, wipe away any remnants of sanding dust using a clean cloth or a mystical tack cloth. Your mission is clear – banish all loose particles and pave the way for a smooth and harmonious bond.
Check Temperature and Humidity:
As you embark on this transformative journey, keep an eye on the elements that govern adhesion’s fate. Ensure that the temperature range falls within a sweet spot, where warmth and coolness intertwine in perfect harmony – 50°F to 90°F (10°C – 32°C). Beware of extreme temperatures, for they may cast a spell upon the adhesive’s performance. Furthermore, seek solace in a well-ventilated space, where the air dances freely, preventing you from succumbing to the potent aroma and volatile organic compounds (VOCs) of E6000.
Gather Your Tools:
Before the grandeur of creation commences, gather your arsenal of tools and materials. Arm yourself with the mighty E6000 adhesive, a pristine brush or applicator, benevolent masking tape (if needed), and any other supplies tailored to your specific project requirements. United, they shall weave together a symphony of craftsmanship and ingenuity.
How To Apply E6000 on Vinyl
If you’re searching for a strong and versatile adhesive to bond vinyl surfaces, look no further than E6000. This widely-used adhesive is beloved in the world of crafting and DIY projects for its reliable bonding capabilities. In this comprehensive guide, we will walk you through the step-by-step process of applying E6000 on vinyl surfaces to ensure a successful bond that withstands the test of time.
Prepare the Vinyl Surface:
Before diving into the application process, it is crucial to start with a clean vinyl surface. Remove any dirt, dust, or residue by using a mild detergent or rubbing alcohol. Allow the surface to dry completely before moving forward.
Create Texture on the Vinyl:
To enhance the adhesive’s grip, lightly roughen the surface of the vinyl using sandpaper or a fine-grit abrasive pad. This simple step helps create texture and improves adhesion, ensuring a stronger bond.
Read and Follow the Instructions:
Before proceeding any further, take the time to carefully read and follow the manufacturer’s instructions that come with the E6000 adhesive. Different types of vinyl may have specific requirements or limitations when it comes to using adhesives, so it’s essential to be well-informed.
Apply the Adhesive:
Take a small amount of E6000 and squeeze it onto a disposable applicator such as a toothpick or craft stick. It’s important not to use too much glue as it can lead to messy applications and longer drying times. Apply the adhesive evenly onto the vinyl surface or spread it onto both surfaces if you are attaching two pieces together.
Press and Align:
Once the adhesive is applied, carefully press the vinyl pieces together or place any additional materials on top. Before pressing firmly, ensure proper alignment for a seamless bond. Applying some pressure helps achieve maximum contact between the adhesive and the vinyl.
Allow Proper Curing Time:
Patience is key when it comes to E6000 adhesive, as it has a relatively long curing time. Follow the manufacturer’s instructions regarding drying and curing times before handling or using the bonded vinyl. It is recommended to wait at least 24 hours before subjecting the bond to stress or strain.
Curing Time for Maximum Strength Bonding of E6000 and Vinyl
The curing time for achieving maximum strength bonding between E6000 adhesive and vinyl is a critical factor to consider for successful and durable results. Curing time refers to the period it takes for the adhesive to fully dry and reach its optimal bonding strength. Patience is essential during this process, as rushing it can lead to a weaker bond and potential disappointment in the long run.
Several factors influence the curing time of E6000 adhesive, including temperature, humidity, and the thickness of the applied adhesive. To ensure a strong bond, it is generally recommended to let E6000 cure for at least 24 to 72 hours before subjecting the bonded vinyl to any stress or strain. Waiting a little longer than the minimum recommended curing time is advisable for maximum strength.
It’s important to note that even if the adhesive feels dry to the touch after a few hours, it does not mean it has fully cured. The complete curing process of E6000 takes longer, so it’s crucial not to be fooled by appearances. Give it the time it needs.
To optimize the curing process, working in an environment with moderate temperature and humidity conditions is beneficial. Higher temperatures and lower humidity levels can speed up the curing process, while lower temperatures and higher humidity levels can slow it down. Finding the right balance will help achieve that maximum bond strength in no time.
Applying even pressure on the bonded surfaces during the curing process further enhances the bonding strength between E6000 and vinyl. This can be accomplished by using clamps or weights to hold the vinyl in place until the adhesive cures completely. By doing so, you ensure a strong and durable bond that will withstand the test of time.
Always follow the manufacturer’s instructions and guidelines when using E6000 for bonding vinyl. They provide specific information about recommended curing times and any additional steps or precautions you should take. Skipping this important reading can lead to suboptimal results.
If you require an extra-strong bond or if your bonded vinyl will be subjected to heavy stress or strain, extending the curing time beyond the minimum recommended period is advisable. Patience truly pays off in this case, as it results in a bond that can withstand anything you throw at it.
Lastly, while E6000 is a versatile adhesive suitable for bonding vinyl, the specific vinyl material and surface preparation may affect the bonding strength. To be safe, always test the adhesive on a small, inconspicuous area before applying it to a larger project. This ensures compatibility and desired results.
The Limitations of Using E6000 with Vinyl
E6000 adhesive is a popular choice for bonding various materials, including vinyl. However, it’s important to be aware of the limitations associated with using E6000 on vinyl to ensure successful and long-lasting projects.
Limitation 1: Adhesion to Smooth or Glossy Vinyl Surfaces
E6000 may struggle to create a strong bond with smooth or glossy vinyl surfaces, leading to peeling or loosening over time. Consider using an adhesive specifically formulated for bonding vinyl to overcome this limitation.
Limitation 2: Unsuitability for Outdoor Applications
Exposure to UV rays and extreme weather conditions can weaken the adhesive bond between E6000 and vinyl, resulting in deterioration or damage. For outdoor vinyl projects, choose an adhesive designed for outdoor use.
Limitation 3: Unsuitability for Large or Heavy Vinyl Pieces
E6000 may not provide enough strength and stability to support the weight of large or heavy vinyl pieces, leading to failures or breakages. Use a specialized adhesive that offers superior strength and durability for these projects.
Alternative Options:
To ensure optimal results with vinyl, it’s advisable to use adhesives specifically formulated for this material. These alternatives often provide better adhesion and durability compared to general-purpose adhesives like E6000. Test the adhesive on a small, inconspicuous area of the vinyl before applying it to the entire surface to assess compatibility.
Considerations Before Using E6000 on Vinyl Projects
However, using it on vinyl projects requires careful considerations. In this article, we will explore the crucial factors to keep in mind before reaching for that tube of E6000.
Compatibility Matters:
Before starting your vinyl project, ensure that E6000 is compatible with vinyl surfaces. Vinyl is a unique synthetic material that can react differently to various adhesives. To ensure a successful bond, check if the glue is specifically formulated for use on vinyl.
Conduct a Test:
To avoid any surprises or mishaps, always perform a small-scale test before applying E6000 to a larger vinyl project. Apply the glue on an inconspicuous area and let it cure according to the manufacturer’s instructions. Check for any discoloration, staining, or damage. If the test is successful, proceed with confidence.
Prepare the Surface:
Proper surface preparation is key to achieving a strong bond between E6000 and vinyl. Thoroughly clean the vinyl surface with mild detergent and warm water to remove any dirt, grease, or oils that could hinder bonding. Ensure the surface is completely dry before applying the glue.
Master Application Technique:
When applying E6000 to vinyl, technique matters. Apply a thin, even layer of glue onto one of the surfaces you plan to bond together. Use a brush or toothpick to spread the adhesive evenly while avoiding excessive amounts that can cause messiness or seepage when pressure is applied.
Ventilate your Workspace:
Working in a well-ventilated area is crucial when using E6000 due to its fumes during the curing process. Open windows or use fans to ensure proper air circulation and protect yourself from inhaling potentially harmful substances. If working indoors, consider using a respirator mask for added protection.
Allow Proper Drying and Curing Time:
E6000 requires adequate drying and curing time to reach its maximum strength. Follow the manufacturer’s instructions regarding recommended times for your specific vinyl project. Avoid subjecting the glued surfaces to stress or pressure until the adhesive has fully cured, as this can compromise the bond.
SBoLZJBGM5o” >
Conclusion
E6000 is an exceptional adhesive for vinyl materials.
Its strong bond ensures that your vinyl projects stay intact and secure. Whether you’re working on a DIY craft or repairing a vinyl item, E6000 delivers reliable results.
With its versatile nature, it can be used on various types of vinyl, including PVC, faux leather, and more. This adhesive dries clear, leaving no unsightly residue behind.
Its waterproof formula also makes it perfect for outdoor vinyl applications.