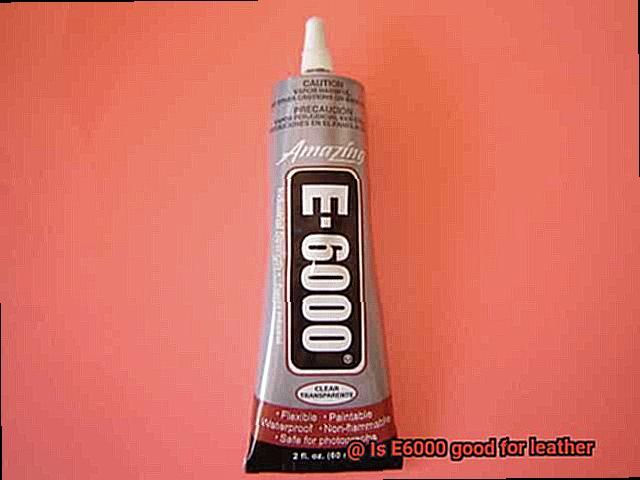
Let’s talk about the holy grail of adhesives – E6000. This stuff is a crafting legend, known for its insane sticking power and ability to bond just about anything.
But what about leather? Is E6000 really the glue of our dreams?
Contents
- 1 Advantages of Using E6000 for Leather Projects
- 2 Disadvantages of Using E6000 for Leather Projects
- 3 How to Apply E6000 on Leather Surfaces
- 4 Tips for Working with E6000 on Leather
- 5 Alternatives to E6000 for Leather Projects
- 6 Testing the Adhesive before Applying It to the Entire Surface
- 7 Following Manufacturer’s Instructions for Proper Application and Drying Time
- 8 Considerations When Choosing an Adhesive for Leather Projects
- 9 Conclusion
Today, we’re diving deep into the pros and cons of using this bad boy on your precious hides. From its rock-solid durability to a few potential downsides, we’ll find out if E6000 is truly the MVP in leather crafting.
So grab your drink of choice and let’s embark on this wild journey through the world of E6000 and leather.
Advantages of Using E6000 for Leather Projects
When it comes to leather crafting, choosing the right adhesive is crucial for ensuring the longevity and quality of your projects. Among the many options available, E6000 stands out as a versatile and high-performance adhesive that offers numerous advantages. In this article, we will explore the benefits of using E6000 for leather projects, including its strong bond, versatility, flexibility, water and heat resistance, and easy application.
Strong and durable bond:
E6000 is renowned for its exceptional strength and ability to create a permanent bond between different materials, including leather. This adhesive guarantees that your leather projects stay intact even under heavy use, providing you with peace of mind that your creations will withstand the test of time.
Versatility:
Whether you are working with genuine leather, faux leather, or suede, E6000 can adhere to all types of leather surfaces. This versatility makes it a reliable choice for various leather projects, from repairing shoes, bags, belts to creating new leather crafts. With E6000, you can confidently tackle any leather project with ease.
Flexibility:
Leather items often require flexibility, especially in accessories like shoes or wallets that need to bend or stretch. E6000 offers the advantage of maintaining flexibility even after drying. This ensures that your bonded leather pieces can move without cracking or breaking, making them more durable and resistant to wear and tear.
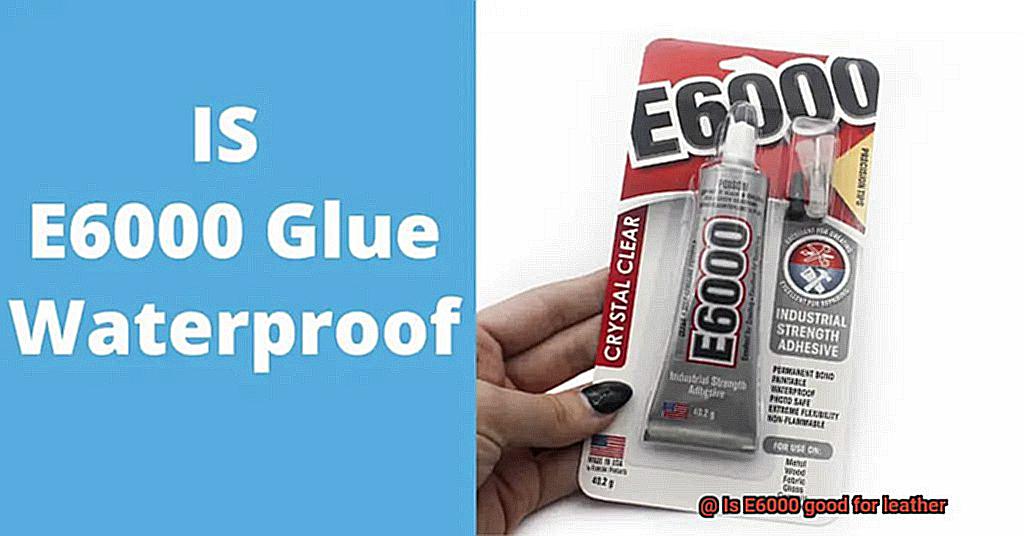
Water and heat resistance:
Leather items are frequently exposed to moisture or accidental spills. E6000 provides water resistance once it has fully cured, protecting your bonded leather projects from water damage. Additionally, this adhesive also offers excellent heat resistance, allowing your leather creations to withstand moderate temperatures without melting or compromising their bond.
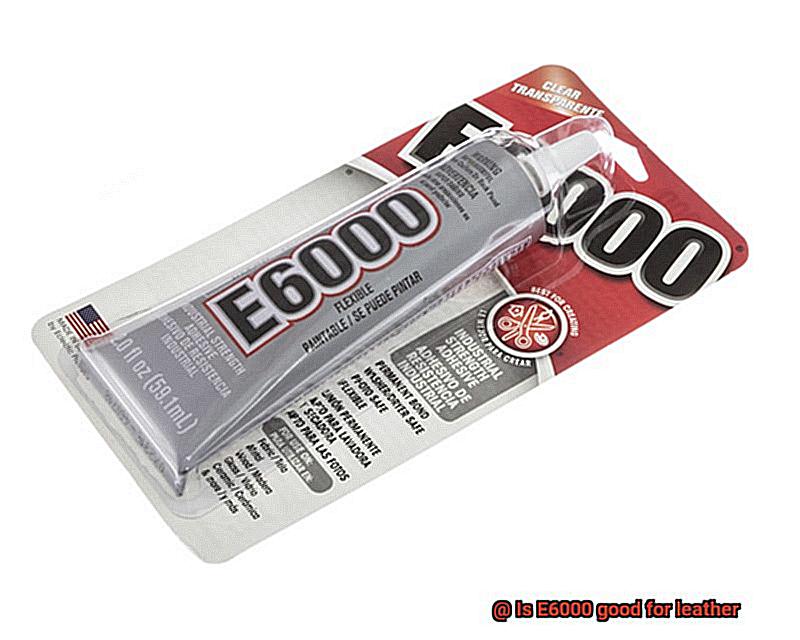
Easy application:
E6000 is specifically designed for easy application, making it suitable for both beginners and experienced crafters. It comes in a tube with a precision applicator, allowing you to apply the adhesive precisely and sparingly onto the desired areas. The good open time of E6000 gives you ample time to position and adjust the leather pieces before the adhesive sets, resulting in a smoother and more enjoyable crafting experience.
Disadvantages of Using E6000 for Leather Projects
If you’re considering using E6000 for your leather projects, hold on tight. While this adhesive is a go-to choice for many crafting endeavors, there are some downsides to using it specifically for leather. Let’s dive into the dark side.
- Stinky Situation: Brace yourself for the strong odor that comes with E6000. This adhesive contains volatile organic compounds (VOCs) that can be harmful if inhaled excessively. So unless you want to work in a cloud of funky fumes, make sure to use it in a well-ventilated area or wear a mask.
- Discoloration Drama: Picture this: you spend hours creating a beautiful leather project, only to find out that E6000 has turned it into a yellowish mess over time. Not cool. Light-colored or delicate leathers are particularly susceptible to this discoloration. To avoid this fashion faux pas, always test the adhesive on a small, hidden area before committing to the whole project.
- Water Weakness: Here’s the deal with E6000—it’s not waterproof or water-resistant once it’s cured. So if your leather creation accidentally takes a dip in the pool or gets caught in a rainstorm, the adhesive may weaken or dissolve, leaving you with a sad and soggy mess.
- Rigid Reality: Leather is known for its flexibility, but E6000 doesn’t quite get the memo. Once cured, it becomes rigid and inflexible. This can lead to cracking or splitting of the leather over time, especially if you’re making belts or straps that need to bend and stretch frequently.
- Sticky Situation: Mistakes happen, but fixing them with E6000 can be a nightmare. Once applied to leather, it’s challenging to remove or repair without causing damage. So if you’re a perfectionist or like to make alterations, think twice before reaching for the E6000.
Now, don’t get me wrong—E6000 is a great adhesive for many crafts. But when it comes to leather projects, it’s crucial to consider the cons. The strong odor, potential discoloration, lack of water resistance, inflexibility, and difficulty in removal or repair are all factors to weigh.
If you’re looking for alternatives, there are adhesives specifically formulated for leather that may be a better fit. So before embarking on your next leather crafting adventure, take some time to explore other options and ensure the longevity and success of your project.
How to Apply E6000 on Leather Surfaces
Whether you’re creating a stylish leather clutch or repairing a torn jacket, this versatile glue can work wonders. In this comprehensive guide, we’ll walk you through the process of applying E6000 on leather surfaces, ensuring a strong and long-lasting bond that will make your creations stand out. Let’s get started.
Step 1: Prepare the Surface
Before diving into the gluing process, it’s crucial to properly prepare the leather surface. Begin by cleaning it thoroughly using mild soap and warm water. Gently remove any dirt, oils, or residue that might hinder the adhesive’s effectiveness. Once dry, wipe the surface with rubbing alcohol to ensure a clean and residue-free bond.
Step 2: Apply the Adhesive
Now it’s time to apply the star of the show – E6000. Squeeze a small amount onto a disposable surface or directly onto the leather. Remember, a little goes a long way. Using a toothpick, craft stick, or small brush, spread the adhesive evenly over the area you wish to bond. Be careful not to apply too much pressure as it may damage the delicate leather surface.
Step 3: Press and Hold
With the adhesive applied, carefully align the surfaces you want to bond and press them together. Apply firm and even pressure for at least a minute to ensure a strong connection. If needed, use clamps or heavy objects to hold them in place during this crucial bonding time.
Step 4: Allow Time to Cure
Patience is key. After pressing the surfaces together, allow the adhesive to cure fully. E6000 typically takes around 24 hours to reach its maximum strength, but factors like temperature and humidity can affect the curing time. Avoid handling or putting any strain on the bonded area until it has completely cured.
Step 5: Clean Up Excess Glue
Oops. Did a little extra adhesive seep out during the bonding process? Don’t worry, we’ve got you covered. Use a cloth dampened with rubbing alcohol to carefully wipe away any excess glue. Take care not to pull on the bonded surfaces, as this could cause accidental separation.
Tips for Working with E6000 on Leather
E6000 is a fantastic adhesive that can help you create beautiful and durable crafts with leather. However, to achieve the best results, it’s essential to follow a few important tips. In this guide, we will explore five key techniques for working with E6000 on leather to ensure your projects turn out stylish and sturdy.
Prepare and Clean the Leather:
Before applying E6000 to leather, it’s crucial to prepare the surface properly. Start by cleaning the leather with a mild soap and water solution to remove any dirt, oils, or residues. Make sure to let it dry completely before moving on to the next step. Cleaning the leather ensures that no contaminants interfere with the adhesive’s effectiveness and allows for a stronger bond.
Roughen the Surface:
To create a better bond between the adhesive and the leather, gently roughen the surface using sandpaper or a fine-grit abrasive pad. This technique helps remove any smoothness or shine from the leather and provides a textured surface for the adhesive to grip onto. Be careful not to damage or scratch the leather during this process.
Apply E6000 Sparingly:
Remember, a little goes a long way with E6000. Using too much adhesive can lead to messy and uneven application. Instead, apply a thin, even layer of glue using a small brush or applicator. This will ensure optimal bonding without saturating the leather. Avoid spreading the adhesive too close to the edges of the leather as it may seep out when pressure is applied.
Allow Time for Tackiness:
Once you’ve applied the glue, give it a few minutes to become tacky before pressing the surfaces together. This step is crucial for achieving a strong bond between the adhesive and the leather. The tackiness allows the glue to grab onto the fibers of the leather, creating a secure and durable bond. Follow the instructions on the E6000 packaging regarding drying times and curing processes.
Reinforce for Extra Durability:
While E6000 provides a strong bond, consider reinforcing your leather projects with additional techniques like stitching or riveting. This extra reinforcement will enhance durability, especially for items that will experience heavy use or strain. Stitching can be done by hand or with a sewing machine, using a strong thread specifically designed for leather. Riveting involves using metal or plastic rivets to secure two pieces of leather together. These techniques add an extra layer of strength and stability to your projects.
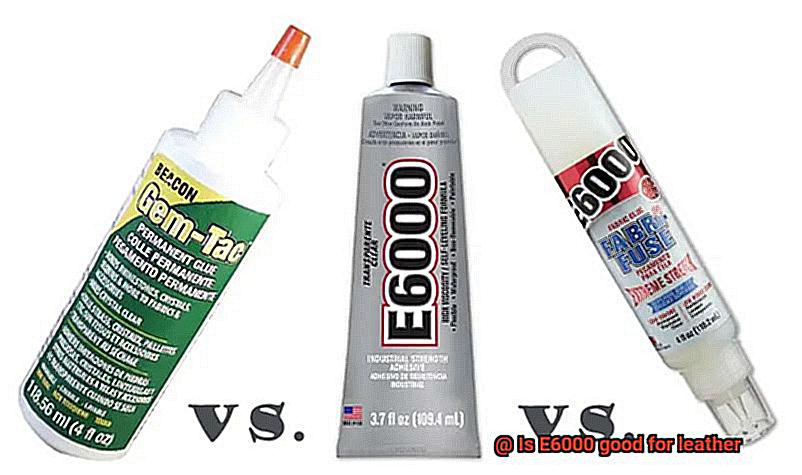
Alternatives to E6000 for Leather Projects
When it comes to leather projects, E6000 is the go-to adhesive for many crafters. Its strong bond and flexibility make it a popular choice. However, there are several alternatives worth considering, whether it’s due to cost, availability, or personal preference. Here are some options to explore:
- Contact Cement: Used widely in the footwear and upholstery industries, contact cement creates a fast-drying, robust bond between leather surfaces. It comes in water-based and solvent-based formulas, allowing users to choose based on their project requirements and preferences.
- Leather Cement: Specifically designed for bonding leather materials, leather cement offers a durable and secure bond. It is commonly used in leather crafting and shoe repair projects.
- Fabric Glue: While primarily intended for fabric materials, fabric glue can also work well on leather surfaces. It provides a flexible bond and is often washable, making it suitable for leather items that may require cleaning.
- Natural Adhesives: For those seeking more eco-friendly options, natural adhesives made from ingredients like beeswax or natural rubber are available. These alternatives are typically free from harmful chemicals and can effectively bond leather surfaces.
- Traditional Stitching: Some crafters prefer the authenticity and durability of traditional stitching methods over adhesives. Hand-stitching or machine-sewing can create a secure and aesthetically pleasing bond between leather pieces.
It’s important to note that the suitability of these alternatives may vary depending on project requirements and the type of leather being used. It’s always recommended to test the adhesive on a small, inconspicuous area of the leather before applying it to the entire project.
Testing the Adhesive before Applying It to the Entire Surface
Before you get carried away with gluing those pieces together, let’s talk about the importance of testing the adhesive before applying it to the entire surface. Trust me, this step can save you from potential disasters and ensure a strong and durable bond.
First and foremost, why is testing the adhesive so crucial? Think of it as a trial run for your glue, a compatibility test between your adhesive and beloved leather. Here’s why it matters:
- Bonding compatibility: Different adhesives interact differently with various materials, including leather. By testing a small amount of adhesive on a scrap piece of leather or an inconspicuous area, you can observe how they react together. This will give you an idea of whether the adhesive is compatible with your specific leather type.
- Strength and durability: We all want our leather projects to withstand the test of time, right? Testing the adhesive allows you to evaluate its bonding strength. Pull on that little test patch after the adhesive has dried. If it holds firm and doesn’t peel away easily, you’ve got yourself a winner.
- Drying time: Patience is a virtue when it comes to crafting. By testing the adhesive, you can get an idea of its drying time. This knowledge will help you plan your project timeline accordingly and avoid any sticky situations.
- Stress tests: Leather faces quite a bit of stress in its lifetime – flexing, pressure, exposure to moisture, just to name a few. By subjecting your adhesive test patch to these stress tests, you can gauge its performance under real-life conditions. This ensures that your final project can handle whatever life throws at it.
Remember, different types of leather may react differently to adhesives, so always conduct tests on similar types first. And if you’re working with dyed or treated leather, testing in an inconspicuous area is a smart move to avoid any unwanted surprises.
Following Manufacturer’s Instructions for Proper Application and Drying Time
Today, we’re delving into the fascinating world of glue and leather. Specifically, we’re going to explore why it’s absolutely crucial to follow the manufacturer’s instructions for proper application and drying time when using the beloved adhesive, E6000, on leather. Trust me, this step is not one you want to skip if you’re aiming for a project that will leave jaws dropping.
Let’s start with E6000. This adhesive is a superstar in the crafting realm, renowned for its unparalleled strength and versatility. When it comes to bonding leather materials, E6000 is like a superhero coming to your rescue.
Now, before we get our hands dirty with glue, there’s an important pre-application ritual that cannot be overlooked – cleaning the leather surface. Imagine trying to stick two pieces of leather together while a dust storm rages on…not exactly the recipe for success. So take a moment to wipe away any dirt, dust, or pesky grease that could sabotage the adhesive’s bonding superpowers. Trust me, this step is absolutely critical for achieving the best results.
Once your leather is squeaky clean and ready for action, it’s time to apply the glue. And here’s a golden rule: less is more. Don’t go overboard with the adhesive; a thin and even layer of E6000 is all you need. Using too much glue can lead to an uneven bond or unsightly residue – and nobody wants their masterpiece marred by such mishaps.
With glue applied, it’s time to bring those leather pieces together or attach any additional components that need bonding. But hold your horses. Applying even pressure is key here. You want your project to stand up against the test of time, don’t you? So make sure every nook and cranny receives its fair share of pressure for a strong and secure bond.
Ah, now comes the part that many eager crafters tend to overlook – drying time. Patience, my friends, patience. The manufacturer knows best, and they typically recommend allowing E6000 to dry for a minimum of 24 hours before subjecting it to any stress or strain. That means no fidgeting or messing with your newly glued leather during this crucial period. I know the anticipation can be unbearable, but trust me, it will be worth the wait.
But wait, there’s more. To achieve maximum adhesion and durability, it’s best to let the bond cure for a full 72 hours before exposing it to extreme conditions or heavy usage. I know, waiting for three whole days can feel like an eternity when you’re bursting with excitement about your project. But believe me when I say that this extra time will ensure a bond that’s as strong as Hercules.
Considerations When Choosing an Adhesive for Leather Projects
When it comes to choosing an adhesive for your leather projects, there are several important considerations to keep in mind. Let’s dive into the world of adhesives and discover the secrets to selecting the perfect glue for your leather masterpieces.
Strength and durability are crucial factors when working with leather. You need an adhesive that can withstand the test of time and hold everything together. Look no further than E6000, a glue that packs a punch in the strength and durability department. It’s like the Hulk of adhesives, ensuring your leather creations stay intact for years to come.
Flexibility is another essential consideration. Leather bends and moves with use, so you don’t want an adhesive that will crack or lose its bond. Fear not – E6000 is specially formulated to remain flexible even after it’s fully cured. It’s like having a yoga instructor for your leather, allowing it to move and groove without any worries.
Compatibility is key when choosing an adhesive for leather projects. Not all adhesives are leather-friendly. Some might cause damage or discoloration, and nobody wants that. But fear not, my friends, because E6000 is designed to be compatible with a wide range of materials, including leather. It won’t harm your precious leather or play any tricks on its color.
Ease of application is another crucial factor. Let’s face it – we’re not all expert crafters. That’s why E6000 comes in a handy tube with a precision applicator tip. No need for fancy tools or complicated techniques. Just squeeze and apply directly onto your leather surface with ease.
Drying time is something we all have to consider, especially if we’re on a deadline or just itching to show off our completed project. Luckily, E6000 has a relatively quick drying time, so you can keep the creative juices flowing without having to wait around for hours.
And finally, let’s not forget about versatility. E6000 is not only perfect for leather projects, but it’s also a superstar when it comes to bonding other materials like fabric, metal, wood, and ceramics. It’s like the Swiss Army knife of adhesives, always ready to tackle any crafty challenge.
b2Dd2_BjEWY” >
Conclusion
E6000, a popular adhesive, is indeed good for leather.
Its strong bonding capabilities make it ideal for various leather projects such as repairing shoes, handbags, or even crafting custom leather goods. The adhesive forms a durable bond that can withstand the wear and tear that leather items often endure.
Its versatility extends beyond just leather too – it can also be used on other materials like fabric, metal, and plastic.