There are several ways you can glue sand to wood, such as angel wings, angel bookmarks, and fairy sculptures.
If you have wooden angels you want to make into divine dancers, using sand to glue them to the bases will make them even more beautiful. So, how do you glue sand to wood?
Sanding wood can be difficult. Many wood surfaces aren’t completely smooth.
Instead, they have uneven lines and holes. So, when you’re sanding wood, it’s often necessary to fill holes and smooth out rough spots.
To do this, you need to use glue. However, many people don’t know how to glue sand to wood, and they tend to struggle.
Fortunately, it’s not that hard to learn how to glue sand to wood.
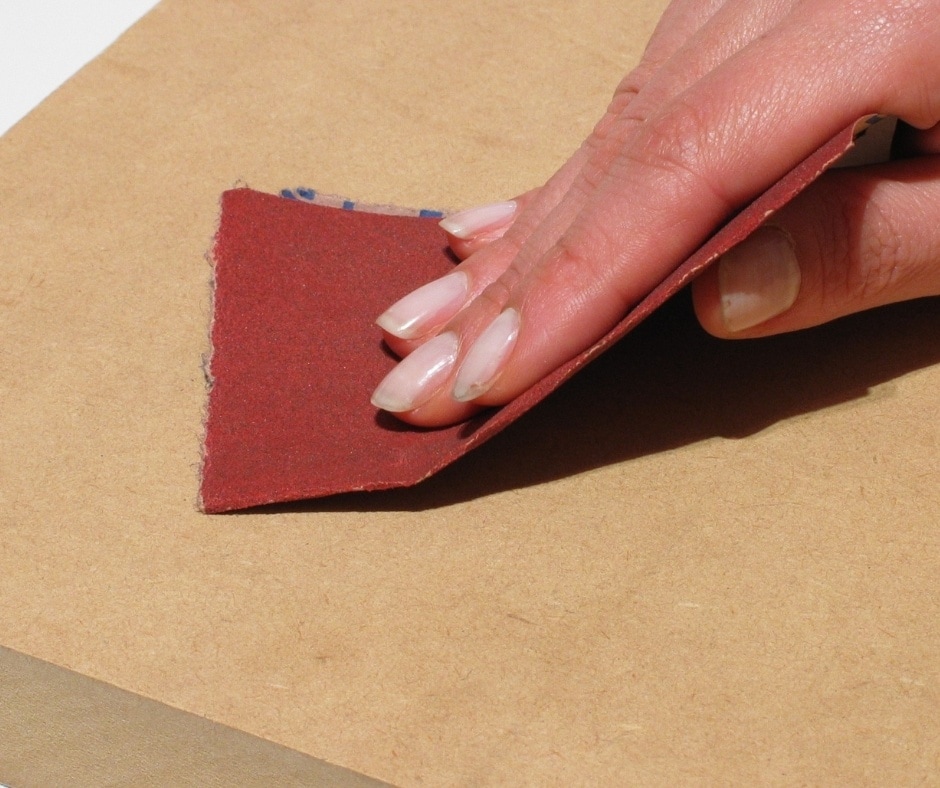
The first step is to make the wood completely smooth.
You can do this with a sander if you have one. If you don’t own a sander, you can use a scraper to remove pieces of wood until the surface is smooth.
Then, mix the glue with water in a small cup or bowl. Apply the glue with an applicator brush to the wood’s surface and smooth it out with your finger.
When you’re done, wait a few minutes for the glue to dry, and sand off the excess glue with a sander. This will create a smooth surface.
How To Glue Sand to Wood?
Contents
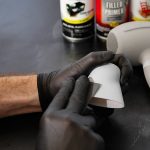
Make Use Of A Bonding Agent
Sand-to-wood glue may be the best thing you ever use when it comes to gluing together two pieces of sanded or unfinished lumber to make one gorgeous piece of wooden art.
To attach sand to wood, follow these easy steps: Apply the bonding agent to the sanded surface of each piece of wood you wish to bond together. Once both pieces have been thoroughly covered, allow the bonding agent to dry for at least 10 minutes. Once the bonding agent has dried, place both pieces of lumber side by side and push them together firmly until the adhesive begins to make a “grab” sound. Then apply more pressure and continue to push until both pieces are secured.
Make sure the sand is dry before you try to attach it to the wood base with hot glue.
Clean The Area
Pour a gallon of water into a bucket and clean the area of any dust and debris that may be present on the surface you intend to clean with the wet cloth.
Wipe away any excess glue with a towel and let it dry for 30 minutes before applying a second coat of the adhesive/glue mixture.
Mix the Bonding Agent With Water
Sand should be glued to a flat surface for best results, such as a table top or a shelf bracket.
Before proceeding to the following step, make sure you remove any excess residue of sand from the grain of the wood and wipe the area clean with a damp rag or paper towel to eliminate any dust particles that might be present on the furniture piece.
To get a good bond between the sandpaper and the wood, you need to clean the sandpaper well before you put the bonding agent on the surface you want to stick the sandpaper to.
Apply the Solution to the Area Where You Want to Glue the Sand.
Follow these basic procedures to glue sand to wood: Pour the water into a bucket and soak a piece of cheesecloth in it. With the wet cloth, wipe down the surface of the piece of furniture where you intend to apply the sand. Allow the wet cloth to sit on the surface.
Next, prepare to apply the adhesive/glue mixture to the surface where the sandpaper will be attached.
Put a thin layer of the solution on the surface where the sandpaper will be stuck by dipping a clean paintbrush into the mixture and smoothing it over the area.
Let the glue dry before you try to remove it from the piece of furniture. Be careful not to press too hard on the sand, or it could come off the piece of furniture altogether.
Wait 15 Minutes
When you sand wood before gluing it to another surface, the bond between the sanded surface and the piece of furniture you are gluing it to will be stronger.
While you wait, you may hold the piece of glued-together wood in place on the piece of furniture or table using the clothespins.
When gluing sanded wood, be patient as the drying process may take a while and the glue may stick to the fingers of your hands during the process.
Examine The Cloth To See If It Has Held
Use a glue that is particularly developed for removing shellac and lacquers.
When selecting glue, read the instructions carefully to make sure you are using the right type of adhesive for the task you are undertaking.
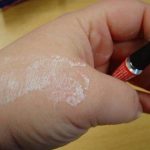
Put a small amount of adhesive solution on the cloth, and then carefully apply it to the wood surface where the sanding dust is stuck.
Allow the adhesive to completely dry; then, use a fresh damp cloth to remove the excess.
Types of Glue Used to Glue Sand to Wood
To adhere sand to wood, many different types of adhesives may be used, including liquid, paste, foam, or putty type adhesives.
PVA glue is a water-soluble substance that is widely used for gluing all types of materials together.
It is safe to use and works well for many woodworking projects where two pieces of wood or other porous materials need to stick together.
You could also just buy a varnish that sticks to most surfaces and makes a permanent bond between two materials. This varnish can be sprayed on or painted on.
PVA is a polymer formed by joining polyvinyl acetate molecules. However, it can also be formed as a latex emulsion using polyacrylic acid as the active ingredient.
Acrylics are also a good alternative to PVA; they are more environmentally friendly than many other chemicals used around the home.
When dealing with sand and wood, a latex acrylic is usually the best option, as it is quick-drying and easy to use.
Both latex acrylics and PVA can be used outside without a protective finish because they don’t form a barrier that can’t be broken through when they dry.
Temporary bindings are a good option since they can be peeled off easily without damaging either the surface that is being bonded or the bonding material itself.
How to Make Sand Pictures on Canvas
I recently worked with a local art teacher who taught the art class at my daughter’s school how to create their own sand pictures on canvas boards.
The procedure was fairly simple, yet the results were fantastic.
It meant carefully putting one color of paint on the canvas board at a time.
After approximately an hour, the students were allowed to apply their choice of colored sand onto the canvas to create a one-of-a-kind piece of art.
One of my favorite aspects of this project was that each work of art was completely unique and really reflected the individual student’s personality and creativity.
Also Read: How to Glue Rubber to Wood
Final Words
If you want to decorate a room with sand but don’t want to have to keep putting it back on, you should think about using a wall sticker instead.
Sand may be glued to wood or glass to create unique pieces of artwork for your home, but these decorations are time-consuming to apply and will ultimately end up looking shabby if applied in the wrong location.
If you want to stick sand to wood, you should use a hot glue gun. Don’t use superglue because it won’t stick well to the porous surface of sand.