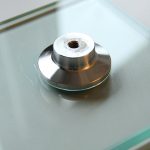
Rubber to wood glue has many uses, such as making silicone seals, seal caps, and decorative buttons.
It also has other applications, such as making toy models. There are many ways you can glue rubber to wood, such as using rubber adhesive or rubber cement.
So, how do you glue rubber to wood?
This is an interesting question because the answer isn’t straightforward.
However, it’s still possible to use rubber cement to glue rubber to wood. First, apply a coat of the rubber cement to the wood using a paintbrush.
Then, apply a layer of the rubber cement to the rubber. Make sure to apply the rubber cement evenly and make sure there’s enough of it.
It’s important that the rubber cement completely covers the rubber surface. Next, use a metal spatula to flatten the rubber cement.
Make sure to hold the spatula firmly against the surface as you flatten it. Finally, let the rubber cement dry for 24 hours.
The rubber cement should create a strong bond between the rubber and wood.
How to Use Rubber to Wood
Contents
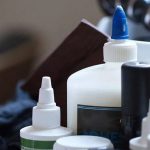
The trick to attaching rubber to wood is to use the right type of adhesive for the materials you’re working with.
Some adhesives like polyurethane and superglue have a limited shelf life and should not be used on materials like wood and plastic because the material will become brittle over time and will crack easily.
For plastics and wood you should use a water based epoxy or a contact adhesive that adheres to both surfaces well and can be used on multiple surfaces without any adverse effects.
Contact cement, super glue, and polyurethane glues have all worked to attach rubber to a surface before but they often leave visible residue or are difficult to apply evenly.
Many popular adhesives will not adhere well to rubber and could cause the rubber to crack or peel from the base material it was adhered to.
Wood is an easy surface to bond to with an adhesive so it makes an ideal base for materials made from natural materials like cork, wood, bamboo, stone and granite.
That is why we use contact cement, such as Elmer’s Carpenter’s Wood Glue to attach our natural cork flooring tiles to most hard surfaces.
Which Glue to Use
Contact cement is a glue that will stick to almost anything and dries quickly so it can be easily removed later if repairs are needed.
Contact cement is simple to apply with a brush or roller but must be applied thinly enough so that the surface being bonded is not left with a visible coating of glue.
It also forms a waterproof bond that is perfect for installing flooring over concrete subfloors without causing damage to the substrate.
Super Glue
This type of adhesives is toxic so it is important to handle it carefully and wear gloves when mixing and applying it to prevent injury from accidental skin exposure.
It also takes longer to dry than other types of adhesives so should not be used for projects that require quick drying times. Polyurethane Glues Some types of polyurethane resin can be used to attach pieces of scrap material together to make new objects.
Polyurethane is also a good material for gluing small pieces of wood together to make a repair on a larger piece of wood such as a table top or chair leg.
The adhesive dries quickly and is very water resistant, making it a good choice for outdoor repairs such as sticking a loose shingle back onto the roof of your house.
Because it dries clear and can be sanded after it hardens, it is commonly used to repair and refinish furniture.
It’s meant for precision application, and can be applied to both interior and exterior surfaces.
Polyurethane Glue
Polyurethane glue is a two-component glue that cures to a hard, durable plastic.
It instantly cures to a strong bond that stays flexible when exposed to moisture, making it ideal for repairing leather shoes and boots.
Because polyurethane glue is flexible and expands and contracts with the material it’s bonding with, it’s ideal for gluing wood veneer or laminates to cabinets or other interior furniture.
To use polyurethane glue to adhere rubber or vinyl to a surface, first clean the surface with a degreaser like acetone to remove any oils that could inhibit the bond.
Cut the rubber to size if necessary, then lightly sand the cut edges with 220-grit sandpaper to ensure a good grip for the adhesive.
Apply a thin layer of polyurethane glue to the underside of the material using a foam brush.
Contact Cement Glue
Contact cement is the ideal adhesive for adhering heavy materials, such as ceramic tiles, metal siding and bricks.
Because of its bonding strength, contact cement can be used to adhere these materials to the substrate; however, it should not be used on wood because it can cause the wood to crack and peel over time.
Before you attach them together, let each surface thoroughly dry to prevent warping or cracking of the substrate.
For a stronger binding, use two coats of contact cement rather than one coat.
Rubber Glue
Rubber glue is a form of adhesive that bonds rubber to rubber or plastic to plastic.
This glue creates a strong binding when used on outdoor equipment because it is waterproof and weatherproof.
Furthermore, rubber glue can tolerate severe temperatures, making it a versatile option for many projects.
How to Prepare to Glue Rubber to Wood
For Rubber
The first step is to degrease the surface, which is best done with a solvent such as mineral spirits or acetone.
The next process is abrasion, which is rubbing the glued surface with sandpaper or a buffing wheel to make the surface rough.
Following this activity, exposed metal on the wood should be painted with an anti-rust paint to protect the wood from rusting.
Following this stage, degreasing the surface again will help make the adhesive stick better to the surface.
The next stage is chemical treatment, which ensures a better bond between the rubber and the wood by treating the surface of the rubber with a coat of primer.
Acids and alkalis such as sulfuric and nitric acids are used for this.
For Wood
Applying the Glue
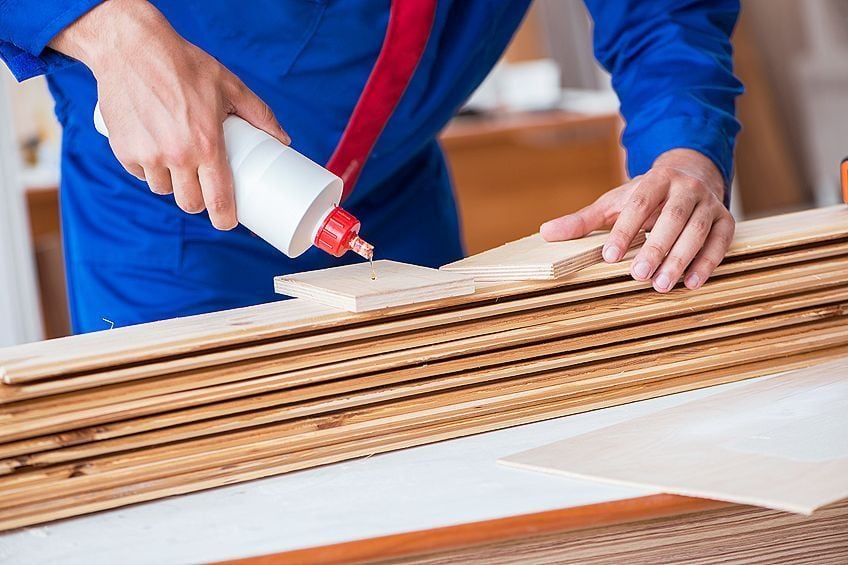
A brush or roller is used for applying the glue to the contact surface of the wood and the metal strip.
To begin, ensure that the temperature of the room is at 65 to 70 degrees.
After that, apply adhesive to the inner side of the metal strip using a brush or roller and then apply it to the contact surface of the wood using an adhesive tape to avoid making a mess.
Hold them in place for a few minute to let the adhesive bond well and then remove the tape.
Setting the Glue
Using a clamp or tape, keep holding the pieces in place until the glue dries up completely.
Different adhesives dry at varying speeds and temperatures so it is necessary to be patient and wait it out until all the pieces are bonded together.
Activators may be used to speed the drying process; however, they are dangerous to work with so it is advisable to seek the help of a professional when using activators.
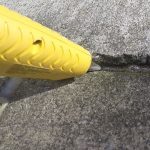
Also Read: How To Glue Metal To Concrete
Conclusion
You should now know what to when fixing a damaged furniture piece and how to go about it.
All you need for the methods is the adhesive, some tools and your patience.
Precision is necessary while prepping the surfaces to be glued so that the bond will be as strong as possible.