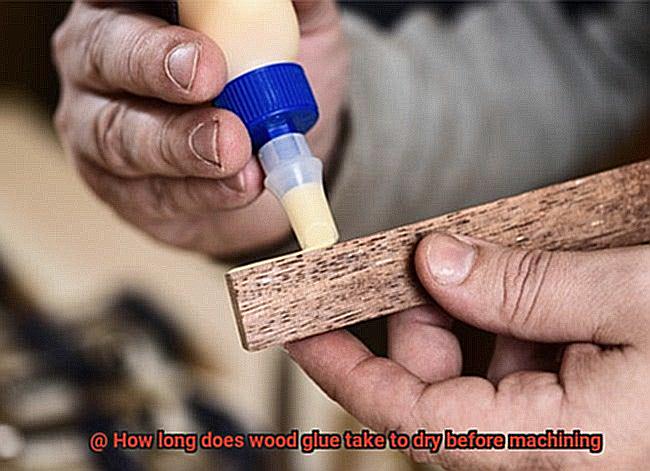
Application Technique: The Art of Precision
- Evenness for Better Bonding
- Excess and Unevenness Cause Delays
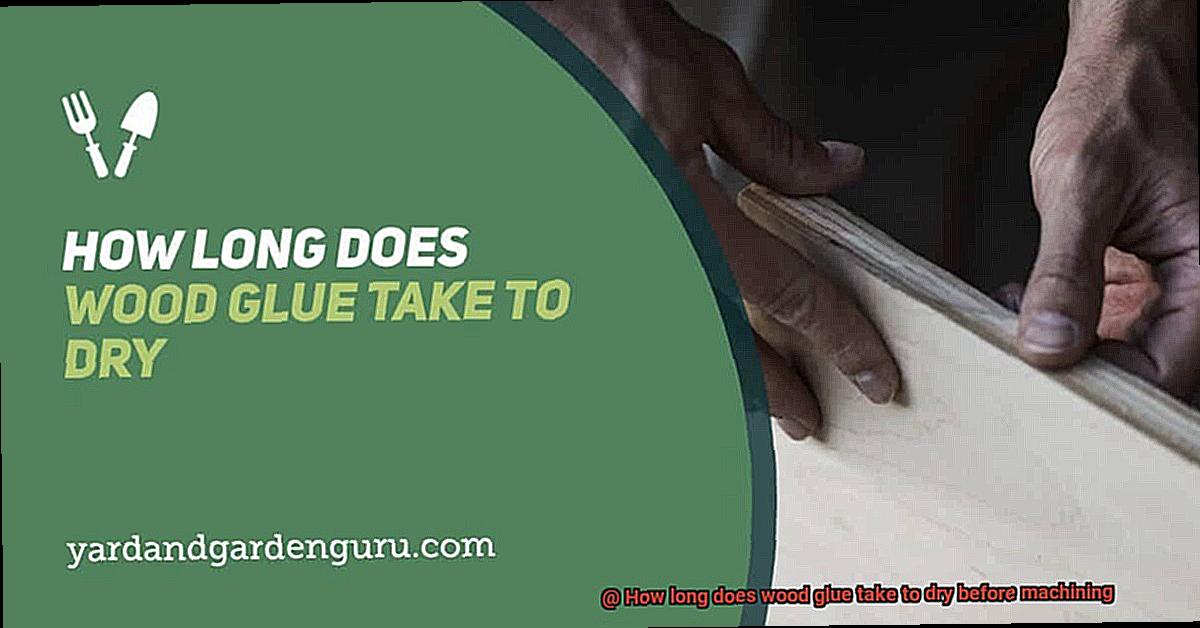
PVA Glues: Recommended Drying Time
Woodworking is an art that demands precision and meticulousness, especially when it comes to bonding pieces of wood together. Choosing the right glue and allowing it sufficient drying time are vital for a strong and enduring joint. In this article, we will explore the captivating world of PVA glues and uncover the recommended drying time for woodworking projects.
Factors Affecting Drying Time:
Before we delve into the recommended drying time, it’s important to understand the factors that influence this crucial aspect of woodworking. The type of wood used, environmental conditions such as temperature and humidity, and the specific brand or formulation of the glue all play a role in determining the drying time required for curing.
General Guideline:
As a general rule, PVA glues typically need at least 24 hours to dry before any machining or sanding can be performed on the glued joint. This timeframe allows the glue to fully cure and attain its maximum strength. However, keep in mind that this is merely a guideline, as certain factors may necessitate longer drying times.
Special Considerations:
For projects involving dense hardwoods or low-temperature and low-humidity environments, extending the drying time beyond 24 hours may be necessary to ensure proper bonding. Conversely, higher temperatures and humidity levels can expedite the curing process, potentially reducing the drying time.
Manufacturer Recommendations:
To achieve optimal results, always consult the specific instructions provided by the manufacturer of your chosen PVA glue. Manufacturers may offer different types of PVA glues with varying drying times based on their unique formulations. Some even provide fast-drying versions for those seeking a quicker turnaround.
Tips for Success:
While waiting for your glue to dry, consider using clamps or other pressure-applying techniques to enhance bond strength and minimize the risk of joint failure during machining. Additionally, remember that PVA glues are not completely waterproof, so exercise caution when using them in projects that may be exposed to moisture or water.
Aliphatic Resin Glues: Recommended Drying Time
Woodworking is a meticulous craft that demands precision, unwavering patience, and an unwavering attention to detail. Whether you’re crafting elegant furniture or sturdy cabinets, the glue you select plays a pivotal role in the strength and longevity of your final masterpiece. Among woodworkers, aliphatic resin glues, commonly referred to as yellow or carpenter’s glue, have emerged as a favorite choice. This comprehensive guide will delve into the recommended drying time for aliphatic resin glues before machining and explore why allowing ample time for complete curing is an absolute necessity.
Understanding Aliphatic Resin Glues:
- Renowned for their remarkable bond strength and exceptional versatility.
- Commonly referred to as yellow or carpenter’s glue due to its distinct hue.
- Ideal for woodworking projects due to their superior resistance to moisture.
The Recommended Drying Time:
- A minimum drying time of 24 hours is generally advised.
- Several factors, including temperature, humidity, and wood type, impact drying time.
- Higher temperatures and lower humidity levels expedite the drying process.
- Conversely, lower temperatures and higher humidity levels slow down the curing process.
The Impact on Finished Product Quality:
- Allowing sufficient drying time ensures maximum bond strength.
- Rushing the machining process can lead to subpar bonding and compromised joint strength.
- Optimal drying conditions contribute significantly to the longevity of your wooden creations.
Visual Cues for Dryness:
- Dry aliphatic resin glue appears transparent or slightly yellowish.
- Should the glue appear white or cloudy, it may still be wet and necessitate additional drying time.
- Patience and keen observation are crucial before proceeding with machining.
Temperature and Humidity Considerations
Paying attention to these factors will save you countless headaches down the line.
Temperature:
Temperature plays a crucial role in the drying process of wood glue. Higher temperatures speed up drying, while lower temperatures slow it down. However, extreme temperatures, whether hot or cold, can harm the quality of the bond. So, it’s best to work within a moderate range to achieve optimal results.
Humidity:
Imagine this scenario – you’ve carefully applied your wood glue and are ready to move forward, but high humidity levels are throwing a wrench in your plans. Moisture in the air can interfere with the glue’s curing process, slowing down drying time. On the flip side, low humidity levels can cause the glue to dry too quickly, resulting in weaker bonds. Striking a balance between temperature and humidity is key for that perfect bond.
Controlling the Environment:
To ensure excellent results, consider working in an environment with controlled temperature and humidity levels. A climate-controlled workshop or room would be ideal, but don’t worry if you don’t have access to one. You can use dehumidifiers or humidifiers to maintain optimal conditions. Remember, a little effort upfront will go a long way in ensuring efficient drying and strong bond formation.
Specific Requirements:
It’s important to note that different types of wood glues may have specific temperature and humidity requirements for optimal drying and bonding. Always check the instructions provided by the manufacturer or their website for guidance. Additionally, factors like wood species, thickness, and surface preparation can also affect drying times and bond strength. Considering these factors will help you achieve stunning results in your woodworking projects.
Conclusion:
In conclusion, temperature and humidity are the dynamic duo that can make or break your wood glue drying process. By controlling these variables within an optimal range, you’ll create solid bonds that stand the test of time. So, next time you’re preparing for a woodworking project, remember to give temperature and humidity the attention they deserve – your masterpiece will thank you for it.
Size and Thickness Considerations
Wood glue is the unsung hero of woodworking, holding together our projects with invisible strength. But have you ever wondered why it takes different amounts of time for wood glue to dry before you can start machining? In this article, we’ll delve into the fascinating world of size and thickness considerations when it comes to drying wood glue. So grab a cup of coffee, sit back, and let’s dive in.
Surface Area: The Bigger the Bond, the Longer the Wait
Imagine gluing together a massive tabletop or joining multiple pieces of wood to create a larger structure. The surface area of the wood pieces being glued plays a significant role in drying time. The more surface area there is, the longer it will generally take for the glue to dry. Think about it – there’s more glue that needs to evaporate or be absorbed by the wood fibers before it can fully dry. So, if you’re tackling a larger project, be prepared to allow for a longer drying time.
Thickness: Thicker Means More Time
Thick or thin, wood pieces have their own unique drying characteristics. Thicker pieces require more time for the glue to dry compared to thinner ones. This is because the glue needs to penetrate deeper into the wood fibers to create a strong bond. Additionally, thicker wood may have higher moisture content, which can further prolong the drying time. Keep this in mind when determining how long you should wait before proceeding with any machining.
Type of Wood: Different Woods, Different Absorption Rates
Not all woods are created equal when it comes to absorbing glue. Softer woods, such as pine, tend to drink up glue more quickly compared to harder woods like oak or maple. The density and moisture content of the wood also play a crucial role in how long it takes for the glue to dry. Understanding these differences will help you adjust your drying time accordingly.
Environmental Factors: The Weathering of Wood Glue
Just like we humans prefer certain weather conditions, wood glue has its own preferences too. Temperature and humidity levels influence the drying process. Higher temperatures and lower humidity levels promote faster drying, while cooler temperatures and high humidity levels can extend the drying time. To ensure optimal results, it’s best to work in a well-ventilated area with controlled temperature and humidity conditions.
Testing the Dryness of the Glue
Wood glue is the secret weapon that holds our woodworking projects together. But did you know that testing the dryness of wood glue before machining is crucial for achieving strong and durable joints? In this blog post, we’ll explore various methods to determine if your glue is ready for action. So grab your tools and let’s dive in.
Method 1: The Squeeze-Out Method:
Excess glue squeezing out from a joint is a good sign—it means the glue is penetrating every nook and cranny. But don’t leave it there. Wipe away the squeeze-out immediately with a damp cloth or sponge. Once removed, visually inspect the joint for any wet or tacky areas. A fully dried glue joint should appear clear and hard, indicating its readiness for machining.
Method 2: The Touch Test:
Sometimes, a simple touch tells you everything you need to know. Gently touch the glued joint with your fingertip and observe how it feels. A completely dried joint will be hard and dry to the touch, without any stickiness or tackiness. If it feels slightly tacky or sticky, give it more curing time.
Method 3: Time Matters:
Different wood glues have varying drying times, so always check the manufacturer’s instructions. Generally, most wood glues require at least 24 hours to fully dry. But remember, temperature and humidity can impact drying times. If you’re in a humid environment or using a glue with longer curing periods, be patient and allow extra drying time.
Method 4: Moisture Meters:
For precision-driven professionals, moisture meters are game-changers. These handy devices measure the moisture content within glue joints, giving accurate readings on dryness for machining. They’re especially useful for large projects or wood species with specific drying requirements.
gnG0FNxisvk” >
Conclusion
In conclusion, the drying time for wood glue before machining is influenced by several factors. These include the type of glue, temperature and humidity conditions, project size and thickness, and manufacturer specifications. To ensure a sturdy and durable bond in your woodworking endeavors, it is crucial to grasp these factors.
For the most commonly used type of wood glue, PVA glue, a minimum drying time of 24 hours is generally recommended before machining. This allows the glue to fully cure and reach its maximum strength. However, certain variables such as wood type and environmental conditions may necessitate longer drying periods.
Different types of wood glues have varying drying times. Polyurethane glue typically takes around 6 to 8 hours to dry before machining, while epoxy glue can require several hours or even overnight. If you’re in a hurry, cyanoacrylate glue (super glue) dries within seconds to minutes, allowing for immediate machining if needed.
Temperature and humidity significantly impact drying time. Higher temperatures and lower humidity levels expedite the process, whereas lower temperatures and higher humidity levels slow it down. For optimal results, it’s essential to work in an environment with controlled temperature and humidity levels.
Considerations regarding size and thickness are also important. Larger surface areas and thicker pieces necessitate more drying time due to increased glue volume and penetration into the wood fibers.
To determine if the glue is sufficiently dry for machining, there are various methods you can employ. You can visually inspect for clear and hard joints or perform a touch test to check for stickiness or tackiness. Following the recommended curing times provided by manufacturers or using moisture meters for precise measurements are also viable options.