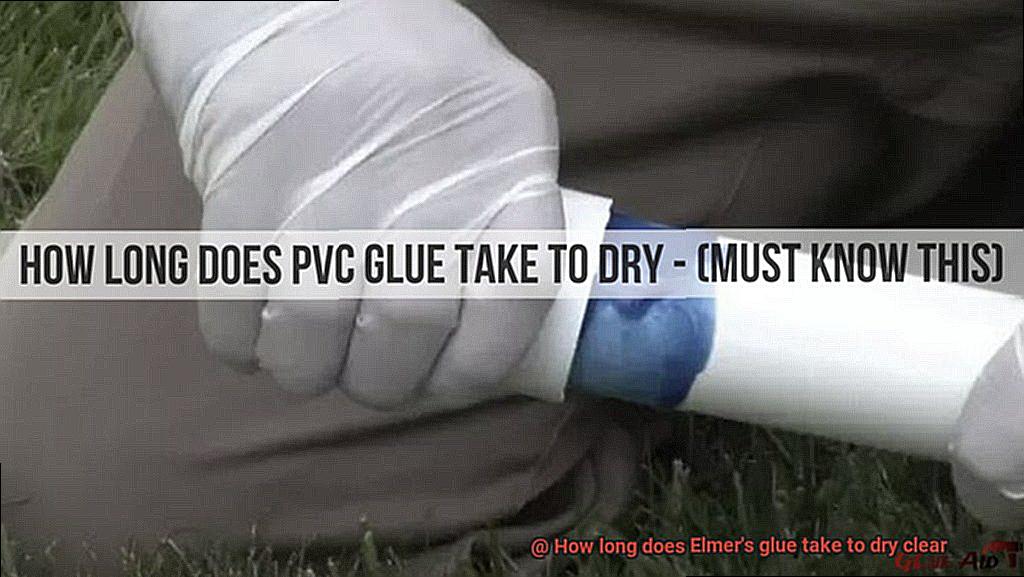
Tired of waiting around for your glue to dry and messing up your perfect projects?
Well, fret no more. Today, we’re diving into the intriguing world of Elmer’s glue to unravel the mystery behind its drying time.
Elmer’s glue has been a go-to in the crafting and DIY community for ages, but have you ever wondered how long it really takes for this stuff to dry clear? Whether you’re a seasoned artist or just starting out, knowing how long Elmer’s glue takes to dry is crucial for achieving that polished, professional look.
So, grab a steaming cup of joe, kick back, and let’s dig into the science behind this popular adhesive – and find out exactly how long it takes for Elmer’s glue to dry crystal clear.
Factors That Affect Drying Time
Contents
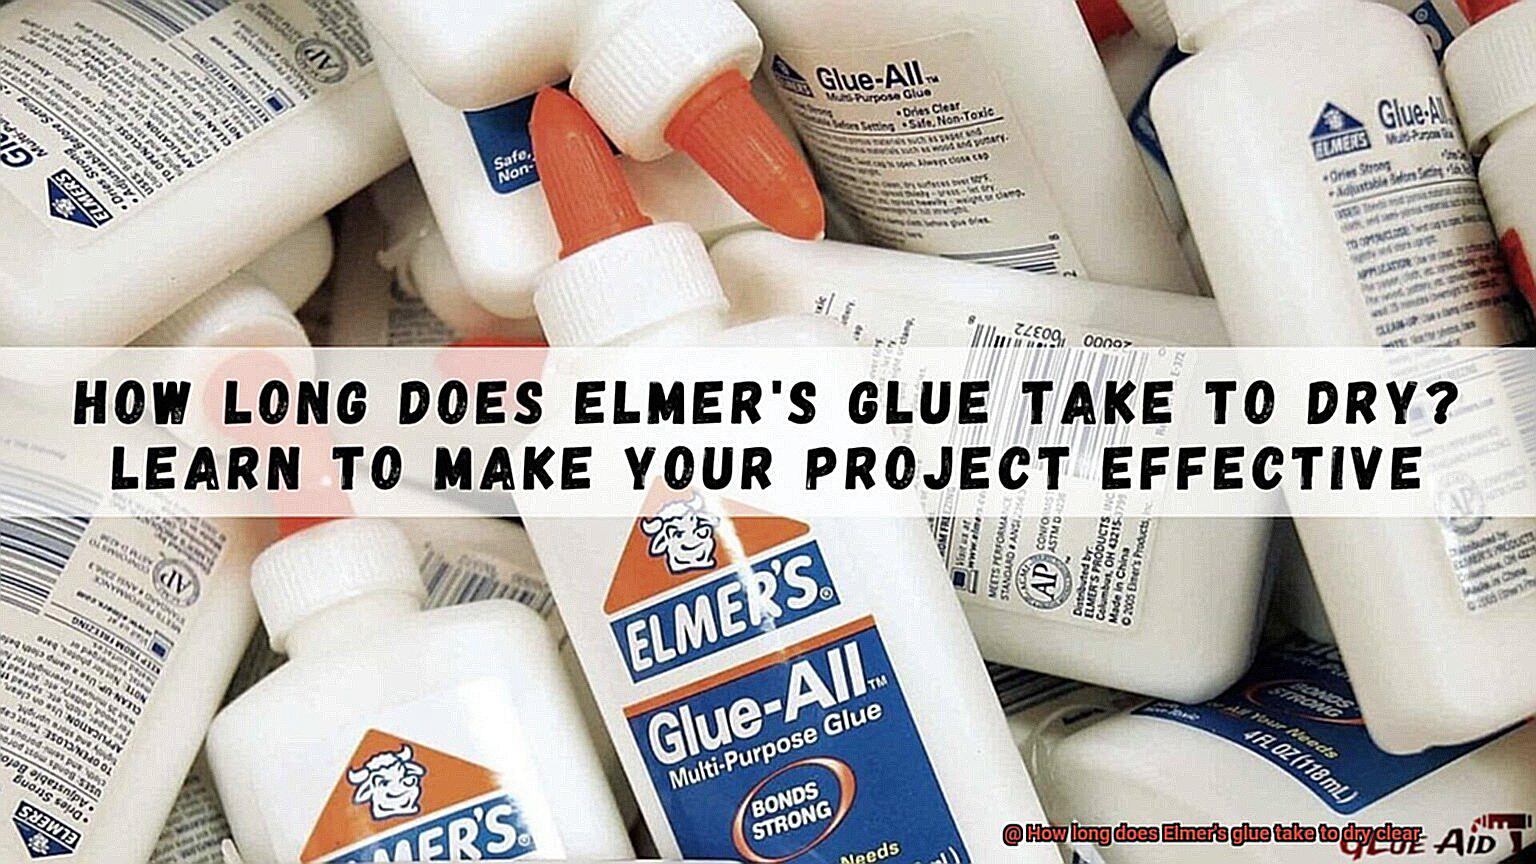
Whether you’re a passionate crafter or a dedicated DIYer, chances are you’ve encountered the wonder that is Elmer’s glue. This versatile adhesive can bond a wide range of materials together, but one common concern is how long it takes to dry clear. In this blog post, we’ll delve into the factors that affect the drying time of Elmer’s glue and provide you with valuable tips for achieving optimal results.
Type of Glue:
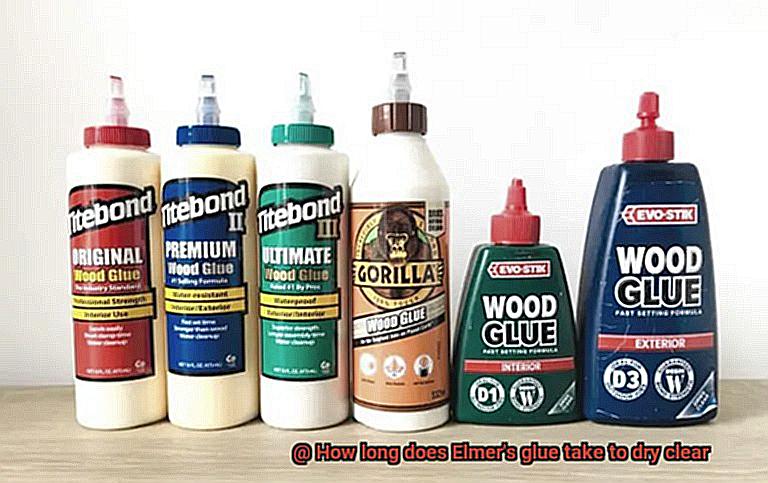
Elmer’s glue is a water-based adhesive that dries through evaporation. However, other glues, like super glue or epoxy, have different drying mechanisms, leading to varying drying times. Choosing the right glue for your project is crucial to ensure the desired drying time.
Temperature and Humidity:
The environment in which the glue dries plays a pivotal role in its drying time. Higher temperatures and lower humidity levels work like magic, accelerating the drying process. Conversely, colder temperatures and higher humidity levels slow it down. Beware though; extreme conditions can adversely affect the quality of the dried glue.
Thickness of Glue Application:
The thickness of the applied glue layer directly impacts drying time. Thick layers take their sweet time to dry because the moisture within needs to evaporate fully for a clear finish. To speed things up, opt for thin, even layers of Elmer’s glue.
Porosity of Substrate:
The material receiving the glue can influence its drying time as well. Porous surfaces like wood or fabric have a thirst for moisture, potentially prolonging the drying process. In contrast, non-porous surfaces such as glass or metal are like Olympic sprinters, allowing for quicker drying times.
Air Circulation:
Proper airflow around the glued surface works wonders for faster drying. It helps whisk away moisture, turbocharging the drying process. Consider placing the glued item near a fan or in a well-ventilated area to promote speedier drying and crystal-clear results.
Application Technique:
The way you apply the glue can also affect drying time. Smooth, even coats ensure uniform and efficient drying. Excessive or unevenly spread glue, on the other hand, may extend drying time, resulting in a less-than-ideal finish.
Additional Additives:
Some crafters and artists mix additives into Elmer’s glue to alter its properties, like extending drying time or enhancing adhesive strength. However, it’s important to note that these additives can impact drying time and clarity. Always follow the manufacturer’s instructions or test a small sample before using them on important projects.
Average Drying Times for Different Projects
Well, fret no more because today we are diving into the world of Elmer’s glue and its average drying times for different projects. So, grab your glue gun and let’s get started.
When it comes to basic paper crafts or school projects, such as gluing paper or lightweight materials together, Elmer’s glue typically dries clear in about 20 to 30 minutes. But here’s the thing, my friends – patience is key. It’s always a good idea to let it dry overnight to ensure a strong bond that won’t come undone.
Now, let’s talk about those more complex and intricate projects that involve heavier materials or larger surfaces. Think wood crafts or fabric bonding. In these cases, you’ll want to give the glue a bit more time to work its magic. Plan on letting it dry for at least one to two hours before handling or moving the project. Trust me, waiting a little longer will pay off in the long run. Again, overnight drying is ideal for a secure and durable bond.
But what about those fancy decoupage or collage projects that require multiple layers of glue? Here’s the deal – each layer needs its own time to dry before you can move on to the next one. This can take anywhere from 30 minutes to several hours, depending on how thick each layer is and the humidity in the air. So, be patient and take your time with these projects.
Now that we’ve covered the basics, let’s talk about some factors that might affect drying times. Higher humidity levels can prolong the drying process, while lower humidity levels can speed it up. So, keep an eye on the weather and find a well-ventilated area to work in. Oh, and don’t forget about temperature. Colder temperatures may delay drying, so aim for a moderate room temperature to get the best results.
One last tip before we wrap things up – apply your glue in thin and even layers. This will not only promote faster drying but also prevent any unwanted lumps or bumps in your project. Nobody wants a lumpy mess, right?
Tips for Speeding Up the Drying Time
Elmer’s glue is a versatile adhesive used in various creative projects. However, waiting for it to dry can be a test of patience. In this article, we will explore effective techniques to expedite the drying time of Elmer’s glue, allowing you to complete your projects faster and with exceptional results.
Apply a Thin Layer of Glue:
To accelerate drying time, apply a thin layer of Elmer’s glue. Thick layers take longer to dry as the glue requires more time to evaporate. Use a brush or sponge to spread the glue evenly and thinly on the surface. This enables quicker and more uniform drying.
Increase Air Circulation:
Enhance air circulation around the glued surface to expedite drying. Position a fan nearby or open windows to facilitate airflow. This will help remove moisture from the glue, promoting faster and clearer drying. Alternatively, use a hairdryer on its lowest setting for gentle warmth that speeds up the process.
Use Heat Responsibly:
Utilize gentle heat to accelerate the drying time of Elmer’s glue, but exercise caution. Overheating or holding the heat source too close can cause bubbling or warping. Opt for a hairdryer on low heat or a heat gun set to low heat, maintaining a safe distance from the glued area.
Employ a Dehumidifier:
High humidity prolongs drying time, making a dehumidifier invaluable in humid environments. Place one in the room where you are working to reduce moisture in the air, facilitating faster drying. Lower humidity levels create an ideal environment for Elmer’s glue to dry clear more efficiently.
Optimize Drying Conditions:
Create optimal conditions for quicker drying by maintaining moderate temperature (around 70°F or 21°C) and low humidity (below 50%) in your workspace. These conditions provide an ideal environment for Elmer’s glue to dry clear more efficiently.
How to Ensure Clear Drying Results
Whether you’re working on a school project or creating a stunning piece of art, achieving clear drying results is essential. In this blog post, we will explore five key tips to ensure your projects shine with clarity.
Apply Thinly and Evenly:
To achieve clear drying results with Elmer’s glue, it is crucial to apply it thinly and evenly. Remember, less is more. Using too much glue can result in a cloudy or opaque finish. Take your time and spread a thin layer of glue over the surface you wish to bond or decorate. By doing so, you’ll ensure that the glue dries evenly and maintains its transparency.
Allow Sufficient Drying Time:
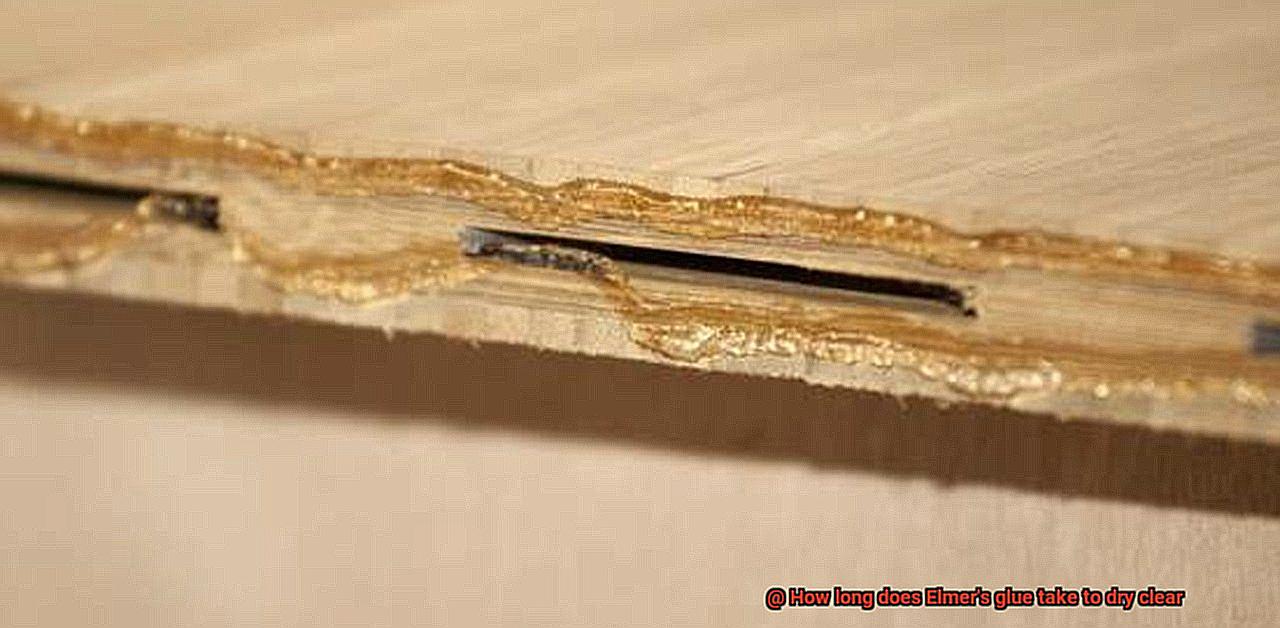
Patience is a virtue when it comes to Elmer’s glue. While it dries relatively quickly, the curing process can take up to 24 hours to achieve optimal clarity. To avoid disappointment, resist the temptation to touch or move your project before it’s completely dry. Give the glue ample time to dry naturally, allowing it to reach its full transparent potential.
Optimize Drying Conditions:
Creating the perfect environment for drying is crucial for clear results. Ensure there’s good ventilation in the area where your project is drying and maintain a moderate temperature and humidity level. Extreme conditions can prolong drying time and affect the final clarity of the glue. By providing optimal drying conditions, you’ll help the glue dry evenly and prevent any unwanted cloudiness.
Speed Up Drying:
If you’re working on a time-sensitive project, you can expedite the drying process by using a fan or blow dryer on a low setting. Gently blowing air over the glued surface helps evaporate the water content in the glue, resulting in faster drying time. However, exercise caution not to overheat or blow too closely, as this can cause warping or other issues.
Inspect and Refine:
Once your project is dry, inspect it carefully for any imperfections such as streaks or trapped air bubbles. Don’t worry if you spot any – they can be easily fixed. Apply additional layers of glue to even out any streaks, or gently sand and refinish the surface to achieve a smooth and clear finish. Taking the time to refine your project will ensure that it showcases the true clarity of Elmer’s glue.
Considerations for Environmental Factors
The answer lies in the intricate dance between temperature, humidity, and air circulation. In this blog post, we will delve into the fascinating world of environmental factors and how they can influence the drying time and clarity of Elmer’s glue. So grab your goggles and let’s dive in.
Temperature:
Temperature is a key player in the glue drying game. Warmer temperatures accelerate drying because they cause water content in the glue to evaporate faster. This results in quicker drying times and clearer results. On the other hand, colder temperatures slow down evaporation, leading to longer drying times and potentially cloudy or uneven finishes.
Humidity:
Humidity can either be a friend or foe to your Elmer’s glue project. In high humidity environments, where the air is already saturated with moisture, evaporation becomes sluggish. This leads to extended drying times and may affect the clarity of the dried glue. Low humidity conditions promote quicker evaporation, resulting in faster drying times and crisper finishes.
Air Circulation:
Air circulation is like a breath of fresh air for your glue project. Good airflow aids in evaporation by helping to carry away moisture from the surface. This contributes to faster drying times and enhances clarity. Poor air circulation can impede evaporation and prolong drying times.
Other Factors to Consider:
While temperature, humidity, and air circulation are paramount for drying time and clarity, other factors also play a role. The thickness of the glue application affects drying time, with thicker layers taking longer to dry. Additionally, porous surfaces may absorb moisture from the glue, affecting clarity.
Precautions When Using a Hairdryer
Today, we embark on an exciting journey into the world of hairdryers. These trusty tools help us achieve fabulous hairstyles, but remember, safety should always be our top priority. So, let’s explore essential precautions when using a hairdryer to ensure our styling sessions are both fabulous and safe.
Read the user manual:
Before diving into your hairdrying adventure, take a moment to read the user manual provided by the manufacturer. This valuable resource provides information about specifications, recommended usage, and specific precautions to follow. Knowledge is power.
Check for safety certifications:
When purchasing a hairdryer, ensure it carries recognized safety certifications like UL, CSA, or CE. These labels indicate that the product meets stringent safety standards. Don’t compromise on safety.
Inspect the cord and plug:
Before plugging in your hairdryer, give the cord a thorough inspection. Look out for fraying or exposed wires – if you spot any issues, don’t use the hairdryer. Contact a professional for repair or replacement. Safety first, always.
Keep away from water:
Water and electricity don’t mix well. Keep your hairdryer away from sinks, bathtubs, or showers. Dry your hands before handling it to avoid electric shocks or fire hazards.
Avoid blocking airflow:
Proper ventilation is key to prevent overheating. Don’t cover the air intake or exhaust vents with your hands or clothing. Blocked airflow can lead to malfunctions or fire hazards. Keep those vents free and breezy.
Do not leave unattended:
A hairdryer is no babysitter. Never leave it unattended while in use. Turn off and unplug the hairdryer after each use to reduce the risk of overheating or other hazards. Safety first, even in a hurry.
Use at a safe distance:
Give your locks some breathing room. Hold the hairdryer 6-8 inches away from your hair to prevent heat damage and scalp burns. Continuous movement distributes heat evenly for healthier-looking tresses.
Avoid using on sensitive areas:
Some areas, like the face, ears, or delicate regions, are more sensitive to heat. Avoid direct use on these areas to prevent discomfort, burns, or injuries. Opt for lower heat settings or alternative drying methods instead.
Never use while sleeping:
Beauty sleep is essential, but never use a hairdryer while snoozing. The risk of fire or injury increases if left unattended or in contact with flammable materials like pillows, blankets, or curtains. Safety is always in style.
10. Store properly:
After styling, allow the hairdryer to cool down before storing it. Avoid tightly coiling the cord around the device to prevent damage. Store it separately from the hairdryer to prevent tangles and potential hazards.
Following Manufacturer Instructions
But did you know that there’s an art to achieving flawless results? It goes beyond simply slapping on some glue and hoping for the best. In this blog post, we’ll delve into the importance of following manufacturer instructions when using Elmer’s glue and unveil how it can make all the difference in your projects.
Consistency is Key:
- Different types of Elmer’s glue have their own unique instructions and drying times. To ensure accurate information, always refer to the specific product’s packaging or instructions.
- Discover the recommended application method for each type of glue you use. Remember, each variation demands its own technique.
- Applying the glue too thinly or too thickly can lead to longer drying times or an uneven finish. Strike the perfect balance.
Timing is Everything:
- Pay close attention to the drying time specified by the manufacturer for optimal results.
- Temperature and humidity are key factors that influence the drying process.
- Higher temperatures expedite drying times, while lower temperatures prolong them.
- Low humidity levels accelerate drying, but high humidity levels slow it down.
Hands-Off Approach:
- To guarantee clear and flawless results, refrain from disturbing or touching the glued surface while it dries.
- Any movement or pressure applied during this critical phase can disrupt the process and potentially affect the clarity of the dried glue.
- Find a safe spot for your glued creation and let it sit undisturbed until the specified drying time has passed.
Also Read: Can you use Elmer’s glue as a sealant?
Conclusion
In conclusion, the speed at which Elmer’s glue dries clear depends on several factors that come into play. The type of glue used along with temperature and humidity levels are key determinants in addition to the thickness of application and porosity of the surface being bonded. Air circulation during drying and even the way you apply the adhesive all impact how long it takes for Elmer’s glue to dry clear.
For simple paper crafts or school projects, it’s safe to expect Elmer’s glue to dry clear in about 20 to 30 minutes. However, for a truly robust bond, it is strongly recommended to let it dry overnight.
When tackling more complex projects involving heavier materials or larger surfaces like wood or fabric bonding, exercise patience and allow the glue at least one to two hours of drying time before handling or moving the project. Once again, overnight drying is the ideal timeframe for ensuring a secure and durable bond.