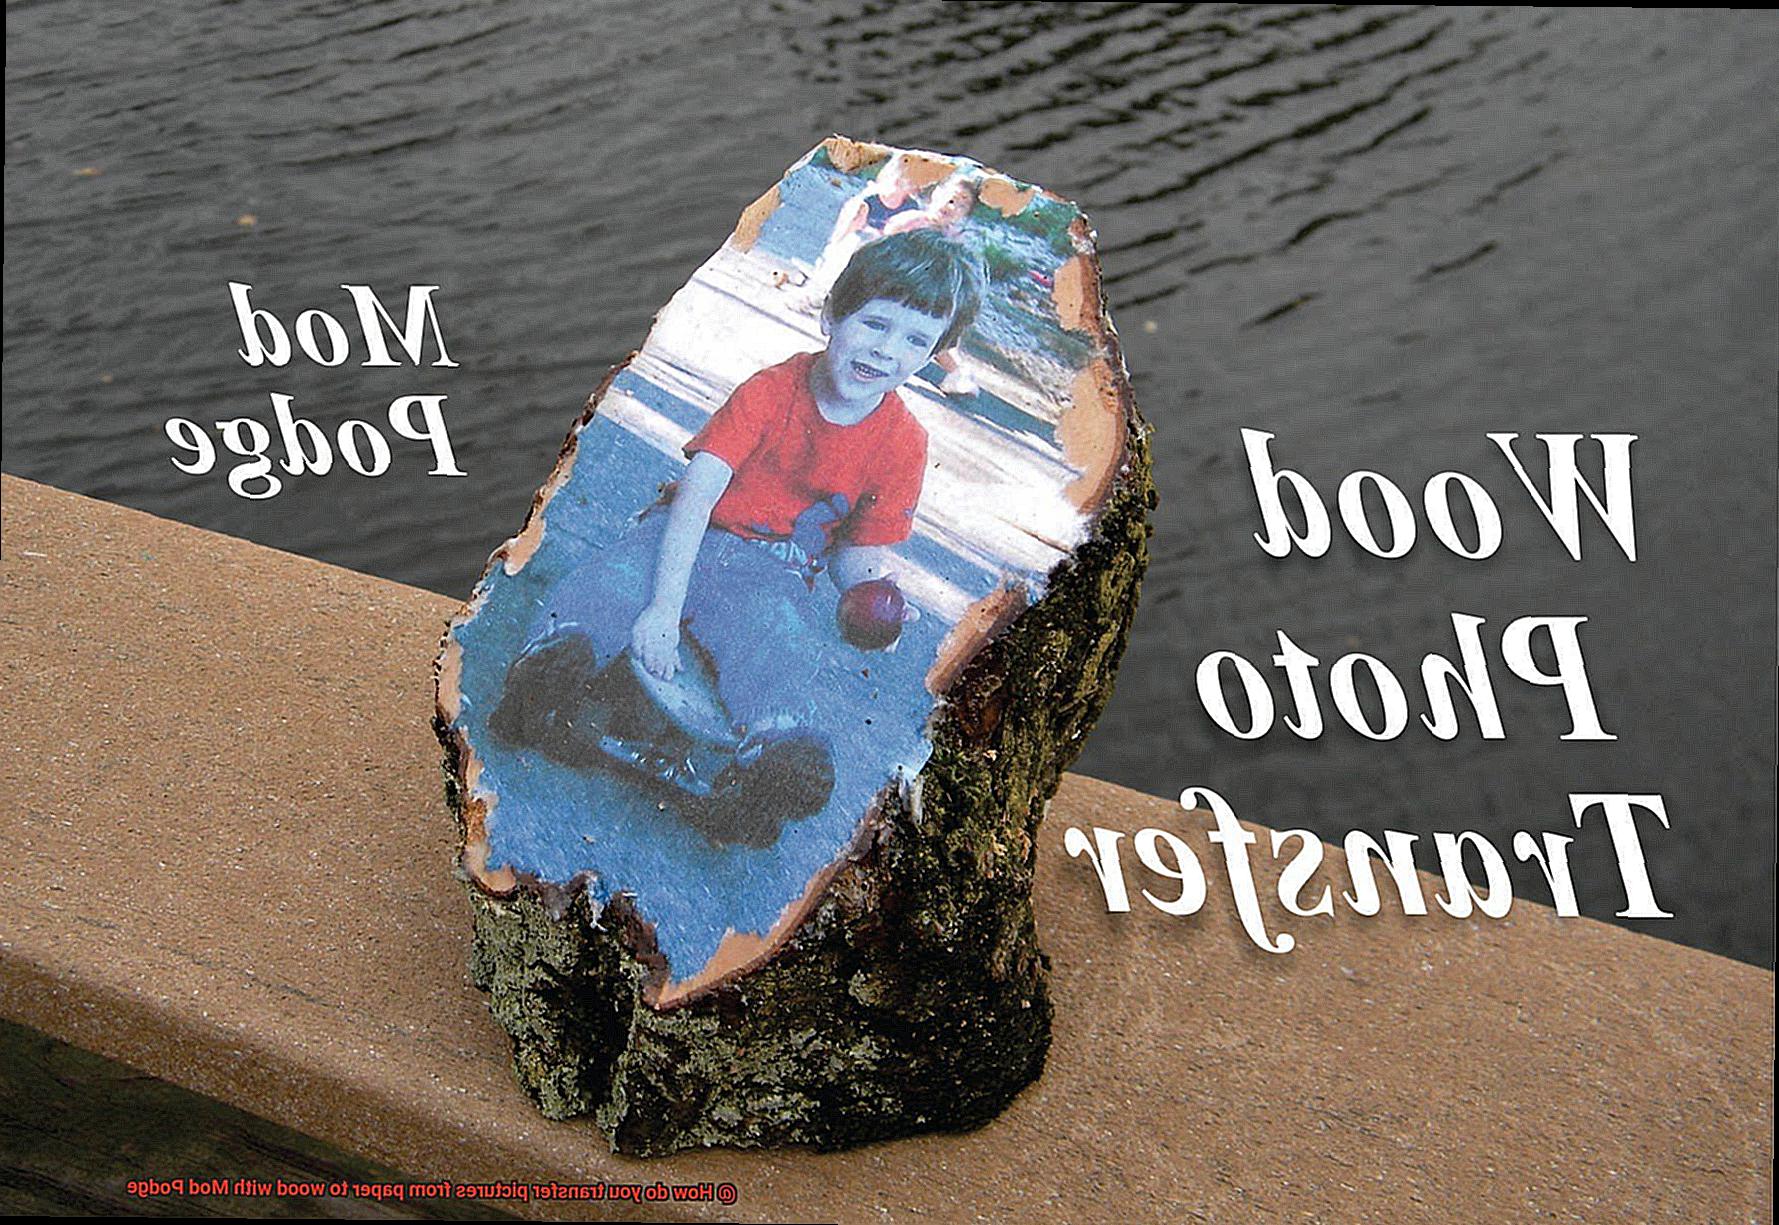
Do you have a precious picture that you want to preserve forever? Or maybe you’re looking for a creative way to add a personal touch to your home décor? Either way, transferring pictures from paper to wood using Mod Podge is the perfect solution.
Mod Podge has been a go-to adhesive for crafters of all levels for years. It’s versatile and can be used in various art and craft projects, including transferring pictures onto wood.
The best part? The process is straightforward and requires minimal effort. All you need are some basic materials and a sprinkle of creativity to turn your old memories into stunning works of art.
In this blog post, we’ll guide you through each step of the process on how to transfer pictures from paper to wood using Mod Podge. We’ll share some tips and tricks along the way to ensure that your project turns out flawlessly.
From selecting the right type of wood to choosing the perfect picture and applying just the right amount of Mod Podge, we’ve got you covered. Whether you’re revamping an old photo or trying out a new craft technique, we’ve got everything you need to know for a successful transfer.
So, if you’re ready to unleash your inner artist and create something truly special, keep reading.
Materials Needed for Picture Transfer
Contents
- 1 Materials Needed for Picture Transfer
- 2 Step-by-Step Guide to Transferring Pictures from Paper to Wood with Mod Podge
- 3 Preparing the Wooden Surface
- 4 Printing Out the Image on a Laser Printer
- 5 Applying Mod Podge to the Wooden Surface
- 6 Placing the Photocopy of the Image onto the Wooden Surface
- 7 Allowing Mod Podge and Paper to Dry Completely
- 8 Removing the Paper from the Wooden Surface
- 9 Conclusion
Look no further than picture transfer with Mod Podge. But before you get started on this fun and easy project, let’s gather the materials needed.
First and foremost, choose a smooth piece of wood that is free from bumps or rough spots. Sand down any imperfections to ensure the Mod Podge will adhere properly.
Next, print out your desired image on regular printer paper. Remember to reverse or mirror the image before printing to avoid any backwards results.
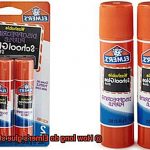
Now, let’s bring in the star of the show: Mod Podge. This versatile water-based sealer, glue, and finish comes in different finishes such as matte, glossy, and satin. Pick the finish that best suits your preference and project.
To apply the Mod Podge onto the wood and paper, use a foam brush or paintbrush with soft bristles to avoid damaging the delicate paper.
Lastly, grab a plastic card or scraper to help smooth out any bubbles or wrinkles in the paper during the transfer process. This will ensure that the final result has a smooth and even surface.
With these materials ready, it’s time to get creative. Experiment with different images and wooden surfaces to create unique and personalized home decor or gift items. Remember, crafting is supposed to be fun. Let your imagination run wild.
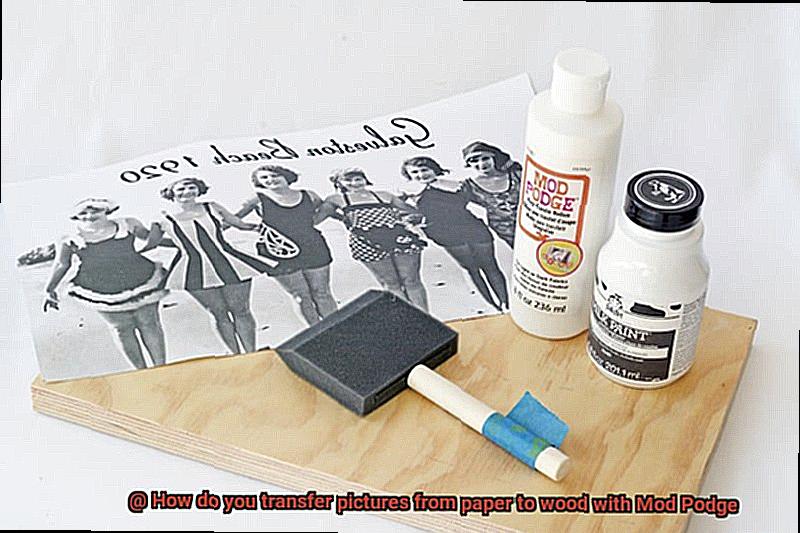
In summary, here are the materials needed for picture transfer with Mod Podge:
- A smooth piece of wood
- Printed image on regular printer paper
- Mod Podge (in desired finish)
- Foam brush or paintbrush with soft bristles
- Plastic card or scraper
Step-by-Step Guide to Transferring Pictures from Paper to Wood with Mod Podge
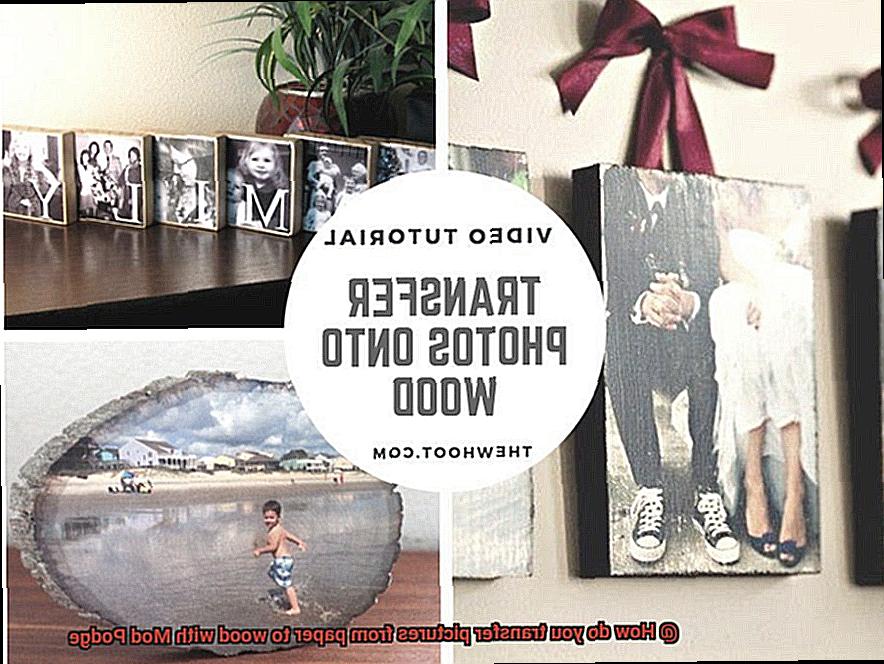
Transforming ordinary wood into a beautiful work of art has never been easier with this step-by-step guide to transferring pictures from paper to wood using Mod Podge. Whether you’re looking to add a personal touch to your living space or create a unique gift for a loved one, this fun and easy craft project is sure to impress.
Before getting started, gather all the necessary supplies including a smooth piece of wood, Mod Podge in your desired finish, a foam brush, a photocopy of the image you want to transfer, and some water. Remember to use a photocopy of your image so as not to damage the original.
Now that you have all your supplies ready, follow these simple steps:
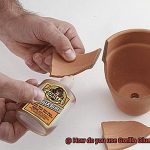
- Step 1: Apply a generous amount of Mod Podge onto the wood surface using the foam brush. Be sure to cover the entire surface evenly.
- Step 2: Place the photocopy image on top of the Mod Podge layer, making sure it is centered and straight.
- Step 3: Smooth out any air bubbles or wrinkles in the paper using a scraper or your fingers. Be careful not to tear the paper while smoothing it out.
- Step 4: Allow the Mod Podge to dry completely for at least 24 hours.
- Step 5: After 24 hours, it’s time to remove the paper. Dip a sponge or cloth in water and gently rub the surface of the paper until it begins to peel away from the surface. Continue wetting and rubbing until all the paper has been removed, revealing the transferred image on the wood surface.
- Step 6: Finally, seal the transferred image with another layer of Mod Podge to give it a glossy finish and protect it from damage. Allow this layer to dry completely before displaying or using your newly transferred picture.
Remember that patience is key when working with Mod Podge. Take your time and enjoy the process, and you’ll end up with a beautiful and unique piece of art that you can proudly display in your home or give as a gift to someone special.
Preparing the Wooden Surface
If you want to create a stunning piece of art with Mod Podge, don’t overlook the importance of properly preparing the wooden surface. This crucial step can make or break your picture transfer. As an expert on this topic, let me guide you through the necessary steps to ensure success.
First and foremost, sand the wooden surface with a medium-grit sandpaper, such as 120-grit, in the direction of the wood grain. This will create a smooth and even texture by removing any bumps or rough spots that may prevent proper adhesion of the Mod Podge.
Next, wipe down the wooden surface with a damp cloth to remove any sawdust or debris. It’s essential to let it dry completely before moving on to the next step.
Now, it’s time to apply a thin and even layer of Mod Podge using a foam brush or paintbrush. This step primes the wood and makes it receptive to the picture transfer. Be sure to cover all areas of the wood surface and allow it to dry completely before proceeding.
For added protection, repeat this process by applying a second coat of Mod Podge. This coat acts as a sealant that protects the transfer from any damage or wear and tear.
In summary, preparing the wooden surface involves sanding in the direction of the wood grain, wiping down with a damp cloth, applying a thin layer of Mod Podge, allowing it to dry completely, and repeating with a second coat. By following these simple steps, you can ensure that your picture transfer will be successful and long-lasting.
Printing Out the Image on a Laser Printer
Printing out your image on a laser printer is the first step in transferring stunning designs onto wood with Mod Podge, and it’s an essential part of the process.
Why is a laser printer so important, you ask? It all comes down to the toner. Unlike inkjet printers, which use water-based ink that smears and bleeds when exposed to Mod Podge, laser printers use toner, which is perfect for transferring images onto wood.
But before you hit that print button, there are a few things to keep in mind. First and foremost, make sure your image is in reverse or mirrored format since it will be facing the opposite direction once transferred onto the wood. Luckily, most image editing software has a “flip horizontal” or “mirror image” option to make this step easy.
Another crucial consideration is the type of paper you use. Regular printer paper won’t cut it – it’s too flimsy and prone to tearing or wrinkling during the transfer process. Instead, opt for a heavier weight paper like photo paper or cardstock for a more durable printout that can withstand the transfer process.
Once you’ve printed out your image, precision is key. Cut it out as close to the edges as possible with sharp scissors or a craft knife. This will reduce the amount of excess paper that needs to be removed later and ensure clean and precise edges on your final product.
Applying Mod Podge to the Wooden Surface
Well, it all starts with applying Mod Podge to a wooden surface, which is an essential step in the image transfer process.
To begin, take a foam brush or paintbrush and apply a generous layer of Mod Podge onto the wooden surface. Ensure that you cover the entire area evenly and smoothly, without leaving any clumps or bumps. Time is of the essence here, as Mod Podge dries relatively fast. Therefore, work quickly and efficiently, applying multiple layers if necessary, for better adhesion and a smoother finish.
However, before applying Mod Podge to your wooden surface, it’s crucial to prepare it appropriately. Clean the surface thoroughly and ensure that it’s dry and smooth without any irregularities like knots or cracks that could interfere with the image transfer. Use fine-grit sandpaper to sand the surface lightly and create an even, smooth texture for the adhesive to bond well.
Also, you need to consider the type of Mod Podge you’re using for your project. Mod Podge comes in various formulas like glossy, matte, satin, and outdoor types. Each type has unique properties and finishes that can affect the final outcome of your image transfer. It’s essential to choose wisely based on your desired result.
Placing the Photocopy of the Image onto the Wooden Surface
Transferring pictures from paper to wood using Mod Podge is a fun and easy DIY project that can give your space a unique and personalized look. But before you can start this process, you need to know how to place the photocopy of the image onto the wooden surface.
To begin with, ensure that your wooden surface is clean and free of any dirt or debris. A smooth and even surface will help in getting a clear picture transfer. Once the surface is ready, it’s time to prepare the photocopy of the image. Remember to print the image in reverse so that it appears correctly on the wooden surface. Trim the edges of the photocopy to fit the size of the wooden surface where you want to transfer the image.
Next, apply a generous amount of Mod Podge onto the wooden surface where you want to place the photocopy. Use a foam brush to spread the glue evenly on the surface. Make sure that you have applied an even layer of Mod Podge on the entire surface.
Now comes the most crucial step – placing the photocopy onto the wooden surface. Carefully place it onto one end of the surface and slowly press down on the paper, smoothing out any wrinkles or bubbles as you go along. Use a brayer or a credit card to press down firmly on the paper, ensuring that it adheres well to the wooden surface. Take your time with this step as it will determine how well your picture transfer turns out.
After placing the photocopy, allow the Mod Podge to dry completely before moving on to the next step. Depending on humidity and temperature, drying times may vary from 1-2 hours. Once dry, you can add another layer of Mod Podge for extra protection and a glossy finish.
In summary, placing the photocopy of the image onto the wooden surface is a crucial step in transferring pictures from paper to wood with Mod Podge. Here’s a quick recap of the steps involved:
- Ensure that your wooden surface is clean and smooth
- Print the image in reverse and trim the edges of the photocopy
- Apply a generous amount of Mod Podge onto the wooden surface
- Carefully place the photocopy onto the wooden surface, smoothing out any wrinkles or bubbles
- Allow the Mod Podge to dry completely before adding another layer for extra protection
Allowing Mod Podge and Paper to Dry Completely
Decoupage projects like transferring pictures from paper to wood with Mod Podge are a fun and easy DIY project that anyone can do. However, the key to achieving a successful transfer lies in one crucial step: allowing Mod Podge and paper to dry completely.
Why is this step so important, you might ask? Mod Podge is a water-based sealer, glue, and finish that needs time to dry and set properly. Rushing this step can cause the paper to wrinkle or peel off, ruining your project. To ensure your decoupage project turns out beautifully, follow these simple steps:
- Prepare the surface of the wood by sanding it lightly and wiping away any dust or debris with a clean cloth.
- Print the image you want to transfer onto regular printer paper using a laser printer. Remember, inkjet printers will not work for this method.
- Apply a generous layer of Mod Podge onto the wood surface using a foam brush or roller, ensuring full coverage.
- Carefully place the printed image face-down onto the Mod Podge-coated surface and smooth out any wrinkles or bubbles with your fingers or a brayer tool.
- Allow the Mod Podge and paper to dry completely. This can take anywhere from 24 hours to several days depending on the thickness of the Mod Podge layer and humidity levels in your area. Be sure to keep it in a dry place with good ventilation.
- Once dry, dampen a sponge or cloth with water and gently rub it over the paper in circular motions to remove the paper backing from the image. Be careful not to rub too hard, as this could cause damage to your transferred image.
- Allow the surface to dry completely again before applying any additional layers of Mod Podge or finishes.
Removing the Paper from the Wooden Surface
Before you can start transferring pictures from paper to wood using Mod Podge, it is crucial to remove the paper from the wooden surface. Fortunately, there are a few different methods you can try, depending on your preference and available supplies.
One of the most common approaches is to use a damp cloth or sponge to wet the paper. This will soften it and make it easier to peel off. Simply apply the damp cloth or sponge to the paper, let it sit for a minute or two, and then gently scrape it away with a plastic scraper or your fingers. This method is ideal for removing thin or delicate paper.
If the paper is being stubborn, you can also try using sandpaper. Use fine-grit sandpaper and work slowly and carefully, ensuring not to scratch the image underneath. This method is especially useful if the paper has been glued on for a long time and is firmly stuck in place.
Regardless of which method you choose, it’s essential to take your time and be patient. Rushing through this step can lead to damage to the wooden surface or the transferred image. It’s also a good idea to use a magnifying glass or other tool to get a closer look at any small details or areas that need extra attention.
Once you have successfully removed the paper, it’s time to move on to the next step in the transfer process: applying Mod Podge. Before applying Mod Podge, ensure that both the wooden surface and paper are completely dry. You may also want to consider lightly sanding the wooden surface for better adhesion.
Rt3EBRTJI1o” >
Conclusion
To sum up, Mod Podge is a fantastic tool for transferring pictures from paper to wood, allowing you to create unique and personalized home decor or gifts. The process is straightforward: select the right type of wood, print the desired image on regular printer paper, apply Mod Podge onto both surfaces, smooth out any bubbles or wrinkles with a plastic card or scraper, let it dry completely for at least 24 hours, and remove the paper from the wooden surface.
However, success in this project hinges on proper preparation. You must sand down the wooden surface with medium-grit sandpaper and wipe it down with a damp cloth before applying a thin and even layer of Mod Podge. It’s also critical to print out the image in reverse format on heavier weight paper like photo paper or cardstock.
When using Mod Podge, patience is key. Rushing through any step can damage the wooden surface or transferred image. Therefore, allowing ample drying time is essential.
In conclusion, transferring pictures from paper to wood using Mod Podge unleashes your inner artist while preserving precious memories.