Welcome to our blog post on the fascinating topic of gluing metal to MDF.
Whether you’re a DIY guru or a seasoned carpenter, there may come a time when you need to stick some metal bits onto Medium-Density Fiberboard (MDF). Now, I know what you’re thinking – how in the world do you make those two materials stick together?
Well, fret not my friend, because we’ve got your back with simple and straightforward instructions. In this post, we’ll explore different types of glue, talk about prepping your surfaces, and give you all the tips and tricks you need for a rock-solid bond.
So get ready to dive into the wonderful world of metal-MDF adhesion and discover how to create a connection that’s as sturdy as it is seamless.
What You Need to Glue Metal to MDF
Contents
- 1 What You Need to Glue Metal to MDF
- 2 Preparing the Metal and MDF Surfaces
- 3 Applying the Adhesive
- 4 Pressing the Metal and MDF Together
- 4.1 Step 1: Surface Preparation – Unleashing the Power of Cleanliness
- 4.2 Step 2: The Right Adhesive – Embarking on a Quest for Perfection
- 4.3 Step 3: The Dance of Compatibility – A Ballet of Assurance
- 4.4 Step 4: The Artful Application – Brushing Elegance onto Both Surfaces
- 4.5 Step 5: Aligning and Pressing – The Embrace of Precision
- 4.6 Step 6: The Essence of Time – Patience as the Ultimate Virtue
- 5 Curing Time for Adhesive Bonding
- 6 Considerations for Different Types of Metals
- 7 Testing the Adhesive Before Use
- 8 Conclusion
Creating a strong and lasting bond between metal and MDF may seem challenging, but with the right tools and techniques, it can be achieved. In this comprehensive guide, we will take you through the step-by-step process of gluing metal to MDF, highlighting the materials needed and best practices for success.
Materials Needed:
To glue metal to MDF, gather the following materials:
- High-quality adhesive (epoxy is recommended for its strong bonding properties)
- Mild detergent or alcohol-based cleaner
- Sandpaper or sanding block
- Clean cloth
- Brush or applicator
- Clamps or weights (optional)
- Screws or nails (for additional support, if necessary)
Step 1: Surface Preparation
Before applying any adhesive, it is crucial to ensure that both the metal and MDF surfaces are clean and free from dirt, dust, or grease. Use a mild detergent or alcohol-based cleaner to thoroughly clean the surfaces. After cleaning, make sure to dry them completely before proceeding.
Step 2: Roughen the Surfaces
To enhance adhesion, create a rough texture on both the metal and MDF surfaces using sandpaper or a sanding block. This roughening process provides increased surface area for the adhesive to bond to, resulting in a stronger connection.
Step 3: Apply the Adhesive
Follow the instructions on the adhesive packaging carefully. If using epoxy adhesive, mix the two components together according to the instructions. Use a brush or applicator to spread a thin layer of adhesive onto both the metal and MDF surfaces.
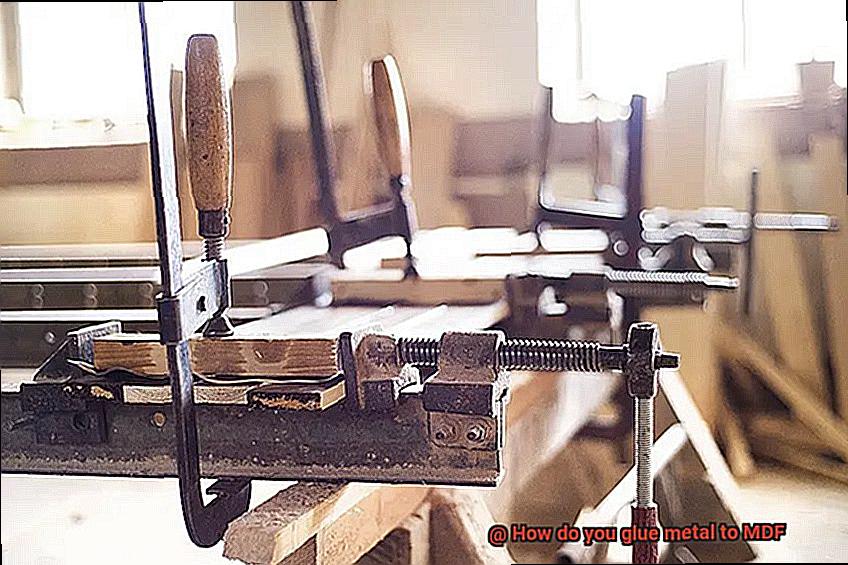
Step 4: Align and Apply Pressure
Carefully align the metal piece with the desired location on the MDF surface. Apply pressure evenly across the metal piece to ensure proper bonding. For added stability during curing, consider using clamps or weights to hold the metal piece in place.
Step 5: Additional Support (if necessary)
For larger or heavier metal pieces, additional support may be required. To provide extra stability and prevent detachment over time, consider using screws or nails in conjunction with the adhesive.
Preparing the Metal and MDF Surfaces
Properly preparing the surfaces of metal and MDF is essential for achieving a strong and durable bond when gluing them together. Let’s dive into the necessary steps to prepare these surfaces before applying any adhesive.
Starting with the metal surface, we encounter a bit of a challenge. Metal is often smooth and nonporous, making it difficult for adhesive to stick. But fear not. There is a solution. Grab some sandpaper or a sanding block and get ready to roughen things up. Begin with a low grit sandpaper to remove dirt, debris, and protective coatings. Then, gradually work your way up to a higher grit for a smoother finish. This extra step will make all the difference.
After sanding, it’s time to clean that metal surface like there’s no tomorrow. Use a mild detergent or degreaser along with a clean cloth or sponge to ensure it’s squeaky clean and free from oil or grease. Rinse off any cleaning agents and let it dry completely. Remember, cleanliness is key.
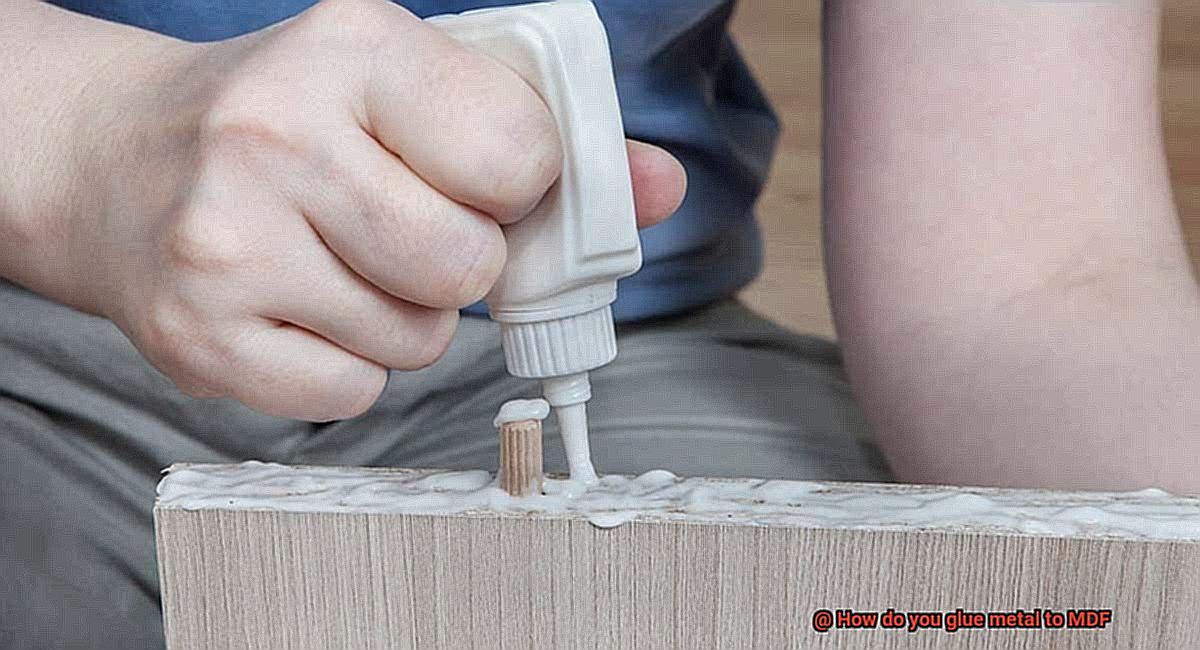
Now, let’s move on to the MDF surface. This material is typically more porous than metal, so we need to take some different steps here. Start by inspecting the MDF for imperfections such as rough edges or splinters. Smooth them out with sandpaper or a sanding block until you have a nice even surface.
Once you’ve tackled those imperfections, it’s time to give that MDF surface a thorough cleaning. Use a clean cloth or brush to remove any loose particles and check for any oily or greasy stains. If you find any, grab that mild detergent or degreaser and give it a good scrubbing. Rinse off the cleaning agents and let it dry completely.
Now that both surfaces are prepared, it’s crucial to make sure they’re completely dry before applying any adhesive. Moisture can weaken the bond over time, so be patient and give those surfaces some time to air dry.
Applying the Adhesive
Applying the Adhesive: The Secret to a Rock-Solid Connection between Metal and MDF
When it comes to melding metal and MDF together, the key to success lies in one crucial step: the proper application of adhesive. Don’t underestimate this seemingly minor detail – it can make all the difference between a feeble bond and a robust connection that withstands the test of time. So, let’s embark on an exploration of adhesives and delve into the process of applying them.
First and foremost, selecting the right adhesive is paramount. With a plethora of options at your disposal – epoxy, construction adhesive, contact cement – it’s essential to research and choose the one that perfectly aligns with your project’s requirements. Each adhesive boasts its own unique advantages and disadvantages, so take your time to make an informed decision.
Once you have procured your adhesive, it’s time to prepare the surfaces. Don’t skimp on cleanliness – ensure that both the metal and MDF surfaces are devoid of any dust, debris, oil, or grease. A quick wipe-down with a clean cloth should suffice. Moreover, to enhance adhesion, consider roughening up the smooth surface of the metal with sandpaper.
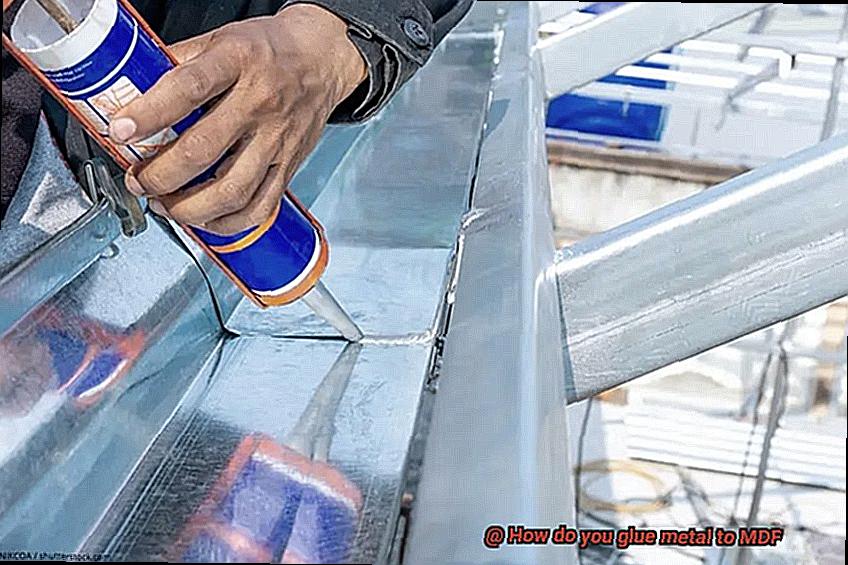
Now comes the pivotal moment – applying the adhesive. Follow the manufacturer’s instructions meticulously to achieve proper application. Depending on your chosen adhesive, you may need a brush, roller, or applicator to evenly distribute it across both surfaces. Take your time and be meticulous – aim for a thin, uniform layer that blankets the metal and MDF.
But we’re not done yet – joining the metal and MDF is next on our list. It is imperative to firmly clamp them together while allowing the adhesive to cure. This prevents any movement that could potentially undermine the bond’s strength. Remember, patience is paramount – adhere to the recommended curing time before releasing those clamps.
As with any endeavor, troubleshooting may be necessary at times. If you notice pesky air bubbles trapped within the adhesive, employ a roller or scraper to eliminate them before the adhesive dries completely. This ensures a smooth and unyielding connection between the metal and MDF.
Pressing the Metal and MDF Together
Fear not. In this blog post, we will explore the process of pressing metal and MDF together, unlocking the secrets to achieving a bond that will stand the test of time. So, grab your tools and let’s embark on this captivating journey.
Step 1: Surface Preparation – Unleashing the Power of Cleanliness
Before the magic happens, it is imperative to prepare the surfaces meticulously. The metal surface must be cleansed of any oils or contaminants using a clean cloth or rag. As for the MDF, a gentle sanding will create a textured canvas, ensuring optimal adhesion.
Step 2: The Right Adhesive – Embarking on a Quest for Perfection
Selecting the perfect adhesive is the key to unlocking a formidable bond. Seek out epoxy-based adhesives specifically designed for bonding metal to wood or MDF surfaces. These remarkable adhesives boast unparalleled strength and adhere flawlessly to both materials.
Step 3: The Dance of Compatibility – A Ballet of Assurance
To avoid any unwelcome surprises, test the adhesive on an inconspicuous area of both surfaces. This enchanting performance will ensure compatibility, preventing any potential damage or unexpected reactions.
Step 4: The Artful Application – Brushing Elegance onto Both Surfaces
Following the maestro’s instructions, gracefully apply a thin layer of adhesive onto both surfaces with a brush or spatula. Each stroke paints an even coat, laying the groundwork for a bond that will captivate.
Step 5: Aligning and Pressing – The Embrace of Precision
Delicately align the metal piece with the corresponding area on the MDF, as if two lovers finding their perfect fit. Pay meticulous attention to alignment, for any misstep may result in a weak bond or an uneven finish. Gently press the metal onto the MDF, applying a symphony of even pressure across the entire surface. Employ clamps, weights, or even a majestic hydraulic press, tailored to the weight and size of the metal piece.
Step 6: The Essence of Time – Patience as the Ultimate Virtue
Patience, dear friend, is the greatest virtue in this creative realm. Allow ample time for the adhesive to cure and forge an unbreakable bond between metal and MDF. The length of this transformative process depends on the adhesive chosen. Seek guidance from the maestro’s instructions and resist the siren call of premature testing, for it may rob your bond of its true strength.
Curing Time for Adhesive Bonding
Curing time is the enchanting transformation that takes place when a liquid or semi-liquid adhesive turns into a solid bond. When it comes to adhesive bonding, especially when gluing metal to MDF, getting the curing time just right is like conjuring a spell that creates a bond as strong as a knight’s armor.
Our hero in this mystical realm is epoxy adhesive. Known for its exceptional bonding capabilities, epoxy is perfect for gluing metal to MDF. However, it needs at least 24 hours to fully cure. So be patient, my friend, and let the magic work its wonders.
But what factors influence this magical curing time? Let’s unravel this mystery together.
First, let’s talk about the type of adhesive we’re using. In this case, epoxy is our champion. But there’s more to consider. Temperature and humidity also play a significant role in the curing time of our adhesive.
Higher temperatures can speed up the curing process, while lower temperatures slow it down. Picture a fiery forge that hastens the transformation or a cool breeze that slows it down. Find that sweet spot where your adhesive can work its magic.
Humidity has its say too in this enchanting tale. High humidity levels may extend the curing time, while low humidity can hasten it. So keep an eye on those moisture levels, my friend, and create an atmosphere where your adhesive can thrive.
But there’s more. The thickness of the adhesive layer matters too. Thicker layers may require more time to cure compared to thinner layers. Remember, patience is key in this journey.
To create the perfect environment for our adhesive to work its magic, follow the instructions provided by the manufacturer. Maintain a temperature and humidity range specified by them and avoid exposing the bonded materials to excessive heat or moisture during the curing period. We want our bond to be as strong as a dragon’s grip, don’t we?
In some cases, we can use accelerators or catalysts to speed up the curing time. These magical potions are particularly handy when time is of the essence or when working with large or complex assemblies. But be cautious. Follow the instructions provided by the adhesive manufacturer, or you may end up with a weak bond or other troubles.
Considerations for Different Types of Metals
Gluing metal to MDF may seem like a challenging task, but with the right adhesive and surface preparation, you can create a strong and durable bond. In this blog post, we will explore the considerations for different types of metals when gluing them to MDF. So, let’s dive in.
Non-Ferrous Metals:
Non-ferrous metals like aluminum, copper, and brass are lightweight and corrosion-resistant. However, their smooth and non-porous surfaces can pose difficulties in achieving a strong bond. To enhance adhesion, lightly sand the metal surface or use a primer designed for metal-to-MDF bonding. By creating a rougher surface texture, you provide more surface area for the adhesive to grip onto, ensuring a secure bond between the metal and MDF.
Ferrous Metals:
Ferrous metals such as steel and iron are known for their strength and durability. Proper surface preparation is vital to prevent rust and corrosion. Clean the metal surface thoroughly before applying an adhesive specifically formulated for bonding metal to wood. Additionally, consider using an epoxy adhesive that can withstand the weight and stress that may be exerted on the bond. This ensures a long-lasting connection between the metal and MDF.
Stainless Steel:
Stainless steel is resistant to rust and corrosion, making it a popular choice. However, its smooth surface may hinder adhesive bonding. To overcome this challenge, roughen the stainless steel surface using sandpaper or an abrasive pad before applying the adhesive. This creates tiny scratches on the surface, allowing the adhesive to grip tightly onto the metal. Using a high-quality epoxy adhesive or a structural adhesive designed for stainless steel can further enhance the bond strength.
Galvanized Metal:
Galvanized metal is coated with zinc for corrosion resistance. The zinc layer can act as a barrier to adhesion. Lightly sand the galvanized surface or use a primer designed for bonding galvanized metal to wood. This helps remove the zinc coating and allows the adhesive to directly bond with the metal surface. Consider using a polyurethane adhesive, as it provides excellent bonding strength and resistance to moisture, ensuring a reliable bond between the galvanized metal and MDF.
Other Specialty Metals:
Specialty metals like bronze, titanium, and nickel may require specialized adhesives or surface preparation techniques due to their unique properties. Consult adhesive manufacturers’ guidelines or seek expert advice when working with these metals. They can provide valuable insights into the best adhesive options and surface preparation methods for bonding these specialty metals to MDF. Taking the time to research and choose the appropriate adhesive ensures a successful bond that withstands the specific demands of each specialty metal.
Testing the Adhesive Before Use
Today, we are delving into the fascinating world of testing adhesives before embarking on the journey of bonding metal to MDF. This step is absolutely crucial for achieving a successful and long-lasting bond. So, put on your lab coat and let’s dive into the exciting realm of adhesive testing.
First and foremost, selecting the right adhesive is paramount. Not all glues are created equal, my friends. You need an adhesive specifically designed for bonding metal to MDF. Think of it as finding the perfect match on a dating app – compatibility is everything.
Now, let’s move on to the exhilarating part – testing. Grab a small sample piece of metal and MDF, and apply a small amount of adhesive. Allow it to dry or cure according to the manufacturer’s instructions. Once it’s set, give it a good tug or apply some pressure to see if it holds up. We don’t want any weak bonds here.
But wait, there’s more. Consider factors like temperature and humidity during testing. Adhesives can be moody creatures, performing differently under varying conditions. So, make sure your tests mimic the environment in which your final masterpiece will live. This will ensure that your bond remains strong in any situation.
Don’t forget about compatibility, folks. Some adhesives may not play well with certain metals or MDF finishes. Avoid any dramatic breakups by testing a small amount in an inconspicuous area of both materials. We don’t want any chemistry experiments gone wrong here.
Lastly, testing helps you determine the drying or curing time needed for optimal bond strength. Each adhesive has its own timeline, so this step is like waiting for the glue to reach its full superhero strength – patience pays off.
wNoom54j8I0″ >
Conclusion
In conclusion, the process of gluing metal to MDF may initially appear daunting, but fear not. With the right materials and techniques, you can achieve a successful bond that is strong and durable.
To begin, it is crucial to prepare the surfaces properly. Ensure that both the metal and MDF are spotless, free from any dirt or grease. Give them a thorough cleaning with mild detergent or an alcohol-based cleaner, and be sure to dry them completely.
Next, it’s time to roughen up those surfaces for enhanced adhesion. Grab some sandpaper or a sanding block and create a textured surface on both the metal and MDF. This extra texture provides more area for the adhesive to grip onto.
Now comes the exciting part – selecting your adhesive superhero. For optimal bonding power, epoxy is your go-to choice. Follow the instructions on the packaging diligently, and if using epoxy, make sure to mix those components together like a chemist in action.
Using a brush or applicator, apply a thin layer of adhesive onto both the metal and MDF surfaces. Take care to align your metal piece precisely where you want it on the MDF surface. Then apply even pressure across the entire metal piece to ensure a perfect bond.
If you’re dealing with larger or heavier metal pieces that need some extra support, don’t fret. Consider using screws or nails in conjunction with the adhesive for added stability during curing. It’s like giving your project an extra security blanket.
But wait. Before you jump into celebrating your masterpiece-in-the-making, give that adhesive ample time to cure according to its manufacturer’s instructions. Patience is key here. Avoid subjecting your creation to any stress or load until it’s fully cured and ready for action.
By following these steps – preparing surfaces meticulously, selecting an adhesive superstar like epoxy, applying it carefully with precision, considering additional support when needed, and allowing proper curing time – you can confidently conquer any project involving the mighty duo of metal and MDF.
So go forth, my friend, and fearlessly tackle your next creative endeavor.