Its fancy feel and classy look can take any project from ordinary to extraordinary. Whether you’re jazzing up your home decor, creating show-stopping costumes, or unleashing your crafty side, knowing how to glue down velvet properly is the secret sauce for a flawless finish.
In this ultimate guide, we’ll walk you through the nitty-gritty of gluing down velvet like a pro. From gathering your supplies to mastering the techniques, we’ve got you covered.
First things first, let’s gather our tools:
- Velvet fabric: Pick a color and texture that screams “wow” for your project. Smooth out any wrinkles or creases before getting started.
- Fabric glue: Don’t settle for just any old glue. Find a high-quality fabric glue specially made for delicate materials like velvet. This way, you’ll get a strong bond without risking damage or unsightly stains.
Now that we’ve got our gear ready, let’s dive into the process:
How do you glue down velvet?
Contents
Step 1: Prep the surface
Before gluing down velvet, make sure the surface is squeaky clean and dry as a bone. No dust or debris should be in sight. This will ensure maximum stickiness and a long-lasting hold.
Step 2: Cut and fit with precision
Measure twice, cut once. Carefully measure and cut the velvet fabric according to your project’s dimensions. Be precise to avoid wasting any precious material. And remember to leave a little extra around the edges for that seamless finish.
Step 3: Get sticky with it
Time to whip out that fabric glue. Using a small brush or even a toothpick (we won’t judge), spread a thin layer of glue evenly on the backside of the velvet fabric. Cover every inch, paying extra attention to those edges. But beware of going overboard – too much glue can create a mess.
Step 4: Press and secure
Gently place the velvet fabric onto the prepared surface, starting from one end and working your way across. Take your time to align those edges perfectly for a symmetrical look. Now, press down firmly but gently to make sure it sticks like glue (pun intended).
Step 5: Let it dry, baby.
Give your glued velvet some alone time to dry properly. Check the fabric glue packaging for the recommended drying time. Don’t rush this step – patience is key. This
Gather Necessary Materials
Gluing down velvet may seem intimidating at first, but with the right materials and techniques, you can achieve stunning results. In this blog post, we will explore the necessary materials needed for successful velvet gluing and provide expert tips to ensure a seamless process.
Velvet fabric:
Choose the perfect velvet fabric for your project, considering color, texture, and weight. Whether it’s upholstery, fashion, or crafts, the right velvet will enhance your creation.
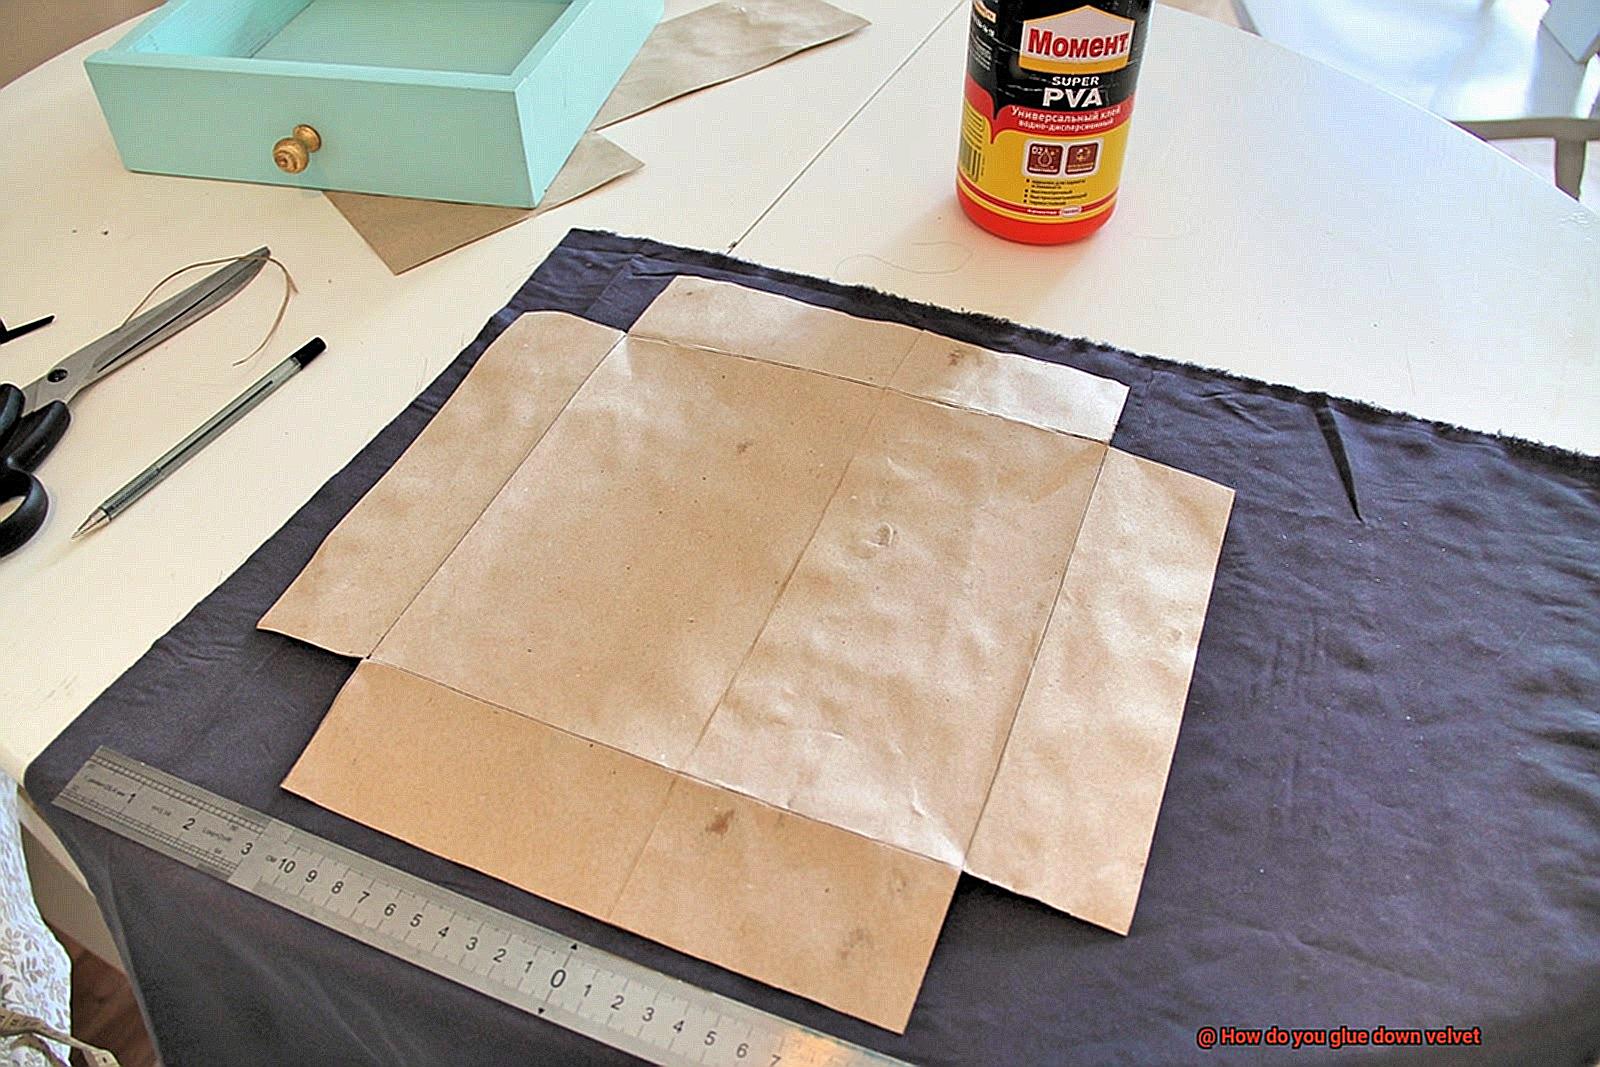
Fabric glue:
Select fabric glue specifically designed for textiles. Look for clear-drying and flexible adhesive to avoid damaging delicate velvet fibers. Test compatibility on a small area before proceeding.
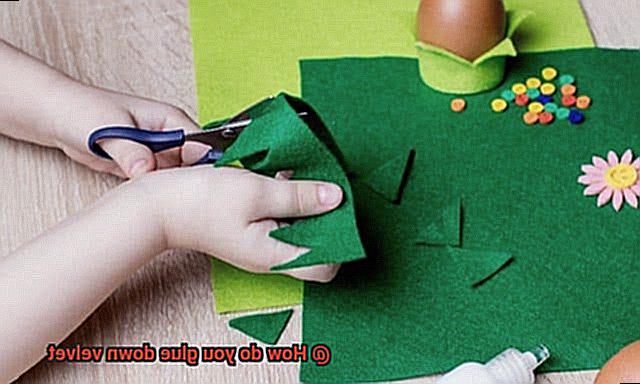
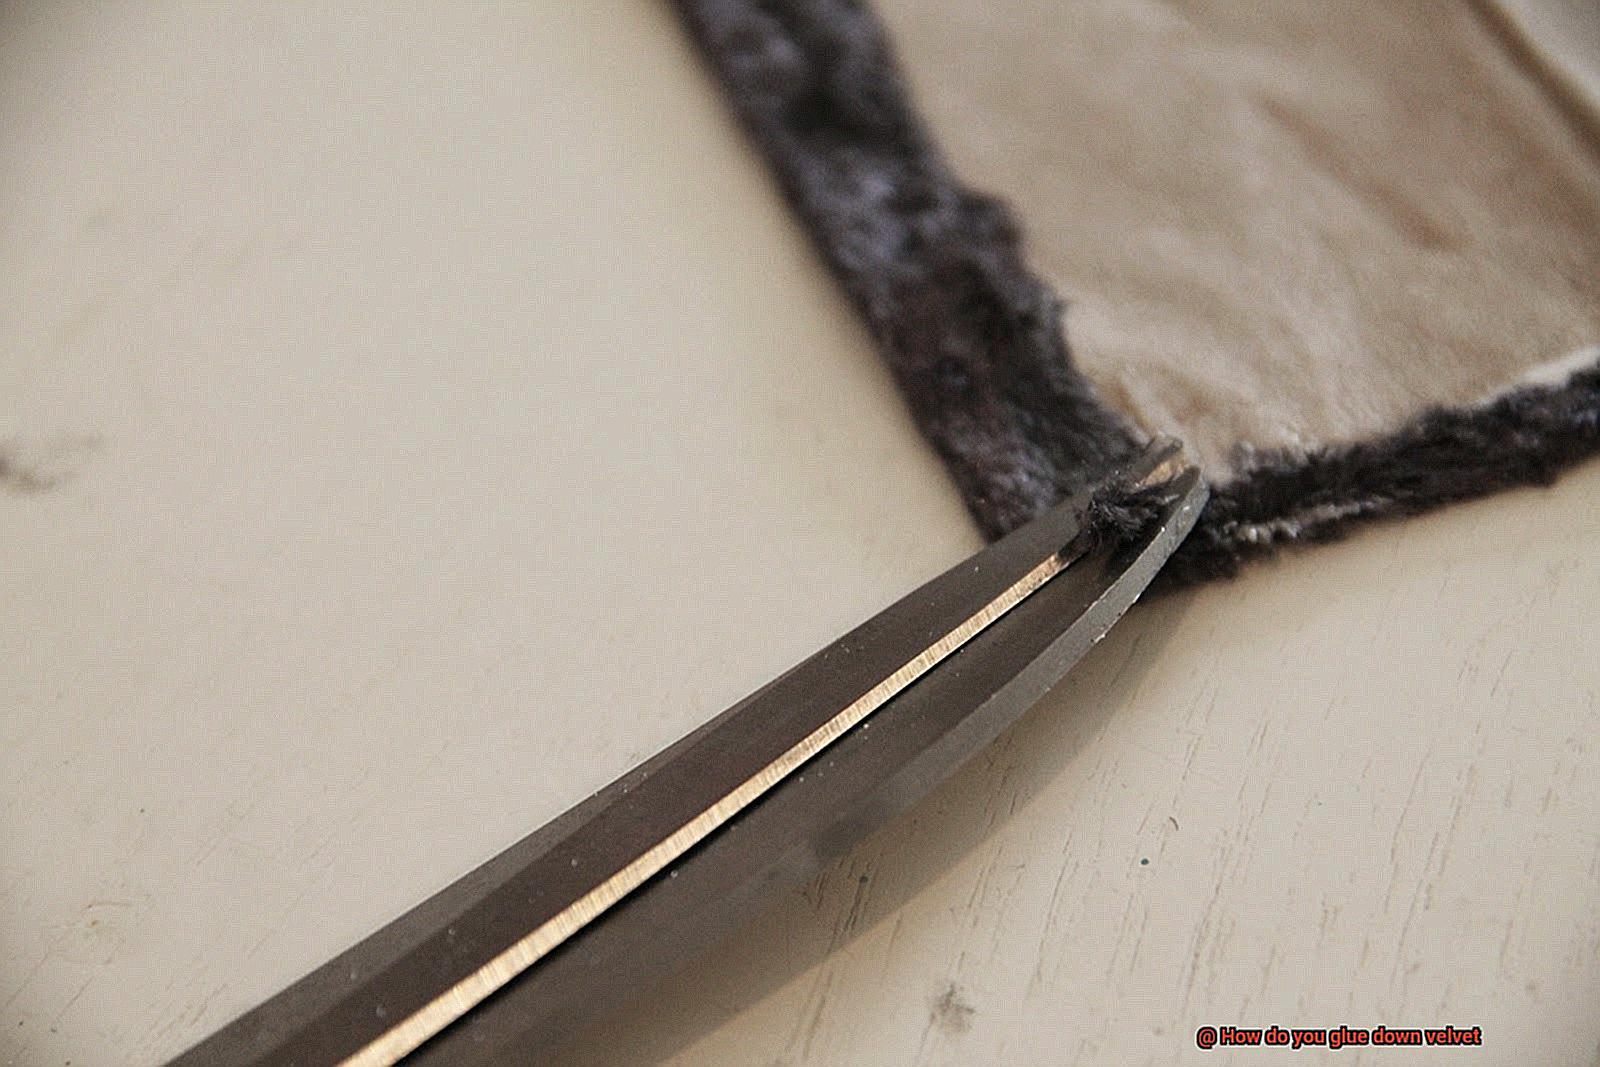
Sharp scissors:
Trim excess fabric and threads with sharp scissors for a clean, professional finish.
Soft-bristle paintbrush:
Apply glue evenly onto the velvet fabric using a small paintbrush with soft bristles. This prevents damage to delicate fibers and ensures a smooth application.
Protective surface:
Lay down a plastic sheet or old newspaper to protect your workspace from glue drips or spills. This makes cleanup easier and prevents damage to your work area.
Weights or clamps:
Hold glued velvet in place until it dries completely by using weights or clamps suitable for delicate fabrics. This ensures a secure bond and prevents shifting or wrinkling.
Optional embellishments:
For added flair, gather embellishments like beads, sequins, or buttons that are suitable for fabric glue. Follow adhesive manufacturer’s instructions for secure attachment.
Pro Tips:
- Prepare the velvet surface by ironing out wrinkles or creases using low heat.
- Work in small sections during the gluing process for control and precision.
- Apply a thin layer of fabric adhesive evenly on the backside of the velvet to prevent excess glue seepage.
- Use masking tape or pins to hold the fabric in place while it dries, but avoid touching adhesive directly.
- Allow sufficient drying time as per adhesive manufacturer’s instructions before removing tape or pins.
- Inspect for residue or excess glue and gently remove using a mild solvent recommended by the adhesive manufacturer.
Prepare the Velvet Surface
If you’re a craft enthusiast or DIY lover, get ready to take your velvet projects to the next level with these expert tips on preparing a velvet surface for gluing. With proper preparation, you can ensure a strong and long-lasting bond that showcases the beauty of velvet fabric.
Cleanliness is Key:
Before reaching for glue, ensure your velvet surface is clean and free of dust, dirt, or debris. Use a soft brush or vacuum cleaner to gently remove any particles that could interfere with adhesion.
Spot Cleaning:
Inspect the velvet for stains or spots. Treat them with a mild detergent mixed with water, dabbing gently with a clean cloth. Avoid excessive rubbing to prevent damage or spreading the stain further.
Test Run:
Perform a small test by applying glue to an inconspicuous area of the fabric. Let it dry according to the manufacturer’s instructions and check for any adverse effects like discoloration or texture alterations.
Fabric Stiffener or Adhesive Primer:
Consider using a fabric stiffener or adhesive primer designed for velvet to enhance adhesion and prevent fraying. Apply them evenly using a brush or sponge, following the instructions provided.
Choose the Right Adhesive:
Select an adhesive suitable for both fabric and the surface you’ll be gluing the velvet to. Options include fabric glue, spray adhesive, or hot glue guns. Make sure it meets your project requirements and personal preference.
Apply Adhesive in Small Sections:
Work in small sections rather than applying adhesive all over at once. This approach allows better control and prevents premature drying. Apply a thin, even layer onto the backside of the fabric, covering the entire area to be glued down.
Attach Velvet with Care:
Position the velvet onto the desired surface carefully, pressing firmly for a strong bond. Smooth out wrinkles or bubbles as you go, starting from one end and working your way across. Avoid stretching or distorting the fabric.
Patience is a Virtue:
Allow sufficient drying time for the adhesive to cure completely. Follow the manufacturer’s instructions, as drying times may vary. Avoid manipulating the fabric until the glue has fully cured to maintain a strong bond.
Determine the Glue Area
Get ready to unleash your creativity and create stunning projects that showcase the beauty of this luxurious fabric. But before you get started, let’s explore the concept of the “Glue Area” and how to determine it for your velvet projects.
First things first, let’s assess the size and shape of your project. Take precise measurements and note any curves or irregularities that may require extra attention during the gluing process. Whether you’re working on a furniture makeover or a craft project, understanding the dimensions of your project will help you determine the amount of velvet fabric needed and subsequently calculate the glue area.
Now, let’s talk adhesive. The type of glue you choose depends on several factors: the type of velvet fabric, the surface material, and the intended use of your finished project. From fabric glue to hot glue or spray adhesive, there are various options available. Make sure to read the manufacturer’s instructions to determine the appropriate application methods and coverage areas for your chosen adhesive.
Once you’ve decided on the adhesive, it’s time to calculate how much glue you’ll need. This step is crucial for estimating the glue area required for proper adhesion. Consider factors such as the thickness of the glue layer and whether you need to apply it only on the edges or cover the entire surface. By taking these factors into account, you can accurately determine the glue area needed for your project.
In some cases, you might need to apply glue on both the surface and the backside of the velvet fabric. This is especially important for heavier or thicker fabrics that require extra stability. Remember to factor in both sides when determining the glue area.
With all calculations done, it’s time to apply the adhesive. Take caution and precision during this step. Use a small brush or spatula to spread an even layer of glue onto the determined glue area. Be careful not to apply too much pressure or force that could damage the fabric or cause excess glue to seep through.
Apply the Fabric Adhesive
Velvet, a fabric renowned for its luxurious texture and timeless appeal, has the power to elevate any project to new heights. Whether you’re revamping furniture or indulging in a crafty venture, gluing down velvet requires careful consideration and precise application of fabric adhesive. In this comprehensive guide, we’ll walk you through the steps of applying fabric adhesive, ensuring a secure and long-lasting bond. Prepare to unlock your creative prowess and embark on a journey of velvet transformation.
Step 1: Selecting the Perfect Adhesive
Before diving into your velvet endeavor, it’s crucial to select the right type of fabric adhesive. The market offers various options such as fabric glue, hot glue, or spray adhesive. Consider factors such as the type of fabric, surface material, and intended use of your finished masterpiece. To ensure compatibility with velvet and determine suitable application methods and coverage areas, read the manufacturer’s instructions carefully.
Step 2: Preparing the Velvety Surface
To achieve flawlessness in application, it’s essential to prepare the surface of the velvet fabric. Begin by gently brushing the fabric with a soft brush or cloth to remove any dust or debris. This meticulous step creates a clean bonding surface free from interference with the adhesive.
Step 3: The Art of Applying Adhesive
Now comes the exciting part – applying the fabric adhesive. Start by generously applying a thin layer of adhesive to both surfaces that will be glued together. Achieve even distribution by using a small brush or spreading the adhesive with a spatula or palette knife. Pay attention to detail during this step to ensure an unwavering bond.
Step 4: Allow Time for Drying
After applying the adhesive, exercise patience and allow it to dry for the recommended amount of time. Note that drying instructions may vary depending on the adhesive used, so refer to the manufacturer’s guidelines. During this period, avoid touching or moving the fabric to prevent any disruption to the bonding process.
Step 5: Firmly Press for an Unbreakable Bond
Once the adhesive has dried, it’s time to unite the surfaces and create a secure bond. Apply even pressure across the entire surface using a roller or by pressing down firmly with your hands. This step guarantees that the velvet fabric adheres firmly to the chosen surface, creating a bond that will withstand the test of time.
Step 6: Allow for Complete Curing
After gluing down the velvet, allow it to fully cure before using or wearing the item. The curing time can vary depending on the adhesive used, so refer to the manufacturer’s instructions. This final step ensures that the bond reaches its maximum strength and durability.
Press Down the Velvet
However, achieving a flawless and wrinkle-free finish before gluing can be a challenge. Fear not. In this guide, we will unlock the secrets to pressing down velvet with finesse and precision.
First and foremost, it is crucial to identify the type of velvet you are working with. Whether it’s silk, cotton, or synthetic fibers, each variant requires specific heat settings and precautions during pressing. To avoid any unwanted surprises, consult the manufacturer’s instructions or conduct a small test on a scrap piece of fabric.
Now that you know your velvet’s composition, let’s set up our pressing station. Grab your trusty ironing board and preheat your iron to the recommended temperature. Protect the delicate fibers of your velvet by placing a clean cotton cloth or pressing cloth over the fabric. This barrier not only shields it from direct contact with the iron but also prevents any potential damage or marks.
With all preparations in place, it’s time to work our magic. Gently place the iron on top of the pressing cloth and move it in a back-and-forth motion. We want to apply a light touch while maintaining a steady motion across the fabric. Remember, avoid exerting too much pressure as it can crush the pile of the velvet and leave unsightly marks.
To achieve a perfectly smooth surface, work in small sections. Give each area sufficient heat and attention before moving on. Lift the iron occasionally to check for any stubborn wrinkles or creases that may persist. If necessary, continue pressing those problem areas until they succumb to your gentle touch.
Now, what about those delicate or sensitive velvets? Don’t fret. Adjust your iron to a lower heat setting and reduce the pressing time for these precious gems. The goal is to minimize any potential damage while still achieving that flawless finish. As always, refer to the manufacturer’s guidelines for specific instructions on pressing different types of velvet.
Once you’ve successfully pressed down the velvet and marveled at your wrinkle-free masterpiece, it’s important to let it cool. Give the fabric sufficient time to regain its composure before applying any adhesive. This cooling period ensures a secure bond without risking damage or discoloration to the fabric.
Secure with Tape or Pins
When it comes to securing velvet fabric, the choice between tape and pins can be a tough one. Both methods have their advantages and disadvantages, so let’s explore the pros and cons of each option to help you make an informed decision.
Tape, whether it be double-sided fabric tape or regular adhesive tape, offers a convenient and easy way to secure velvet without causing any damage. The beauty of tape lies in its temporary nature; it allows for quick fixes and easy removal without leaving any visible marks on the fabric. For instance, if you’re hemming velvet curtains and want to ensure they stay in place while you sew, tape can be a handy tool.
However, when using tape on velvet, it’s essential to choose a type that won’t damage or leave a residue behind. Double-sided fabric tape is specifically designed for fabrics and won’t leave any sticky residue. On the other hand, regular adhesive tape may leave unwanted marks or residue on the velvet, making it best to avoid using it if possible. Imagine securing a luxurious velvet bow onto a gift box with regular tape, only to find that it leaves a sticky mess behind when you remove it.
Pins offer a more permanent solution for securing velvet fabric. They can hold the fabric in place for a longer period of time and work particularly well with thicker velvet fabrics or when creating pleats or gathers. If you’re working on a glamorous velvet dress and need to secure the darts in place before sewing them, pins can be a reliable choice.
To ensure the safety of your delicate velvet fibers when using pins, it’s crucial to handle them with care. Look for fine, sharp pins or specially designed silk pins that have a smooth surface. These types of pins won’t snag or tear the fabric as you work with it. Additionally, inserting the pins in inconspicuous areas or along seams can help avoid leaving visible holes in the velvet. Imagine pinning a sumptuous velvet upholstery fabric onto a chair and later discovering tiny holes left behind by the pins.
One drawback of using pins is the potential for small holes in the velvet fabric, especially if it’s thin or delicate. To mitigate this risk, you can place small pieces of fabric or felt underneath the pins to protect the velvet from any potential damage. Imagine pinning a luxurious velvet scarf onto a coat collar and finding tiny holes left behind by the pins.
Allow to Dry Completely
Today, we’re delving into the intricate world of gluing down velvet. But why is it so important to let the glue dry completely? Prepare yourself for a deep dive into this crucial step. Let’s begin.
A Reliable Hold:
When working with velvet, a secure and durable bond is essential. Allowing the glue to dry completely ensures a strong hold that will stand the test of time.
Follow the Guidelines:
Different glues have different drying times. It’s imperative to read and adhere to the manufacturer’s instructions for optimal results. Don’t rush; take your time and let the magic happen.
The Waiting Game:
Patience is key when it comes to drying glue. Most glues require at least 24 hours to dry fully. During this period, avoid disturbing or moving the velvet fabric as any motion can disrupt the bonding process, resulting in a weaker hold.
Placement on a Flat Surface:
For an even distribution of adhesive and to prevent warping or distortion, place the glued velvet fabric on a flat surface during drying. This simple step goes a long way in achieving a polished and professional finish.
Humidity and Temperature Considerations:
Drying times can be influenced by humidity and temperature. Higher humidity levels and lower temperatures may prolong drying, while lower humidity levels and higher temperatures can expedite it. Keep these factors in mind when planning your project.
Hastening the Drying Process:
Feeling impatient? We’ve all been there. To speed up drying, use a fan or a hairdryer set on low heat. But be cautious. Maintain a safe distance to avoid overheating the fabric and causing damage.
The Touch Test:
Once the glue has dried completely, gently touch the fabric to ensure it feels firm and secure. If you notice any looseness or areas that aren’t properly adhered, additional glue may be necessary.
Remove Tape or Pins
Velvet, with its luxurious texture and delicate fibers, demands special care when it comes to removing tape or pins. The removal process requires a gentle touch and careful consideration to avoid damaging this beautiful fabric. As an expert in adhesive removal, I will guide you through the best practices for safely removing tape or pins from velvet fabric, ensuring its longevity and beauty.
Assessing the Situation:
Before embarking on the removal process, closely examine the fabric to assess any damage caused by tape or pins. If you notice residue or significant harm, it is advisable to seek advice from a professional cleaner or tailor specializing in delicate fabrics like velvet. Their expertise can help prevent further damage.
Gently Lifting Tape:
If the tape is still intact and not firmly adhered to the velvet, begin by gently lifting one corner of the tape using your fingertips. Avoid applying forceful pulls that might stretch or tear the fabric. Instead, peel off the tape slowly, following the direction of the fabric’s nap. This technique minimizes potential damage.
Using a Lint Roller:
In case sticky residue remains after removing the tape, grab a lint roller. Roll the sticky end over the affected area, applying gentle pressure to lift any remaining adhesive. The lint roller effectively removes residue without compromising the delicate velvet fibers.
Careful Pin Removal:
When dealing with pins embedded in velvet, proceed with extreme caution to prevent snagging or tearing. Locate the pinhead and delicately lift it using your fingertips. Maintain a firm hold on the fabric near the pinhead and slowly pull it out in a straight line, avoiding any sideways motion that may catch and damage the fibers.
Treating Residue:
If adhesive residue persists from tape or pins, treat it with a gentle fabric cleaner or solvent specifically designed for delicate fabrics like velvet. However, it is crucial to test the cleaner first on a small, inconspicuous area of the fabric to ensure it does not cause discoloration or damage.
EkGPGVF1hGg” >
Also Read: How to Glue Velvet to Wood?
Conclusion
When it comes to gluing down velvet, there are a few key steps you need to follow.
First and foremost, make sure you have the right type of adhesive for the job. A fabric glue or a heavy-duty craft glue should do the trick.
Next, prepare your surface by cleaning it thoroughly and ensuring it is dry and free of any dust or debris. Then, apply a thin layer of glue onto the back of the velvet fabric, making sure to cover the entire area that will be glued down.
Press the fabric firmly onto the surface and hold it in place for a few seconds to allow the glue to bond. Be careful not to use too much glue as it can seep through the fabric and create unsightly stains.
Finally, let the glue dry completely before using or handling the velvet.