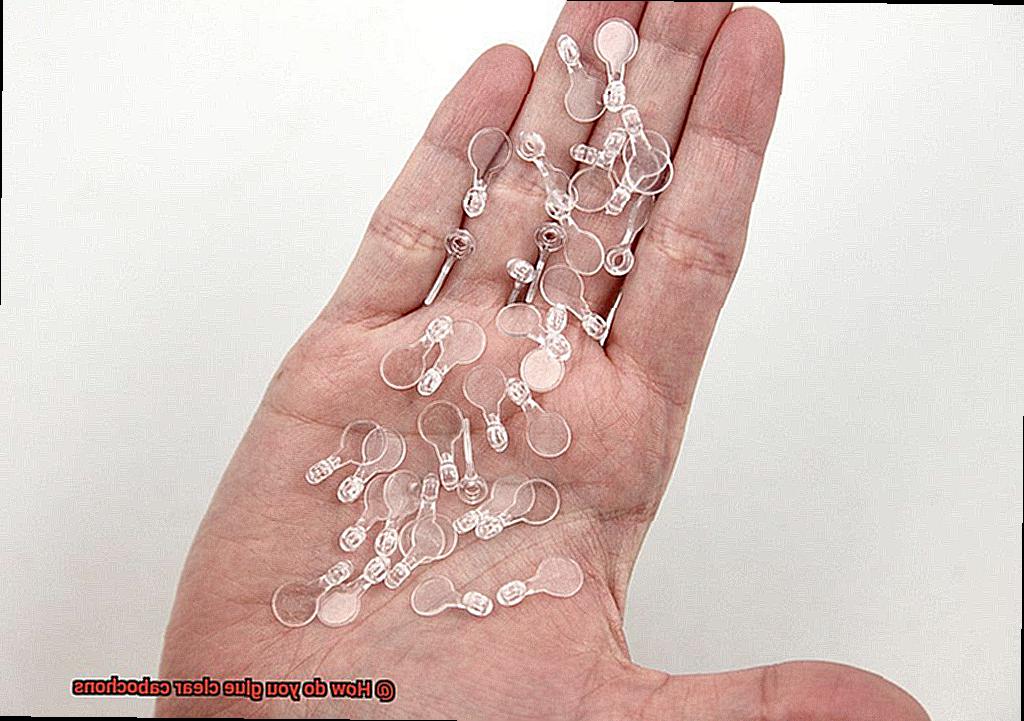
Are you a crafty individual who loves to add a touch of elegance and charm to your jewelry or decorative objects? If so, then you’ve probably come across clear cabochons – the transparent gems that can transform any project into a work of art. But, do you know how to glue these beauties onto your creations securely? Fear not, for we’ve got you covered.
In this post, we’ll guide you through the process of gluing clear cabochons with ease and precision. We’ll start by discussing the various types of adhesives that work best for these gems, followed by some top tips for achieving a strong and long-lasting bond.
From prepping the surface to applying the glue correctly, we’ll cover all the essential steps involved in this technique. You’ll also learn how to avoid common mistakes that can ruin your project and troubleshoot any issues that may arise along the way.
So get ready to take your crafting skills up a notch and impress everyone with your stunning crystal creations. Whether you’re gluing them onto pendants, rings, or decorative objects, our expert advice will help you master this technique like a pro. So let’s dive into the world of clear cabochon gluing and discover all its fascinating secrets together.
Types of Glue: Epoxy vs. UV Resin
Contents
- 1 Types of Glue: Epoxy vs. UV Resin
- 1.1 Advantages of Epoxy Glue:
- 1.2 Disadvantages of Epoxy Glue:
- 1.3 Advantages of UV Resin:
- 1.4 Disadvantages of UV Resin:
- 1.5 Choosing the Right Adhesive:
- 1.6 It’s worth noting that both types of glue can be messy and difficult to work with if not used properly. Be sure to follow the manufacturer’s instructions carefully and work in a well-ventilated area to avoid inhaling fumes. With practice, you can achieve professional-looking results with either epoxy glue or UV resin when gluing clear cabochons.
- 2 Preparing the Cabochon for Glue Application
- 3 Applying Epoxy Adhesive
- 4 Curing UV Resin Adhesive
- 5 Tips for Working with Glue Safely
- 6 Troubleshooting Common Glue Issues
- 7 Cleaning Up Excess Glue After Application
- 8 Conclusion
When it comes to attaching clear cabochons to various surfaces, epoxy glue and UV resin are two popular options. Each type of glue has its own unique properties and advantages, and it’s important to consider these factors when deciding which one to use for your project. In this article, we’ll explore the advantages and disadvantages of each adhesive type in detail.
Advantages of Epoxy Glue:
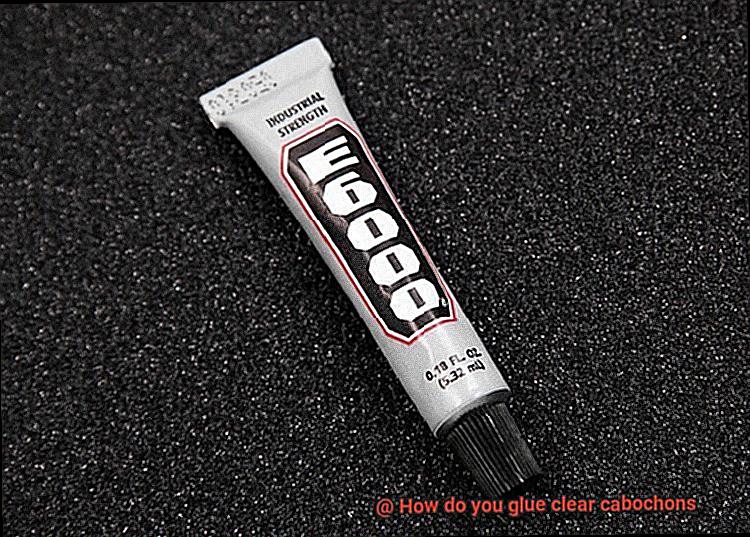
Epoxy glue is known for its strength and durability, making it ideal for bonding cabochons to hard surfaces like metal. The two-part adhesive consists of a resin and hardener that must be mixed in equal parts before application. Once applied, epoxy glue takes several hours to dry completely and can take up to 24 hours to reach full strength. This slow curing time allows ample opportunity for adjusting the position of the cabochon before the adhesive sets permanently.
Disadvantages of Epoxy Glue:
One downside of using epoxy glue is that it can be messy to work with. Mixing the two separate components can result in spills and drips if not handled carefully. Additionally, the long drying time can be inconvenient if you need to complete your project quickly.
Advantages of UV Resin:
UV resin is a type of adhesive that cures when exposed to ultraviolet light. It is often used for jewelry making because it creates a clear, glossy finish that enhances the beauty of cabochons. Unlike epoxy glue, UV resin doesn’t require mixing and can be applied directly from the bottle. It also cures much faster than epoxy glue – typically within minutes – making it a great option for projects that require quick turnaround times.
Disadvantages of UV Resin:
UV resin tends to be more expensive than epoxy glue, which can be a deterrent for those on a budget. Additionally, because it cures so quickly, you need to work quickly when using UV resin to ensure that everything is properly aligned and in place before the glue sets. This can be challenging for beginners or those who prefer to take their time when crafting.
Choosing the Right Adhesive:
When deciding between epoxy glue and UV resin, consider the materials you are working with and the level of durability you require. If you need a strong, permanent bond on a metal surface, epoxy glue may be the better choice. However, if you want a fast-drying adhesive that creates a glossy finish on jewelry pieces, UV resin may be your preferred option.
It’s worth noting that both types of glue can be messy and difficult to work with if not used properly. Be sure to follow the manufacturer’s instructions carefully and work in a well-ventilated area to avoid inhaling fumes. With practice, you can achieve professional-looking results with either epoxy glue or UV resin when gluing clear cabochons.
In conclusion, epoxy glue and UV resin both have their advantages and disadvantages when it comes to attaching clear cabochons.
Preparing the Cabochon for Glue Application
If you’re looking to attach clear cabochons to your project, it’s crucial to prepare the surface of the cabochon for optimal adhesion. To ensure that your cabochon stays securely in place and doesn’t shift or fall off once it has been glued, follow these simple steps.
First things first, give your cabochon a thorough cleaning using rubbing alcohol and a soft cloth. This will remove any dirt, oils, or other contaminants that could interfere with the adhesion of the glue. Once you’ve cleaned the surface of the cabochon, make sure it is completely dry before moving on to the next step.
Next, use fine-grit sandpaper or a nail file to roughen up the surface of the cabochon slightly. This will help create a better bond between the cabochon and the glue. However, be careful not to sand too hard or create deep scratches on the surface of the cabochon.
After roughening up the surface, wipe it down again with rubbing alcohol to remove any dust or debris from the sanding process. This will ensure that you have a clean and smooth surface for your glue application.
In addition, some people like to use a primer or adhesive promoter on the surface of the cabochon before applying glue. This optional step can help improve adhesion and ensure that the glue sticks properly. If you do choose to use a primer, make sure to follow the manufacturer’s instructions carefully.
Applying Epoxy Adhesive
Clear cabochons are a popular choice for adding a touch of elegance to crafting projects. However, to ensure they stay securely attached, it’s essential to use an epoxy adhesive. This type of adhesive is known for its strength, durability, and clarity, making it ideal for attaching cabochons to jewelry or other crafts.
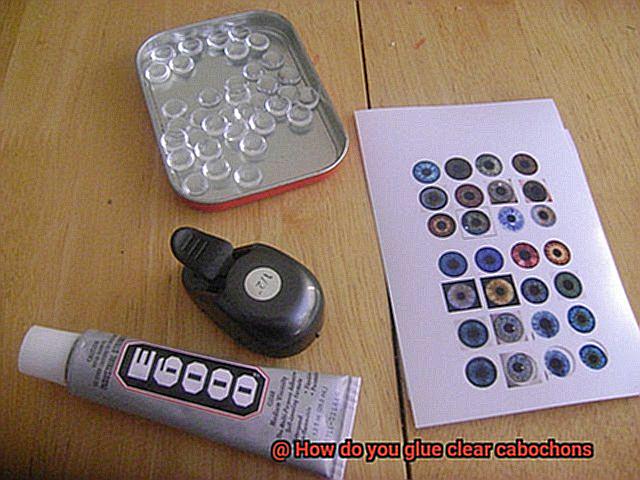
To start, it’s crucial to prepare the surfaces being glued. The cabochon should be clean and free of any debris or oils that could affect the bonding strength of the epoxy. Similarly, the surface that the cabochon will be attached to should be clean and dry.
After preparing the surfaces, it’s time to mix the two components of the epoxy adhesive together according to the manufacturer’s instructions. Once mixed, use a toothpick or small brush to apply a small amount of adhesive to the back of the cabochon. It’s essential to apply it evenly and avoid introducing any bubbles into the mixture.
With the adhesive applied, carefully place the cabochon onto the surface where you want it to stick. Gently press down, ensuring there is good contact between the two surfaces. If any excess adhesive seeps out from around the edges of the cabochon, wipe it away with a clean cloth or toothpick before it dries.
Now comes the waiting game. The epoxy adhesive takes anywhere from a few hours to overnight to dry completely, depending on its specific type. It’s essential not to handle or move your glued piece until the adhesive is dry, as this can compromise the bond.
It’s worth noting that different types of epoxy adhesives may have slightly different application instructions or drying times. Always follow the manufacturer’s instructions carefully for best results when gluing clear cabochons with epoxy adhesive.
Curing UV Resin Adhesive
Look no further than UV resin adhesive for gluing clear cabochons. As an expert on curing UV resin adhesive, let me guide you through the process of using this adhesive to achieve that flawless finish.
UV resin adhesive is a two-part system consisting of a resin and hardener. When mixed together, they undergo a chemical reaction that causes the mixture to harden and cure upon exposure to UV light. This type of adhesive is ideal for bonding clear cabochons as the UV light can easily penetrate through the transparent surface and cure the adhesive beneath.
The first step in using UV resin adhesive for gluing clear cabochons is to ensure that the surfaces are thoroughly cleaned. Next, mix the resin and hardener according to the manufacturer’s instructions and apply a small amount of adhesive onto one of the surfaces. Press the two pieces firmly together.
Now comes the crucial step: curing the adhesive with a UV lamp or light. The curing time will depend on the strength of the UV light source and the thickness of the adhesive layer. However, typically, it takes only a few minutes for the adhesive to cure completely.
It’s important to note that not all types of clear cabochons are suitable for use with UV resin adhesive. Some may be sensitive to UV light and could discolor or become damaged during curing. Therefore, it’s always recommended to test a small area before applying adhesive to the entire surface.
To sum up, curing UV resin adhesive is an effective way to bond clear cabochons. It provides a strong, permanent bond that dries clear and cures quickly when exposed to UV light. Here are some key takeaways:
- UV resin adhesive is a two-part system consisting of a resin and hardener.
- Clean surfaces thoroughly before applying adhesive.
- Use a small amount of adhesive and press surfaces firmly together.
- Cure with a UV lamp or light for a few minutes.
- Always test a small area before applying adhesive to the entire surface.
Tips for Working with Glue Safely
Glue is a versatile and useful material for many DIY projects, but it’s important to keep safety in mind when working with it. Here are some tips for working with glue safely:
Use protective gear
To prevent skin irritation and inhalation of fumes, wear gloves, goggles, and a mask. Choose chemical-resistant gloves that fit properly to ensure maximum protection.
Work in a well-ventilated area
Glue fumes can be harmful if inhaled, so work in a space with good air circulation. If possible, use a dedicated workspace with a vent hood or open windows and use a fan to keep the air moving.
Read the label carefully
Always read the label of the glue you are using for any warnings or precautions. Follow the instructions carefully to ensure safe usage.
Keep glue out of reach of children and pets
Glue can be toxic if ingested, so store it in a safe place where kids and pets can’t reach it. Always clean up spills immediately and dispose of used materials properly.
Clean tools and surfaces
After using glue, clean your tools and surfaces thoroughly with soap and water to prevent residual glue from sticking to your skin or other objects.
When working with specific types of glue, such as clear cabochons, it’s important to use the right adhesive to ensure a strong bond. Epoxy or UV resin are commonly used for this purpose.
To apply epoxy, mix equal parts of the resin and hardener on a disposable surface such as a piece of cardboard or plastic. Use a toothpick or small brush to apply a thin layer of epoxy onto the back of the cabochon. Be careful not to apply too much as it can seep out from the sides when you press it onto your project.
UV resin is easier to work with as it doesn’t require mixing. Simply apply a small amount of resin onto the back of your cabochon and use a UV lamp to cure it. You can also use natural sunlight to cure the resin but it may take longer.
Troubleshooting Common Glue Issues
Specifically, when it comes to gluing clear cabochons, there are a few common issues that can arise. Fear not. By following some troubleshooting tips, you can achieve a strong and seamless bond every time.
Firstly, using the right type of glue is crucial. When working with clear cabochons, epoxy and UV resin are popular options as they dry clear and provide a robust bond. Using a clear-drying glue that is specifically designed for jewelry making is also important.
However, even the right type of glue won’t perform well if the surfaces are not prepared correctly. It’s essential to clean both the cabochon and the surface it will be adhered to thoroughly. Any dirt or oils on the surfaces can prevent the glue from sticking properly. So, ensure that they are free of any debris before applying any glue.
Temperature and humidity can also play a significant role in glue performance. It’s essential to follow the manufacturer’s instructions for temperature and humidity requirements for the specific type of glue being used. If you’re working in hot and dry conditions, glue may dry too quickly, but in cold and damp conditions, it may not dry at all.
Lastly, if excess glue is showing through the clear cabochon, it may be due to using too much glue. Applying just enough glue to create a strong bond without excess oozing out from under the cabochon is vital. You can use a toothpick or small brush to spread out the glue evenly under the cabochon to prevent excess buildup.
Cleaning Up Excess Glue After Application
Cleaning up excess glue after application is simpler than you may think. As an expert in this topic, I have compiled some easy-to-follow steps that will help you achieve a seamless bond without any mess.
First and foremost, it is crucial to wait for the glue to dry before attempting to clean it up. Trying to clean wet glue will only spread it around, making a bigger mess. Once the glue is dry, use a small knife or blade to gently scrape away any excess glue. Take care to use a light touch to avoid damaging the cabochon or surrounding area.
If there is still some glue residue left, consider using rubbing alcohol as it is effective at breaking down the adhesive properties of the glue. Dip a cotton swab into some rubbing alcohol and gently rub away the excess glue. It’s important to use a fresh cotton swab for each pass to avoid spreading more mess around.
Alternatively, acetone is a powerful solvent that can dissolve many types of adhesives, including glue. However, it’s essential to use acetone sparingly as it can damage some materials and cause discoloration. Use a toothpick or small brush dipped in acetone and work in a well-ventilated area while wearing protective gloves.
To summarize, cleaning up excess glue after application is an essential step for achieving a professional-looking result when gluing clear cabochons. Remember to wait for the glue to dry before attempting to clean it up, use gentle pressure when scraping away excess glue, and be cautious when using solvents like rubbing alcohol and acetone. With these simple steps, you’ll have a flawless bond without any mess in no time.
vUujHn0KkWM” >
Conclusion
In summary, incorporating clear cabochons into your crafting project can elevate its aesthetic appeal. However, choosing the right adhesive is crucial to ensure a long-lasting bond. Epoxy glue and UV resin are two popular options with their own unique advantages and disadvantages. It’s important to assess the materials you’re working with and the level of durability required before selecting an adhesive.
Proper preparation of the surfaces is also essential for optimal adhesion. This involves cleaning the cabochon with rubbing alcohol, gently roughening up its surface with fine-grit sandpaper or a nail file, and wiping it down again with rubbing alcohol. Some crafters prefer using a primer or adhesive promoter on the cabochon’s surface before applying glue.
When using epoxy adhesive, mix equal parts of resin and hardener on a disposable surface, apply a thin layer onto the back of the cabochon using a toothpick or small brush, firmly press it onto your project surface, and allow it to dry completely. For UV resin adhesive, apply a small amount onto the back of your cabochon and cure it using either a UV lamp or natural sunlight.
If common glue issues such as excess glue showing through or poor performance arise, troubleshooting tips such as using just enough glue without overdoing it and following manufacturer instructions for temperature and humidity requirements can help achieve a strong bond without any mess. Cleaning up excess glue after application can be done by waiting for it to dry completely before scraping away any excess with a small knife or blade while using rubbing alcohol or acetone sparingly if needed.
By following these expert tips, anyone can master gluing clear cabochons like a pro.