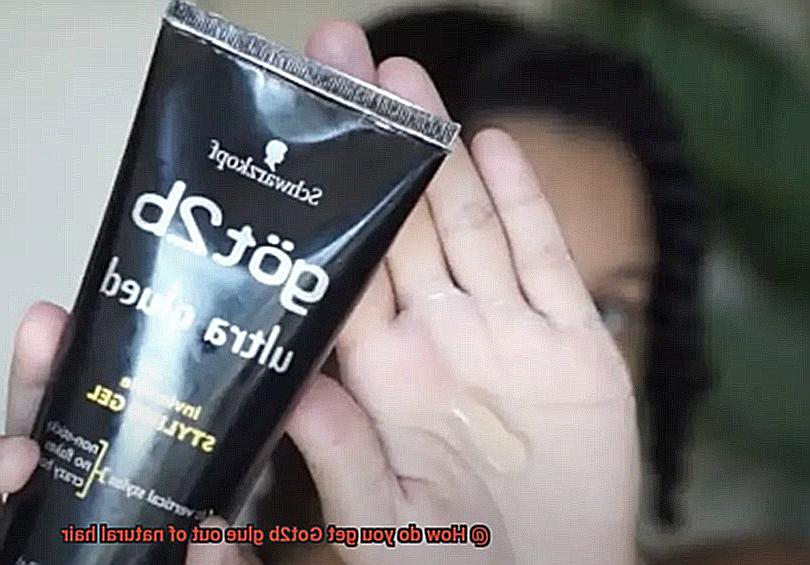
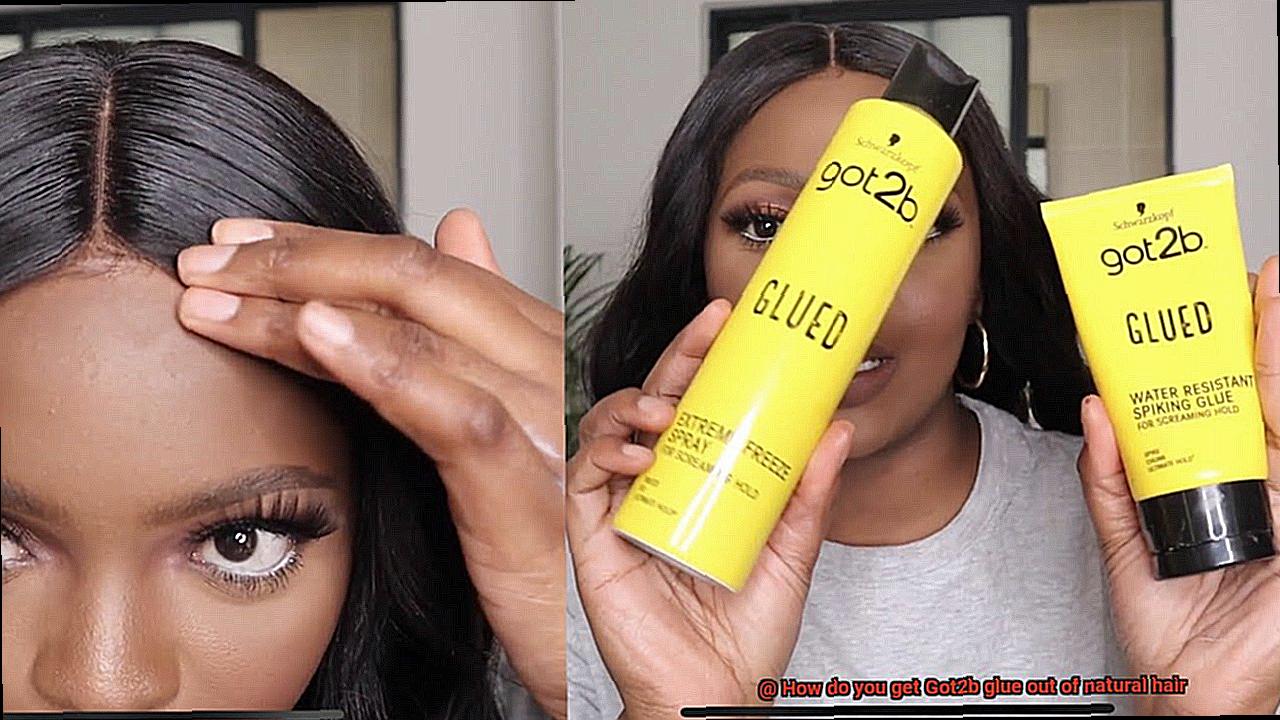
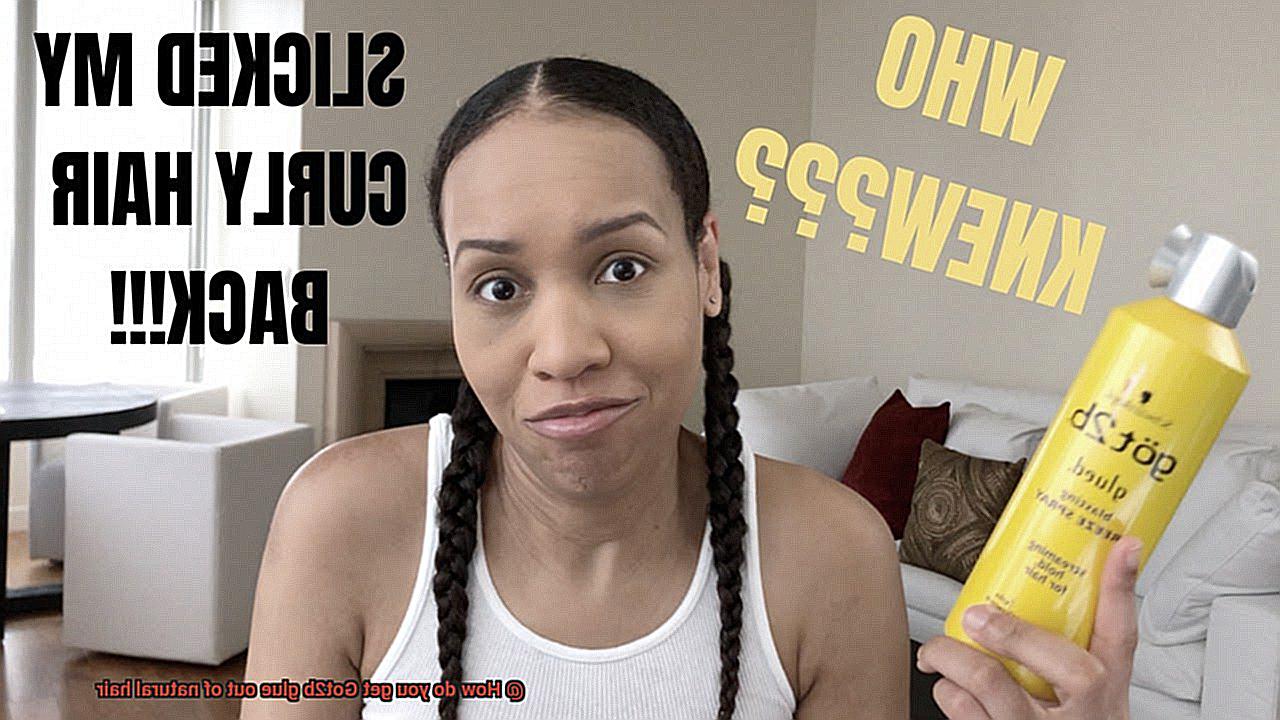
Picture this: you’re standing in front of the mirror, staring at your natural hair, and wondering how on earth you’re going to remove that relentless Got2b glue. We’ve all been there, my friends. Whether you’re a fearless trendsetter or simply trying to switch up your style, this sticky situation can leave us feeling frustrated.
But fret not. In this blog post, we’ll embark on a journey to safely and effectively bid farewell to that stubborn Got2b glue from your luscious locks. From gentle techniques that won’t harm your precious strands to targeted solutions for those hard-to-reach spots, consider us your hair-saving superheroes.
Throughout this post, we’ll spill expert secrets, unveil proven methods, and even whip up some DIY magic potions to rescue you from this sticky predicament. So grab a seat, relax, and let’s dive headfirst into the world of hair liberation.
Before we unleash our arsenal of solutions, it’s important to understand the risks associated with products like Got2b glue and why proper removal is key. Remember: patience and tenderness will be your trusty allies as you undo the clutches of this powerful adhesive.
So if you’re ready to reclaim the glory of your natural hair and show that Got2b glue who’s boss, let’s embark on our mission to restore your locks back to their magnificent state.
Step 1: Softening the Glue with Oils or Conditioners
Contents
- 1 Step 1: Softening the Glue with Oils or Conditioners
- 2 Step 2: Gently Detangling and Separating the Glued Strands
- 3 Step 3: Applying Acetone-Based Nail Polish Remover (if Necessary)
- 4 Alternatives to Acetone: Using a Clarifying Shampoo
- 5 Rinsing and Deep Conditioning After Removal
- 6 Tips for Successfully Removing Got2b Glue from Natural Hair
- 7 Potential Issues to Watch Out For When Removing Got2b Glue
- 8 Conclusion
Removing glue from natural hair can be a daunting task, but with proper techniques and products, it is possible to safely eliminate it without causing damage. One crucial step in this process is softening the adhesive properties of the glue. In this article, we will explore how oils and conditioners can effectively soften glue in natural hair, providing a gentle and effective removal method.
Breaking Down the Adhesive:
Oils and conditioners are excellent options for softening glue due to their moisturizing properties and ability to break down adhesive substances. Popular choices include coconut oil, olive oil, and argan oil. To begin, generously apply the chosen oil or conditioner to the glued area and let it sit for a few minutes. This allows the product to penetrate the glue, effectively breaking it down. Gently massage the oil or conditioner into the hair, paying particular attention to the areas with glue. This helps ensure thorough coverage and maximum effectiveness.
Patience is Key:
During this step, patience is crucial. It may take some time for the glue to fully soften, so avoid pulling or tugging too hard, as this can cause damage to the hair. Instead, use a wide-tooth comb or your fingers to gently loosen any softened glue from the hair strands. By approaching this step with care and patience, you can minimize any potential harm to your natural hair.
Alternative Solutions:
In cases where stubborn areas of glue remain firmly attached, you can consider using acetone-based nail polish remover as an alternative solution. However, exercise caution when using acetone on hair, as it can cause dryness and damage if not used properly. Perform a patch test on a small section of hair before applying acetone to avoid any adverse reactions.
Another alternative method is using a clarifying shampoo specifically designed for removing heavy buildup or adhesive residue. Apply a generous amount of the clarifying shampoo onto wet hair, gently massaging it into the glued areas. Rinse thoroughly and repeat if necessary to ensure complete removal.
Post-Removal Care:
Once the glue has been successfully removed, it is essential to follow up with a deep conditioning treatment to restore moisture and nourishment. This step helps replenish any lost hydration and minimizes potential damage caused by the removal process. Choose a deep conditioner that is suitable for your hair type and apply it generously, focusing on the areas that were affected by the glue.
Step 2: Gently Detangling and Separating the Glued Strands
Welcome back, fearless warriors in the battle against stubborn glue. Now that we’ve softened and dismantled the adhesive forces, it’s time to delicately detangle and separate those tenacious strands. Remember, patience is your greatest weapon in this process, so take a deep breath and let’s dive in.
- Loosen the Tangles: Begin by gently combing through the hair using a wide-toothed comb or your nimble fingers. This initial act will help loosen any tangles and knots, making it easier to separate the glued strands without causing further harm.
- Be Gentle and Patient: Resist the urge to yank or tug on the glued strands; such actions can lead to hair loss or irreparable damage. Take your time and work through the hair section by section, starting from the roots and descending to the glorious ends.
- Conquer Stubborn Knots: In the face of particularly obstinate knots or tangles, apply a modest amount of conditioner or oil to soften the hair’s resistance. Employ your dexterous fingers or a wide-toothed comb to meticulously navigate the tangled labyrinth, beginning from the bottom and ascending with care.
- Pay Attention to Problem Areas: Keep a watchful eye on areas that demand extra attention or treatment, be they sites of heavier glue application or hair clumps desperately clinging together.
- Separate with Precision: To liberate these captive strands, employ a pointed comb or tweezers when necessary. Insert these tools with tenderness between the glued strands and delicately sway them back and forth to loosen and separate the hair.
- Handle with Care: Avoid exerting excessive force or strain that could traumatize the hair follicles and result in breakage. Proceed methodically, treating each strand with reverence until all the once-glued strands have been emancipated.
Now that you have successfully untangled and separated those once-glued strands, it’s time to advance to the next steps of the process — ensuring that any lingering glue residue is effectively eradicated from your hair. Stay tuned for more sagacious advice and stratagems to achieve victory in this epic battle against the forces of adhesive.
Step 3: Applying Acetone-Based Nail Polish Remover (if Necessary)
In this step-by-step guide, we will explore the final step of the process: applying acetone-based nail polish remover, if necessary. This step is crucial in removing stubborn glue from natural hair, ensuring you can restore your hair’s natural beauty. With a little patience and caution, you’ll bid farewell to that pesky glue.
Step 1: Protect Your Hairline and Ears
Before using acetone-based nail polish remover, protect your hairline and ears from potential contact with the harsh chemical. Apply a generous layer of petroleum jelly or a similar protective barrier to shield your hair from the remover’s effects.
Step 2: Soak the Cotton Ball or Pad
Take a cotton ball or pad and saturate it with acetone-based nail polish remover. Make sure it is adequately soaked but not dripping excessively. You want enough product to dissolve the glue without overwhelming your hair.
Step 3: Gently Apply and Wait
Dab or rub the soaked cotton ball onto the areas where the glue is present. Be cautious not to rub vigorously or pull on your hair, as this could cause damage. Let the acetone sit on the glue for a few minutes, allowing it to soften and dissolve the adhesive.
Step 4: Work Out the Glue
Once the glue has softened sufficiently, gently work it out of your hair. Start at the roots and use your fingertips or a fine-toothed comb to comb through your hair, moving towards the ends. You’ll notice the glue becoming more pliable and coming off as you comb through.
Step 5: Be Patient and Thorough
Take your time and work through your hair in small sections, ensuring all traces of glue are removed. If you encounter stubborn areas, apply a bit more acetone and continue working at it with gentle strokes. Remember, patience is key.
Step 6: Wash and Condition
After successfully removing the glue, thoroughly wash and condition your hair to remove any residue from the nail polish remover. Use a gentle shampoo and moisturizing conditioner to restore moisture and nourishment to your hair.
Step 7: Moisturize and Protect
To further hydrate and protect your hair, apply a leave-in conditioner or hair mask. This will help restore lost moisture and ensure your hair remains healthy and strong.
Alternatives to Acetone: Using a Clarifying Shampoo
We have the perfect solution for you – a clarifying shampoo. In this step-by-step guide, we’ll show you how to effectively remove that pesky glue without causing damage to your precious locks. So, let’s dive in and discover the magical powers of a clarifying shampoo.
Step 1: Choose the Right Clarifying Shampoo
To start your journey to glue-free hair, it’s essential to choose a gentle clarifying shampoo that won’t strip your hair of its natural oils. Look for sulfate-free options with ingredients like tea tree oil or apple cider vinegar, as these can help dissolve the glue without harshness.
Step 2: Wet Your Hair and Apply Generously
Wet your hair thoroughly, then apply a generous amount of the clarifying shampoo. Massage it into your scalp and strands, paying extra attention to the areas where the glue is present. This will ensure proper coverage and maximum effectiveness.
Step 3: Let It Work Its Magic
Allow the clarifying shampoo to work its magic by leaving it on for a few minutes. During this time, the shampoo will penetrate deep into your hair, dissolving the glue and breaking down any product build-up. Embrace this moment of self-care and relaxation.
Step 4: Rinse Thoroughly
After letting the shampoo sit, rinse your hair thoroughly with warm water. Make sure to remove all traces of the shampoo and remaining glue from your hair. A thorough rinse is crucial for achieving a clean and fresh feel.
Step 5: Moisturize and Condition
To replenish any moisture lost during the cleansing process, follow up with a moisturizing conditioner. This step will leave your hair feeling soft, smooth, and nourished. It’s the perfect way to pamper your tresses after glue removal.
Step 6: Repeat if Necessary
For stubborn or resistant glue, you may need to repeat the process multiple times. Don’t worry; persistence is key. Keep using the clarifying shampoo until all traces of the glue are gone. Each application will bring you closer to glue-free hair perfection.
Rinsing and Deep Conditioning After Removal
Dealing with the aftermath of removing that stubborn Got2b glue can be a real challenge. However, fear not, because in this guide, we will delve into the importance of rinsing and deep conditioning after glue removal. Your hair will thank you for it.
Step 1: Rinse away the glue residue
After successfully removing the glue, it is crucial to give your hair a thorough rinse to eliminate any lingering residue. Massage warm water gently into the areas where the glue was applied, ensuring that you wash away any remnants left behind. To effectively break down any remaining glue and cleanse your hair from root to tip, enlist a clarifying shampoo as your trusty knight in shining armor.
Step 2: Indulge in a rejuvenating deep conditioning treatment
Now that your hair is squeaky clean, it’s time to lavish it with some much-needed tender love and care through a deep conditioning treatment. Opt for products specially formulated for damaged or chemically-treated hair, as they work wonders in repairing and fortifying your strands. Generously apply the conditioner, paying close attention to the lengths and ends of your hair, and use a wide-toothed comb to evenly distribute the product throughout.
Step 3: Allow the magic to unfold
Let the deep conditioner work its magic by leaving it on for the recommended duration, usually around 15-30 minutes. While waiting, take this opportunity to pamper yourself – catch up on your favorite TV show or indulge in a revitalizing face mask. You deserve it.
Step 4: Seal in the goodness
Once the recommended time has passed, rinse out the conditioner with cool water. This final step helps seal the cuticle and lock in moisture, resulting in smooth and lustrous hair. Gently pat your hair dry with a towel, avoiding any vigorous rubbing that may cause damage.
Conclusion:
Congratulations. You have successfully bid farewell to that troublesome Got2b glue. By rinsing away residue and indulging in a deep conditioning treatment, you have nourished and restored your natural hair. Remember, it may take some time for your hair to fully recover, so continue using deep conditioning treatments regularly and steer clear of adhesive products until your hair regains its healthy state.
Tips for Successfully Removing Got2b Glue from Natural Hair
Don’t worry, we’ve got you covered. In this comprehensive guide, we will share expert tips on how to successfully remove Got2b Glue from your natural hair without causing any damage. By following these detailed steps, you can say goodbye to the glue and hello to healthy, beautiful locks.
Understanding Got2b Glue and its Challenges:
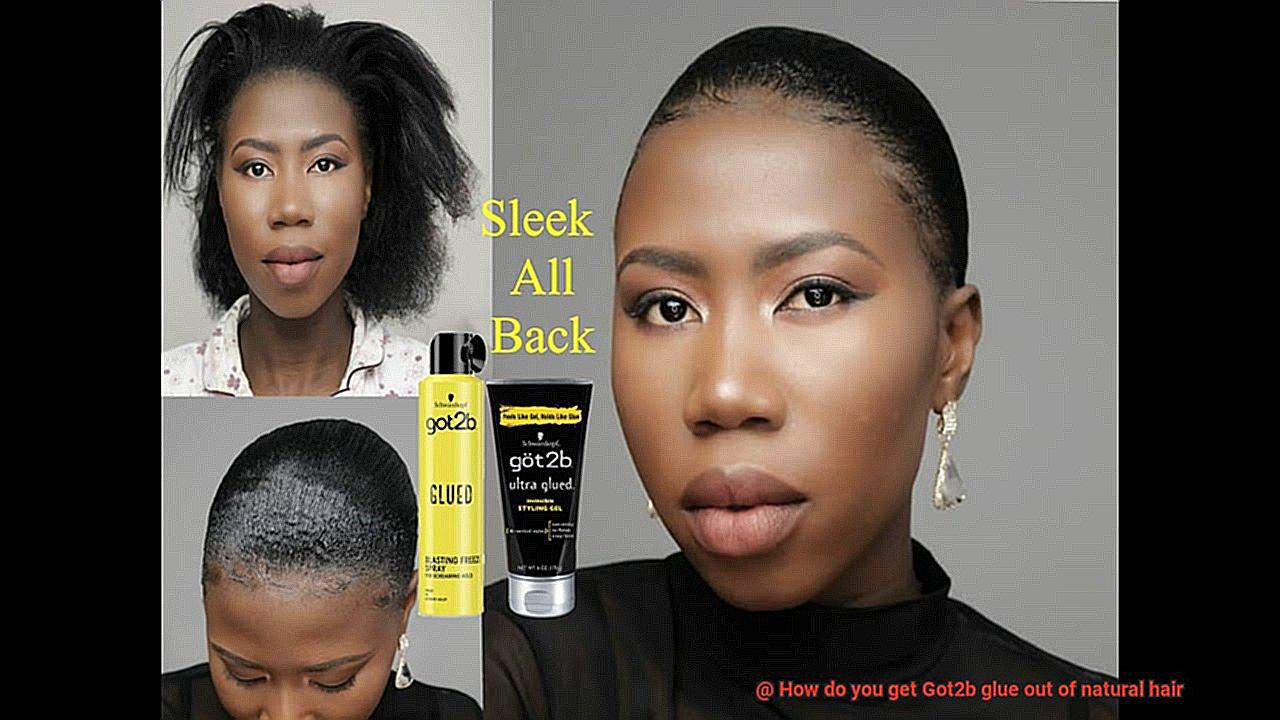
Got2b Glue is a popular adhesive used by hairstylists and natural hair enthusiasts to create unique and long-lasting styles. However, removing this strong adhesive can be quite challenging. The glue is designed to provide a strong hold and is resistant to water and common solvents, making it difficult to wash out.
Preparing for the Removal Process:
Before you begin the removal process, it’s important to gather the necessary tools and products. You will need a wide-tooth comb, detangling brush or comb, clarifying shampoo, deep conditioner, and a moisturizing hair oil or serum. These items will help make the removal process more effective and minimize any potential damage to your natural hair.
Using Oil-Based Products for Effective Removal:
To break down the adhesive properties of Got2b Glue, oil-based products are highly recommended. Coconut oil, olive oil, or almond oil are excellent choices as they work wonders in softening the glue and making it easier to remove. Apply a generous amount of your chosen oil onto the glued areas and gently massage it into your hair. Let it sit for at least 30 minutes before combing through with a wide-tooth comb.
Applying the Products and Techniques:
When applying the oil-based product, focus on the areas where the glue is most concentrated. Massage the oil into your hair, ensuring that it reaches the roots and tips. It’s important to be patient during this process and avoid excessive pulling or tugging, as this can cause breakage. After massaging the oil into your hair, cover it with a shower cap or plastic wrap to create a warm environment. This will allow the oil to penetrate deeper into the hair strands and effectively break down the glue.
Safety Tips for a Successful Removal:
While removing Got2b Glue from your natural hair, it’s crucial to be gentle and patient to avoid any damage. Avoid excessive pulling or tugging, as this can lead to breakage. If there are stubborn bits of glue that won’t come off with the oil-based product, you can use rubbing alcohol. Apply a small amount of rubbing alcohol onto a cotton ball or pad and gently rub it over the affected areas. However, be sure to follow up with a deep conditioning treatment to restore moisture and prevent any potential damage.
Potential Issues to Watch Out For When Removing Got2b Glue
Removing Got2b Glue from your natural hair can be a challenging endeavor, but with a little knowledge and caution, you can avoid potential issues that may arise during the process. Here are some key points to watch out for when removing this powerful adhesive:
First and foremost, hair breakage and damage are common concerns when removing Got2b Glue. This strong adhesive is designed to hold your style in place all day long, but it can also weaken your hair strands, making them more prone to breakage. To minimize this risk, it is crucial to approach the removal process with care and gentleness.
Another issue to be aware of is the possibility of scalp irritation or sensitivity. The chemicals in the glue can cause discomfort on the scalp, leading to redness, itching, or even a burning sensation. If you experience any of these symptoms, it is important to stop the removal process immediately and rinse thoroughly with water.
Time is another factor to consider when removing Got2b Glue. Depending on how much glue was applied and how well it adhered to your hair, it may take some time and effort to completely remove it. Patience is key here – rushing through the process can result in damage to your hair. Take your time and be thorough in removing every trace of the adhesive.
Tangling and matting are also potential issues that may arise during the removal process. The sticky nature of the glue can cause your hair strands to stick together, resulting in knots and tangles. To prevent further damage or breakage, handle your hair gently and use appropriate detangling techniques.
Lastly, it’s important to remember that what works for one person may not work for another. Each individual’s hair type and texture are unique, so it might take some trial and error to find the best removal method for you. Don’t get discouraged if your first attempt doesn’t go as planned – keep experimenting until you find what works best for your hair.
25xIzKDX5aU” >
Conclusion
Removing Got2b glue from natural hair can be a daunting task, but fear not.
There are effective methods to help you restore your hair’s natural beauty. One approach is to start by gently combing through your hair with a wide-toothed comb to loosen any excess glue.
Next, apply a generous amount of oil, such as coconut or olive oil, to the affected areas and let it sit for about 10 minutes. This will help break down the adhesive properties of the glue.
Finally, condition your hair to replenish moisture and restore its softness.