Sticky situations are no fun, especially when they involve adhesive residue on your walls. The mere thought of removing it might make you cringe, worried that your precious paint job will suffer. But fret not. We’ve got your back with some nifty tips and tricks to tackle this sticky mess without harming your paint.
Whether you’re dealing with stubborn stickers, leftover tape residue, or the aftermath of removing posters or tapestries, the last thing you want is a wall in shambles. With a few simple techniques and everyday household items, you can bid farewell to that unsightly adhesive mess without a trace of paint damage.
In this blog post, we’ll explore the most effective methods for adhesive removal, spill the beans on what to avoid like the plague, and share some handy do’s and don’ts. From gentle solvents to natural remedies, we’ve got all the lowdown you need to restore your walls to their adhesive-free glory.
So let’s dive right in and discover how to banish adhesive from walls without giving your paint a second thought.
The Benefits of Removing Adhesive from Walls without Damaging the Paint
Contents
- 1 The Benefits of Removing Adhesive from Walls without Damaging the Paint
- 2 Common Methods and Techniques for Removing Adhesive from Walls
- 3 Using Heat to Remove Adhesive from Walls
- 4 Using Solvents and Adhesive Removers to Remove Adhesive from Walls
- 5 Using Abrasives to Remove Stubborn Adhesive from Walls
- 6 Natural Remedies for Removing Adhesive from Walls
- 7 Testing Before Applying Removal Method or Product to Wall
- 8 Working Slowly and Carefully When Removing Adhesive From Wall
- 9 Conclusion
Maintaining the beauty and integrity of your walls means being able to remove adhesive without damaging the paint. This not only preserves the aesthetic appeal of your space but also saves you time, effort, and money. In this blog post, we will explore the benefits of removing adhesive without harming the paint and provide effective techniques and tips to achieve this.
Preserving Aesthetic Appeal:
Painted walls significantly contribute to a room’s overall appearance. Any damage caused by adhesive removal can be unsightly and costly to repair. By utilizing the right techniques and products, you can effectively remove adhesive while leaving your paint intact, preserving the beauty of your walls.
Time and Effort Savings:
Traditional methods of adhesive removal often involve time-consuming scraping or scrubbing, which may not guarantee success and can even damage the paint. By using alternative techniques specifically designed to protect the paint, you can achieve effective adhesive removal with minimal effort and time investment.
Cost-Effective Solution:
Repainting a wall is an expensive endeavor that includes hiring professionals and purchasing expensive paint and equipment. By taking precautions to avoid damaging the paint during adhesive removal, you can save yourself from additional expenses. This cost-effective approach allows you to maintain the quality of your walls without breaking the bank.
Promoting Sustainability:
Removing adhesive without harming the paint aligns with sustainability principles. By utilizing environmentally friendly products and techniques, you protect the paint, reduce waste, and minimize the need for repainting or refinishing surfaces. This approach promotes responsible and eco-friendly practices in maintaining our living spaces.
Effective Techniques:
To remove adhesive without damaging the paint, several methods can be employed:
- Use Heat: Soften the adhesive by applying heat with a hairdryer or heat gun, making it easier to remove.
- Apply Solvents or Adhesive Removers: Use solvents or adhesive removers specifically designed for paint-safe adhesive removal.
- Utilize Gentle Abrasives: Gently scrub the adhesive with a soft cloth or sponge and a mild abrasive, such as baking soda or toothpaste.
- Natural Remedies: Try rubbing alcohol or vinegar to dissolve the adhesive naturally.
Remember to test any method or product on a small area before applying it to a larger area to ensure no adverse reactions or paint damage.
Common Methods and Techniques for Removing Adhesive from Walls
Fret not, for we have the ultimate guide to help you bid adieu to those unsightly marks. In this comprehensive article, we will explore common methods and techniques for removing adhesive from walls without causing any damage to the paint. Whether you’re a DIY enthusiast or simply looking to refresh your living space, these tips will ensure a flawless finish. So, let’s dive in and restore your walls to their former glory.
Method 1: Harness the Power of Heat
When it comes to adhesive removal, heat is your secret weapon. Grab your trusty hairdryer or heat gun and direct it towards the adhesive. Keep the heat source in constant motion to prevent any harm to the paint. As the adhesive softens, gently peel it off using a plastic scraper or your fingertips.
Method 2: Conquer with Solvent Solutions
Commercial adhesive removers are readily available and can work wonders. Apply a small amount of the remover onto the adhesive, allowing it to sit for a few minutes. Then, employ a putty knife or scraper to gently lift off the softened adhesive. Remember to carefully read and follow the instructions and perform a test on an inconspicuous area before proceeding.
Method 3: Unleash the Power of Nature
No commercial removers at hand? No problem. Raid your kitchen pantry for some natural heroes. Peanut butter or mayonnaise can work their magic in loosening stubborn adhesives. Apply a small amount to the affected area, let it sit, and wipe away with a cloth. Alternatively, create a paste-like solution by mixing vinegar or baking soda with water and gently rub it onto the adhesive.
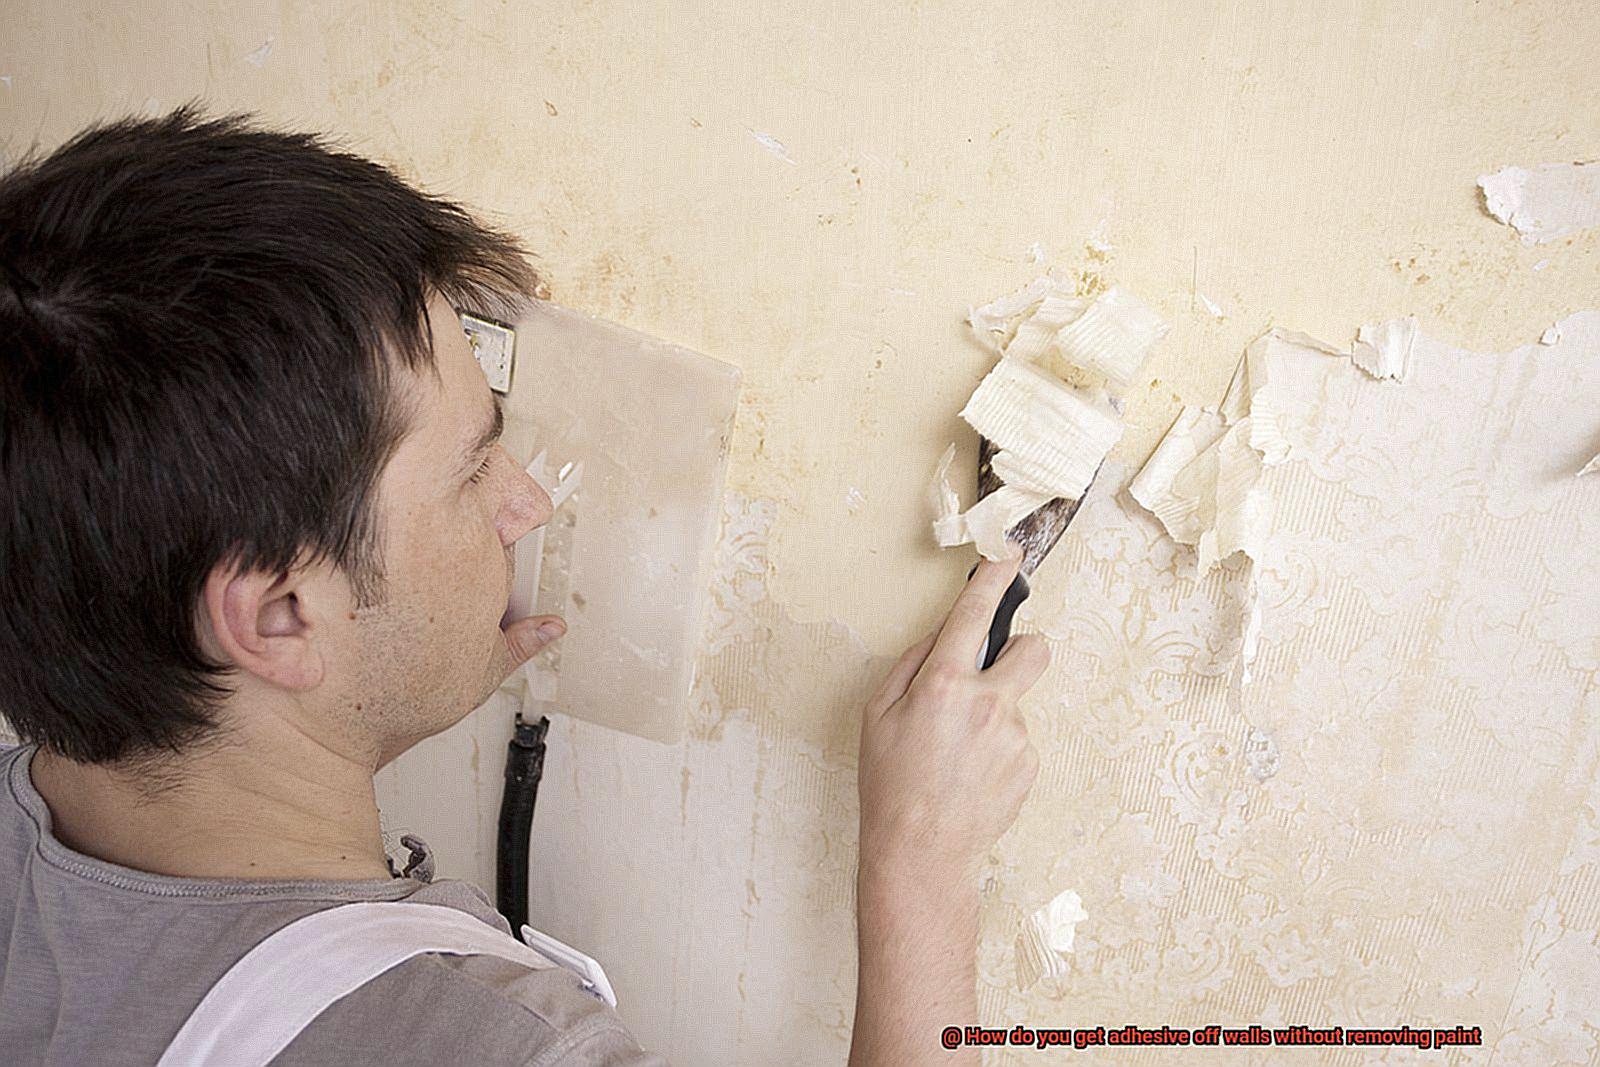
Method 4: Employ Mechanical Magic
For more stubborn adhesives, be prepared for some elbow grease. Utilize a scraper or sandpaper, ensuring you don’t apply excessive force that could damage the paint. Slowly and gently scrape away the adhesive until it is completely removed.
Precautions to Take:
- Always test the chosen method on a small, inconspicuous area first.
- To protect yourself, wear gloves and safety goggles.
- Maintain proper ventilation in the room to avoid inhaling any fumes.
- Respect the instructions provided with commercial products or solvents.
Using Heat to Remove Adhesive from Walls
Using heat to remove adhesive from walls can be a game-changer in your battle against stubborn glue marks. Not only is it highly effective, but it also ensures that your paint remains intact throughout the process. So, how exactly do you harness the power of heat to achieve adhesive-free walls? Let’s dive into the different methods and techniques that will help you conquer this task with ease.
One popular approach is using a hairdryer or heat gun. These trusty tools emit a steady stream of heat that works wonders in loosening the adhesive. However, it’s important to keep the heat source constantly moving to avoid any overheating that might damage the paint. Before unleashing the full power of heat on your wall, it’s wise to conduct a small test. Choose a discreet section, apply heat, and gently scrape off the adhesive. If it passes this test and your paint remains unscathed, then you’re good to go for the rest of the wall.
Remember, when wielding a hairdryer or heat gun, keep a safe distance from the wall. This precaution prevents any direct contact between the heated surface and your delicate paint job, sparing you from burns or unsightly damage.
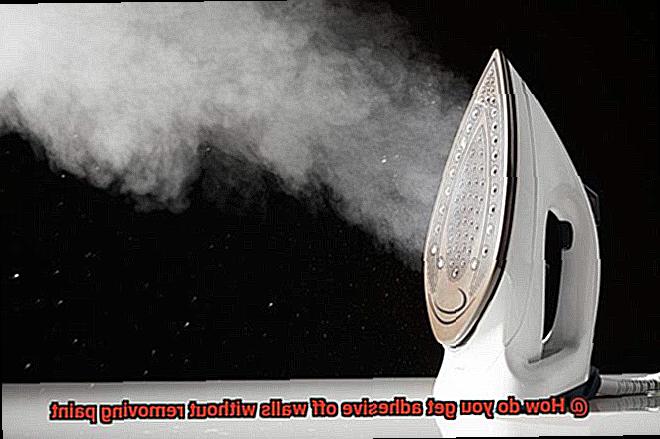
Another fantastic method for utilizing heat is by employing a steamer. These machines produce hot steam that effortlessly penetrates and softens even the most stubborn adhesives. Perfect for larger areas or particularly tenacious glue marks, steamers are like superheroes in your war against unwanted stickiness. Simply hold the steamer nozzle close to the adhesive for a few minutes, allowing the steam to work its magic. Soon enough, you’ll find that scraping off the softened adhesive becomes a breeze, leaving your walls unblemished.
Once you’ve successfully removed all traces of adhesive, you might encounter some residual stickiness. Fear not. A mild solvent or adhesive remover specifically designed for painted surfaces will come to your rescue. Just be sure to follow the manufacturer’s instructions when using these products, as each one may have its own unique recommendations.
Finally, don’t forget to give your walls a thorough cleaning. Warm soapy water and a soft cloth will help eliminate any remaining residue or cleaning agents used during the adhesive removal process. After all your hard work, your walls will be restored to their former glory, free from those pesky adhesive marks.
Using Solvents and Adhesive Removers to Remove Adhesive from Walls
Whether it’s from old wallpaper, sticky tape, or labels, removing adhesive can be a tricky task. But fear not. In this article, we’ll explore the best methods for removing adhesive from walls without damaging the paint.
First things first, let’s talk about solvents. Solvents are liquids that can dissolve or soften adhesives, making them easier to remove. There are several types of solvents available, such as mineral spirits, acetone, denatured alcohol, and citrus-based solvents. It’s essential to choose a solvent that is safe to use on your specific type of paint and wall surface.
Before applying any solvent, it’s always a good idea to test it on a small, inconspicuous area of the wall. This will ensure that it doesn’t cause any damage or discoloration.
Once you’ve found a suitable solvent, follow these steps:
Apply the solvent directly to the adhesive and let it sit for a few minutes. This allows the solvent to penetrate and loosen the adhesive.
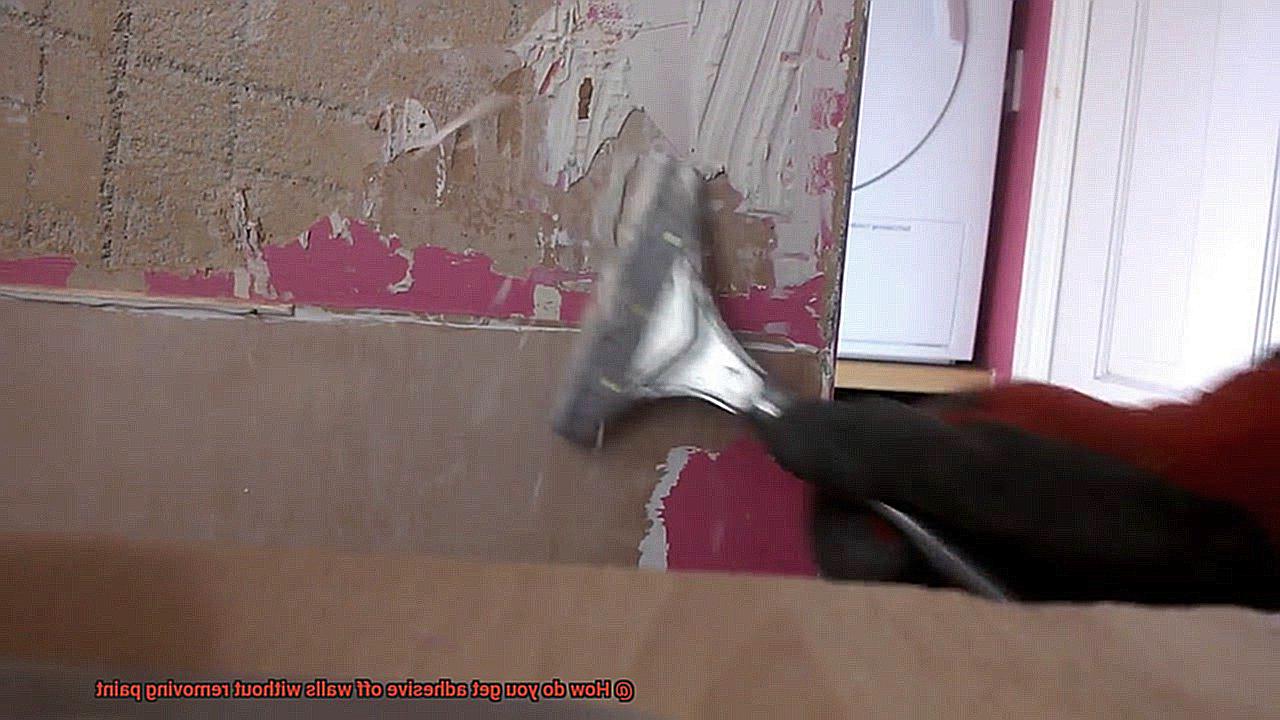
After the adhesive has softened, use a scraper or a plastic putty knife to gently scrape off the adhesive. Be sure to avoid using metal tools as they can scratch or damage the paint.
If there’s still some residual adhesive left after scraping, repeat the process with the solvent until all the adhesive is removed.
Now let’s talk about adhesive removers. These are specially formulated products designed to remove adhesives without causing damage. They’re often less harsh than solvents and may be safer to use on delicate surfaces or sensitive paint finishes.
To use an adhesive remover:
Follow the instructions provided by the manufacturer. Typically, you’ll need to apply the remover to the adhesive, let it sit for a specified amount of time, and then wipe away the adhesive with a clean cloth or sponge.
If there’s still some adhesive left, repeat the process until it’s completely removed.
It’s important to work in well-ventilated areas when using solvents or adhesive removers, as they can emit strong fumes. Open windows or use fans to ensure proper ventilation.
After removing the adhesive, clean the wall surface with warm soapy water or a mild detergent to remove any residue from the solvent or adhesive remover.
Remember, safety is crucial when working with solvents and adhesive removers. Always read and follow the instructions provided by the manufacturer, wear gloves and protective eyewear, and work in a well-ventilated area.
Using Abrasives to Remove Stubborn Adhesive from Walls
Removing stubborn adhesive from walls can be a daunting task, especially when you want to avoid damaging the paint. Luckily, there’s a secret weapon that can help you conquer this challenge – abrasives. In this guide, we’ll explore how to use abrasives safely and effectively to bid farewell to those sticky remnants without compromising your wall’s pristine finish.
Fine-Grit Sandpaper: A Gentle Touch
Fine-grit sandpaper is one of the most popular options for adhesive removal. Choose sandpaper with a grit between 120 and 220 to ensure it won’t harm the paint. Before diving in, test it in an inconspicuous area to be certain it won’t cause any damage. Once confirmed, gently rub the adhesive residue in circular motions, applying moderate pressure. Remember, patience is key – avoid scrubbing too aggressively.
Abrasive Sponges or Pads: Nifty Little Helpers
For smaller areas or tricky corners, abrasive sponges or pads come to the rescue. These gems have a slightly abrasive surface that effectively removes adhesive residues. To enhance their performance, slightly dampen them – the moisture softens the adhesive, making it easier to remove. But be careful not to oversaturate the wall, as excessive moisture can damage the paint.
Power Sanders: Tread with Caution
When dealing with stubborn and thick adhesive residues, a power sander with a fine-grit sanding attachment might be necessary. However, exercise caution as these tools can be aggressive and potentially cause paint damage if not used correctly. Follow the manufacturer’s instructions meticulously and take all necessary safety precautions while operating power tools.
Post-Removal Cleanup: The Final Touch
Once you’ve successfully removed the adhesive residues using abrasives, it’s crucial to give your walls a thorough cleaning. Grab a damp cloth or sponge and wipe down the wall, ensuring all debris and particles are removed. Finish off with a dry cloth to leave the wall clean and free of any abrasive residue.
Remember: Use abrasives as a last resort after trying milder methods, such as heat or adhesive removers. Always prioritize the safety of your walls and yourself in the removal process.
Natural Remedies for Removing Adhesive from Walls
Well, fret no more. We have just the solution for you – a collection of natural remedies that will leave your walls looking fresh and adhesive-free in no time. Say goodbye to harsh chemicals and say hello to these eco-friendly alternatives.
First on our list is the trusty vinegar. Mix equal parts vinegar and warm water in a spray bottle and spritz it onto the adhesive. Let the magical vinegar do its work for a few minutes, and then grab a scraper or sponge to gently remove the residue. With its acidic properties, vinegar is an excellent adhesive remover.
Next up, we have baking soda, the gentle abrasive superhero. Create a thick paste by mixing baking soda with water and apply it directly onto the adhesive. Allow it to sit for about 15 minutes, and then grab a damp cloth or sponge to carefully scrub away the adhesive. Fear not, for baking soda won’t harm your precious paint.
Lemon juice is another natural wonder that can effectively bid farewell to adhesive. Squeeze fresh lemon juice onto a cloth or sponge and apply it directly onto the adhesive. Let it sit for a few minutes before wiping away the residue with a clean cloth or sponge. Thanks to its acidic nature, lemon juice dissolves adhesive like magic.
Coconut oil, known for its multiple benefits, also works wonders in removing adhesive from walls. Apply a small amount of coconut oil directly onto the adhesive and let it sit for a few minutes. The oil will help loosen the adhesive, making it easier to scrape off with a scraper or wipe away with a cloth.
Last but not least, rubbing alcohol comes to the rescue as an effective natural remedy. Dampen a cloth or sponge with rubbing alcohol and gently rub it onto the adhesive. The alcohol dissolves the adhesive, allowing you to effortlessly wipe it away.
Before trying any of these remedies, it’s essential to test them on a small, inconspicuous area of the wall to ensure they won’t damage the paint. In cases where the paint is sensitive or the adhesive proves to be stubborn, seeking professional assistance may be the best course of action.
Testing Before Applying Removal Method or Product to Wall
Dealing with stubborn stains, adhesive residue, or unwanted marks on your wall can be frustrating. However, before applying any removal method or product, it is crucial to conduct proper testing. This article will highlight the importance of testing before applying removal methods to your wall and provide a step-by-step guide on how to carry out the testing process effectively.
Why Testing is Essential:
Testing before applying a removal method or product to your wall is essential for several reasons. Firstly, different walls may have different types of paint or finishes, and these can react differently to various removal methods. Testing helps you determine if the removal method is compatible with your specific wall paint, preventing any potential damage or discoloration. Secondly, testing allows you to assess the effectiveness of the removal method or product before committing to using it on the entire wall. This ensures that you choose the most suitable approach for optimal results.
The Testing Process:
To conduct a proper test, follow these steps:
- Select an inconspicuous area: Choose a small area on your wall that is not easily noticeable, such as behind furniture or in a corner.
- Apply the removal method or product: Apply a small amount of the removal method or product onto a cloth or sponge.
- Gently rub onto the surface: Rub the cloth or sponge with the removal method onto the adhesive or stain. Ensure that you cover the area thoroughly.
- Let it sit: Follow the instructions provided with the removal method or product and allow it to sit for the recommended amount of time.
- Wipe away and observe: After the designated time, use a clean cloth or sponge to wipe away the removal method. Observe the test area closely for any signs of damage, discoloration, or adverse reactions.
Interpreting the Results:
After conducting the test, carefully interpret the results. If there are no adverse effects, such as peeling paint, color changes, or damage to the wall surface, it indicates that the removal method or product is suitable for your wall. You can proceed confidently with using the removal method on the rest of the adhesive-covered wall.
When Negative Reactions Occur:
If you notice any negative reactions during the test, such as peeling paint, discoloration, or damage to the wall surface, stop immediately. This indicates incompatibility between the removal method or product and your wall paint. Look for alternative removal methods or products that are safe for use with your specific type of paint.
Consider Other Factors:
In addition to paint compatibility, consider other factors that may impact the effectiveness of the removal method. These factors include surface texture and adhesion strength. Some removal methods may work better on smooth surfaces, while others may be more effective for textured walls or stronger adhesives. Keep this in mind when choosing a removal method or product.
Working Slowly and Carefully When Removing Adhesive From Wall
Removing adhesive from walls can be a challenging task, especially if you want to preserve the integrity of your paint job. Taking a slow and careful approach is crucial to avoid damaging the paint and ensure a successful removal. In this guide, we will walk you through the step-by-step process of working slowly and carefully to remove adhesive from walls without causing any harm.
Step 1: Gather Your Materials
Before you begin, gather all the necessary materials. You will need a heat gun or hairdryer (set on low heat), a plastic putty knife or scraper, adhesive remover or rubbing alcohol, a clean cloth or sponge, and warm soapy water. Having these items ready will make the process more efficient and effective.
Step 2: Test, Test, Test.
Before proceeding with the removal, it’s important to conduct a small test in an inconspicuous area of the wall. Apply your chosen removal method (heat, adhesive remover, or rubbing alcohol) to the test spot and observe how the paint reacts. If there are no signs of damage or discoloration, you can proceed with confidence.
Step 3: Apply Heat
Now it’s time to tackle the adhesive itself. Use your heat gun or hairdryer on low heat and hold it a few inches away from the wall. Slowly move it back and forth over the adhesive to soften it. This will make it easier to remove without harming the paint. Be cautious not to overheat the area as this can cause damage.
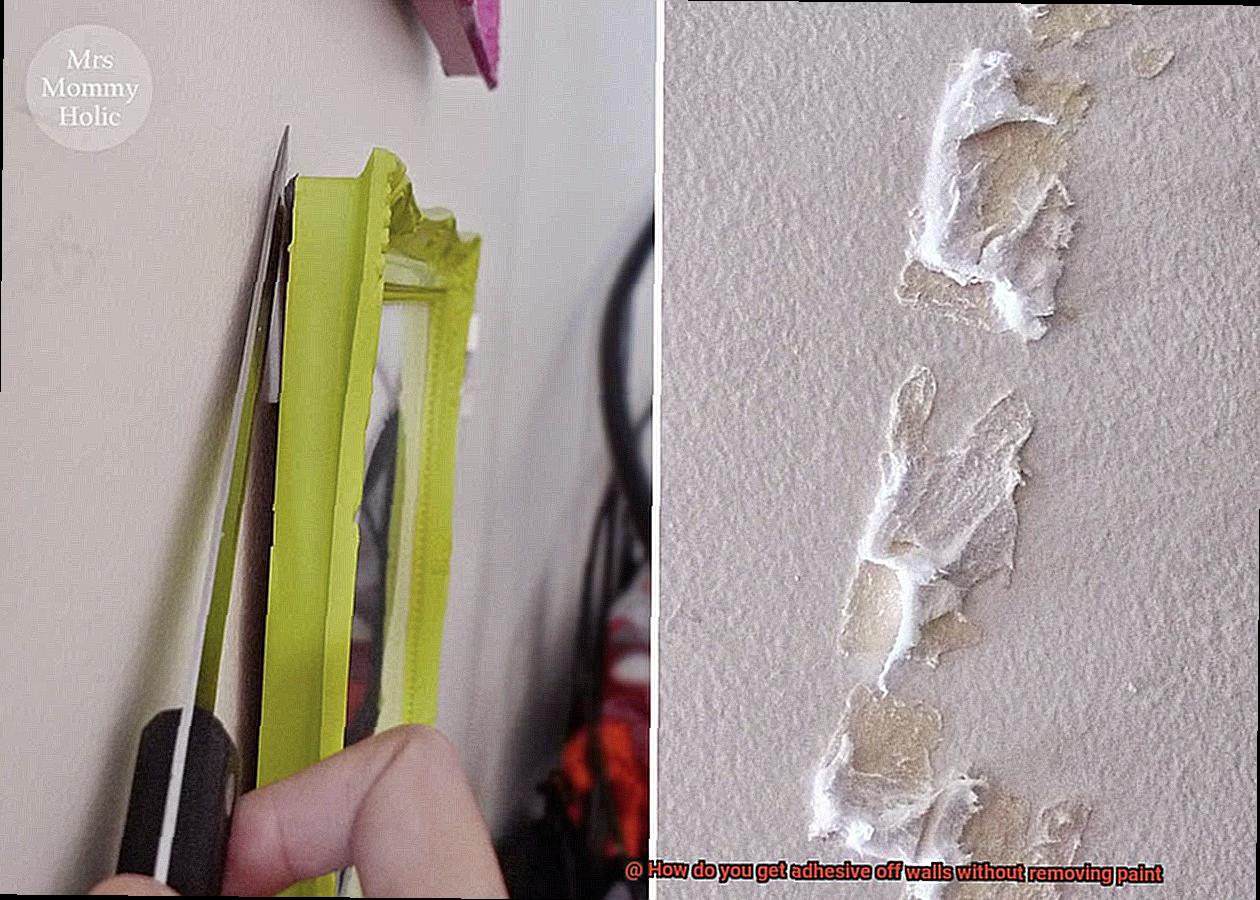
Step 4: Gently Scrape Off the Adhesive
Armed with your plastic putty knife or scraper, start at one edge of the adhesive and work your way towards the center. Apply light pressure to avoid scratching the paint. If there are stubborn spots, reapply heat and gently scrape them off. Remember to work slowly and carefully, taking your time to ensure a thorough removal.
Step 5: Remove Residue
After successfully scraping off the adhesive, you may notice some residue left behind. Fear not. Apply a small amount of adhesive remover or rubbing alcohol onto a clean cloth or sponge. Gently rub the residue in a circular motion, focusing only on the adhesive. Be careful not to damage the paint. Take your time and be patient as you work through this step.
Step 6: Clean and Rinse
Once you’ve removed all the adhesive residue, it’s time to give your wall a good clean. Use warm soapy water and a clean sponge or cloth to wipe down the area, ensuring that any remaining adhesive remover or rubbing alcohol is removed. Rinse with clean water and pat dry with a soft cloth.
0yUQD_QY11Y” >
Conclusion
When it comes to removing adhesive from walls without damaging the paint, there are a few tried-and-true methods that can save the day.
One option is to use a heat gun or hairdryer to gently warm up the adhesive, making it easier to scrape off. Another technique involves applying a mixture of warm water and dish soap to the affected area and using a sponge or cloth to gently rub away the adhesive.
Just remember to test these solutions on a small, inconspicuous area first to ensure they don’t cause any damage.