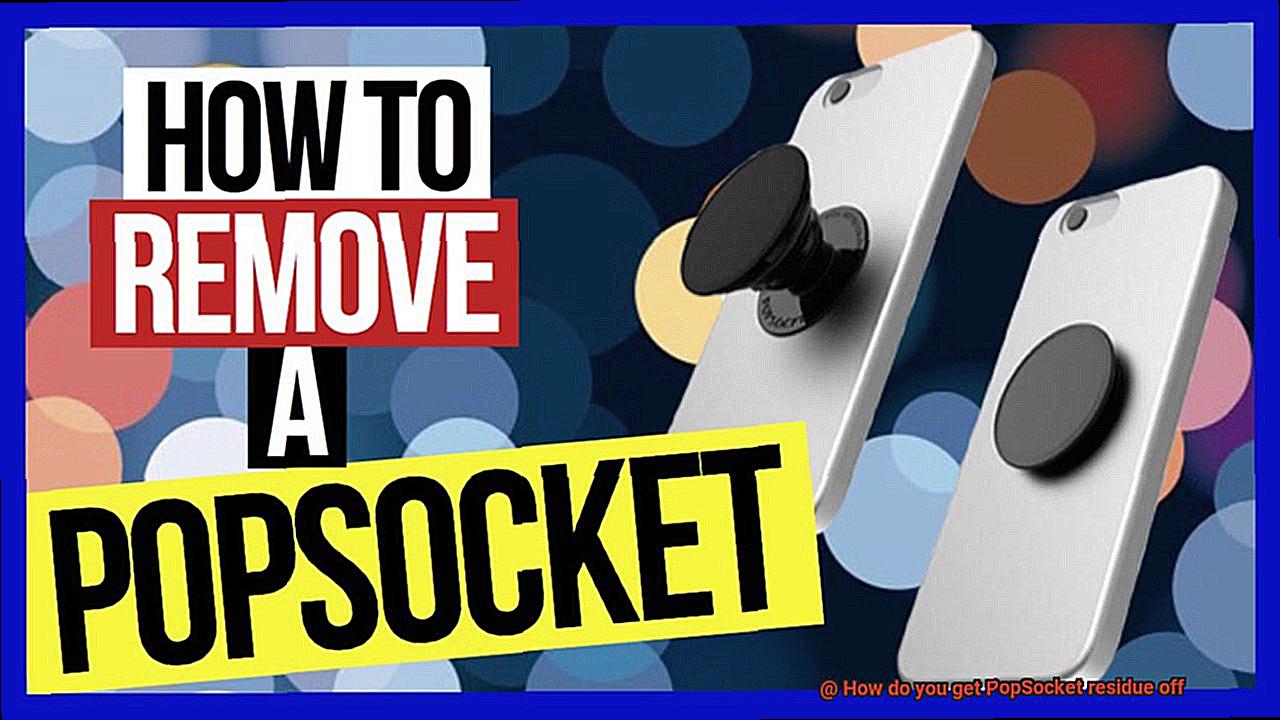
Are you tired of battling with that stubborn PopSocket residue on your phone?
We feel your pain. Whether you’re itching to switch up your PopSocket style or simply want a squeaky-clean phone, getting rid of that sticky gunk can be a major headache.
But fret not, because we’ve got your back. In this blog post, we’re spilling the beans on some tried-and-true methods to banish PopSocket residue for good.
Bid farewell to that clingy mess and say hello to a pristine phone. From everyday household items to specialized cleaning solutions, we’ll explore a range of options tailored to your preferences, ensuring you’ll have a residue-free phone in no time.
So buckle up and get ready for the inside scoop on how to make your phone sparkle like new again.
What is PopSocket Residue?
Contents
PopSockets have revolutionized the way we handle our smartphones, offering a secure grip and versatile functionality. However, when it’s time to bid farewell to our trusty PopSocket, it often leaves behind an unsightly residue that can be a sticky nightmare. In this comprehensive guide, we will delve into the realm of PopSocket residue – what it is, why it occurs, and most importantly, how to remove it effortlessly. Say goodbye to that stubborn residue and restore the pristine appearance of your device.
Understanding PopSocket Residue:
PopSocket residue refers to the sticky remnants left behind on a surface after removing a PopSocket grip. This residue is a combination of adhesive material, dirt, and oil from your hands.
Over time, it accumulates and becomes an eyesore that can attract dust and lint. Removing PopSocket residue requires careful consideration of factors such as adhesive type, attachment duration, surface condition, and material texture.
Heat and Scrape:
- Warm the residue using a hairdryer or heat gun to soften the adhesive.
- Gently scrape off the softened residue with a plastic card or credit card, taking care not to damage the surface.
Adhesive Removers and Rubbing Alcohol:
- Apply an adhesive remover or rubbing alcohol onto a cloth or cotton pad.
- Gently rub the residue until it dissolves and comes off. Test on a small area first for delicate surfaces.
Warm Soapy Water:
- Soak a soft cloth in warm soapy water.
- Gently rub the residue until it loosens and comes off.
Important Tips for Success:
- Always test chemicals on a small, inconspicuous area before using them on delicate surfaces.
- Exercise caution when scraping to avoid surface damage.
- Different adhesives may require specific removal methods. Consult instructions provided with adhesive removers.
Heat and Adhesive Remover Method
Say goodbye to the sticky residue left behind by your trusty PopSocket with the highly effective Heat and Adhesive Remover Method. This tried and true technique will have your phone looking as good as new in no time. So, let’s dive into the step-by-step process of using heat and adhesive remover to banish that stubborn PopSocket residue once and for all.
Step 1: Gather Your Supplies
Before you begin, make sure you have the following items:
- Hairdryer or heat gun: Set it on low or medium heat.
- Plastic scraper or credit card: To gently scrape off the residue.
- Adhesive remover: Choose one that is safe for your phone or surface.
- Clean cloth or cotton pad: To apply the adhesive remover.
- Clean cloth or paper towel: To wipe away the residue.
Step 2: Apply Heat
Using your hairdryer or heat gun, direct the heat towards the PopSocket residue. Keep the heat on low or medium and move it around in a circular motion to evenly distribute the heat. Watch as the adhesive softens under the warmth, making it easier to remove.
Step 3: Scrape Off Residue
Now that the adhesive has been heated, it’s time to gently scrape off the residue using a plastic scraper or credit card. Apply just enough pressure to remove the residue without damaging the surface. If some stubborn residue remains, simply reapply heat and continue scraping until every last bit is gone.
Step 4: Apply Adhesive Remover
After scraping off as much residue as possible, it’s time to tackle any lingering adhesive. Apply a small amount of adhesive remover onto a clean cloth or cotton pad. Gently rub it onto the remaining residue, allowing it to penetrate for a few minutes.
Step 5: Wipe Away Residue
Using a clean cloth or paper towel, wipe away the residue. You may need to repeat this process a few times until all the residue is completely gone. Follow the instructions provided by the adhesive remover manufacturer for optimal results.
Safety First.
While this method is generally safe for most surfaces, it’s always a good idea to test it on a small, inconspicuous area first to ensure it doesn’t cause any damage or discoloration.
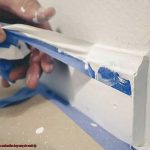
Scraping the Residue
You’ve made the decision to bid farewell to your trusty PopSocket and embrace a sleeker phone style. But alas, what remains is an unwelcome guest – sticky residue. Fear not, for I have the solution to your sticky situation – the ancient art of scraping.
Before we embark on this epic quest, let’s gather our tools. A credit card, a plastic scraper, or even your trusty fingernail will do just fine. We’re going for gentle here, not Hulk-smash.
Once armed with your scraping tool of choice, it’s time to get down to business. Hold it at a slight angle against the residue and begin the delicate dance of scraping. Back and forth we go, applying consistent pressure like a seasoned pro. But remember, my friend, patience is key. Rome wasn’t built in a day, and neither is a clean phone.
If you’re using your fingernail for this daring endeavor, take heed. Ensure your nail is clean and dry; we don’t want any dirt or oils hitching a ride on your phone.
Now, here’s the scoop – scraping may not always banish every last bit of residue. Some stubborn gunk might require reinforcements. Once you’ve scraped off the majority of the mess, grab a microfiber cloth or a cotton swab dipped in isopropyl alcohol (rubbing alcohol) for the final touch. Gently wipe in circular motions until every last trace of stickiness has vanished into thin air.
Ah, but be warned. Thou shalt not drench thy phone in alcohol like it’s happy hour at the club. Excessive amounts can damage certain phone materials, leaving you with a splotchy phone. Always test a small, inconspicuous area before fully committing to the alcohol.
If you’re fresh out of isopropyl alcohol, fear not. Nail polish remover with acetone can come to the rescue. But be cautious, my friend, as acetone can be a tricky creature, potentially causing discoloration or damage to certain surfaces.
Congratulations. You’ve successfully scraped your way to freedom from PopSocket residue. Give yourself a pat on the back and wipe down your phone or case with a clean, dry cloth to bid farewell to any leftover cleaning agents.
However, before you embark on your scraping adventure, a word of caution. Not all phone materials or cases are compatible with the scraping method. Delicate souls like leather or fabric may require alternative methods to avoid damage. When in doubt, consult the manufacturer’s guidelines or seek professional assistance.
Using Adhesive Removers or Rubbing Alcohol
Luckily, there are two effective methods to tackle this problem: adhesive removers and rubbing alcohol. Let’s explore the benefits and drawbacks of each method to help you choose the best option for your device.
Adhesive removers are like magical potions designed to dissolve adhesives and sticky residues without causing any damage. When selecting an adhesive remover, it’s crucial to find one that is safe for the specific material of your device, such as plastic or metal. This ensures that you won’t accidentally harm the surface while trying to remove the residue.
To use an adhesive remover, begin by applying a small amount onto a clean cloth or cotton ball. Gently rub the cloth onto the residue, ensuring that the entire sticky area is covered. Allow the remover to sit for a few minutes, allowing it to penetrate the residue. Then, wipe it away with a clean cloth. Voila. The sticky residue should vanish, leaving your device looking clean and pristine.
On the other hand, rubbing alcohol, also known as isopropyl alcohol, is not only great for disinfecting wounds but also works wonders at removing sticky residue. For optimal results, opt for rubbing alcohol with a high percentage of alcohol content, preferably 90% or higher.
Similarly to using adhesive removers, apply a small amount of rubbing alcohol onto a clean cloth or cotton ball. Gently rub the cloth onto the residue, ensuring full coverage of the sticky area. The alcohol will help dissolve the adhesive, making it easier to wipe away. Stubborn or thick residue may require repeating the process multiple times.
After using either adhesive removers or rubbing alcohol, it’s essential to thoroughly clean the surface with soap and water to eliminate any residue from the remover or alcohol. This step guarantees that your device remains clean and free from potential damage.
To ensure the safety of your device, always test adhesive removers or rubbing alcohol on a small, inconspicuous area first. This will help you determine if they cause any damage or discoloration. Additionally, following the manufacturer’s instructions when using these products will ensure optimal results.
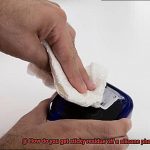
Warm Soapy Water Method
Look no further – the warm soapy water method is here to save the day. This tried and true method is not only simple and effective, but it’s also easy on your wallet and won’t damage your beloved devices. Let’s dive into the process, step-by-step.
First things first, gather your materials. You’ll need warm water, some dish soap, a soft cloth or sponge, and a towel for drying. Fill up a bowl or sink with warm water and add a few drops of dish soap to create a soapy solution. Remember, we want the water warm but not scorching hot – safety first.
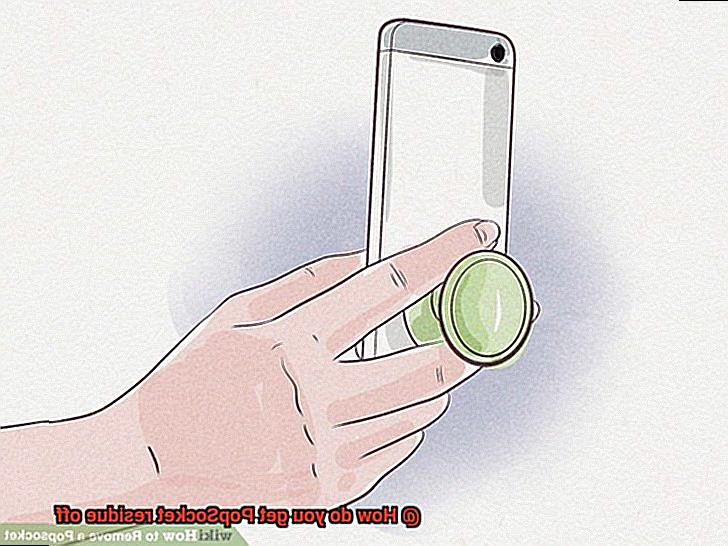
Next, remove the PopSocket from the surface. Gently twist and pull it off, being careful not to leave any residue behind or damage the surface. Now that the PopSocket is out of the way, let’s get down to cleaning.
Take your cloth or sponge and dip it into the soapy water. Wring out any excess liquid and then gently rub the residue in circular motions. The soap will work its magic by breaking down the adhesive and loosening the residue. Keep rubbing until you start to see that stubborn residue lifting off.
If the residue is being particularly stubborn, let the soapy solution sit on it for a few minutes to further soften it. Then, continue rubbing until all traces of residue are gone. Apply some pressure, but be careful not to scrub too hard – we want to avoid any surface damage.
Once you’re satisfied with the removal process, rinse the area with clean water to get rid of any soap residue. Then, dry the surface thoroughly with a towel to prevent any moisture from causing damage or promoting mold growth.
Now, it’s important to note that this method may not be suitable for all surfaces. Delicate materials or electronics may be sensitive to moisture and could be damaged by this method. In such cases, it’s best to consult the manufacturer’s instructions or seek professional advice.
If you’re unable to remove all the residue using this method, don’t fret. There are alternative options available. Adhesive removers specifically designed for electronics can work wonders, or you can always seek assistance from a professional.
Different Types of Adhesives Require Different Removal Methods
Removing adhesives can be a sticky situation, especially when it comes to different types of adhesives used in various products. Understanding why different types of adhesives require different removal methods is crucial to effectively and safely remove residue. In this article, we will explore the reasons behind this phenomenon and provide practical tips on removing different adhesive residues.
Types of Adhesives:
- Double-sided tape: Popularly used in products like PopSockets, double-sided tape provides a strong bond but can leave behind residue. To remove this residue, start by peeling off as much tape as possible. Then, gently rub the remaining residue with a cloth soaked in mild adhesive remover or rubbing alcohol.
- Glue: Glue is another common adhesive used in products like PopSockets. It can leave behind a sticky residue that requires careful removal. Begin by gently scraping off excess glue with a plastic scraper or your fingernail. Next, use a cloth soaked in adhesive remover or rubbing alcohol to rub away the remaining residue.
- Adhesive pads: Some products, including PopSockets, come with adhesive pads that stick firmly to surfaces. Follow the manufacturer’s instructions for removing these pads carefully. If any residue remains, use an adhesive remover or rubbing alcohol on a cloth to remove it.
- Reusable adhesive gel: Designed for multiple removals without leaving residue, reusable adhesive gel may occasionally require cleaning. Use warm soapy water and a cloth to gently scrub away any residue that may be present.
Best Removal Methods:
- Heat and scraping: Apply heat using a hairdryer or heat gun to soften the adhesive, then scrape off the residue with a plastic card or credit card. Be cautious not to scratch the surface while scraping.
- Adhesive remover or rubbing alcohol: Apply a small amount of adhesive remover or rubbing alcohol on a cloth and gently rub the residue until it dissolves. Test on a small area first for delicate surfaces.
- Warm soapy water: Soak a cloth in warm soapy water and gently rub the residue until it loosens and comes off. This method is ideal for delicate surfaces like phone screens.
Exercise Caution When Using Chemicals
When it comes to removing that pesky residue left behind by a PopSocket, caution should be your number one priority. While chemicals can be effective in breaking down adhesive gunk, they can also pose potential hazards if not handled with care. Skin irritations and allergic reactions are the last things you want to deal with, so take a moment to understand the importance of exercising caution when using chemicals for this task.
Let’s dive into some key points to keep in mind. First and foremost, read and follow the instructions provided by both the chemical and device manufacturers. These guidelines are put in place for your safety, so don’t overlook them. Remember, safety always comes first.
Now let’s talk about some common household chemicals that are often used for removing sticky residue. Rubbing alcohol, nail polish remover, and vinegar are all on the list. These powerhouse solutions work wonders, but before you go all out with your chemical cocktail, it’s crucial to perform a patch test on a small area of the surface. This simple step will help you avoid any unpleasant surprises like discoloration or damage to your beloved device.
Protecting your hands is just as important as protecting your phone. Always wear gloves when handling chemicals to prevent any direct contact with your skin. Additionally, make sure you’re working in a well-ventilated area to minimize exposure to any fumes or odors that may arise.
Accidents happen, so it’s wise to take precautions to prevent any spills or splashes. Cover up any nearby surfaces or areas that could potentially get messy. This way, you’ll save yourself the headache of cleaning up an unintended mess.
Once you’ve successfully removed that stubborn PopSocket residue and completed your cleaning process, proper disposal is key. Check your local regulations or guidelines for the correct disposal procedures for any leftover chemicals. Let’s do our part in keeping the environment happy and healthy.
tFi8FQ4avBI” >
Conclusion
Getting rid of PopSocket residue doesn’t have to be a headache. Say goodbye to that sticky gunk and restore your phone to its pristine condition with these effective methods.
One method that works wonders is the heat and adhesive remover technique. Soften the adhesive by applying heat, then gently scrape off the residue with a plastic scraper or credit card. Even the most stubborn PopSocket residue doesn’t stand a chance against this method.
If you prefer a less intense approach, adhesive removers or rubbing alcohol can do the trick. These solutions are specially designed to dissolve adhesives without causing any damage. Simply apply them onto a cloth or cotton pad, and watch as the residue dissolves away.
For those who like a gentle touch, warm soapy water is your best friend. Soak a soft cloth in warm soapy water and delicately rub away the residue until it loosens and comes off effortlessly.
When using chemicals, exercise caution at all times. Test them on a small area first, wear protective gloves, work in a well-ventilated area, and take preventive measures to avoid spills or splashes.
Remember that different types of adhesives may require specific removal techniques. Whether it’s double-sided tape, glue, adhesive pads, or reusable adhesive gel – each one demands its own unique approach.