Are you tired of laminated papers falling apart or coming unglued? It can be frustrating trying to keep them securely attached, especially when you’re dealing with important documents. But fear not. There are several effective methods for attaching laminated paper together.
One popular option is to use a binder ring or comb binding system. By punching holes in the laminated sheets and binding them together with rings or combs, you can create booklets or manuals that are easy to flip through. This method is perfect for restaurant menus or employee handbooks.
If you’re attaching smaller pieces of laminated paper, such as business cards or ID cards, double-sided tape or adhesive may be your best bet. Simply apply a small amount of adhesive to one piece and press it firmly onto the other piece for a secure bond.
For a professional finish, try using a thermal binding machine. This device uses heat and pressure to bind the edges of laminated papers together, creating a sleek look that’s perfect for presentations or important documents.
No matter which method you choose, there are plenty of options available for attaching your laminated papers securely. Whether you prefer binder rings, adhesive, or thermal binding machines, your papers will stay firmly bonded and organized.
Adhesive Glue: Types and Techniques
Contents
- 1 Adhesive Glue: Types and Techniques
- 2 Double-Sided Tape: Benefits and Usage
- 3 Laminating Pouches: How to Use Them
- 4 Cleaning the Surface Before Attaching Laminated Paper
- 5 Applying Glue to the Laminated Paper
- 6 Pressing the Two Surfaces Together
- 7 Setting Time for Different Types of Glue
- 8 Precisely Attaching Small Pieces of Laminated Paper with Double-Sided Tape
- 9 Conclusion
Look no further than adhesive glue. But with so many types of adhesive glue available, it’s important to choose the right one for your needs.
One popular and versatile option is PVA glue. Also known as white glue or school glue, it is water-soluble, dries clear, and is easy to clean up. It’s perfect for use on laminated paper and is non-toxic, making it safe for children’s crafts.
For projects requiring a quick and strong bond, hot melt glue is a great option. Applied using a hot glue gun, it dries quickly and creates a reliable bond. However, be cautious when using it on laminated paper as mistakes can be difficult to correct.
When applying adhesive glue to laminated paper, there are several techniques to consider. Applying the glue in thin, even coats using a brush or roller ensures even distribution and prevents lumps or bumps from forming. Spray adhesive creates a thin and even layer of glue, but be sure to apply it in a well-ventilated area.
For convenience and ease of use, double-sided tape or adhesive sheets are also great options. They come pre-cut and ready to use, making them ideal for quick projects or when time is limited.
It’s important to let the adhesive glue dry completely before handling your project and avoid using too much glue as it can cause warping or wrinkling of the laminated paper.
In conclusion, adhesive glue is an effective way to attach laminated paper together. By choosing the right type of glue and applying it correctly using the appropriate technique, you can create a strong bond that will make your finished project look neat and professional.
Double-Sided Tape: Benefits and Usage
Double-sided tape is the ultimate adhesive solution that’s versatile, practical, and easy to use. Whether you’re looking to attach laminated paper or mount something on your wall, double-sided tape has got you covered.
One of the biggest advantages of using double-sided tape is its ease of use. Unlike traditional glue, which is messy and requires time to dry, double-sided tape is ready to use right out of the package. Simply peel off the protective backing, apply it to one side of the laminated paper, and press the other side onto the exposed tape. Voila. It’s that simple.
But that’s not all; double-sided tape is also incredibly strong and durable. Some tapes can even withstand extreme temperatures, moisture, and UV rays, ensuring a secure bond that lasts for years. This makes it perfect for long-term projects or heavy-duty laminated paper.
Moreover, double-sided tape is versatile and can be used for various applications beyond just attaching laminated paper. You can mount posters, photos, or artwork on walls or surfaces without damaging them. It’s also great for crafting, scrapbooking, packaging, or office supplies.
But what about safety? Unlike traditional glue that emits harmful fumes and requires special handling and disposal, double-sided tape is cleaner and safer to use. It doesn’t leave any residue or damage on the laminated paper when removed, making it an excellent choice for temporary or reversible projects.
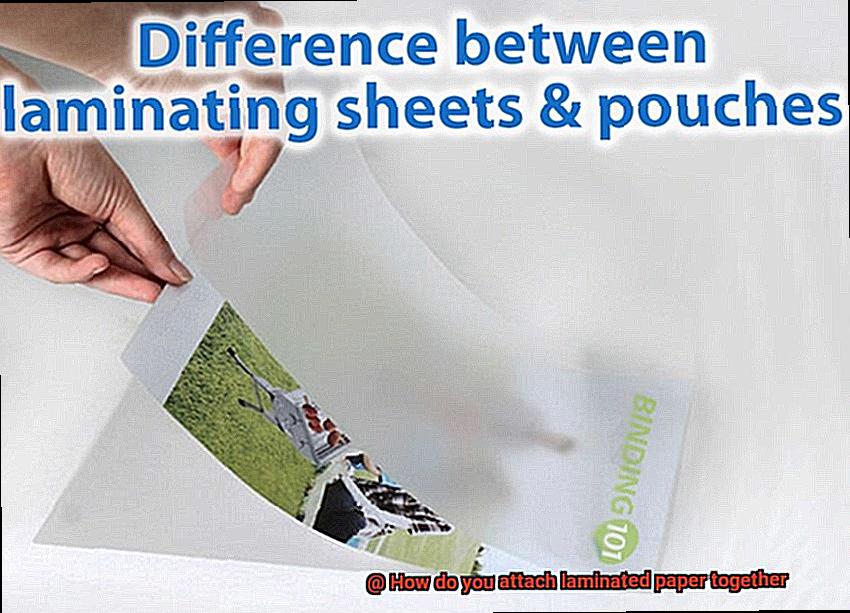
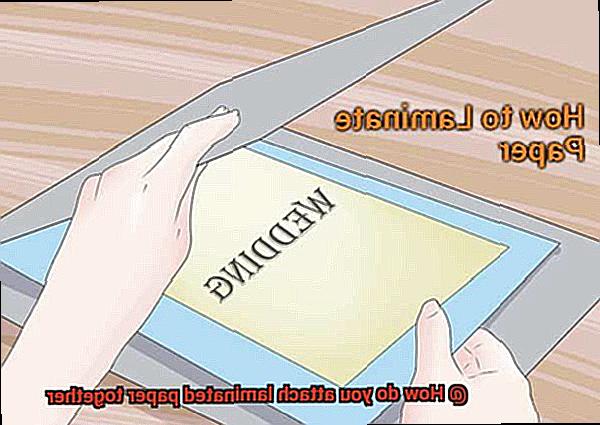
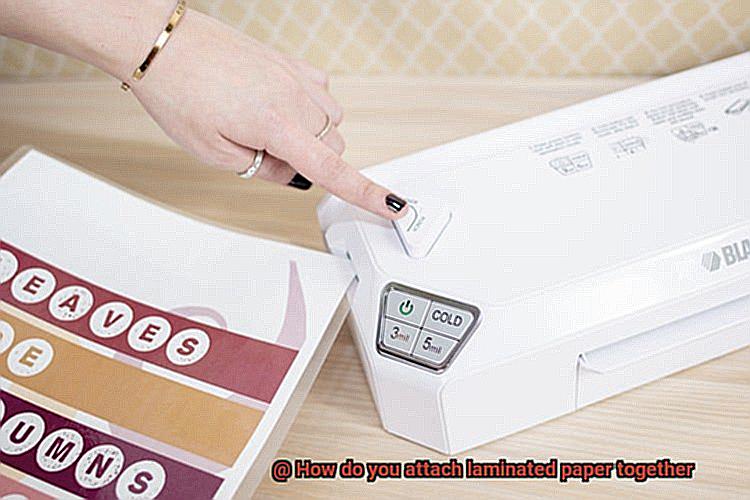
Laminating Pouches: How to Use Them
When it comes to safeguarding your important documents, laminating pouches are an excellent solution. These versatile pouches come in various sizes and thicknesses, making it easy to find the right fit for your needs. But how do you use them? Don’t worry, we’ve got you covered.
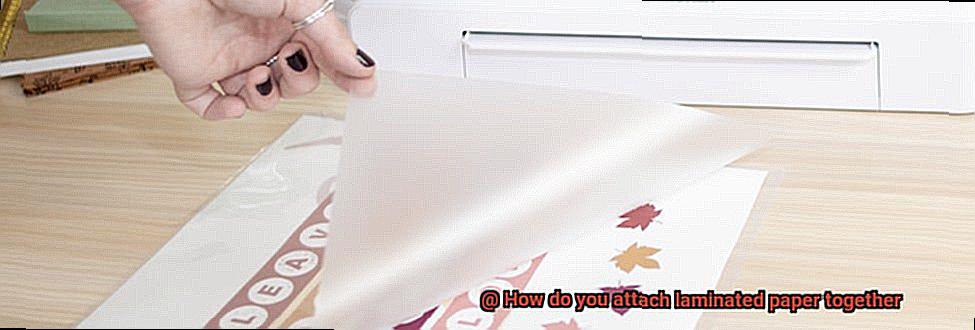
First things first – select the appropriate size and thickness of laminating pouch for your document. Ensure that your paper is clean and free of any wrinkles or folds before placing it inside the pouch. If necessary, trim the edges of the paper to fit inside the pouch.
Once you’ve done that, load the pouch into your laminator machine, following the manufacturer’s instructions. Switch on the machine and wait for it to heat up. Once it’s ready, carefully feed the pouch into the machine, ensuring it goes through straight and without any wrinkles.
After the pouch has been through the machine, let it cool before handling it. Then, trim any excess lamination around the edges of the paper. Now your document is protected and looks neat and tidy too.
If you need to attach laminated papers together, there are several methods you can try, such as adhesive tape or double-sided tape. However, it’s important to test a small area first before applying any adhesive to the entire document as some adhesives may not work well with laminated surfaces.
Cleaning the Surface Before Attaching Laminated Paper
Before diving into the process of attaching laminated paper, it is crucial to take the necessary steps to prepare the surface. A clean and contaminant-free surface is a crucial foundation for a strong and long-lasting bond between the two surfaces.
First and foremost, it is essential to clean the surface thoroughly. Any dirt, dust, grease, or other contaminants on the surface can affect the adhesion of the glue. You can use a simple solution of warm water and mild soap to clean the surface. Ensure that you dry the surface completely before proceeding with the lamination process.
Another effective option for cleaning the surface is using rubbing alcohol. Rubbing alcohol is particularly helpful for removing oils or residues that may be present on the surface. All you need to do is apply rubbing alcohol onto a clean cloth and wipe down the surface. Allow it to dry completely before attaching the laminated paper.
It’s important to note that some surfaces may require additional preparation before attaching laminated paper. For example, if the surface is porous or has a rough texture, sanding it down or applying a primer may be necessary.
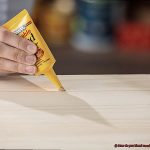
Applying Glue to the Laminated Paper
Whether you’re putting together a scrapbook or designing a custom gift tag, knowing how to apply glue to laminated paper is essential for achieving beautiful results.
First, you must choose the right type of glue. Opt for a clear-drying, acid-free adhesive that won’t damage or wrinkle your paper. PVA glue is a popular choice due to its clear finish and water-resistant properties.
Next, prepare your surfaces by ensuring they are clean and free of any dust or debris. Use a soft cloth or brush to gently remove any particles that could affect your bond.
When it’s time to apply the glue, use a thin layer on one side of the laminated paper only. Applying too much could cause warping and wrinkles, so be careful. If you do accidentally use too much glue, gently blot away any excess with a clean cloth or paper towel.
Once you’ve applied the glue, carefully align the edges of your laminated paper and press down firmly along the edges to ensure a strong bond. If necessary, make any adjustments quickly before the glue dries.
Finally, allow your glued papers to dry completely before handling them. The drying time will depend on the type of glue used and the humidity in your environment. It may take several hours or even overnight.
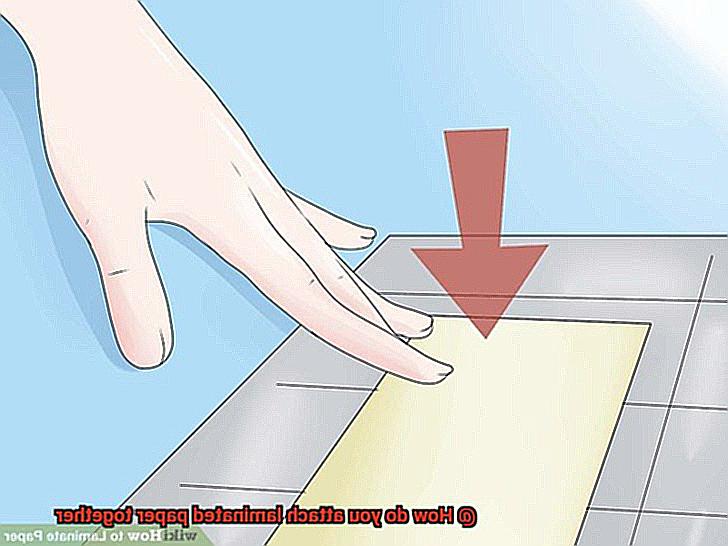
Pressing the Two Surfaces Together
Then listen up because pressing the two surfaces together is the key to success in the lamination process.

Pressing the two surfaces together is not just a simple step, but a critical one that ensures the adhesive properly bonds to both surfaces. It creates a strong and durable hold that will last for years to come.
However, before pressing the two surfaces together, it’s important to ensure that they are aligned correctly. This is achieved by laying one surface down flat, then carefully placing the other on top, avoiding any bubbles or wrinkles.
Once aligned, even pressure needs to be applied across the entire surface area. This can be done using a roller specifically designed for laminating or a flat, smooth object like a credit card or ruler. Applying even pressure guarantees that there are no air pockets or uneven bonding between the two surfaces.
It’s important to note that the amount of pressure needed may vary depending on the type of adhesive used and the thickness of the laminated paper. Applying too little pressure may result in weak bonding, while too much pressure may damage or warp your materials. Therefore, following manufacturer’s instructions is vital for optimal results.
In some cases, heat may also be applied to aid in bonding. However, caution should be taken when using heat as it can cause burns or damage to your laminated paper if not done properly.
Setting Time for Different Types of Glue
When it comes to attaching laminated paper together, selecting the right type of glue with an appropriate setting time is vital for achieving a successful outcome. It’s essential to understand the properties of different types of adhesives and how they interact with the materials being bonded to ensure a secure and long-lasting bond. In this article, we’ll explore five different types of glue and their properties.
PVA glue
This water-based adhesive is a popular choice for attaching laminated paper. It dries transparently and has a quick setting time of around 15-30 minutes, making it ideal for projects that require fast bonding. However, it’s important to note that PVA glue may not be suitable for all types of laminated paper.
Cyanoacrylate glue
Also known as super glue, this type of adhesive sets almost instantly upon contact with the surface being bonded, making it a great choice for small projects that require precision and quick bonding. However, its fast-setting nature also means that there is little room for error and can be difficult to remove if applied incorrectly.
Epoxy glue
This two-part adhesive requires mixing before application and has a longer setting time of around 24 hours. However, once set, epoxy forms a strong bond that can withstand high stress and pressure. It is ideal for projects that require a strong and durable bond.
White glue
White glue or school glue is another water-based adhesive that is perfect for laminated paper. It dries clear and has a setting time that can vary depending on the brand and amount used. Typically, it takes around 30 minutes to an hour to set completely.
Glue stick
This mess-free option is also water-based and safe to use with laminated materials. The setting time for a glue stick is usually quicker than white glue, taking only a few minutes to set. It’s perfect for small projects and when you need a quick fix.
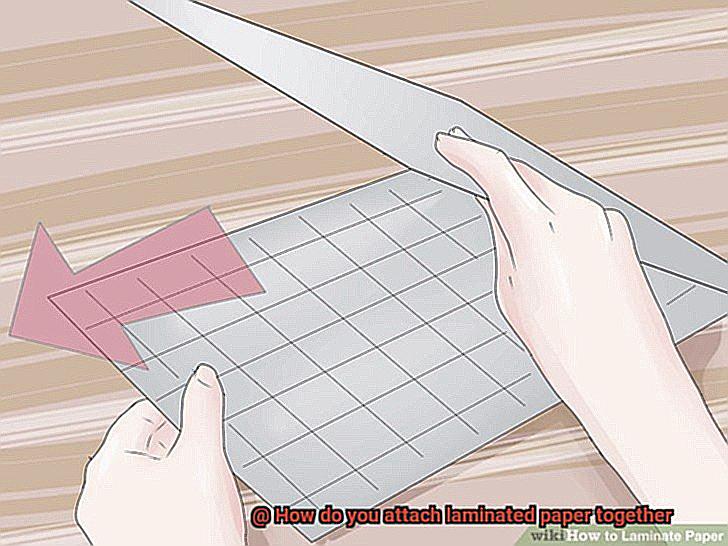
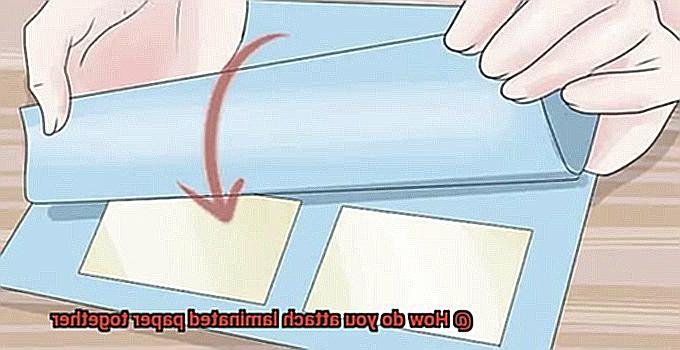
Precisely Attaching Small Pieces of Laminated Paper with Double-Sided Tape
When it comes to laminated paper projects, attaching small pieces can be a challenge. Fortunately, double-sided tape is an excellent solution that can save you from the mess of traditional liquid glue. But how can you ensure that your pieces are attached precisely and professionally? As an expert in this topic, let me share some tips with you.
Firstly, it’s crucial to start with clean and dry surfaces for maximum adhesion. Once you have a clean slate, cut your double-sided tape to size using sharp scissors or a craft knife. If you’re working with tiny or intricate pieces, consider using a punch tool to create perfectly shaped tape pieces.
Now comes the exciting part: attaching your laminated paper with double-sided tape. Apply the tape carefully to one side of your paper, making sure that it covers the entire surface area evenly. If you need to adjust the placement of your paper, do so carefully as double-sided tape can be challenging to reposition once applied.
To achieve a professional look, align each piece precisely and take extra care not to leave any gaps between them. Any misalignments or gaps will be noticeable on laminated paper.
X8brf0tg6BI” >
Conclusion
In summary, laminating paper can be a tricky task, but with the right approach, it can be accomplished effortlessly and efficiently. To create booklets or manuals, binder rings or comb binding systems are ideal, while smaller pieces like business cards or ID cards can benefit from double-sided tape or adhesive. For a polished and professional finish, thermal binding machines are an excellent option.
When it comes to adhesive glue, PVA glue is versatile and easy to clean up, while hot melt glue delivers a quick and robust bond. Double-sided tape is a convenient and secure alternative. Laminating pouches offer superior protection for essential documents.
Before attaching laminated paper together, it’s crucial to prepare the surface by cleaning it meticulously with warm water and mild soap or rubbing alcohol. Applying glue correctly using the appropriate technique is vital for achieving outstanding results.
Pressing the two surfaces evenly is critical for ensuring a strong bond that lasts long. Different types of glue have varying setting times that should be taken into account before starting any project. Lastly, when attaching small pieces of laminated paper precisely with double-sided tape, clean surfaces and sharp tools are essential for achieving professional-grade results.