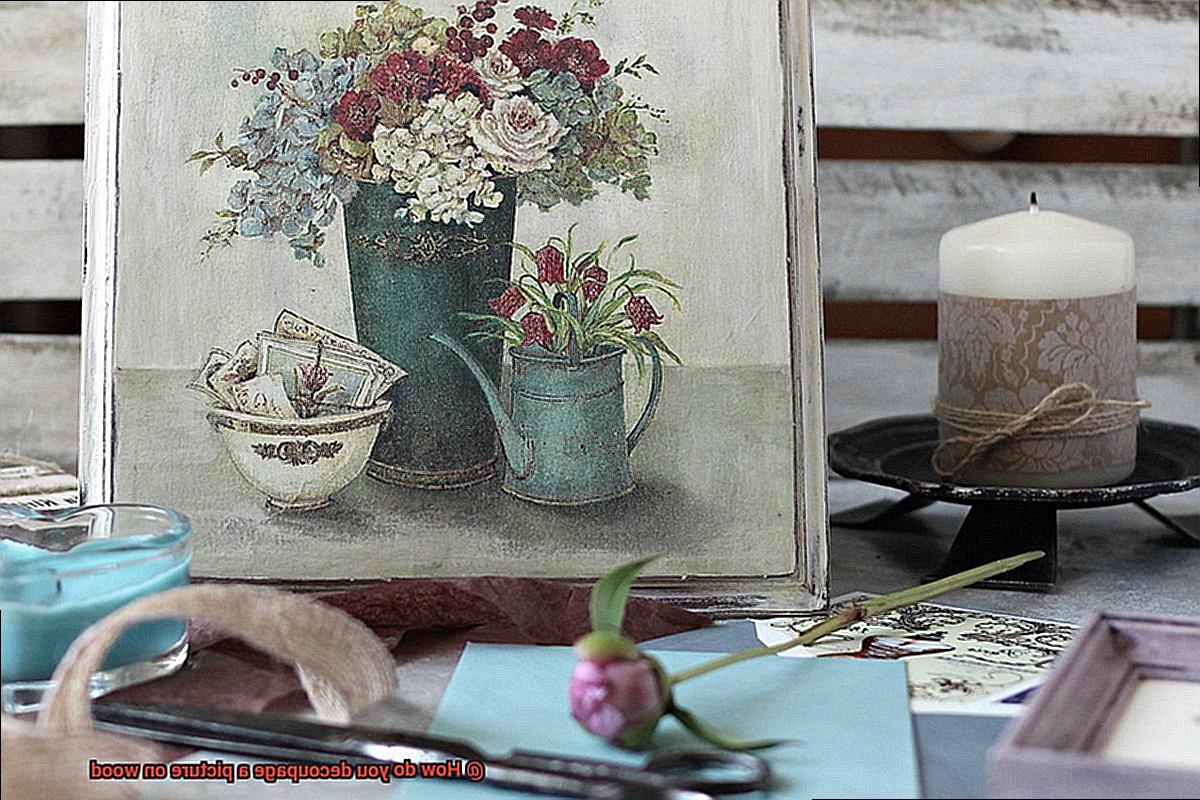
Are you a DIY enthusiast looking for a fun and easy way to spruce up your home decor? Look no further than decoupage. This classic technique involves layering cut-out pictures and embellishments onto a surface using varnish or glue. And the best part? It can be used on almost any surface, including wood.
If you’re wondering how to decoupage a picture on wood, you’ve come to the right place. In this blog post, we’ll take you through the step-by-step process of creating your very own personalized art piece. All you’ll need is some mod podge, a brush, a wooden surface, and a picture or pattern of your choice.
From selecting the perfect wooden canvas to preparing your picture for decoupaging and applying the mod podge, we’ve got you covered. Plus, we’ll share some insider tips and tricks to ensure that your project turns out flawlessly.
Whether you’re new to crafting or an experienced pro, this tutorial will guide you through every aspect of decoupaging a picture on wood. So grab your supplies and let’s get started.
What is Decoupage?
Contents
- 1 What is Decoupage?
- 2 Materials Needed for Decoupaging a Picture on Wood
- 3 Preparing the Wooden Surface
- 4 Applying Glue to the Wooden Surface
- 5 Placing the Picture onto the Glue-Coated Wood
- 6 Smoothing Out Wrinkles and Air Bubbles
- 7 Sealing the Picture onto the Wood
- 8 Letting the Glue Dry Completely
- 9 Conclusion
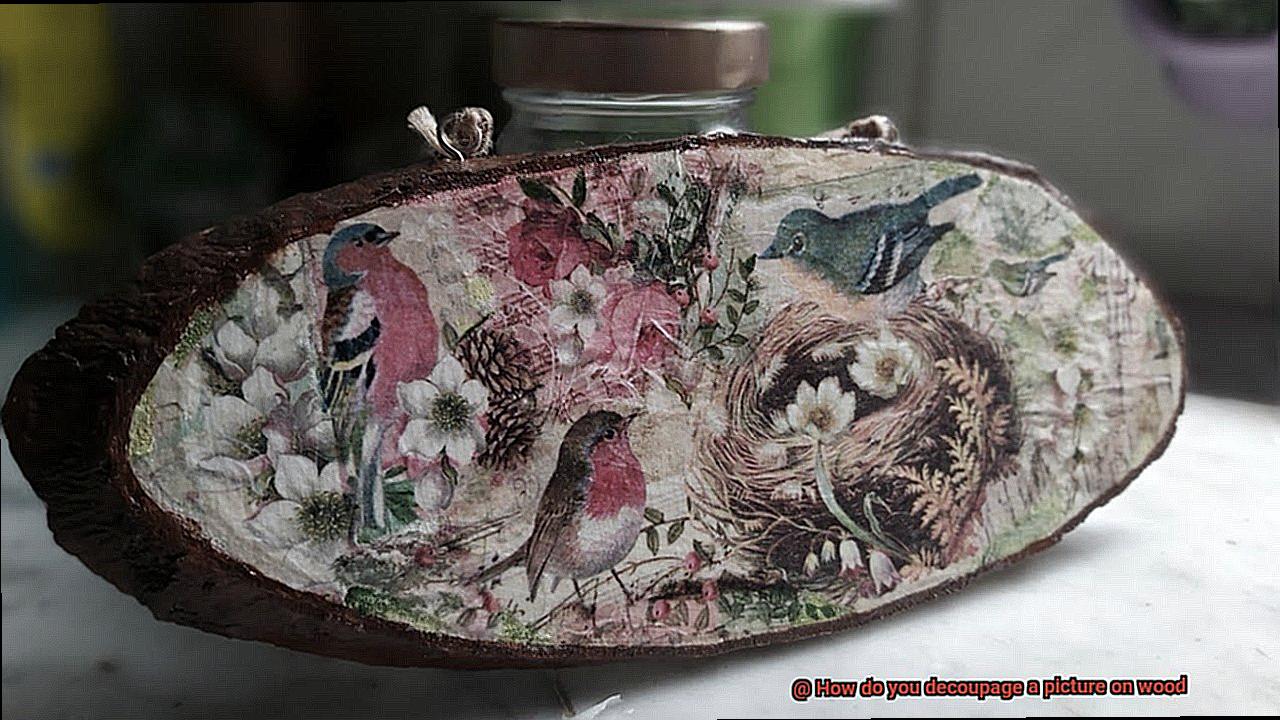
Look no further than decoupage. This decorative technique involves layering paper cutouts onto a surface and sealing them with glue, creating a beautiful collage effect.
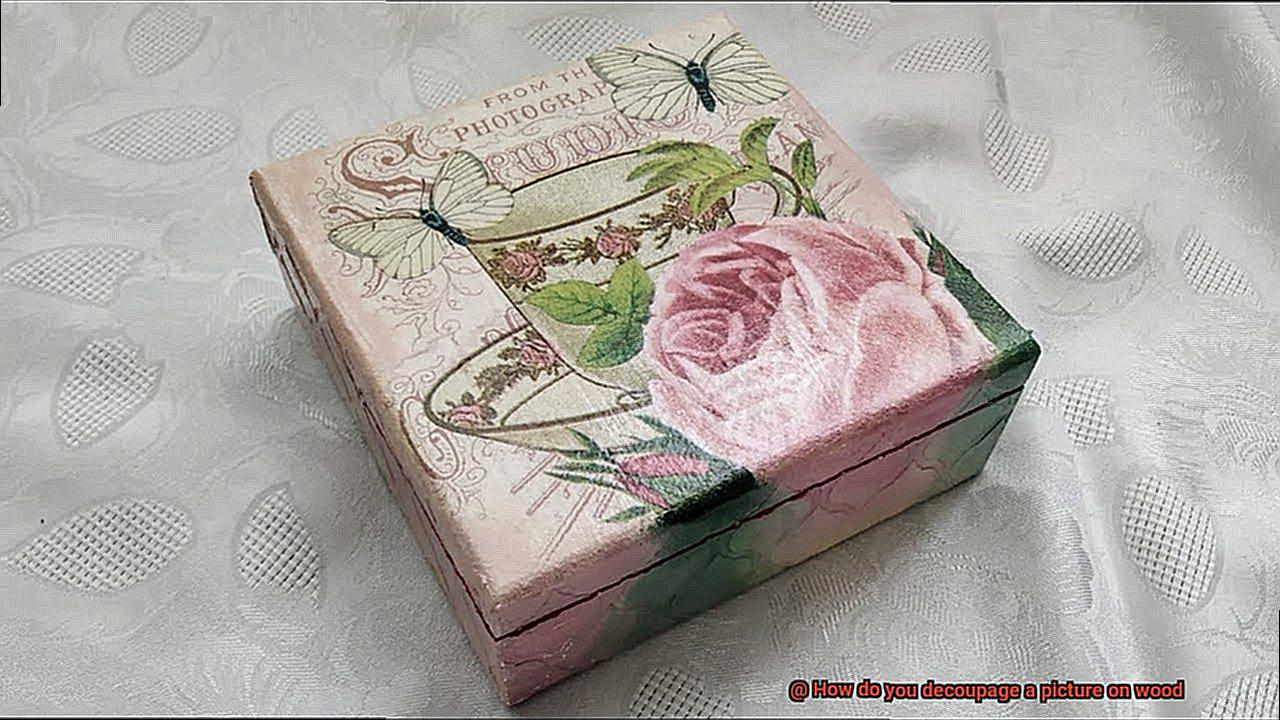
Originating in France during the 17th century and gaining popularity in Europe during the 18th century, decoupage gets its name from the French word “decouper,” which means to cut out. This technique allows for endless creativity as you can use various materials like magazine clippings, tissue paper, and photographs to create a one-of-a-kind design.
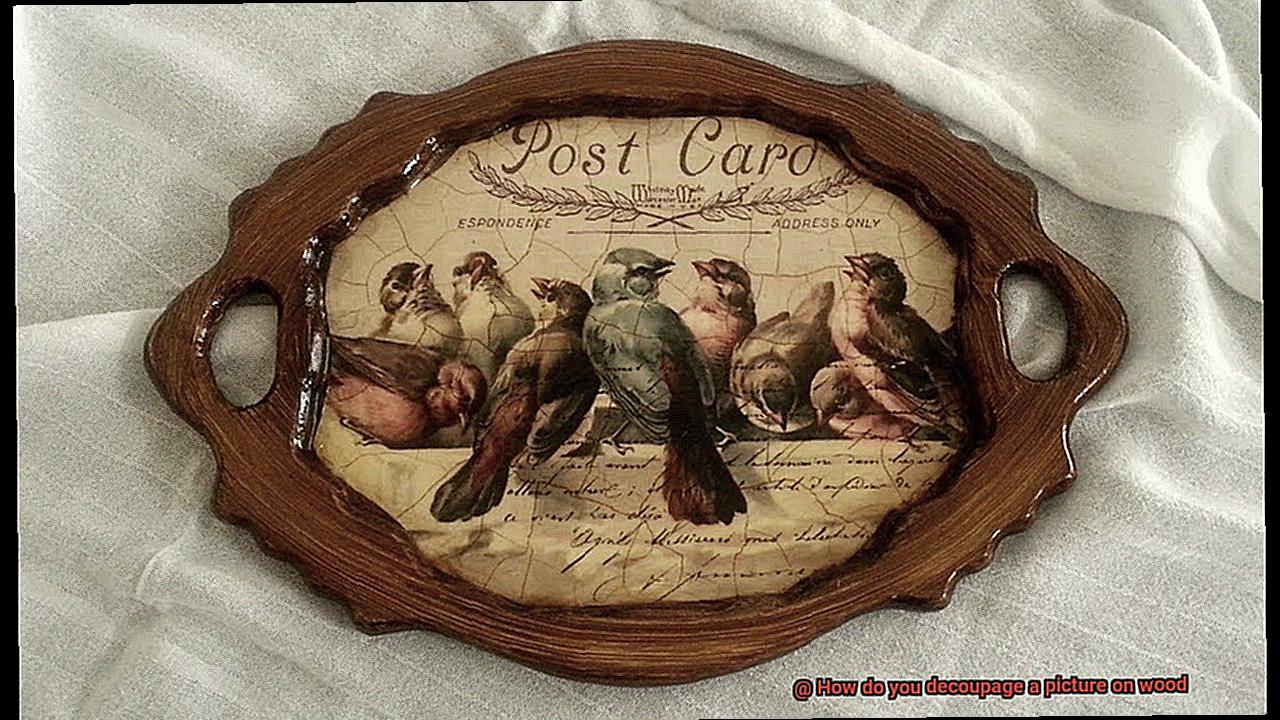
When it comes to surfaces, decoupage can be applied to wood, glass, metal, and plastic. However, wood is a popular choice due to its natural texture and durability. Before starting your project, ensure that the wooden surface is sanded down and cleaned thoroughly.
To begin the decoupage process on wood, apply a thin layer of decoupage glue onto the surface where you want to place your picture or design. Carefully place your image onto the glue-coated surface, smoothing out any wrinkles or air bubbles with a soft-bristled brush or your fingertips. Then seal the image by applying another thin layer of glue on top.
Materials Needed for Decoupaging a Picture on Wood
Decoupaging a picture on wood is an excellent way to unleash your creativity and make your furniture stand out. However, before you dive into this project, let’s make sure you have all the necessary materials.
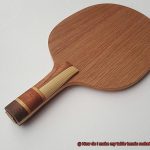
First and foremost, you will need a smooth piece of wood. The size and shape are entirely up to you, but it should be free of bumps or rough spots that could interfere with the picture’s application. You can conveniently purchase pre-cut wood pieces at most craft stores or use scrap wood that you already have on hand.
Next, select the picture you want to use. Whether it’s a photograph, magazine cutout, or any other image that speaks to you, ensure that it’s printed on thin paper. Thicker paper may not adhere well to the wood.
Now comes the glue. To attach the picture to the wood, you’ll need a decoupage glue or medium. Mod Podge is a popular choice because it dries clear and can be used as both a glue and sealant. However, don’t worry if you don’t have Mod Podge; white glue thinned with water or special decoupage mediums work just as well.
In addition to the glue, gather a paintbrush for applying it, scissors for cutting out the picture, and sandpaper for smoothing any rough edges on the wood.
Lastly, if you plan on hanging your finished piece on the wall, you’ll need some type of hanging hardware such as a sawtooth hanger or D-ring. These can be easily found at most hardware or craft stores.
Preparing the Wooden Surface
Well, before you get glue-happy, let’s talk about the crucial first step: preparing the wooden surface. As an expert in this area, I can tell you that taking the time to properly prepare your wooden surface is the foundation for a successful decoupage project.
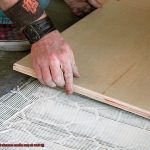
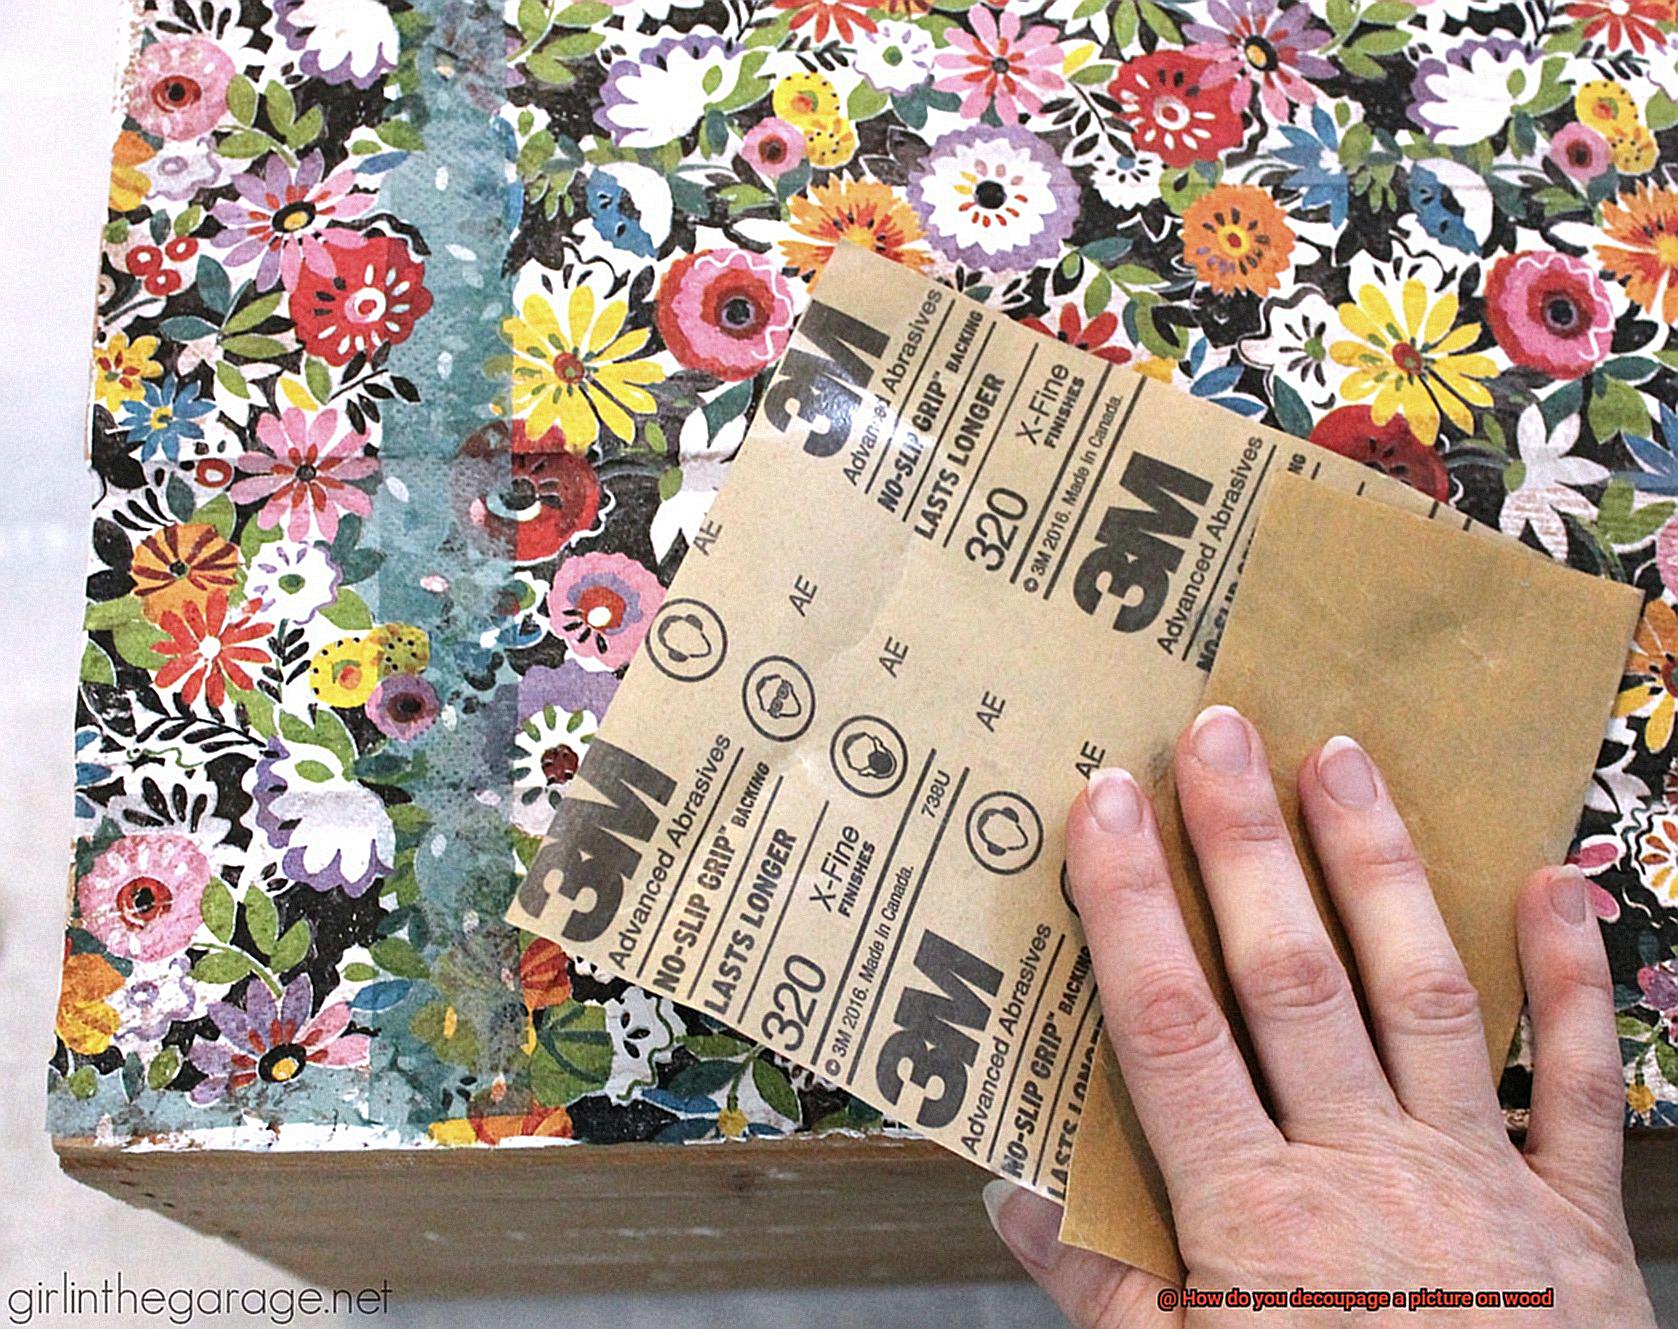
The first thing to consider is the type of wood you are using. It’s essential to choose a smooth and flat surface without any bumps or curves. Sanding the surface with fine-grit sandpaper can help to create an even texture and remove any rough spots or imperfections. Trust me; you don’t want any impediments on your wood surface; it will make the picture look uneven.
Next, cleanliness is vital. You must clean the wooden surface thoroughly before applying any glue. Any dirt, dust, or grease must be removed to ensure proper adhesion of the decoupage glue. Use a damp cloth to wipe down the surface, followed by a dry cloth to remove any excess moisture.
Once your wooden surface is clean and dry, it’s time to prime or seal it. Applying a coat of primer or sealant will create a smooth base for the decoupage glue. This will prevent the wood from absorbing too much glue and ensure that your picture adheres properly. You want your picture to last for years to come, right?
It’s important to note that some types of wood may require additional preparation steps like staining or painting. These steps should be completed before applying the decoupage glue. Be sure to research which preparation steps are necessary for your specific type of wood.
Applying Glue to the Wooden Surface
Then let’s dive into the critical process of applying glue to a wooden surface when decoupaging a picture. This foundation is vital to achieving a stunning and enduring outcome.
- First things first: selecting the right glue for the job is crucial. Mod Podge is a popular choice among crafters because it works well on both paper and wood surfaces. Once you have your glue, it’s time to start the process.
- Step one: set up your workspace by laying your wooden surface flat and placing the picture on top. Using a paintbrush, apply a thin layer of glue to the wooden surface, ensuring that every area where you want your picture to stick is covered. Be mindful not to overdo it with the glue as it can cause bubbles or wrinkles in your picture.
- Step two: gently place your picture onto the glued surface, ensuring that it is centered and straight. Using a clean cloth or your fingers, smooth out any bubbles or wrinkles that may have formed during application.
- Step three: seal your picture in place by applying another thin layer of glue over the top. Remember that drying times may vary depending on the type of glue you’re using, so be sure to check the label instructions for specific drying times.
It’s important to note that applying glue to a wooden surface requires patience and attention to detail. By following these steps and using the right type of glue, you can create a beautiful piece of art that showcases your unique style and creativity.
To summarize, here are some tips for applying glue to a wooden surface when decoupaging a picture:
- Choose the right type of glue for the job, such as Mod Podge
- Apply a thin layer of glue to the wooden surface
- Carefully place your picture onto the glued surface and smooth out any bubbles or wrinkles
- Seal your picture in place with another thin layer of glue
- Check the label instructions for drying times and be patient
Placing the Picture onto the Glue-Coated Wood
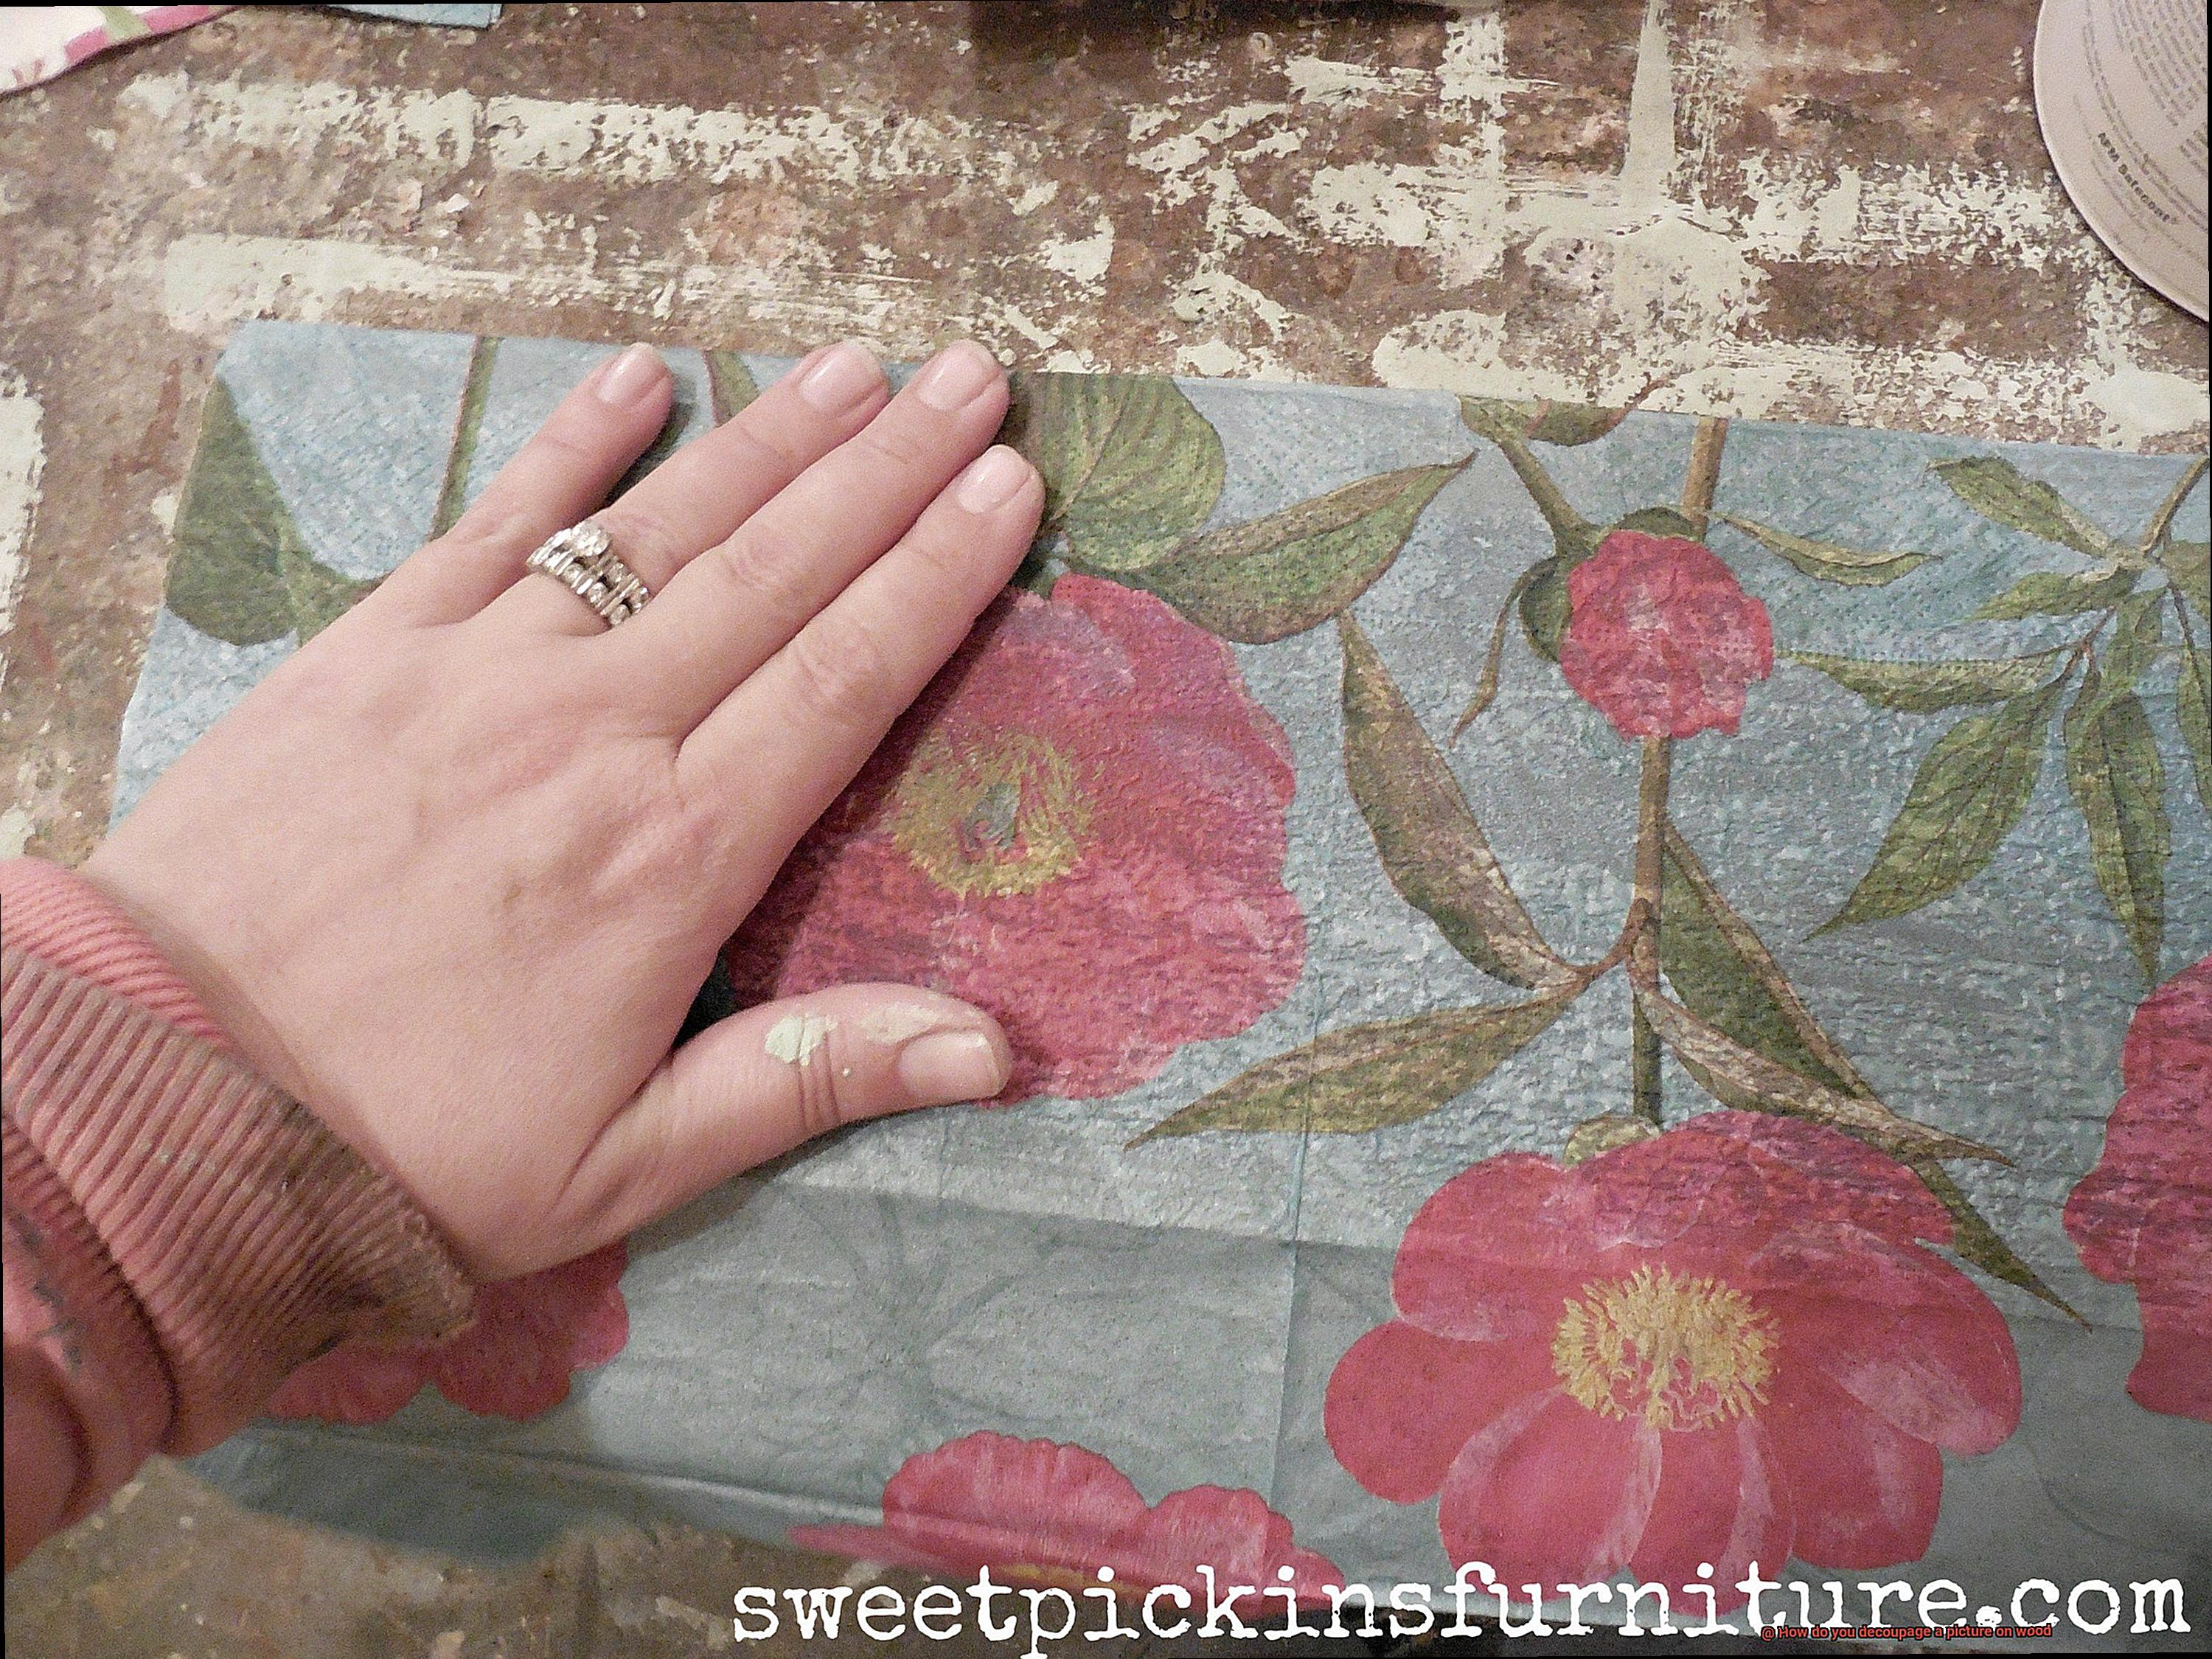
Placing the picture onto the glue-coated wood is a crucial step in this process. It is essential to ensure that the picture is placed correctly and smoothly onto the wood surface to avoid any wrinkles or bubbles that can ruin the final result.
To start with, check that the glue-coated surface is still wet. In case it has already dried, don’t worry. You can apply another thin layer of glue to reactivate it. Once you have done this, gently place your picture onto the glue-coated surface, starting from one side and slowly smoothing it out to the other side. To make sure there are no air bubbles or wrinkles, use a brayer or a credit card. Remember, patience is key. Take your time and don’t rush through this step.
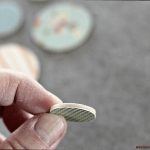
If you’re concerned about positioning your picture correctly, you can use a pencil to sketch out where you want it to go before applying the glue. This will help you avoid mistakes and ensure that your final product looks perfect. Once you’re satisfied with your placement, trim any excess paper around the edges of the wood surface using sharp scissors.
It’s important to be careful when positioning the picture because once it’s been placed onto the glue, it’s difficult to move it without damaging it. If your picture is larger than the wood surface, you can either trim it down to fit or leave it hanging over the edges and trim it once it’s dry. However, if you choose to trim it while wet, be sure to use sharp scissors and cut carefully to avoid tearing the paper.
After placing your picture onto the glue-coated wood, allow it to dry completely before moving on to the next step. This will ensure that your final product is smooth and wrinkle-free. You can now sit back and admire your masterpiece.
In summary, here are some key takeaways for placing the picture onto the glue-coated wood:
- Check that the glue-coated surface is still wet before placing your picture.
- Gently place your picture onto the glue-coated surface and use a brayer or credit card to remove air bubbles and wrinkles.
- Sketch out the placement of your picture before applying the glue if needed.
- Trim any excess paper around the edges of the wood surface using sharp scissors.
- Allow your picture to dry completely before moving on to the next step.
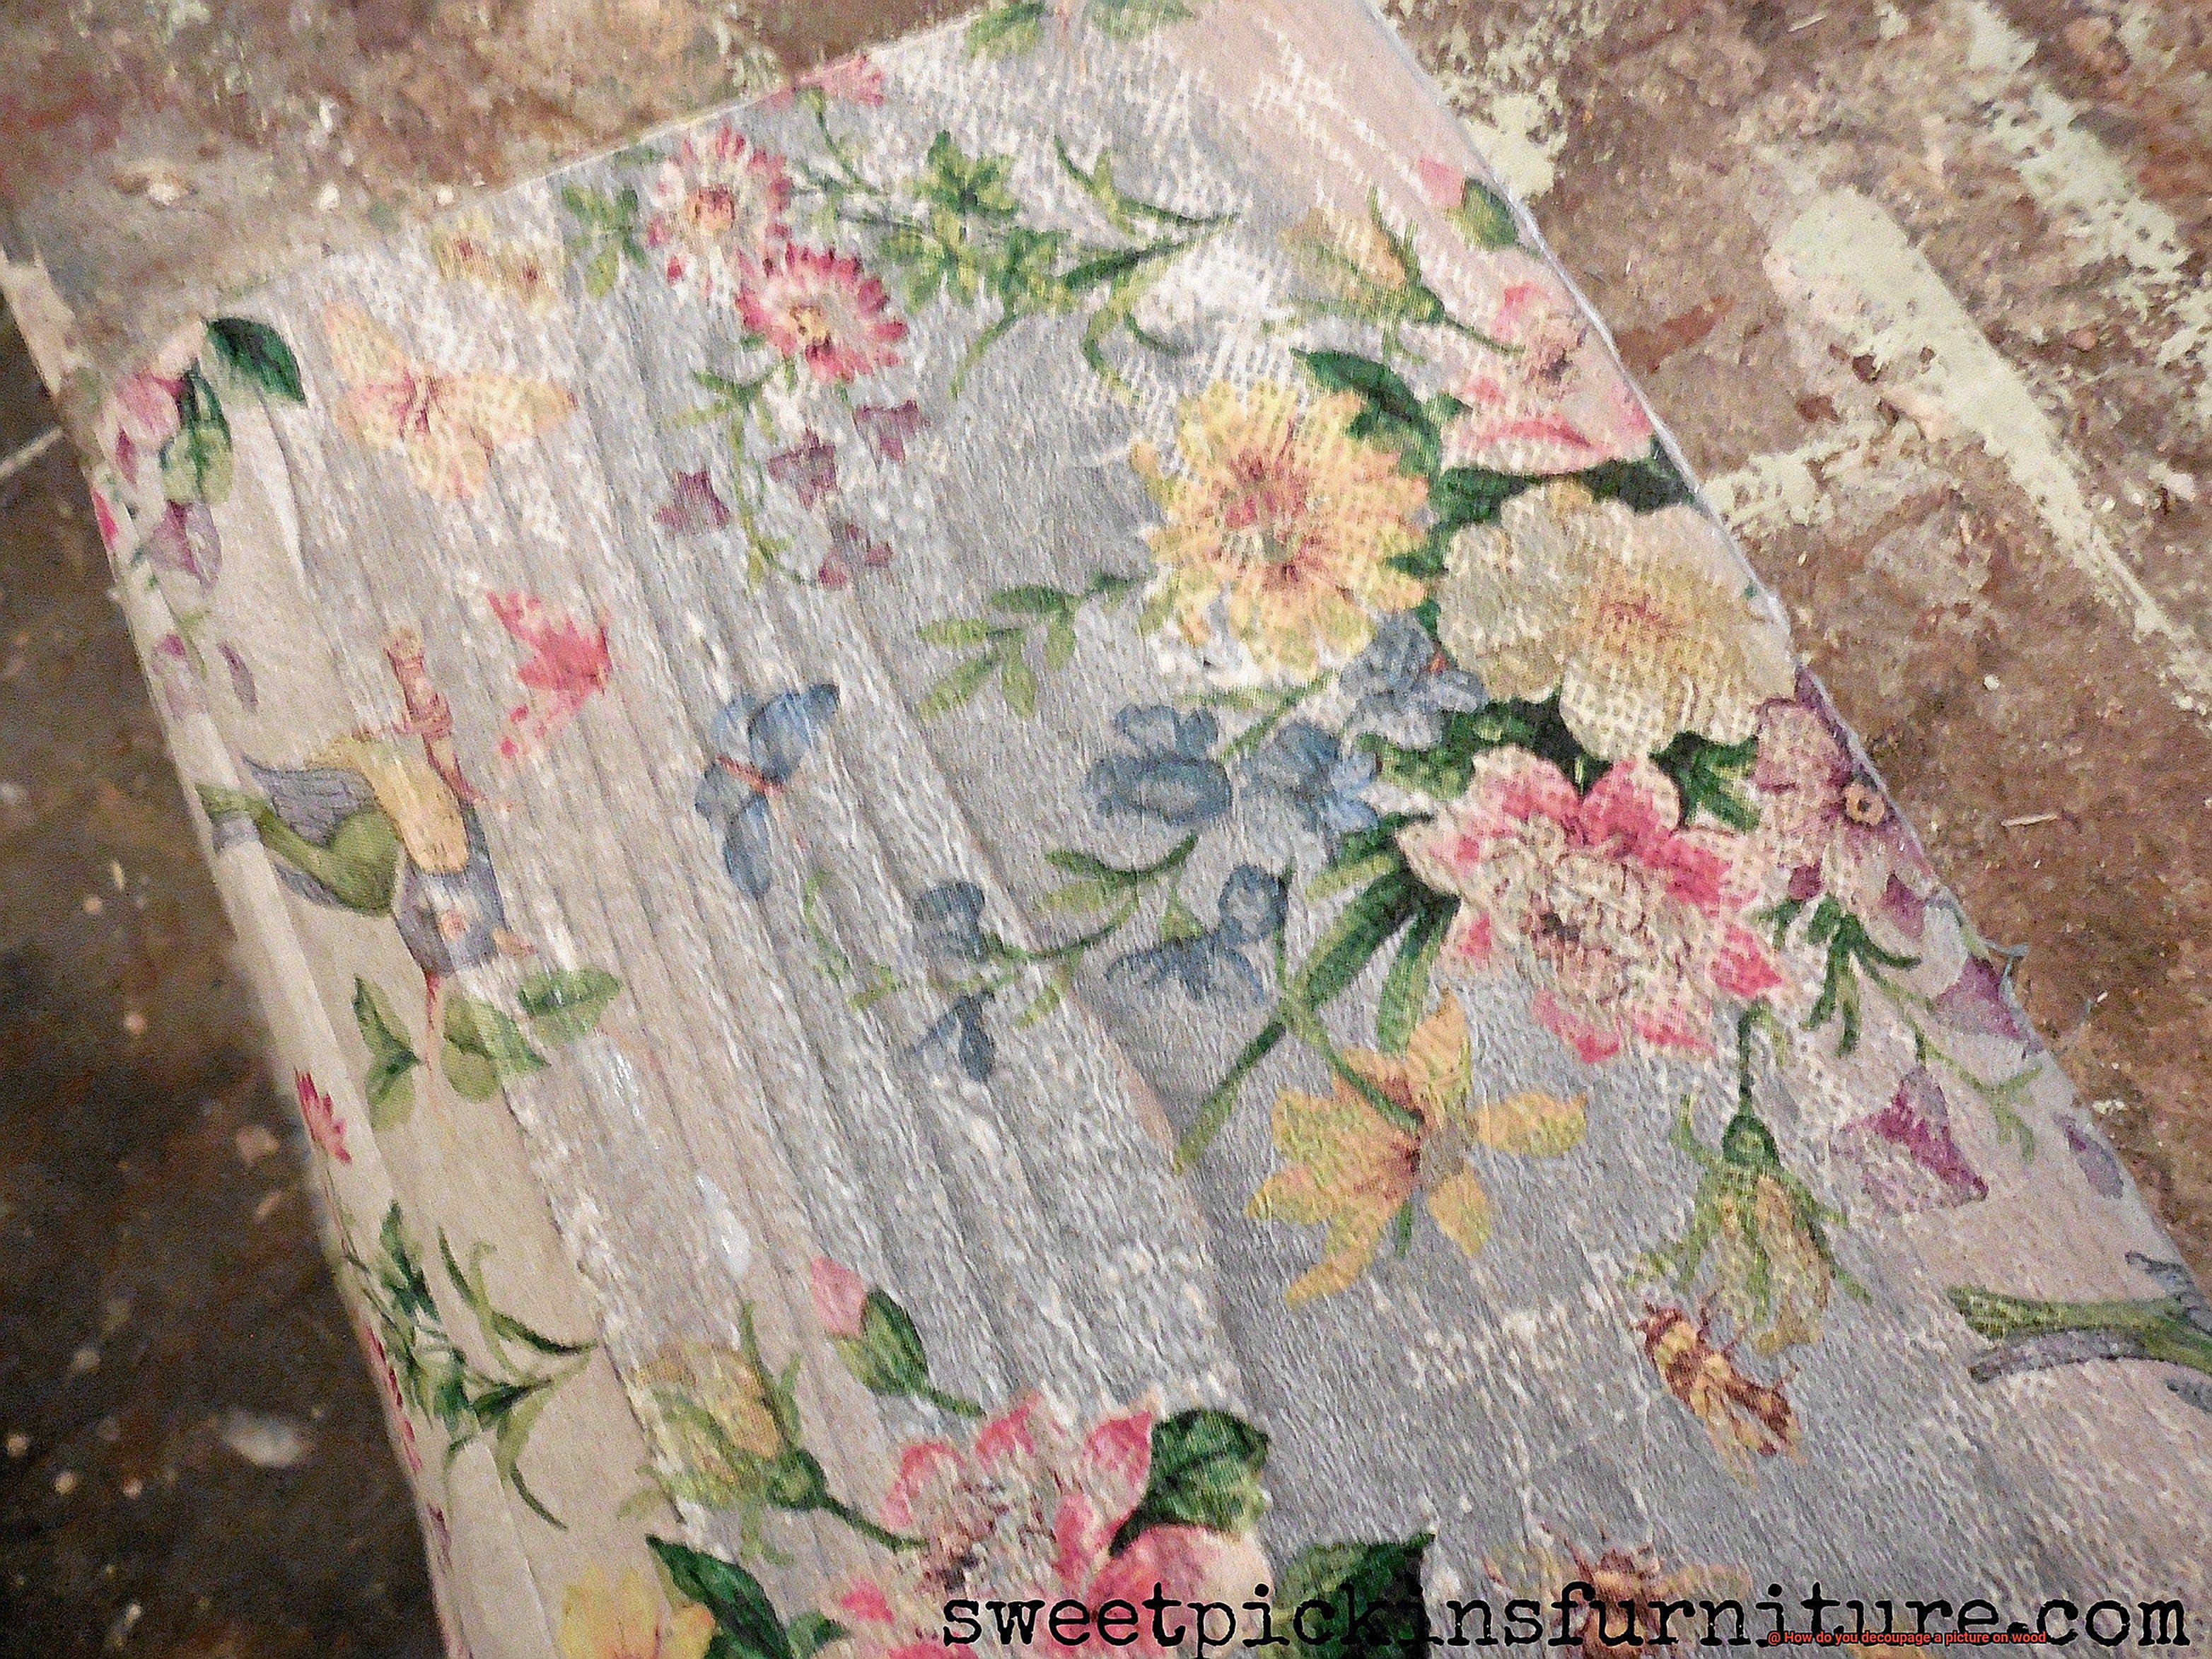
Smoothing Out Wrinkles and Air Bubbles
Preparation is key when it comes to decoupaging. Before applying the paper onto the wood, make sure the surface is clean and smooth. Any bumps or rough patches could cause wrinkles or air bubbles to form. Sanding the surface beforehand can help create a smooth and even base.
Once you have applied the paper, it’s time to start smoothing it out. A brayer or credit card is your best friend in this situation. Start from the center of the picture and work your way outwards, applying gentle pressure as you go. Roll the brayer or card over the paper in all directions until it is firmly stuck to the wood.
But what if you notice some pesky wrinkles forming? No need to panic. Gently lift up the corner of the paper and smooth it out with your fingers. If necessary, use a craft knife to make small incisions in the paper where it is bunching up, which will allow you to manipulate it more easily.
If you’re still struggling with wrinkles, try using a damp cloth or sponge. Dampen the affected area with water and then apply pressure with your fingers or a tool to flatten out the wrinkle. Be careful not to use too much water, as this can cause the paper to tear or become distorted.
To recap, here are some essential steps to remember when smoothing out wrinkles and air bubbles:
- Prepare the surface of your wood by sanding it beforehand.
- Use a brayer or credit card to press out any air bubbles.
- Lift up corners of paper if wrinkles form and smooth them out with fingers or craft knife.
- Use a damp cloth or sponge for stubborn wrinkles, being careful not to use too much water.
Sealing the Picture onto the Wood
Before you show off your stunning creation, there’s one last crucial step: sealing the picture onto the wood. This step is vital to ensure that your decoupage project will last for years to come.
There are various options for sealing the picture onto the wood, but two of the most popular methods are Mod Podge and polyurethane/acrylic sealer. Let’s delve deeper into each technique.
Mod Podge is a versatile water-based sealer, glue, and finish that comes in different formulas and finishes. It’s a breeze to use- simply apply a thin layer over the picture with a paintbrush or foam brush and let it dry completely. Then, repeat the process until you have at least two to three layers of Mod Podge on top of your picture. What’s more, Mod Podge dries clear and can be used in matte, satin, or glossy finishes.
On the other hand, polyurethane or acrylic sealer comes in spray or brush-on form and is available in matte, satin, or glossy finishes. To use these products, apply a thin layer over the picture with a brush or spray can and let it dry completely. Then, repeat the process until you have at least two to three layers of sealer on top of your picture.
No matter which method you choose, it’s crucial to follow the manufacturer’s instructions carefully. Some products may require sanding between coats or may have specific drying times before applying another layer.
Don’t forget to seal the edges of your picture as well to prevent any peeling or lifting. Use a small paintbrush to apply a thin layer of sealer around the edges of the picture.
Sealing the picture onto the wood may seem like a small step, but it’s an essential one that will ensure your decoupage project will last for years to come. So gather your supplies, follow the manufacturer’s instructions, and get sealing. Your breathtaking decoupage masterpiece deserves it.
Letting the Glue Dry Completely
As an expert in the field, I’m here to share some tips on how to ensure that your final product is flawless and visually appealing. Let’s dive into the importance of letting the glue dry completely.
When decoupaging, letting the glue dry completely is a crucial step in achieving a smooth and perfect finish. Rushing through this step can result in bubbling or wrinkling, which will ruin your hard work. Therefore, it is best to be patient and give the glue ample time to dry before moving on to the next step.
Typically, it takes about 24 hours for the glue to dry completely, but this could vary depending on the type of glue used and the humidity in your environment. It’s always better to err on the side of caution and let the glue dry for longer if necessary.
One way to check if the glue is fully dried is by touching the surface of the wood with your fingertips. If it feels tacky or sticky, then it’s not ready yet. Alternatively, hold up the wood to a light source and look for any shiny or reflective areas. These spots indicate that there’s still wet glue present.
During this process, avoid moving or disturbing the wood as much as possible. Any movement can cause the picture or paper to shift, resulting in an imperfect finish. Also, it’s crucial to protect the wood from dust or debris during the drying process.
Rt3EBRTJI1o” >
Conclusion
In summary, decoupaging a picture on wood is a fantastic way to add some personality and charm to your home decor. This timeless technique involves layering images and decorations onto a surface using glue or varnish, and it works wonders on almost any material, including wood. To ensure that your project turns out perfectly, follow these simple steps to create your very own personalized masterpiece.
Begin by selecting the perfect wooden canvas and preparing your image for decoupaging. Then apply the mod podge or decoupage glue onto the wooden surface where you want to place your design. Gently place your image onto the glue-coated surface, smoothing out any creases or air bubbles with a soft-bristled brush or your fingertips. Seal the image by applying another thin layer of glue on top.
Remember to properly prepare the wooden surface before starting the decoupage process by sanding it down and cleaning it thoroughly. It’s also essential to choose the right type of glue for the job, such as Mod Podge, and take your time placing and smoothing out the picture onto the wood.
Finally, seal in your artwork using either Mod Podge or polyurethane/acrylic sealer, following manufacturer’s instructions carefully. It’s crucial to let the glue dry completely to achieve a smooth and flawless finish, so be patient and avoid moving or disturbing the wood during this process.
By keeping these tips in mind, you can create an exquisite piece of art that showcases your unique style and creativity.