Do you ever get fed up with things breaking around the house?
From shattered coffee mugs to flapping shoe soles, it’s enough to drive anyone mad. But fear not, my friend, because I’m about to let you in on a little secret – the magic of Krazy Glue.
This stuff is like a superhero in a tiny tube, capable of bonding just about anything together with Herculean strength and unwavering durability. The only catch?
You gotta know how to apply it properly, or you’ll end up with a sticky disaster instead of a fix. Lucky for you, I’ve got all the insider tips on how to wield this mighty adhesive like a pro.
So, grab your broken treasures and get ready to unleash the power of Krazy Glue.
Importance of surface preparation before applying Krazy Glue
Contents
- 1 Importance of surface preparation before applying Krazy Glue
- 2 Applying the right amount of Krazy Glue
- 3 Pressing surfaces together for optimal bond formation
- 4 Precision and alignment when using Krazy Glue
- 5 Allowing sufficient curing time for maximum bond strength
- 6 Safety precautions when working with Krazy Glue
- 7 Common mistakes to avoid when applying Krazy Glue
- 8 Tips for removing excess or spilled Krazy Glue
- 9 Conclusion
In the world of adhesives, the strength and longevity of a bond can make or break a project. Whether you’re repairing a cherished item or crafting something new, the adhesive you choose can be a game-changer.
Enter Krazy Glue, a legend in its own right, known for its unparalleled strength and versatility. But before you unleash the magic of this adhesive, it’s crucial to understand the art of surface preparation.
In this article, we will dive deep into the importance of preparing surfaces before applying Krazy Glue, and how it can unlock a bond that defies all odds.
Why Surface Preparation Matters:
- Cleaning: Picture this – dirt, dust, grease, or oil lurking on your surfaces, silently conspiring against your adhesive’s potential. A clean surface is not just desirable, it’s essential for optimal bonding. Break free from these adversaries by thoroughly cleaning the surfaces with a mild detergent or rubbing alcohol before introducing Krazy Glue.
- Drying: Moisture, the sneaky saboteur of adhesion. It can undermine even the mightiest glue’s ability to work its magic. Banish this enemy by ensuring the surfaces are completely dry before applying the glue. This step eliminates any potential interference caused by moisture and sets the stage for a flawless bond.
- Roughening: Smooth surfaces like glass or metal may seem impenetrable to glue’s grasp. But fear not. The secret lies in roughening those seemingly untouchable surfaces. Enter sandpaper or a file, ready to create a texture that invites Krazy Glue to cling tightly and never let go. It’s time to let smoothness surrender to strength.
- Special Treatment for Certain Materials: Ah, those troublesome plastics. With their low surface energy, they can be quite the challenge for adhesives. But don’t wave the white flag just yet. A primer designed specifically for bonding plastics can be your knight in shining armor, significantly enhancing the bond strength. Unleash the power of chemistry and watch as plastics surrender to Krazy Glue’s might.
- Consider Temperature and Humidity: Adhesive warriors know that extreme temperatures and high humidity levels can alter the battlefield. To ensure victory, heed the call of the manufacturer’s instructions. They hold the secrets to unlocking the optimal temperature and humidity ranges, guaranteeing a bond that defies time and climate.
- Coatings and Finishes: The stage is set, but what about those pesky coatings or finishes on your surfaces? They might be standing in the way of adhesive bliss. Fear not, for there is a solution. Remove or roughen those barriers, allowing Krazy Glue to establish its dominion over the surface beneath. It’s time for coatings and finishes to bow down to the power of preparation.
Applying the right amount of Krazy Glue
Step into the mesmerizing world of Krazy Glue, where a single drop holds the power to create unbreakable bonds.
But beware, my fellow adhesive enthusiasts, for the art of applying the perfect amount of this sticky superhero requires finesse and precision.
Allow me to be your guide as we embark on a journey to discover the secrets behind achieving flawless adhesion with Krazy Glue.
Cleanliness is Key:
Before entering the realm of adhesive mastery, prepare your surfaces for the ultimate bond. Banish dirt, grease, and moisture from their presence, for they are the nefarious villains that thwart proper adhesion. Wipe these foes away with determination, leaving only pristine surfaces in their wake.
Go Easy on the Glue:
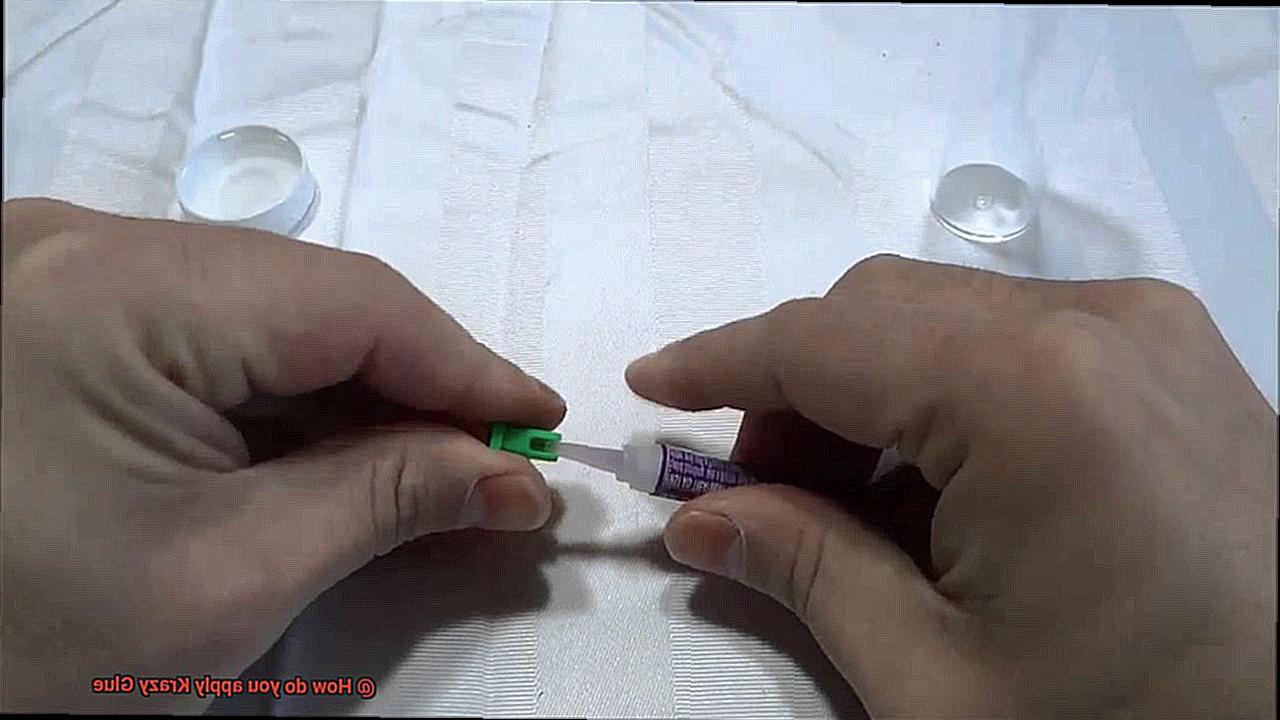
In the realm of Krazy Glue, remember that less is more. A delicate touch is all it takes to unleash its power. Embrace a thin layer of this magical adhesive, spreading it gracefully with a brush or the ever-convenient built-in applicator. Let your strokes caress the surfaces with precision, as if engaged in a dance of perfect harmony.
Alignment is Everything:
With your adhesive artistry complete, align your surfaces with unwavering precision. Take your time; this is not a race against time itself (though time may be lurking). Gently press them together, allowing them to bask in the glory of their newfound unity. The glue will work its magic, granting strength beyond measure.
Patience is a Virtue:
Krazy Glue may be swift in its action, but it craves time to reach its full potential. Restrain yourself from moving or disturbing these newly bonded entities for a few precious moments. In this tranquil interlude, watch as the bond solidifies, transforming from mere potential into a formidable force.
Overflow:
Even the most skilled adhesive aficionados occasionally stumble. Should an overflow occur, stay calm and wield your trusty tissue or cloth. With gentle precision, eliminate the excess before it has a chance to mar your masterpiece. Fear not, for every mishap is but a stepping stone toward perfection.
Size Matters:
In the grand tapestry of bonding, larger and heavier objects require additional measures. A single drop may not suffice to save the day. Embrace the wisdom of applying multiple drops or bestowing glue upon different areas of these mighty surfaces. Yet, be sure to heed the instructions bestowed upon you by your chosen Krazy Glue product.
Pressing surfaces together for optimal bond formation
Join us as we uncover the secrets behind pressing surfaces together for optimal bond formation. Get ready to delve into the art and science of creating unbreakable connections.
The Art of Pressing Surfaces:
Imagine a puzzle coming together, piece by piece; that’s the essence of pressing surfaces together with Krazy Glue. It’s not just about bringing the materials in contact; it’s about applying the perfect amount of pressure. This act is like a secret handshake that seals the deal between the adhesive and the surfaces, ensuring a bond that withstands the test of time.
Alignment is Key:
Before initiating the bonding process, take a moment to ensure that your surfaces align flawlessly. Think of it as finding the missing piece of a jigsaw puzzle. Proper alignment guarantees a strong and durable bond, leaving no room for weak spots or vulnerabilities. Pay meticulous attention to detail during this crucial step.
Hold on Tight:
Once your surfaces are aligned, it’s time to hold them together firmly. Be patient and maintain this pressure for at least 30 seconds. This duration allows the glue to work its magic, creating molecular connections that solidify the bond. As you apply continuous pressure, feel like a glue conductor orchestrating the perfect symphony of adhesion.
Extra Tools for Extra Strength:
In certain situations, employing additional tools such as clamps or weights can provide an advantage. These tools assist in maintaining constant pressure on the glued surfaces, leaving no room for compromise. However, exercise caution and follow the manufacturer’s instructions diligently to avoid excessive pressure that may result in uneven bonds or unwanted glue seepage.
Curing Time: Patience is a Virtue:
Ah, the anticipation. Once the initial bond has formed, resist the temptation to test its strength immediately. Exercise patience and allow the glued object to sit undisturbed for the recommended curing time specified on the product packaging. This vital step ensures that the adhesive fully cures, granting you the utmost strength and durability.
Precision and alignment when using Krazy Glue
Frustrated by weak adhesive bonds and messy glue mishaps? Precision and alignment are everything when it comes to using Krazy Glue. In this article, we’ll explore the importance of these factors and provide practical tips for achieving accurate results every time. Let’s dive in and unlock the secrets to mastering precision and alignment with Krazy Glue.
Cleanliness is Key:
Before applying any glue, ensure the surfaces are spotless. Dirt, dust, or grease can compromise the adhesive properties of Krazy Glue. Give them a gentle cleaning with mild soap or detergent, followed by thorough drying for optimal bonding conditions.
Dry Fit for Success:
To guarantee a perfect fit, conduct a dry fit before gluing. This step allows you to assess alignment and make necessary adjustments before committing to the adhesive. Remember, precision starts with proper alignment.
Less is More:
When it comes to Krazy Glue, a little goes a long way. Excessive glue leads to messy drips and weak bonds. Focus on accuracy by using small amounts.
Application Technique:
Hold the tube or bottle at a slight angle and gently squeeze out a thin line of glue along one surface. Avoid excessive pressure that results in excess glue. The goal is a precise line of adhesive for optimal bonding.
Swift and Steady Alignment:
Krazy Glue dries quickly, so align surfaces accurately from the start. Once glue is applied, bring the pieces together swiftly and carefully. Apply gentle pressure for a few seconds to allow the bond to form.
Extended Setting Time:
For projects requiring more time for alignment or adjustments, consider using Krazy Glue with an extended setting time. These formulations provide a slightly longer window before the glue sets, facilitating precise adjustments and alignment.
Extra Aids for Precision:
When exact alignment is critical, additional tools can be your best friend. Clamps or tape can hold the pieces in place while the glue dries. Use them cautiously to avoid disrupting the bond.
Allowing sufficient curing time for maximum bond strength
Today, we embark on a journey that will unlock the secret to achieving unparalleled bond strength – allowing sufficient curing time for our beloved Krazy Glue. Prepare to be captivated as we explore the fascinating world of glue application and discover how patience plays a vital role in creating strong bonds. So, grab your favorite beverage, settle in, and let’s dive deep into the art of curing Krazy Glue for maximum bond strength.
Understanding Curing Time:
Curing time is the magical period during which glue transforms from a liquid state to a solid, forming an unbreakable bond. For Krazy Glue, one must exercise patience and grant ample time for the bond to reach its full potential. Hastiness in this process can lead to disappointment and weakened bonds.
Factors Affecting Curing Time:
The duration required for Krazy Glue to cure can be influenced by various factors. Temperature, humidity, and the type of materials being bonded all contribute to the speed at which the glue sets and attains its maximum strength. When working in hot or humid conditions, it’s crucial to expect a longer drying time.
Recommended Curing Time:
To achieve optimal results, experts advise waiting approximately 24 hours before subjecting the bond created with Krazy Glue to significant stress. We understand the temptation to test the strength immediately, but trust us – patience is the key ingredient here.
Environmental Considerations:
Environmental conditions play a crucial role in the curing process. High humidity or low temperatures can extend drying time. For superior results, choose a well-ventilated area with moderate temperature and humidity levels when applying Krazy Glue.
Tips for a Stronger Bond:
During the curing process, it is imperative to keep the bonded surfaces still and undisturbed. Additional tools such as clamps or weights can be employed to maintain pressure on the bond, enhancing its strength. Always refer to the manufacturer’s instructions and any specific recommendations for the materials you are bonding.
In conclusion, while Krazy Glue may create an initial bond within seconds, allowing sufficient curing time is paramount for achieving maximum bond strength and durability. Resist the urge to rush the process and grant your glue the time it needs to work its magic.
That concludes today’s lesson on curing time with Krazy Glue. We hope these insights will lead you to stronger bonds in your future projects. Stay tuned for more tips and tricks on mastering the art of gluing.
Safety precautions when working with Krazy Glue
If you’re ready to embark on an adhesive adventure with Krazy Glue, it’s crucial to prioritize safety. In this comprehensive guide, we will explore the necessary precautions to ensure your crafting endeavors are accident-free and enjoyable.
- Read the instructions: Let’s start with the basics. Take a moment to dive into the instruction manual provided by the manufacturer. Each Krazy Glue product may have unique guidelines, ensuring optimal results while keeping you safe. By familiarizing yourself with these instructions, you’ll be well-equipped to handle any project.
- Set the stage: Safety begins with your environment. Before unleashing your creativity, make sure you’re in a well-ventilated area. The infamous fumes emitted by Krazy Glue can be potent, so open a window or turn on a fan to keep the air circulating. Breathing easy is critical when working with this powerful adhesive.
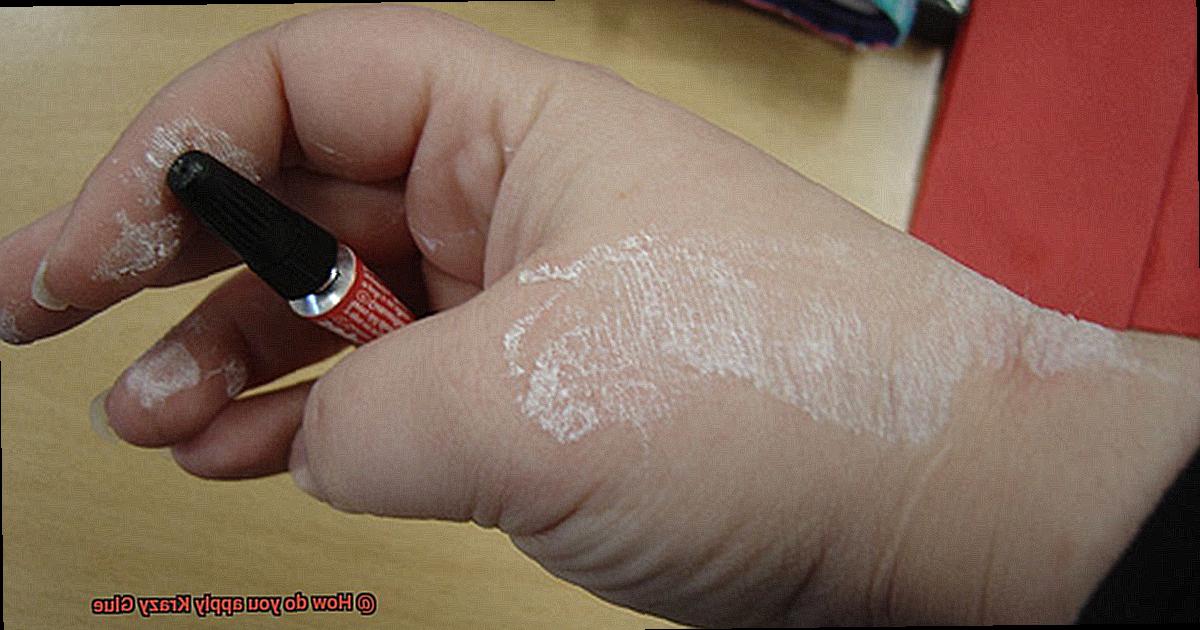
- Shield your skin and eyes: We all know how tenacious Krazy Glue can be when it comes to bonding things together. To protect your skin from unintentional adhesion, don a pair of gloves while applying the glue. If the unthinkable happens and glue lands on your skin, promptly rinse it off with warm, soapy water and carefully separate the bonded surfaces. Remember, prevention is key.
- Eye protection: Eyes are precious, so let’s take extra precautions. Safety goggles or glasses are your allies when working with Krazy Glue. Whether you’re gluing overhead or dealing with potential splatters, protecting those peepers is non-negotiable. A small investment in eye protection can save you from potential accidents and long-term damage.
- Out of reach for kids and pets: Remember, curiosity killed the cat – and that also applies to children and pets. Keep your Krazy Glue securely stored away from their inquisitive paws (or tiny hands). The last thing you want is an accidental ingestion or misuse of this powerful adhesive. By keeping it out of reach, you can ensure the safety of your loved ones.
- Stay away from flames and heat: While Krazy Glue may be a hot commodity, it’s not meant to be used near open flames or heat sources. The fumes it emits are highly combustible, posing a fire hazard. So, save the pyrotechnics for another time, okay? Let’s keep our crafting sessions flame-free and focused on creativity.
Common mistakes to avoid when applying Krazy Glue
Before you embark on your adhesive adventures, let’s take a moment to discuss some common mistakes that could potentially unravel your projects. These tips will help you avoid sticky situations and ensure a strong and lasting bond.
- Glue Overload: It’s easy to think that more glue means a stronger bond, but when it comes to Krazy Glue, less is definitely more. Applying an excessive amount of glue can weaken the bond and create messy overflow. To achieve optimal results, remember to use a thin, even layer of glue on both surfaces you want to bond. Trust me, a little goes a long way with this powerful adhesive.
- Surface Preparation: Before diving into the gluing process, make sure your surfaces are clean, dry, and free from any dirt, oil, or debris. Any contaminants on the surface can interfere with the bonding process and compromise the effectiveness of the glue. Grab some mild detergent or rubbing alcohol and give those surfaces a thorough cleaning before reaching for the glue.
- Porous Materials: While Krazy Glue works wonders on many surfaces, it may not be the best choice for highly porous materials like wood or fabric. These materials can prevent proper penetration of the glue, resulting in a weak bond. If you’re working with something porous, consider using a specialized adhesive designed for those materials or explore alternative bonding methods.
- Mind Your Fingers: One mistake that can really stick (pun intended) is being careless with your fingers or other objects near the glue. Krazy Glue bonds quickly, and if you’re not careful, it can adhere to your skin or unintended surfaces in a flash. Ouch. To avoid this sticky situation, always handle the glue with caution and keep your fingers away from the nozzle or tip while applying it. And if you do find yourself accidentally glued to something, don’t panic. Simply soak the bonded area in warm soapy water or use an acetone-based nail polish remover to gently release the bond.
- Patience is Key: While Krazy Glue bonds quickly, it’s essential to give it enough time to fully cure for maximum strength. Avoid moving or stressing the bonded items for at least 24 hours to ensure a durable bond. Keep in mind that temperature and humidity can affect curing time, so it’s best to follow the manufacturer’s instructions regarding curing time and conditions.
Tips for removing excess or spilled Krazy Glue
Accidents happen, and when it comes to spills or excess glue from Krazy Glue, it’s important to know how to safely remove it without causing damage. In this article, we will provide you with expert tips and techniques for effectively removing Krazy Glue from various surfaces. Whether you’ve spilled glue on your countertop, furniture, or even your skin, we’ve got you covered.
Act quickly
Time is of the essence when it comes to removing excess or spilled Krazy Glue. The longer the glue sits, the harder it becomes to remove. As soon as you notice the spill, immediately start working on removing it. This will give you a better chance of successfully removing the glue without causing any damage.
Protect yourself
Before attempting to remove the glue, ensure you are wearing protective gloves to avoid any contact with your skin. While Krazy Glue is safe once dried, it can cause irritation if it comes into contact with your skin or eyes. So always prioritize safety when working with any adhesive.
Use acetone
Acetone is a powerful solvent that can effectively dissolve Krazy Glue. It is commonly found in nail polish removers and can be used to remove excess glue from various surfaces such as glass, metal, and plastic. Apply a small amount of acetone onto a cotton ball or cloth and gently rub the affected area until the glue starts to dissolve. Be cautious not to rub too vigorously as it may damage the surface.
Isopropyl alcohol
If you don’t have acetone on hand, isopropyl alcohol can be a suitable alternative for removing Krazy Glue. Dampen a cloth or cotton ball with isopropyl alcohol and gently dab or rub the affected area until the glue loosens. Repeat this process until the glue is completely dissolved.
Warm soapy water
For surfaces that may be sensitive to solvents like acetone or alcohol, warm soapy water can be used to remove excess Krazy Glue. Soak the affected area in warm, soapy water for several minutes to soften the glue. Then, gently scrub the area with a soft cloth or sponge until the glue starts to come off. Rinse the surface thoroughly and repeat if necessary.
QthlA8A8G3s” >
Conclusion
Applying Krazy Glue may seem like a simple task, but getting it right can make all the difference. To achieve a strong and long-lasting bond, follow these steps:
- Prepare the surfaces: Ensure that the surfaces you plan to glue are clean, dry, and free from any dirt or debris. This will help the glue adhere better and create a stronger bond.
- Apply sparingly: Krazy Glue is known for its incredible strength, so a little goes a long way. Use just a small amount of glue on one of the surfaces you want to join together. Remember, less is more.
- Press firmly: Once you’ve applied the glue, quickly and firmly press the two surfaces together. Hold them in place for at least 30 seconds to allow the adhesive to set properly.
- Avoid excessive movement: While waiting for the glue to dry completely, try not to move or disturb the bonded surfaces. This will prevent any accidental separation and ensure a successful bond.
- Give it time: Patience is key when working with Krazy Glue. Although it sets quickly, allowing it to cure for at least 24 hours will ensure maximum strength and durability.
By following these steps, you’ll be able to apply Krazy Glue like a pro and achieve reliable results every time.