Sand art is a mesmerizing and therapeutic form of creative expression that can transport us to the tranquil shores of a beach. However, creating intricate sand art that lasts requires more than just a bucket of sand and a shovel. Professional artists often struggle with the challenge of adhering sand to different surfaces and keeping it in place.
If you are an artist wondering, “how do you adhere sand?” then this post is for you. Adhering sand can be tricky, but fear not because we have got your back. In this comprehensive guide, we will explore different adhesives and surfaces to help you create stunning sand art that lasts.
From simple beach-themed pictures to elaborate sculptures, adhering sand requires the right adhesive applied evenly and allowed to dry properly. We will delve into various methods and adhesives, highlighting their benefits and drawbacks so that you can choose the best one for your project.
Whether you’re a seasoned professional or just starting as a hobbyist, our tips and tricks will help you achieve impressive results. So let’s dive deep into the world of adhering sand and discover how to create beautiful pieces of art that stand the test of time.
What Is Sand Adhesion?
Contents
- 1 What Is Sand Adhesion?
- 2 Types of Adhesives for Sanding
- 3 Glue as an Adhesive for Sanding
- 4 Epoxy Glues for Bonding Sand
- 5 Mixing Binders with Sand
- 6 Considerations When Adhering Sand
- 7 Best Practices for Applying Adhesives to Sand
- 8 Cleanup and Maintenance Tips After Applying Adhesive to Sand
- 9 Conclusion
Sand adhesion is a fascinating phenomenon that involves the ability of sand to stick or bond to a surface. This process occurs through intermolecular forces, where two materials are held together. Sand can adhere to various surfaces, including paper, wood, plastic, and metal, depending on several factors such as the type of sand, the surface texture and properties, and the type of adhesive used.
The size of sand grains plays a crucial role in sand adhesion. Fine-grained sand adheres better than coarse-grained sand because it has a larger surface area for bonding. Similarly, a rough or porous surface may provide more opportunities for sand adhesion than a smooth surface. The appropriate adhesive is also essential in creating a strong bond between sand and surfaces. Glue is a popular choice for adhering sand to surfaces such as paper or cardboard. For more heavy-duty applications, epoxy resin is often preferred due to its strong bond and durability.
Sand adhesion has many practical applications in art projects, construction, and manufacturing. Adding sand to concrete increases its strength and durability. Sand can also be adhered to molds to create detailed and intricate shapes in manufacturing. In art projects, sand can be adhered to canvas or paper to create textured artwork.
Types of Adhesives for Sanding
Adhesives play a crucial role in sanding projects, as they determine the strength and durability of the bond between the sand and surface. With several types of adhesives available in the market, it can be overwhelming to choose the right one for your project. Here are five different types of adhesives that you can use for sanding, along with their unique properties.
Epoxy Resin Adhesive
Epoxy resin adhesive is a two-part adhesive that consists of a resin and a hardener. This adhesive is known for its excellent bonding strength and waterproof properties. It creates a strong and durable bond that can withstand extreme temperatures and weather conditions. Epoxy adhesive is perfect for outdoor sanding projects and those that require high strength.
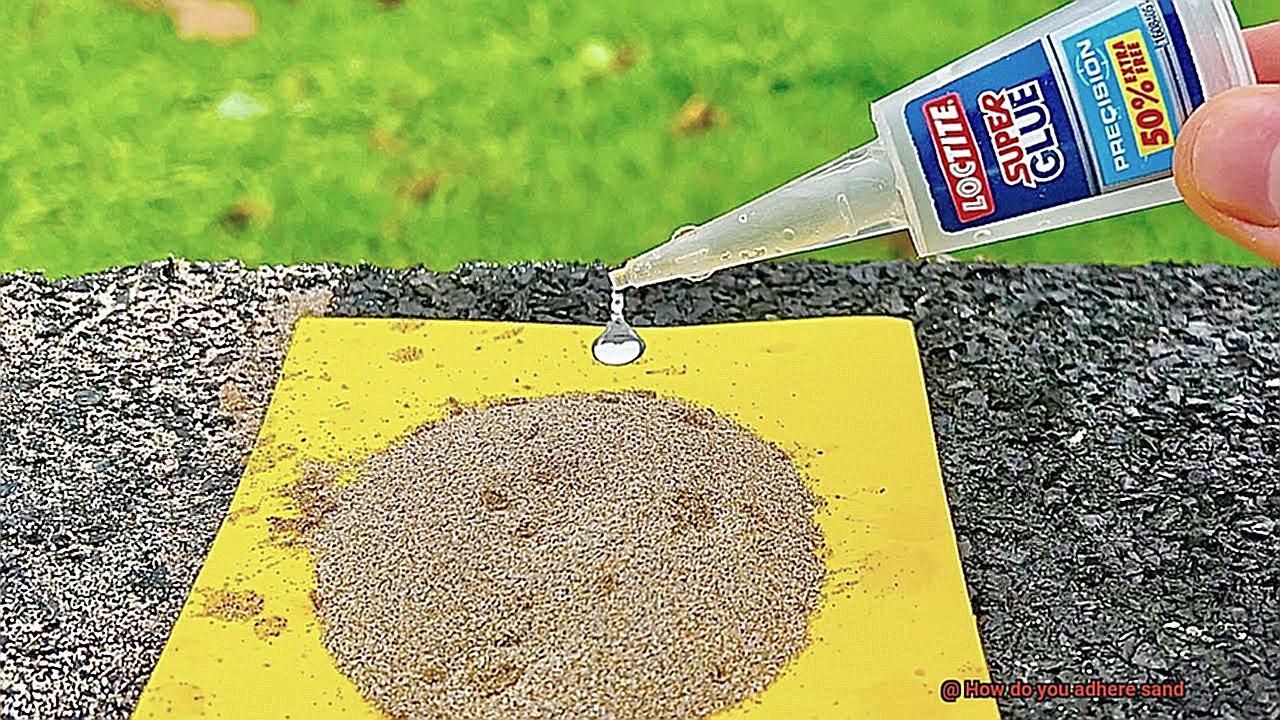
Cyanoacrylate Adhesive
Cyanoacrylate (CA) adhesive, also known as super glue, is a fast-drying adhesive that forms a strong bond between surfaces. It is ideal for small sanding projects where precision is required. However, it is not recommended for sanding projects that require flexibility or movement.
Polyurethane Adhesive
Polyurethane (PU) adhesive is a versatile adhesive that can be used for various sanding projects. It is known for its excellent bonding strength and flexibility, making it ideal for sanding projects that require movement or flexibility. PU adhesive creates a strong bond that can withstand cracking due to movement.
Contact Cement Adhesive
Contact cement adhesive creates an instant bond between surfaces and is ideal for sanding projects where quick bonding is required. However, it is not recommended for sanding projects that require flexibility or movement.
Silicone Adhesive
Silicone adhesive has excellent flexibility and can withstand extreme temperatures and weather conditions. It creates a strong and long-lasting bond and is resistant to water and chemicals.
Glue as an Adhesive for Sanding
Sanding is an essential process for achieving a smooth and polished surface. However, choosing the right adhesive is just as crucial to ensure that the sand stays in place and doesn’t create an uneven finish. Among the many adhesive options, glue is a popular choice.
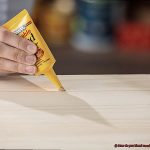
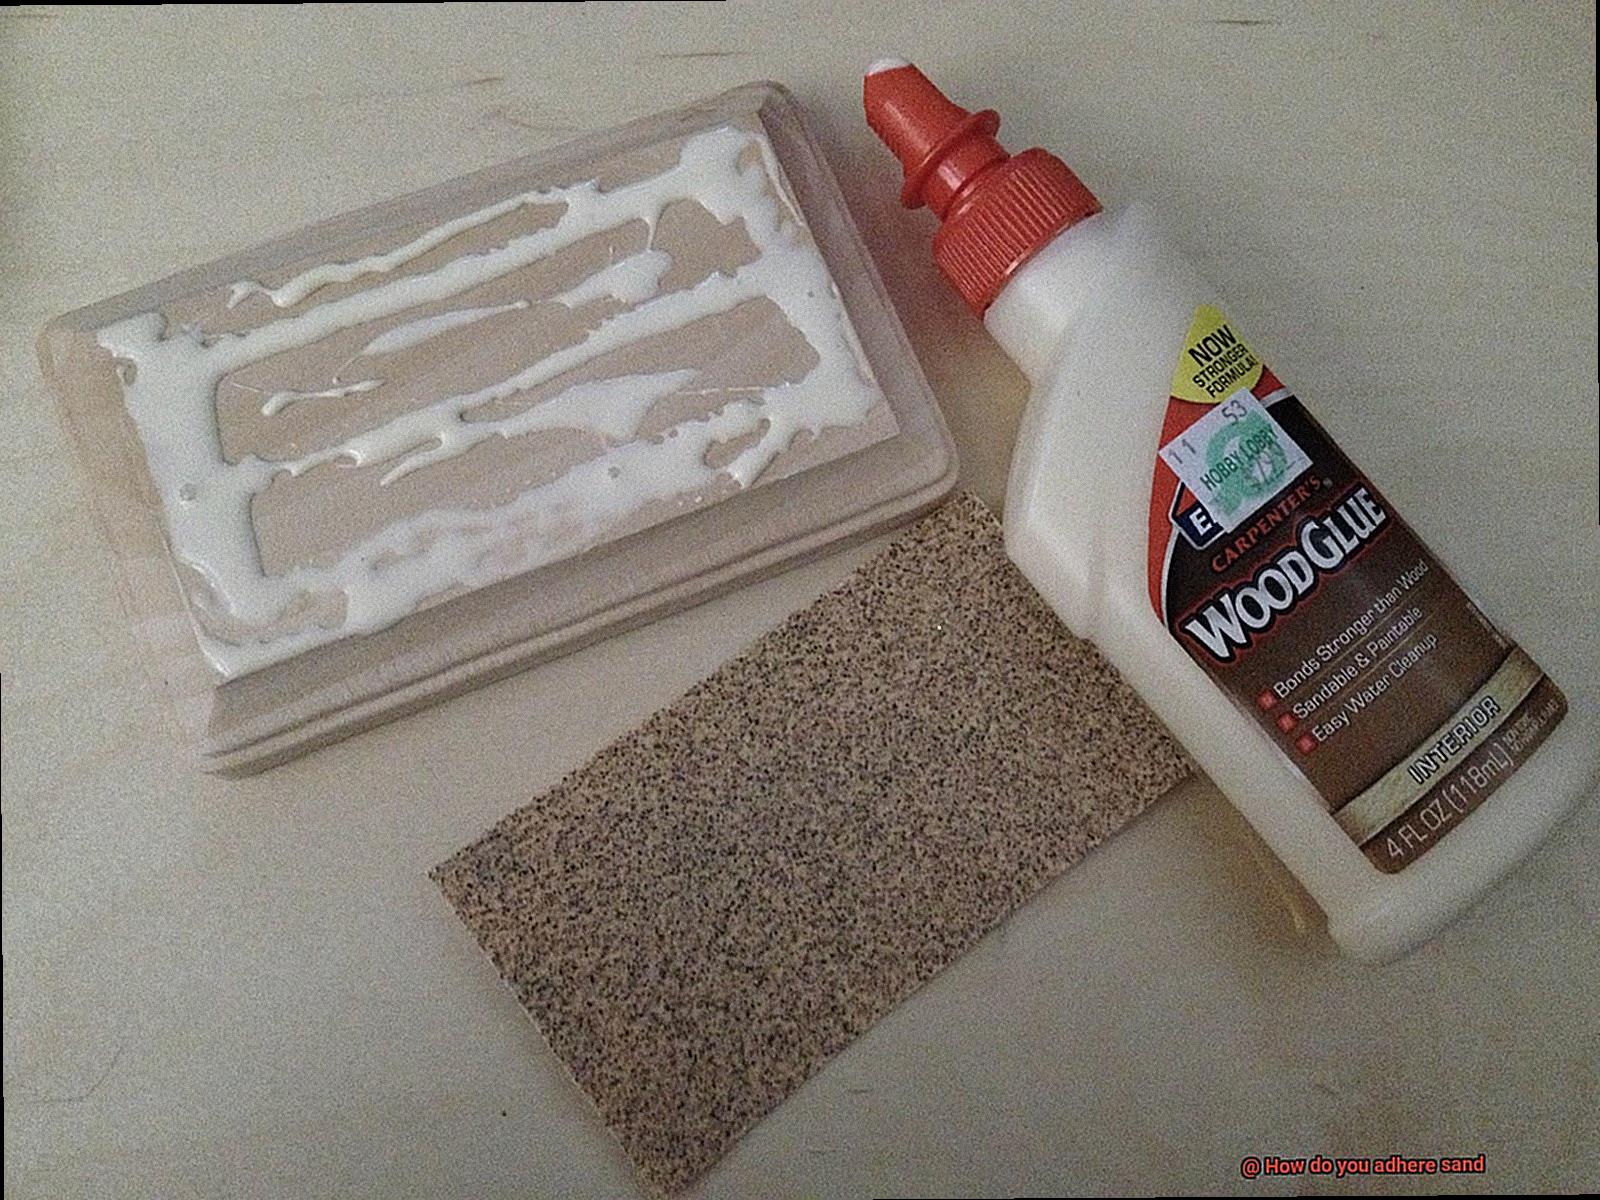
PVA glue is one of the most commonly used adhesives for sanding. This white glue is renowned for its strong bonding properties and can be thinned with water to create a more manageable consistency. When using PVA glue, it is important to prepare the surface first by cleaning it thoroughly and ensuring it is dry. Then, simply apply a layer of glue with a brush or roller, sprinkle sand over the top, and make sure it covers the surface evenly. Once the glue has dried completely, gently brush off any excess sand for a flawless finish.
Epoxy resin is another adhesive that works well for sanding projects. This two-part adhesive combines a resin and hardener to create a durable and robust bond that can withstand heavy use. Epoxy resin can be mixed with sand to create a textured finish on surfaces such as floors or walls. To use epoxy resin as an adhesive for sanding, mix the resin and hardener as instructed by the manufacturer. Add sand to the mixture and stir until it’s evenly distributed. Apply the mixture using a trowel or float, ensuring that it covers the entire surface evenly. Allow it to dry completely before brushing off any excess sand.
When using glue as an adhesive for sanding, it’s crucial to choose the right type of glue for your project. Not all glues are created equal, and some may not be strong enough to hold the sand in place or may dry too quickly or too slowly. PVA glue and epoxy resin are two popular options that provide strong and durable bonds.
Epoxy Glues for Bonding Sand
If you’re looking for a reliable and long-lasting solution to bond sand for your next outdoor project, epoxy glue is the way to go. With its exceptional strength and durability, epoxy glue has been a popular choice for hardscaping and landscaping projects for years.
Before applying the epoxy mixture, it’s crucial to get the surface primed properly. Sand can be a challenge to clean, so make sure to remove all debris and contaminants that could hinder the bonding process. You can use a vacuum or compressed air to remove loose particles from the surface.
When mixing the two components of the epoxy glue, work quickly as it cures rapidly. Applying a thin layer of glue is vital, as using too much can cause sand to shift or clump together. A spatula or brush works well for applying the mixture evenly.
After spreading the epoxy glue, sprinkle sand over the surface and gently press it down with a trowel. Working in small sections is crucial since the epoxy will begin to cure within minutes. Remove any excess sand before it fully cures.
Mixing Binders with Sand
Look no further than the crucial step of mixing binders with sand. Binders are materials that help the sand stick together and bond to the surface, ensuring your project lasts for years to come. There are various types of binders available, including acrylics, epoxies, polyurethanes, and cement-based binders, each with its own unique properties and advantages.
When it comes to mixing binders with sand, the ratio of binder to sand is key. For most projects, a 1:3 ratio of binder to sand is recommended. However, it’s crucial to consult the manufacturer’s instructions and test a small area first before proceeding with the entire project. Following these steps will ensure that your project is successful and long-lasting.
To mix binders with sand, you’ll need to start by pouring the binder into a container and adding the sand slowly while continuously stirring. Ensure that you mix the binder and sand evenly using a paddle mixer or a drill with a mixing attachment. Avoid any lumps or uneven areas in your mixture as it can affect the final result.
Once your binder and sand mixture is ready, it’s time to apply it to the surface using a trowel or a float. Spread the mixture evenly and at a consistent thickness to achieve a smooth finish. Depending on the type of binder used, you may need to let the mixture cure for several hours or days before sanding or painting.
Considerations When Adhering Sand
Adhering sand may seem like a simple task, but it requires careful consideration to ensure a successful and long-lasting bond. From surface preparation to adhesive selection, there are several factors that must be taken into account.
Firstly, it’s essential to ensure that the surface is clean and free of any debris, dirt, or oil. Failure to do so can adversely affect adhesion and lead to the sand coming loose over time. Therefore, a mild soap solution or rubbing alcohol can be used to clean the surface before applying the adhesive.
Selecting the right adhesive is another critical factor to consider. Different types of adhesives are available in the market, each with unique properties and advantages. For example, epoxy provides a strong bond, while silicone-based adhesives are perfect for sealing gaps and joints.
The amount of adhesive used is also a crucial consideration. Using too little adhesive can result in poor adhesion, while using too much adhesive can lead to a messy and uneven application. Therefore, it’s important to find the right balance between the two.
The type of sand being used also plays a vital role in determining the success of the adhesion. Coarse sand may require a thicker layer of adhesive for proper adhesion, while finer sand may require a thinner layer. Additionally, the type of sand being used can affect the color and texture of the final product.
Lastly, it’s necessary to consider the environment in which the adhered sand will be exposed to. If the surface will be exposed to moisture or extreme temperatures, you may need to use an adhesive that is more resistant to these conditions.
Best Practices for Applying Adhesives to Sand
If you’re looking to incorporate sand into your construction or DIY project, it’s crucial to ensure that it adheres well to the surface. Applying adhesive to sand may seem like a straightforward task, but it requires meticulous attention to detail and careful execution. As an expert in this field, I have researched and compiled the best practices for applying adhesives to sand to help you achieve a strong and long-lasting bond.
Surface Preparation: The Foundation of a Strong Bond
Before applying adhesive to sand, you need to prepare the surface correctly. A poorly prepared surface can prevent the adhesive from bonding effectively. Use a brush or vacuum cleaner to remove any loose sand particles or debris that could interfere with the adhesive’s ability to bond.
Adhesive Selection: The Right Adhesive for the Job
Choosing the right adhesive is essential for ensuring a strong bond between the sand and the surface. Epoxy and polyurethane adhesives are commonly used for bonding sand because they provide a durable bond. However, keep in mind that the type of adhesive you select will depend on the specific application and materials you’re working with.
Application of Adhesive: Evenness is Crucial
Evenly applying the adhesive in the right amount is vital for achieving a strong bond between the sand and the surface. Too little adhesive won’t create an effective bond, while too much can lead to an uneven surface. Use a trowel or putty knife to spread the adhesive evenly over the surface.
Curing Time: Patience is Key
After applying the adhesive, allow it time to cure before handling or moving the object. Be sure to follow the recommended cure time mentioned on the adhesive packaging. Rushing this step can weaken the bond between the sand and other materials.
Cleanup and Maintenance Tips After Applying Adhesive to Sand
If so, it is crucial to understand the importance of proper cleanup and maintenance after completing the application process. Here are five sub-sections that will help you maintain your project’s integrity and ensure it lasts for a long time.
Remove Excess Sand and Adhesive
After adhering sand to the surface, it is important to remove any excess sand or adhesive that may have spilled onto surrounding areas. Use a brush or vacuum cleaner to gently remove loose sand particles or debris. If there is any adhesive residue left behind, use a scraper or solvent to clean the surface. This step will prevent any damage or discoloration caused by the excess sand or adhesive.
Allow Adhesive to Dry Completely
To avoid any dislodging of the sand, it is vital to allow the adhesive to dry completely before handling or cleaning the surface. Movement or cleaning done before the adhesive has fully cured can damage the surface’s adhesion and cause the sand to become dislodged from the surface.
Clean Surface with Mild Detergent
Once the adhesive has dried, clean the surface with water and a mild detergent solution. Avoid using harsh chemicals or abrasive materials as they can cause damage to both the surface and the sand. Gently wipe the surface with a soft cloth, ensuring that all excess detergent has been removed.
Regularly Inspect for Wear and Tear
Inspect the surface regularly for any signs of wear and tear. If any areas have become damaged or dislodged, repair them immediately to prevent further damage. By keeping an eye on these issues, you can avoid costly repairs in the future.
Avoid Harsh Conditions
To maintain adhesion, avoid placing heavy objects on the adhered sand surface or subjecting it to excessive heat or cold temperatures. These conditions can compromise the integrity of the adhesive and cause it to weaken or break down over time. Protect the surface by placing a protective cover over it when necessary.
AF-R4irTB2U” >
Conclusion
To create sand art that stands the test of time, you need more than just a bucket of sand and a shovel. Adhering sand can be tricky, but with the right adhesive and surface preparation, you can create stunning pieces that will last for years to come. The process of sand adhesion is fascinating, involving various factors such as the type of sand, surface texture and properties, and type of adhesive used.
Luckily, there are several types of adhesives available in the market for adhering sand. From epoxy resin adhesive to cyanoacrylate adhesive, polyurethane adhesive to contact cement adhesive and silicone adhesive – there’s something for every project. Glue is also a popular choice for adhering sand to surfaces like paper or cardboard.
When applying adhesives to sand, it’s crucial to follow best practices such as preparing the surface correctly, choosing the right adhesive for the job, evenly applying the adhesive in the right amount and allowing it time to cure before handling or moving the object. Proper cleanup and maintenance after completing the application process are also important to maintain your project’s integrity and ensure it lasts for a long time.
Whether you’re an experienced professional or just starting out as a hobbyist, these tips and tricks will help you achieve impressive results.