Revised Introduction:
Contents
- 0.1 Revised Introduction:
- 0.2 Step 1: Setting Up Shop
- 0.3 Step 2: Plug ‘n’ Preheat
- 0.4 Step 3: Stick It In
- 0.5 Step 4: Heat Things Up
- 0.6 Step 5: Safety Dance
- 1 What is a Hot Glue Gun?
- 2 Benefits of Using a Hot Glue Gun
- 3 Safety Tips When Using a Hot Glue Gun
- 4 Step-by-Step Guide to Activating a Hot Glue Gun
- 5 How to Load the Glue Stick Properly
- 6 Testing the Readiness of the Glue Gun
- 7 Common Mistakes to Avoid When Using a Hot Glue Gun
- 8 Different Types of Hot Glue Guns
- 9 Conclusion
Hey there, crafters and DIY enthusiasts. Ready to unlock the adhesive magic of a hot glue gun? You’ve stumbled upon the ultimate guide that will transform you into a hot glue gun pro. Whether you’re a seasoned crafter or just starting out on your creative journey, we’ll walk you through the exhilarating process of activating this versatile tool.
The hot glue gun is a game-changer when it comes to bonding materials quickly and effectively. From handmade crafts to home décor and repairs, it’s become an essential in any creator’s toolbox. But before we dive headfirst into the world of hot glue gun artistry, let’s get the activation process down pat.
Step 1: Setting Up Shop
Safety first, folks. Before activating your hot glue gun, make sure you’ve got a designated crafting area with a heat-resistant surface. Lay down something like a silicone mat or aluminum foil to catch any drips or accidental spills – trust me, it’s worth it.
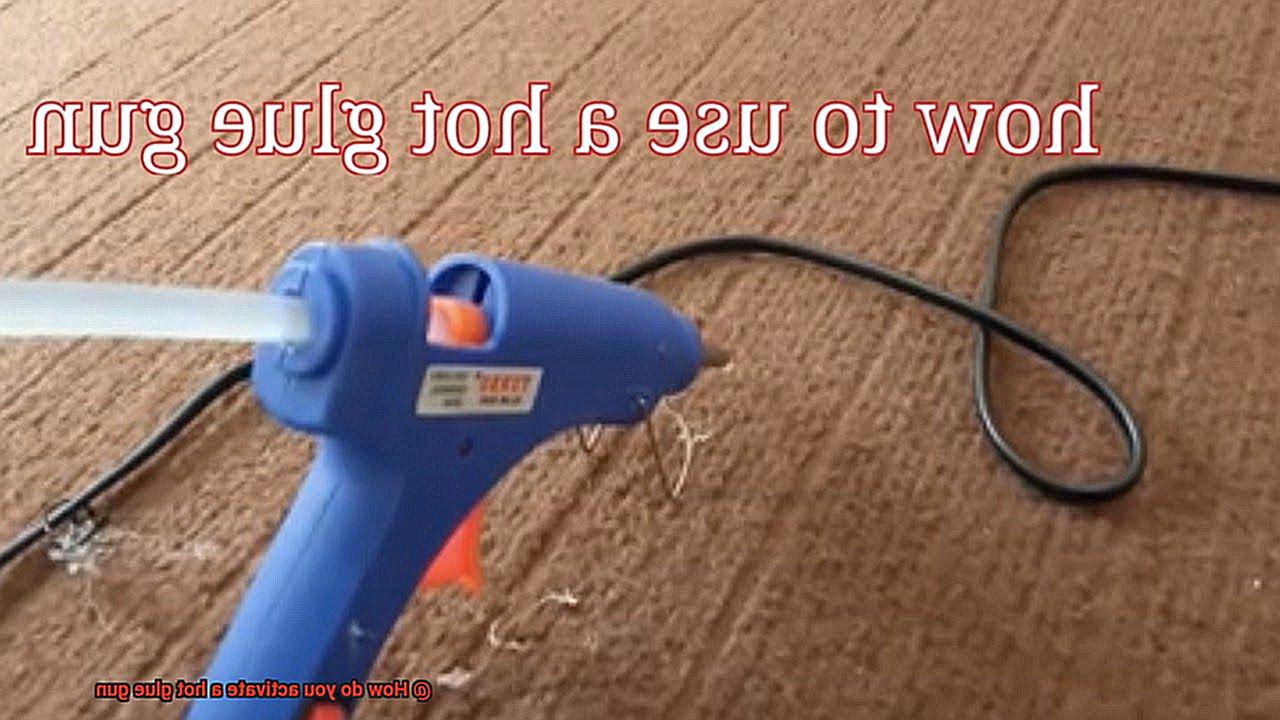
Step 2: Plug ‘n’ Preheat
Now that your workspace is prepped and ready, plug that bad boy into an outlet. Be patient – most glue guns need a few minutes to heat up properly. While you wait for the magic to happen, grab yourself a suitable glue stick and remove any packaging.
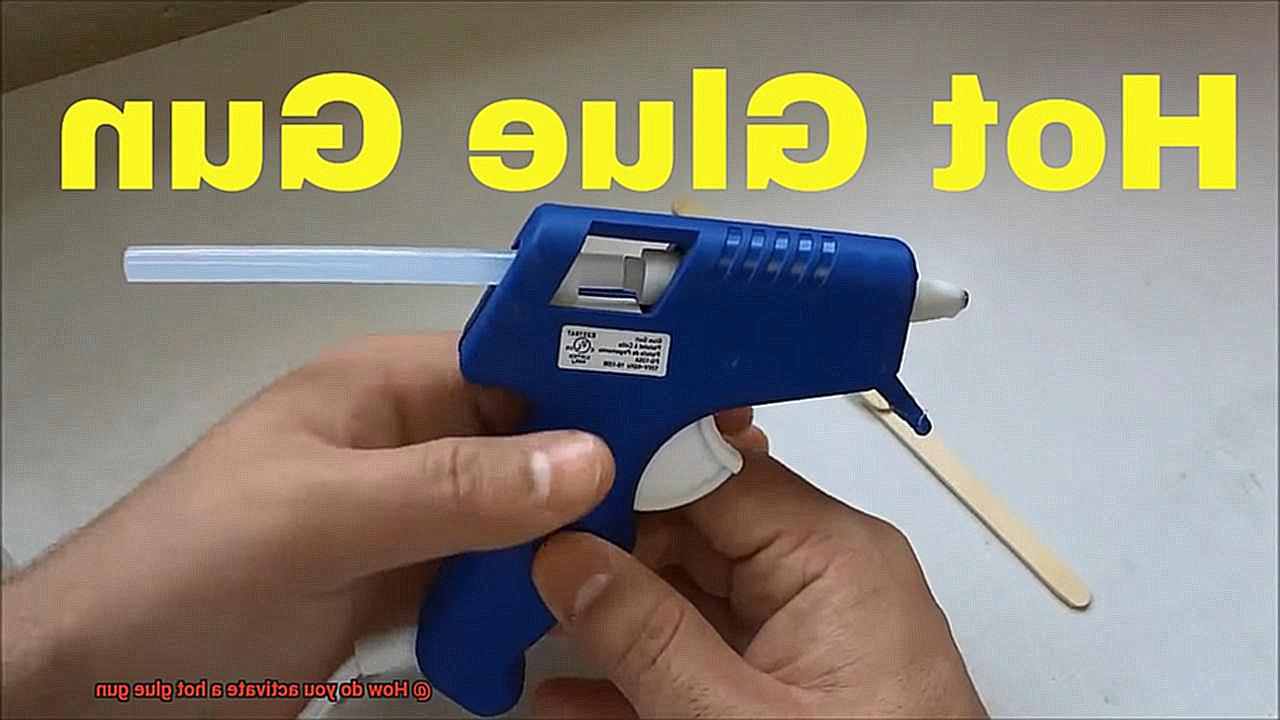
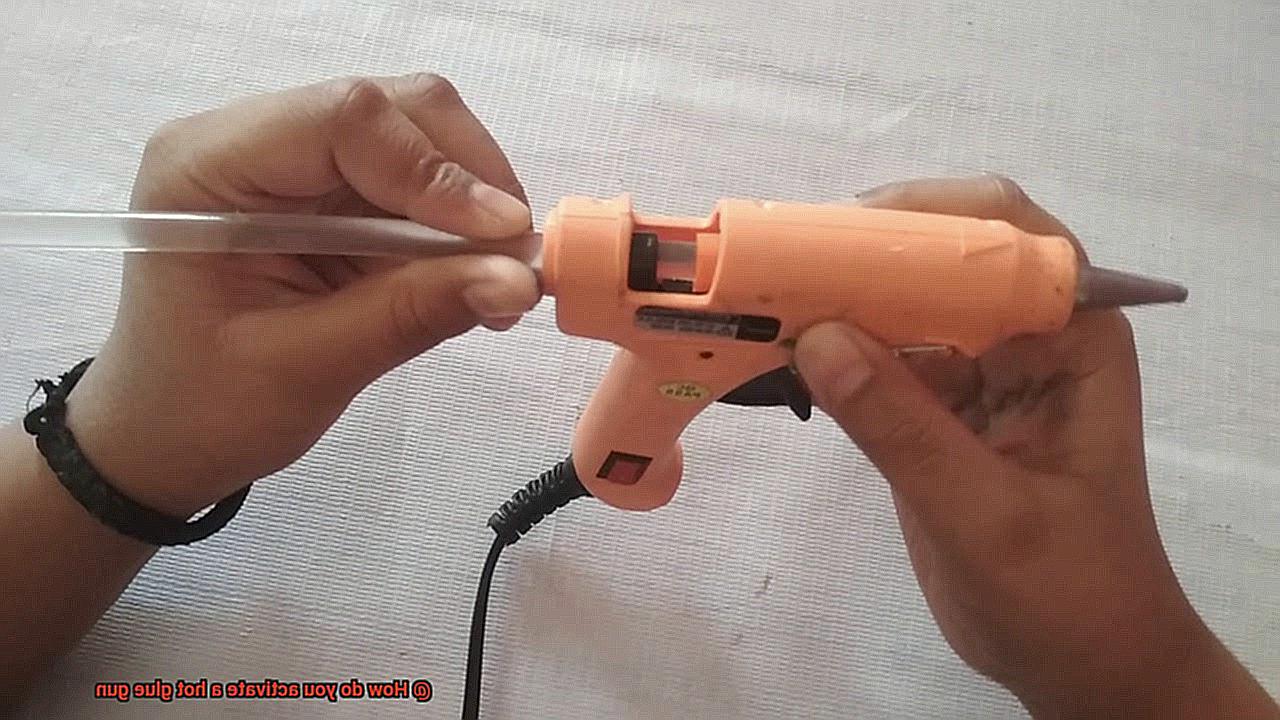
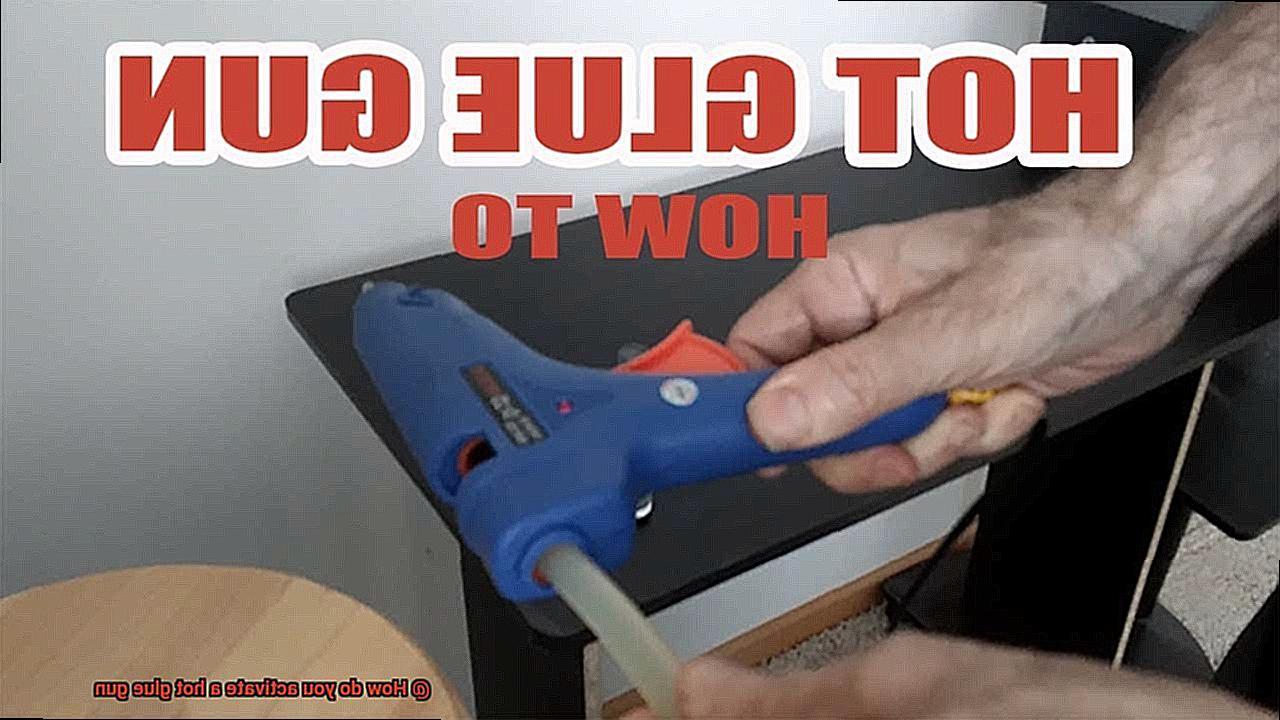
Step 3: Stick It In
Time to insert that glorious stick of adhesive goodness. Check what size works best for your particular hot glue gun – either full-size (0.44 inch diameter) or mini-size (0.27 inch diameter) sticks will do the trick. Gently slide the chosen stick into the back end of the gun until it’s securely in place.
Step 4: Heat Things Up
As your glue gun continues its fiery transformation, keep an eye on that melting action. It usually takes a couple of minutes for the stick to completely melt away – watch through the clear plastic window at the front of the gun. Once it’s all liquid gold, your glue gun is good to go.
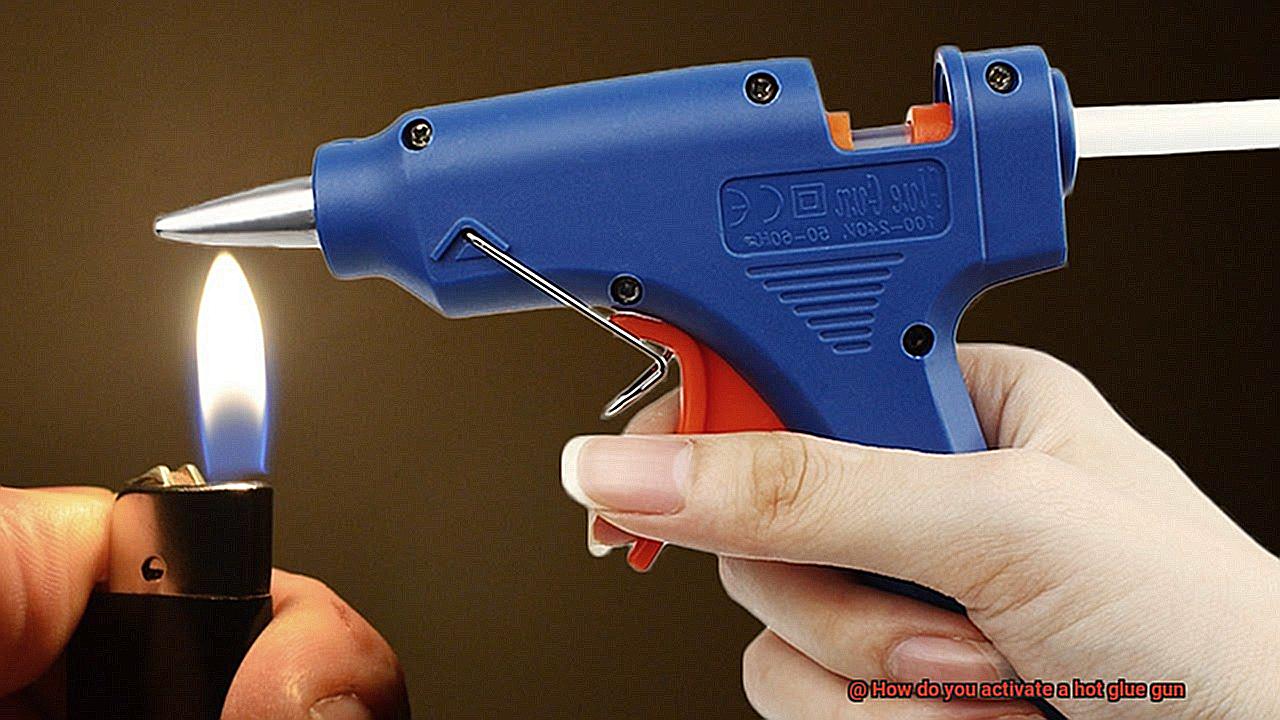
Step 5: Safety Dance
Hold up. Before you unleash your creative genius, remember a few safety tips. The nozzle of a hot glue gun can get scorching hot, so handle it with care. Wear some heat-resistant gloves or use pliers to adjust the angle if you need to. Oh, and keep this tool out of reach from curious kiddos and furry friends – burns and accidents are not part of the crafting experience we’re aiming for
What is a Hot Glue Gun?
A hot glue gun is not just a tool, it’s a creative powerhouse that can bring your ideas to life. It’s like having a magic wand in your hands, capable of bonding almost any material together with its hot adhesive, aptly called hot glue. Whether you’re a DIY enthusiast, a craft lover, or a professional in need of an efficient bonding solution, a hot glue gun is your go-to companion.
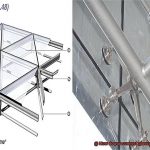
The anatomy of a hot glue gun is simple yet effective. It consists of three main components: the heating element, the trigger mechanism, and the nozzle. The heating element is responsible for melting the glue sticks, which are inserted into the back of the gun. Once the glue sticks reach their melting point, the trigger mechanism allows you to control the flow of the melted glue through the nozzle. It’s like having complete control over a powerful adhesive river.
Hot glue guns come in a variety of sizes and wattages, each designed for specific uses. Larger guns with higher wattages are perfect for heavy-duty applications that require strong bonds, while smaller guns are ideal for delicate and precise work. No matter what project you have in mind, there’s a hot glue gun out there waiting to be your trusty sidekick.
One of the most remarkable features of hot glue is its lightning-fast drying time. Within seconds to minutes, depending on the thickness and temperature of the applied glue, your project will be securely bonded and ready to go. This makes hot glue perfect for those urgent fixes or last-minute crafting sessions.
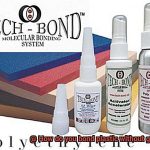
To unleash the power of your hot glue gun, you’ll need specially designed hot glue sticks. These sticks are made from a combination of resin and additives that ensure strong and reliable bonds. They come in various diameters and lengths, allowing you to choose the perfect size for your specific application.
Hot glue guns can be powered by electricity or batteries. Electric ones require an outlet for operation, while battery-powered guns offer the freedom of portability, allowing you to work anywhere, anytime. With a battery-powered hot glue gun in hand, your creativity knows no bounds.
From bonding wood and fabric to plastic, metal, and ceramics, a hot glue gun can handle it all. Its versatility knows no limits. And don’t worry about mistakes or changes of heart – hot glue can be easily removed from most surfaces by applying heat with a hairdryer or heat gun. It’s like having an undo button for your creative endeavors.
To activate your hot glue gun, simply plug it in or load the batteries and let it heat up for a few minutes. While waiting for the magic to happen, prepare your work area with a protective covering to avoid any unwanted mess. Once the glue sticks have melted and become viscous, gently squeeze the trigger to test its readiness. And remember, safety always comes first. Exercise caution when working with hot glue to avoid any accidents.
Benefits of Using a Hot Glue Gun
The benefits of using a hot glue gun are vast, making it an essential tool for various DIY projects, crafts, and repairs. Let’s delve into the advantages that make this tool a favorite among crafters and hobbyists.
Firstly, one of the main benefits of using a hot glue gun is its rapid drying time. Unlike other types of adhesives that require hours to set, hot glue dries within seconds. This allows users to complete their projects more efficiently, saving valuable time and reducing the risk of smudging or ruining their work.
Hot glue guns are also known for their strong bond. The adhesive produced by the gun creates a secure and durable connection between different materials. Whether you’re working with wood, fabric, plastic, or metal, a hot glue gun ensures your project’s longevity.
Another advantage of using a hot glue gun is its ease of use. With a simple trigger mechanism that dispenses the adhesive, operating a hot glue gun is accessible even for beginners or individuals with limited crafting experience. It eliminates the need for complicated techniques or additional tools, allowing users to focus on their creativity.
Cost-effectiveness is another perk of using a hot glue gun. The glue sticks used in these guns are relatively inexpensive and available in various sizes and colors. This allows users to choose the appropriate stick for their project without breaking the bank.
Furthermore, hot glue guns offer precise application. The adhesive can be applied directly to the desired area without the need for extra tools or equipment. This level of control ensures that the glue is applied exactly where it’s needed, enhancing the quality and aesthetics of the project.
Versatility is another advantage of hot glue guns. Most models have adjustable heat settings, allowing users to control the viscosity of the glue. This feature ensures that the adhesive can be tailored to specific project requirements, making it suitable for a wide range of materials and applications.
When it comes to safety, hot glue guns are relatively safe to use. While caution should always be exercised when working with any tool, hot glue guns often have built-in safety features such as insulated nozzles or finger guards to prevent accidental burns.
Lastly, the reversibility of hot glue is a significant benefit. Unlike many other adhesives that create a permanent bond, hot glue can be easily removed or repositioned if necessary. This makes it ideal for temporary projects or making adjustments during the crafting process.
Safety Tips When Using a Hot Glue Gun
Hot glue guns are versatile tools that can be used for various crafting and DIY projects. However, it’s important to prioritize safety when working with these tools to prevent accidents or injuries. Here are five essential safety tips to keep in mind when using a hot glue gun:
Protect Your Hands
Hot glue can reach temperatures high enough to cause severe burns if it comes into contact with your skin. Always wear protective gloves when using a hot glue gun to shield your hands from potential burns or injuries. Additionally, consider using heat-resistant gloves specifically designed for working with hot glue.
Ensure Proper Ventilation
When using a hot glue gun, it’s crucial to work in a well-ventilated area. The heat from the gun can emit fumes that may be harmful if inhaled in large quantities. Ensure proper air circulation and ventilation by opening windows or using fans to avoid any potential health risks associated with inhaling these fumes.
Keep Flammable Materials Away
The high temperatures produced by a hot glue gun can easily ignite certain materials, such as fabric, paper, or chemicals. To prevent accidents or fires, always work on a non-flammable surface, such as a silicone mat or aluminum foil. Keep the glue gun away from flammable objects or surfaces, and be mindful of any potential fire hazards in your workspace.
Never Leave Unattended
Accidents can happen unexpectedly and quickly. Therefore, it is crucial to never leave a hot glue gun unattended while it is plugged in and turned on. Always remember to turn off and unplug the glue gun when not in use, even if you are just taking a short break.
Handle with Caution
The nozzle of a hot glue gun becomes extremely hot during use and can cause burns if touched directly with bare hands. Always use the designated areas or grips provided on the gun for safe handling. Avoid touching the heated nozzle or any molten glue to prevent burns or injuries.
Step-by-Step Guide to Activating a Hot Glue Gun
Hot glue guns are indispensable tools for a wide range of crafting and DIY projects. Activating and using a hot glue gun safely requires careful attention to detail. Follow these step-by-step instructions to ensure a seamless experience:
- Plug in the hot glue gun: Begin by plugging the hot glue gun into a power outlet. It is crucial to match the voltage requirements of your specific glue gun model. Additionally, always use a grounded outlet for optimal safety.
- Switch on the power: Once the glue gun is plugged in, locate the power button on the handle and switch it on. This activates the heating mechanism, allowing the glue gun to reach its desired temperature.
- Monitor the indicator light: Most hot glue guns feature an indicator light that illuminates during the heating process. Keep a vigilant eye on this light as it signals when the glue gun is ready for use. The heating time can vary depending on the model and brand but typically takes around 3-5 minutes for complete readiness.
- Prepare your work area: While waiting for the glue gun to heat up, take proactive measures to protect your work surface. Lay down parchment paper or use a heat-resistant surface to prevent potential drips or spills from damaging your workspace.
- Load the glue sticks: Once the glue gun has reached its operating temperature, load the glue sticks carefully. Insert a compatible glue stick into the rear of the gun, ensuring it reaches the heating element securely.
- Allow time for melting: Give the glue stick a few moments to melt and flow through the nozzle of the gun. This guarantees a continuous supply of hot glue at your disposal. As needed, gently squeeze the trigger to facilitate smooth feeding of the glue stick.
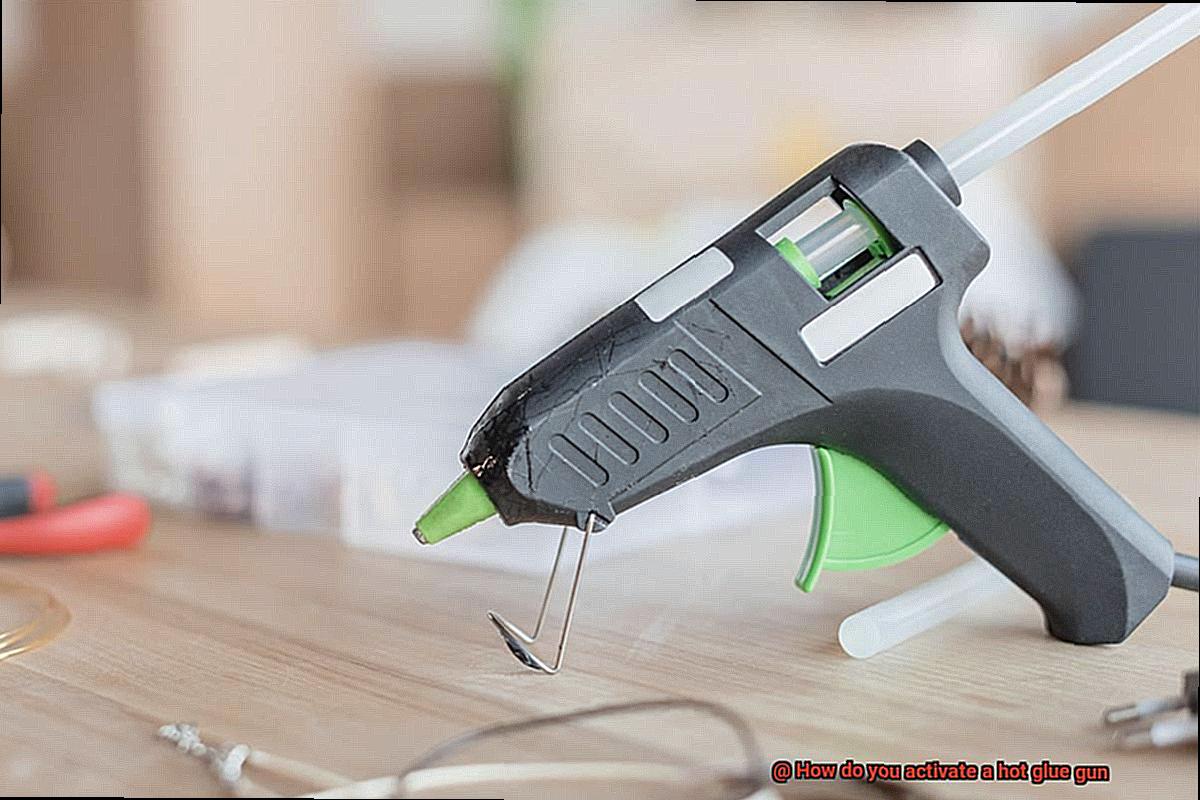
- Familiarize yourself with safety features: Prior to using the hot glue gun, acquaint yourself with its safety features. Some models boast built-in stands, allowing you to rest the gun upright when not in use. This prevents accidental burns or damage to your work surface. Additionally, exercise caution around the hot nozzle and avoid touching it while the gun is operational.
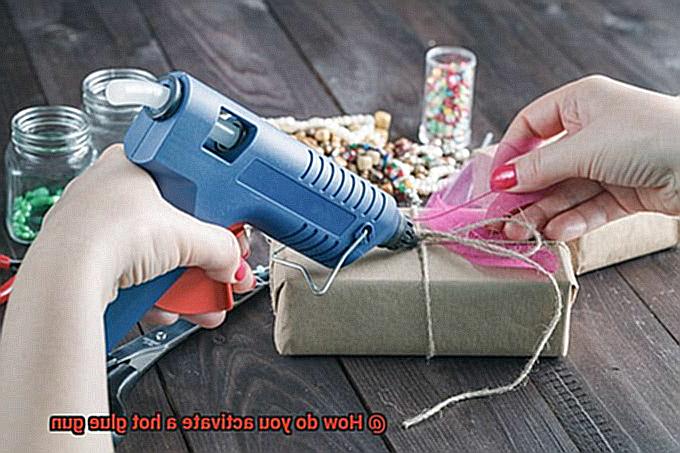
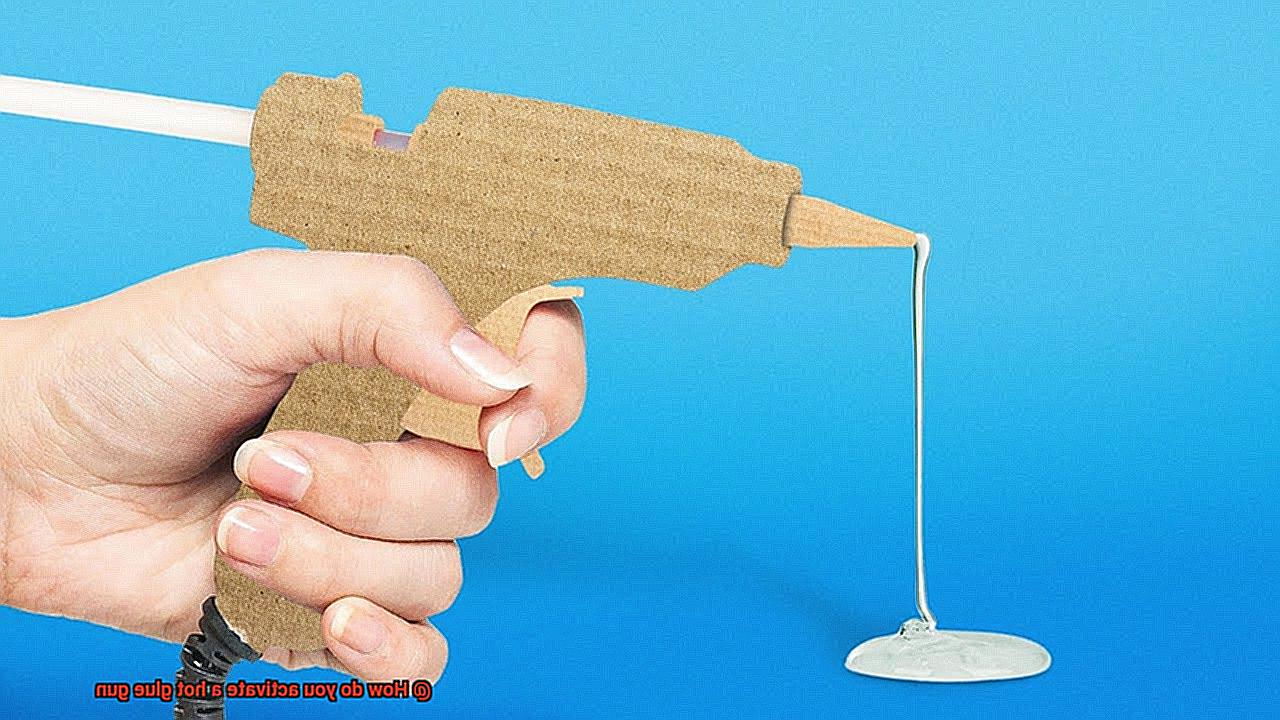
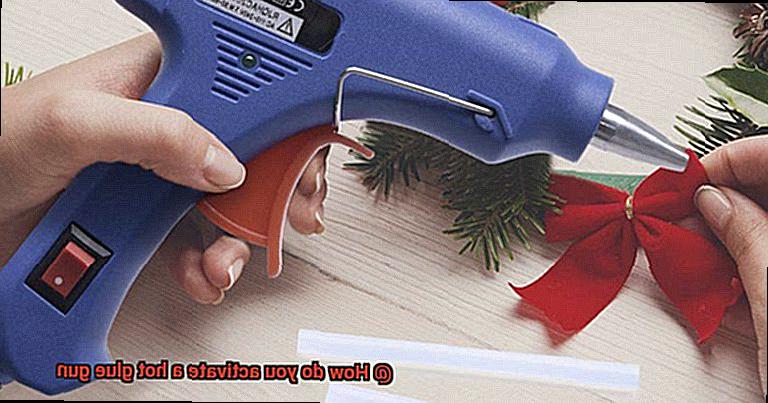
- Start applying hot glue: With your hot glue gun activated and primed, you can begin applying hot glue to your desired project. Gradually squeeze the trigger to release a controlled amount of hot glue onto the surface. Be mindful not to over-apply glue, as this can result in untidy and uneven outcomes.
- Keep a damp cloth or paper towel nearby: As you work with the hot glue gun, it is prudent to have a damp cloth or paper towel within reach. This facilitates swift clean-up of accidental drips or excess glue before it cools and solidifies.
- Power off and unplug: Once you have completed your task, turn off the power button and unplug the glue gun from the outlet. Allow ample time for the glue gun to cool down completely before storing it away. Even after powering off, handle the gun with care as residual heat from the nozzle can still cause burns.
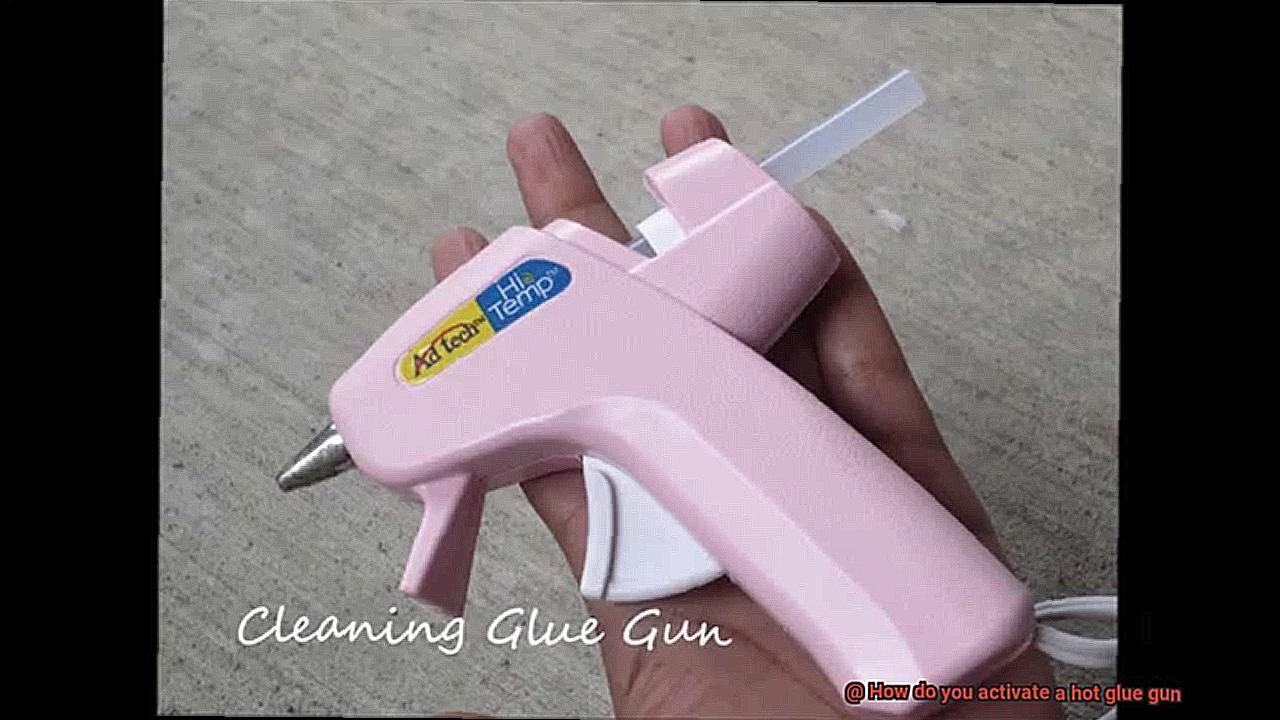
How to Load the Glue Stick Properly

Loading a glue stick into a hot glue gun requires careful steps to ensure safe and effective use. Here’s how to do it properly:
Gather your materials
Before you begin, make sure you have a hot glue gun, a glue stick that is compatible with your gun, and a protective covering for your workspace.
Prepare your workspace
Lay down a protective covering such as a scrap piece of cardboard or a silicone mat to catch any drips or spills.
Turn on the glue gun
Plug in the glue gun and turn it on using the on/off switch located on the handle or back of the gun. Allow the glue gun to heat up for a few minutes until it reaches its melting point. Look for an indicator light that turns on when the gun is ready.
Remove packaging from the glue stick
Take your glue stick and remove any packaging or labels attached to it. This will ensure a smooth insertion into the glue gun.
Locate the opening
Find the opening at the back of the glue gun where the glue stick is inserted. Some guns may have a removable or hinged section, while others may have a fixed opening.
Insert the glue stick
Gently push one end of the glue stick into the opening of the glue gun. Make sure the end with the adhesive is facing towards the nozzle. Push it in until it reaches the heating element inside the gun. Be careful not to force it too much.
Securely close the opening
Once the glue stick is inserted, close or secure the opening of the glue gun. This will depend on your particular model’s design. Some may require you to push a lever or latch back into place, while others may simply need to be closed shut.
Allow time for melting
Give the glue stick a few seconds to melt and become viscous inside the gun. You can test if the glue is ready by gently squeezing the trigger of the glue gun and observing if molten glue is flowing smoothly from the nozzle.
Start gluing
If the glue is flowing smoothly, you can now start using your hot glue gun for various projects. Remember to use caution and avoid touching the hot glue as it can cause burns.
Testing the Readiness of the Glue Gun
Testing the readiness of a glue gun is a crucial step to ensure optimal adhesive bonding and avoid any potential mishaps or ineffective results. Follow this step-by-step guide to test the readiness of your glue gun and get ready to unleash your creativity.
- Gather your materials: Before starting, make sure you have all the necessary materials, including the glue gun, glue sticks, and any surfaces or materials you will be bonding.
- Prepare your workspace: Clear any clutter and set up a stable surface to work on. Protect your work surface with a craft mat or newspaper to catch any drips or spills.
- Plug in the glue gun: Insert the plug into a power source and switch on the glue gun. Watch for the indicator light that turns on when it starts heating up.
- Allow time for heating: Give the glue gun enough time to heat up fully. Refer to the manufacturer’s guidelines for specific instructions on heating time, usually 5-10 minutes.
- Prepare the surface: While waiting for the glue gun to heat up, clean and dry the surfaces thoroughly for proper adhesion.
- Check for readiness: Once the indicator light turns off or changes color, it usually indicates that the desired temperature has been reached. However, always check if the glue is melting smoothly before proceeding.
- Test the glue flow: Gently squeeze the trigger to test if adhesive starts flowing from the nozzle. Smooth flow without clumps or resistance indicates readiness.
- Use caution: Remember to wear protective gloves and work in a well-ventilated area to avoid hot glue burns and fumes inhalation.
It’s important to note that different glue guns may have varying indicators and operating procedures, so always refer to the manufacturer’s guidelines for accurate information. Adjustable temperature settings are also available in certain high-quality glue guns for customizing temperatures based on project requirements.
Common Mistakes to Avoid When Using a Hot Glue Gun
Using a hot glue gun can be a fun and versatile way to bond materials together for various projects. However, there are some common mistakes that people often make when using a hot glue gun that can lead to less than desirable results. To ensure a successful gluing experience, it is important to avoid the following mistakes:
- Applying too much glue: One of the most common mistakes is applying an excessive amount of glue. While it may seem like using more glue will result in a stronger bond, it can actually lead to messy and uneven results. Hot glue expands as it cools, so using too much can cause the glue to overflow and create unsightly blobs. To avoid this, use a moderate amount of glue and apply it in thin, even lines.
- Not preheating the glue gun properly: Another mistake is failing to preheat the glue gun before use. Hot glue guns need some time to heat up and reach their optimal temperature for effective bonding. If you start using the gun too soon, the glue may not adhere properly and may dry too quickly, making it difficult to work with. To avoid weak adhesion, always preheat the glue gun according to the manufacturer’s instructions.
- Using the wrong type of glue sticks: It is essential to choose the right type of glue stick for your project. There are various types available, each designed for specific materials and applications. Using the wrong type of glue stick can result in poor adhesion or even damage to the surfaces being glued. Before starting your project, read the labels carefully and select the appropriate glue stick for the materials you are working with.
- Neglecting safety precautions: Safety should always be a top priority when using a hot glue gun. These guns can reach high temperatures, and accidental contact with the hot glue can cause burns. To protect yourself, wear protective gloves and work in a well-ventilated area to avoid inhaling any fumes emitted by the glue gun. Additionally, always unplug the glue gun after use and never leave it unattended while it is still hot.
- Rushing the drying process: Patience is key when working with hot glue. The glue needs time to cool and solidify properly for maximum strength. Rushing the drying process by attempting to handle or manipulate glued objects too soon can result in weak adhesion or even detachment. To ensure a strong bond, allow sufficient drying time before moving or using glued items.
Different Types of Hot Glue Guns
When it comes to hot glue guns, there are several different types available on the market, each with its own unique features and advantages. It’s important to choose the right one based on your specific needs to ensure optimal results for your projects. Let’s take a closer look at some of the most common types of hot glue guns:
- Low-Temperature Glue Guns: These glue guns operate at a lower temperature compared to other models. They are perfect for delicate materials like fabric, foam, or floral arrangements that can be easily damaged by high heat. The lower temperature helps prevent any potential burning or melting of these sensitive materials, ensuring clean and precise application.
- High-Temperature Glue Guns: On the other end of the spectrum, we have high-temperature glue guns. These guns are designed to reach higher temperatures and are ideal for heavy-duty projects that require a strong bond. They can effectively bond materials like wood, metal, plastic, and ceramics. However, caution should be exercised when using high-temperature glue guns as they can cause burns if mishandled.
- Dual-Temperature Glue Guns: As the name suggests, dual-temperature glue guns offer the flexibility of switching between low and high temperatures. This type of gun is suitable for users who work with a variety of materials and need the versatility to adjust the temperature accordingly. With a dual-temperature glue gun, you can seamlessly switch between lower temperatures for delicate projects and higher temperatures for stronger bonds.
- Cordless Glue Guns: Cordless glue guns are an excellent choice for those who need mobility and convenience. These guns are powered by rechargeable batteries instead of being tethered to an electrical outlet. Cordless glue guns are perfect for on-the-go crafting or projects in areas without easy access to power sources. However, it’s essential to consider battery life and charging time when opting for a cordless model.
- Industrial Glue Guns: If you are working on large-scale or industrial projects, an industrial glue gun might be the best option for you. These guns are designed for heavy-duty use and can handle continuous operation without overheating. They typically have larger glue stick capacities and provide a higher output of adhesive, allowing for quicker and more efficient work.
3gNZY_FwU1k” >
Conclusion
Activating a hot glue gun is a simple yet crucial step in any crafting or DIY project.
To get started, make sure you have a compatible glue stick that fits your gun. Next, plug in the glue gun and allow it to heat up for a few minutes until the glue becomes hot and melty.
Be cautious while handling the gun during this time as the tip can become extremely hot. Once the glue is sufficiently melted, gently squeeze the trigger to dispense the adhesive onto your desired surface.
Remember to work quickly as hot glue tends to dry fast.