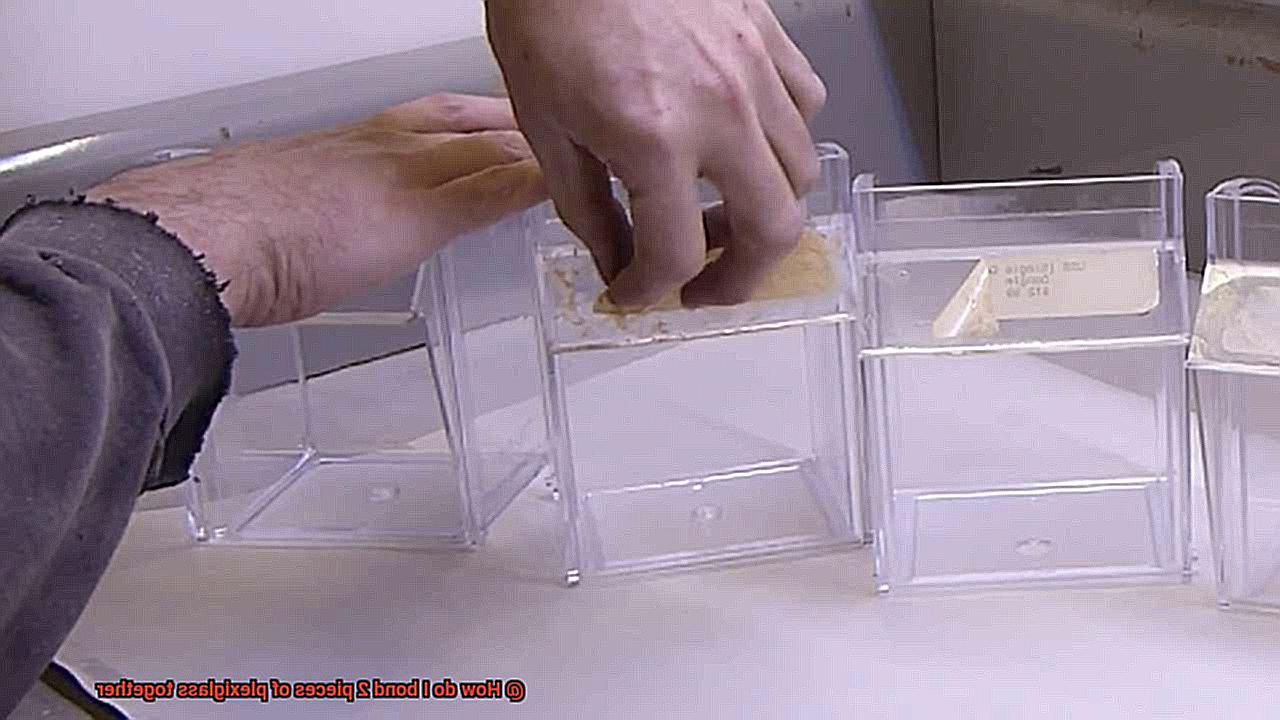
If you’re itching to create something truly spectacular using plexiglass, then you’ve stumbled upon the perfect blog post. Today, we’re diving headfirst into the captivating world of bonding two pieces of plexiglass together. Whether you’re dreaming of a sleek display case for your prized collectibles or a robust protective barrier for your projects, mastering the art of bonding plexiglass is an absolute must.
Picture this: flawlessly merging two seemingly separate pieces of plexiglass to form a seamless and visually stunning masterpiece. The possibilities are boundless. But here’s the catch – plexiglass, also known as acrylic glass, can be quite the challenge when it comes to bonding. It demands careful consideration and precise techniques to achieve a bond that’s both sturdy and long-lasting.
Throughout this blog post, we’ll explore various methods of bonding plexiglass. From the tried-and-true solvent cement technique that involves using specialized adhesive to the cutting-edge UV bonding method that harnesses the power of ultraviolet light, we’ll weigh the pros and cons of each approach.
So whether you’re a seasoned DIY expert or a curious newbie looking to dip your toes into the world of plexiglass, get ready to uncover the secrets of bonding like a pro. By the time you finish reading this post, you’ll have all the knowledge and skills necessary to craft jaw-dropping plexiglass creations that are sure to leave everyone in awe. So without further ado, let’s dive right in.
What is Plexiglass?
Contents
Prepare to be amazed by the captivating world of plexiglass – a material that has revolutionized countless industries with its transparency, durability, and sheer versatility. In this article, we will dive deep into the extraordinary properties of plexiglass, its widespread applications, and even unlock the secrets of bonding two pieces together.
Properties of Plexiglass:
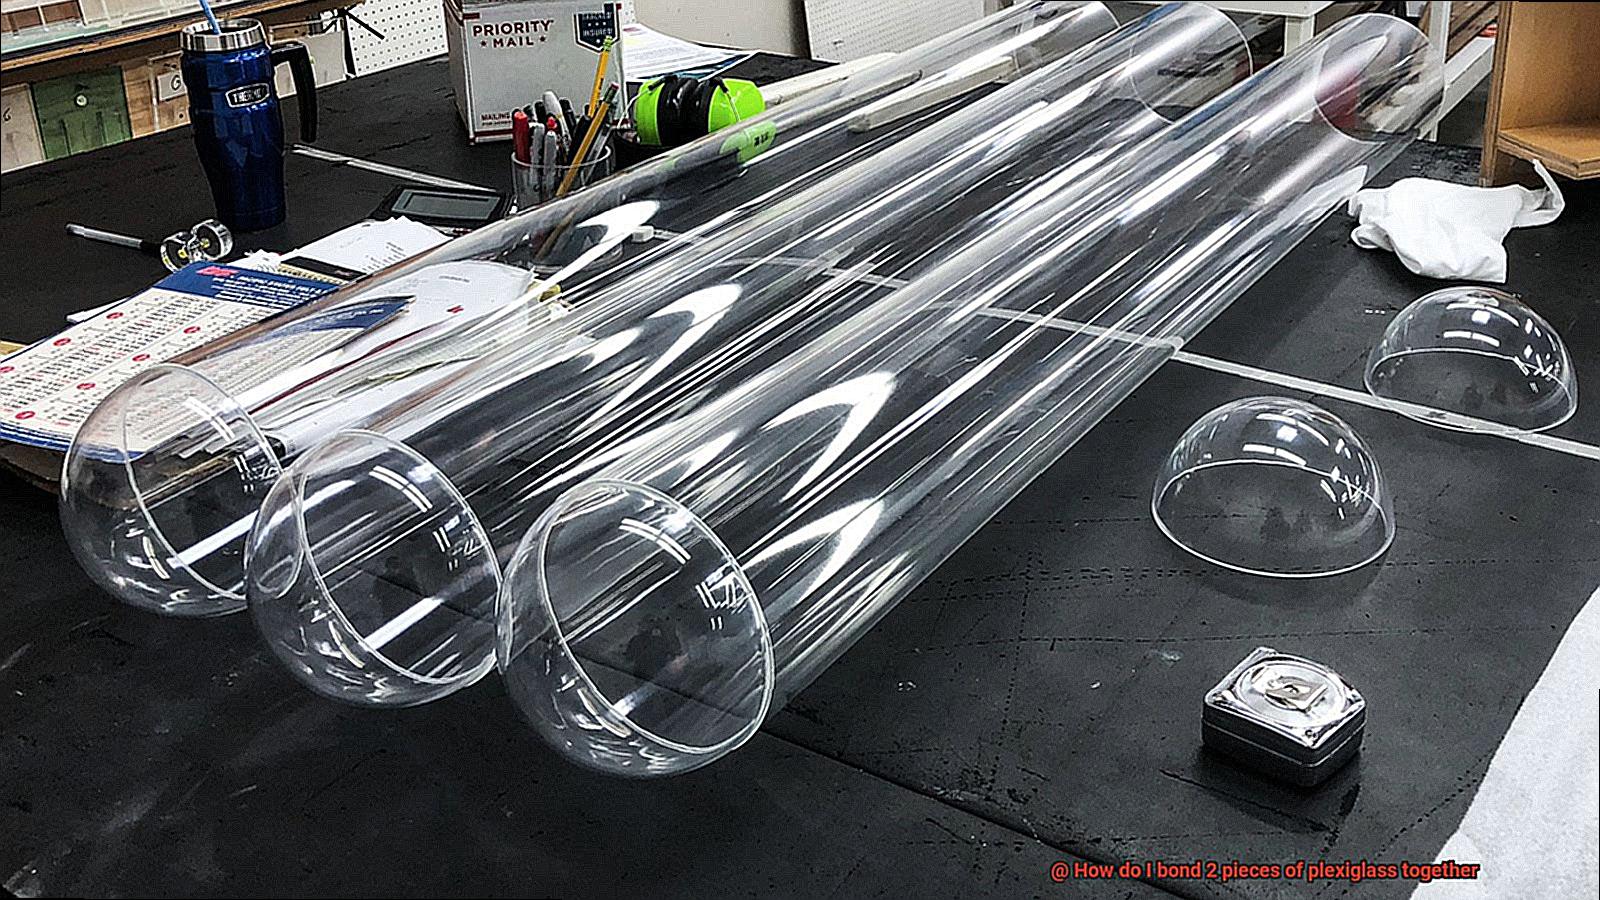
- Transparency: Picture a material that allows light to effortlessly pass through with minimal distortion. That’s plexiglass. Its unparalleled transparency makes it perfect for architectural wonders, automotive components, eye-catching signage, and captivating displays.
- Indomitable Durability: Unlike ordinary glass, plexiglass is a formidable force against impact. It refuses to succumb to shattering or breaking, making it an ideal choice for constructing safety barriers, protective screens, unbreakable windows, and fortifications that defy the odds.
- Weather Resistance: Plexiglass laughs in the face of nature’s harshest elements. It resists the relentless onslaught of UV radiation, retaining its pristine appearance without yellowing or degradation over time. This makes it the go-to material for skylights that embrace sunshine and outdoor signs that can brave any storm.
- Master of Customization: The flexibility of plexiglass is nothing short of mesmerizing. It bends to your will, allowing you to effortlessly cut, drill, shape, and mold it into any desired form or size. No matter how intricate or complex your design aspirations may be, plexiglass eagerly rises to the challenge.
- Chemical Conqueror: Plexiglass stands tall against even the most potent chemicals that dare to cross its path. Acids and solvents are no match for its impressive chemical resistance, making it a trusted companion in laboratories and industries where exposure to such substances is a daily occurrence.
Types of Adhesives for Bonding Plexiglass
It’s like witnessing a magical transformation. But it’s not magic; it’s the result of using the right adhesive. Adhesives are the unsung heroes that make it all possible. In this blog post, we’ll delve into the enchanting world of adhesives and explore the various types that can be used to bond plexiglass together.
Solvent-based Adhesives: The Gentle Softeners
Imagine solvents as gentle softeners for plexiglass, delicately preparing its surface for bonding. Solvent-based adhesives work by subtly dissolving the plexiglass, allowing two pieces to meld together when pressure is applied. It’s like witnessing a graceful dance of molecular fusion. However, caution must be exercised during application, as excessive use can cause warping or cloudiness. Remember, a little goes a long way in creating a perfect bond.
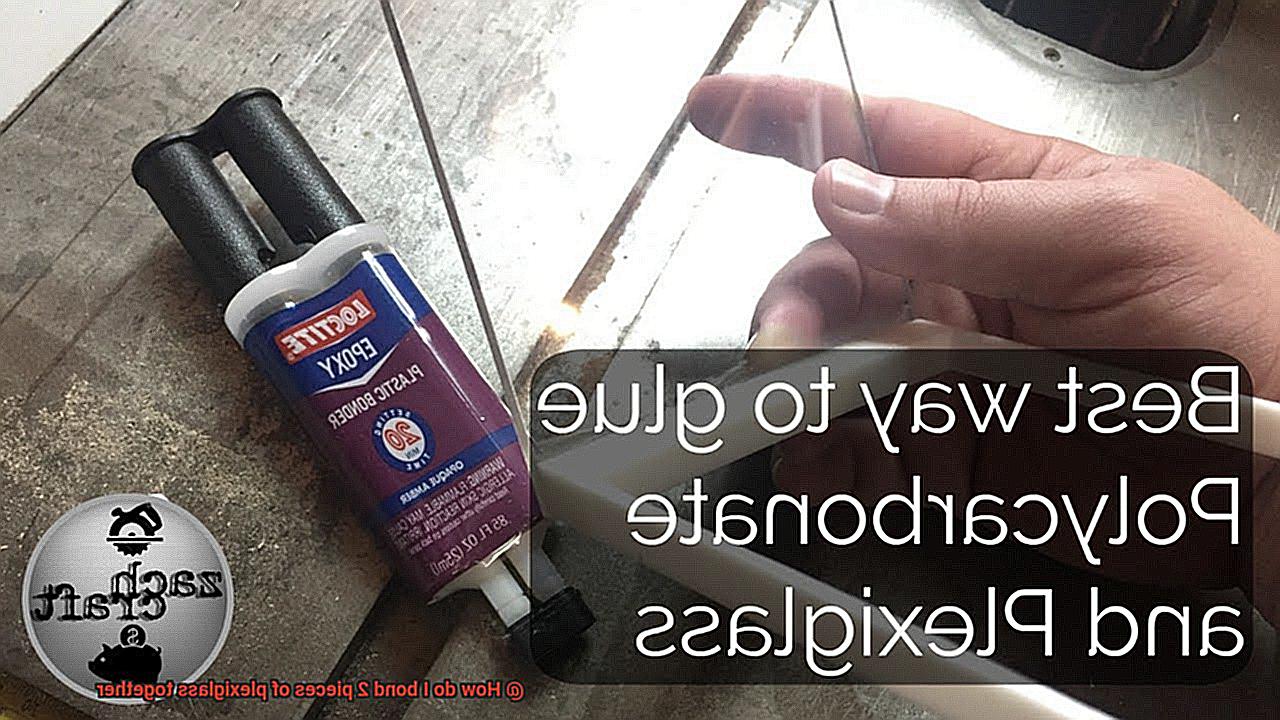
Epoxy Adhesive: The Mighty Cohesion Creators
Epoxy adhesives are like alchemists, concocting a powerful bond between plexiglass pieces. Comprising two components – resin and hardener – these mighty mixers must be combined before application. Once blended, they become an unstoppable force, ensuring a strong and durable bond. These adhesives are perfect for indoor and outdoor applications, but do keep in mind that patience is required as they may take longer to cure compared to other options.
Cyanoacrylate Adhesive: The Speedy Sorcerer
Cyanoacrylate adhesive, also known as “super glue,” works its magic in an instant. When the two surfaces of plexiglass meet, it forms an immediate and unbreakable bond. It’s like a lightning-fast spell, instantly transforming separate pieces into a unified whole.
However, this adhesive may not possess enough strength for larger or heavier plexiglass projects.
So, for smaller endeavors, this speedy sorcerer is your go-to enchantment.
Acrylic Cement: The Chemical Maestro
Acrylic cement is the chemical maestro that orchestrates a symphony of bonding between plexiglass pieces. By chemically melting the surface of the plexiglass, it creates a captivating fusion that lasts a lifetime.
Yet, caution must be exercised when using acrylic cement, as it requires careful application and proper ventilation. Always follow the manufacturer’s instructions to ensure safety takes center stage.
Preparing the Plexiglass for Bonding
Before we dive into the secrets of adhesive magic, we must prepare our plexiglass surfaces for the enchanting process. So, gather your tools and let’s embark on this captivating journey.
Step 1: Cleanse the Surface
The first step in our preparation ritual is to cleanse our plexiglass surfaces. We want to banish any dirt, dust, or oils that may hinder our bonding magic. Grab a mild detergent or soap, mix it with warm water, and let your cleaning sorcery begin. Remember, avoid the use of harsh chemicals or solvents that could harm our precious plexiglass.
Step 2: Embrace the Roughness
Now that our surfaces are pure and clean, it’s time to create a rougher texture. This will enhance the bond between our pieces of plexiglass. Take some fine-grit sandpaper and gently caress the edges of both pieces. Be careful not to exert too much force, for we don’t want scratches or cracks in our wondrous creation.
Step 3: Unleash the Solvent
For those seeking an even stronger bond, we can introduce a special solvent into our ritual. These mystical potions are specifically designed for plexiglass bonding. As they kiss the surface of our plexiglass, they soften it, allowing our adhesive to penetrate deeply and forge an unbreakable bond. Just remember to follow the manufacturer’s instructions precisely – a misstep could lead to unintended consequences.
Step 4: Protect the Sacred Areas
Sometimes, we desire only certain areas of our plexiglass masterpiece to be united. In these cases, it is crucial to mask off any areas that should remain untouched by the adhesive spell. Enlist the aid of trusty masking tape or any other suitable covering material to safeguard these sacred spaces during the bonding ritual. This way, we can ensure our vision remains intact.
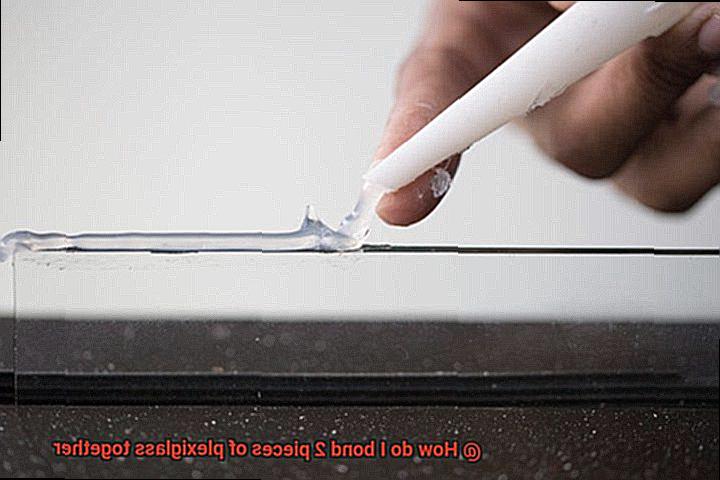
Applying Solvent-Based Adhesive
Brace yourselves as we delve into the captivating world of applying solvent-based adhesive to achieve seamless plexiglass bonds. Whether you’re constructing, crafting, or creating stunning signage, this comprehensive guide will empower you to master the art of bonding with ease. So, roll up your sleeves and let’s embark on this exciting journey.
Step 1: Prepare for Perfection:
In the quest for a flawless bond, surface preparation is paramount. Begin by meticulously cleaning the plexiglass surfaces, banishing all traces of dirt, dust, and oils. Arm yourself with a mild detergent and water solution or a specialized plastic cleaner. Once dry, your plexiglass will be primed for what lies ahead.
Step 2: Apply the Magic Potion:
Now comes the moment you’ve been waiting for. Take a modest amount of solvent-based adhesive and gently coat one piece of plexiglass. Remember, moderation is key here to avoid any unwelcome drips or ooze. Our goal? A bond so seamless it defies gravity.
Step 3: Spread with Finesse:
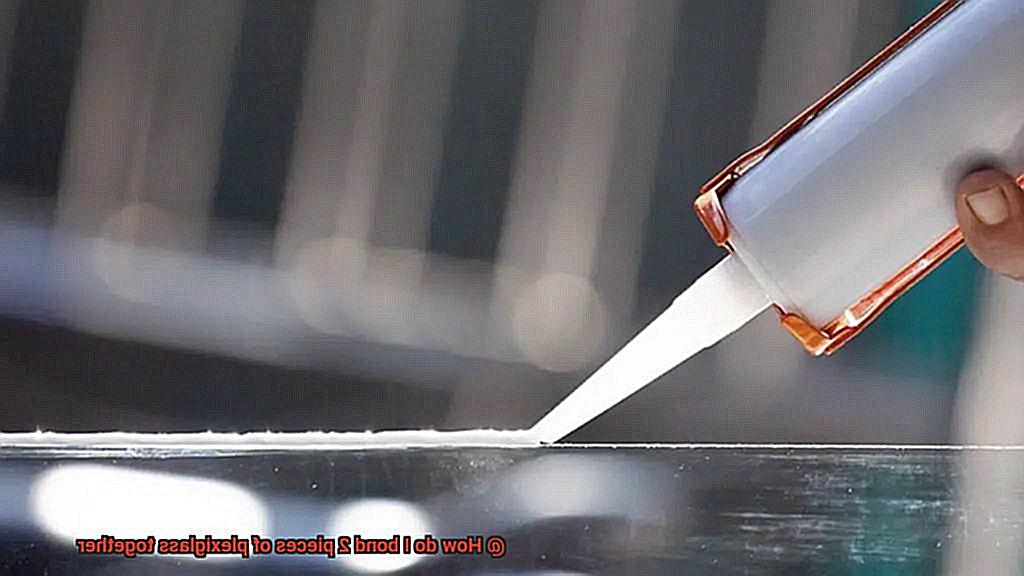
To ensure an even distribution of adhesive, wield a brush or applicator like a maestro conducting a symphony. Meticulously spread the adhesive across the plexiglass surface, leaving no nook or cranny untouched. This symphony demands perfection.
Step 4: The Dance of Bonding:
With both pieces of plexiglass poised for greatness, carefully align them and press with purpose. Time is of the essence here; solvent-based adhesives dry rapidly. Let your hands move swiftly as you witness the magical union.
Step 5: Power in Pressure:
To fortify the bond’s strength and integrity, embrace the power of pressure. Enlist clamps or weights to apply just the right amount of force. This step ensures that no gaps or weak spots mar your masterpiece. Now, let the adhesive cure for the manufacturer’s recommended time. Embrace the virtue of patience.
Step 6: The Quest for Perfection:
As the curing time elapses, embark on a quest for perfection. Inspect the bond diligently, searching for any tiny gaps or weaknesses. Fear not if imperfections emerge; simply apply additional adhesive and repeat the bonding process. We refuse to settle for anything less than perfection.
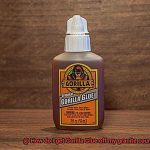
Applying Specialized Plexiglass Glue
Get ready to unlock a realm of seamless connections and breathtaking creations. Let’s dive in and explore the secrets of achieving flawless bonds with this magical adhesive.
Plexiglass, also known as acrylic glass, is a remarkable material that combines durability with transparency, making it perfect for a myriad of applications. When it comes to bonding two pieces of plexiglass together, using specialized plexiglass glue is the key to success.
Before we embark on this adhesive adventure, it’s essential to understand that not all plexiglass glues are created equal. With a variety of types available, each boasting unique properties and application techniques, selecting the right adhesive for your specific project is imperative.
One particularly popular plexiglass glue is solvent cement. This extraordinary adhesive works its magic by chemically melting the surface of the plexiglass, ensuring a robust bond upon drying. But fear not. With some careful attention to detail and following the manufacturer’s instructions, you’ll master this technique in no time.
To begin the application process, start by cleansing the surfaces that will be bonded using a gentle soap and water solution. This crucial step eliminates any lurking dirt, grease, or debris that could hinder the bond. Once cleaned, allow the surfaces to thoroughly dry before proceeding.
Now, armed with your brush or applicator, gently apply a thin layer of solvent cement to one of the plexiglass surfaces. Remember, less is more. Excess glue can mar the surface with unsightly marks and distortions.
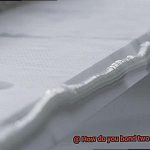
With precision and finesse, press the two pieces of plexiglass firmly together, ensuring proper alignment. As if by magic, the solvent cement will commence its alchemical work, melting the surfaces and generating a bond that grows stronger as it dries. Maintain pressure on the pieces for a few minutes until they become steadfast, refusing to budge.
Ah, patience, a virtue worth cultivating. Allow your newly bonded plexiglass to cure undisturbed for a minimum of 24 hours. This period of incubation guarantees that the bond achieves its pinnacle of strength and durability. Trust me, the wait is well worth it, as your creation will shine with unparalleled resilience.
Curing and Drying Time Considerations
Today, we embark on a thrilling journey into the realm of curing and drying time considerations when it comes to bonding plexiglass. Why is this so crucial, you ask? Prepare to be awestruck as we unveil the secrets to creating a bond that’s as unyielding as a titan and as enduring as an ancient artifact.
Curing Time: Unleashing Maximum Strength
Different adhesives boast varying curing times – a spectrum that spans from mere minutes to hours or even days. Always consult the sacred text of your adhesive’s manufacturer for the specific curing time. Remember, hastening this process by introducing stress or load prematurely can enfeeble the bond. Just like baking a cake, premature removal from the oven results in a half-baked disaster.
Drying Time: From Tacky to Touchable
While curing time focuses on achieving peak strength, drying time is all about banishing that clammy, sticky sensation. We’ve all experienced the mishap of thinking something was dry only to create a gooey mess. Our plexiglass bond deserves better.
Factors such as temperature, humidity, and adhesive layer thickness exert influence over drying time. Higher temperatures ignite a ferocious acceleration of both curing and drying processes, while lower temperatures leisurely slow them down. Likewise, high levels of humidity can be an unwelcome companion on this journey, dragging down drying and curing times. Conversely, low humidity levels can propel them forward with a gust of urgency.
The Waiting Game: A Test of Endurance
I implore you, my comrades, to withstand the siren call of impatience. The path to the mightiest bond lies in heeding the instructions bestowed upon us by the adhesive manufacturer. This means granting our bonded plexiglass pieces their rightful share of curing and drying time within an environment carefully curated for temperature and humidity.
Handling the Plexiglass with Care to Avoid Stress Cracking
As we embark on this journey, we shall unravel the secrets to handling this versatile material with utmost care, ensuring that stress cracking never tarnishes our creations. So gather your gloves and tools, and let us delve into the world of plexiglass, where precision and caution reign supreme.
The Right Grade for Success: Choosing Wisely
Just as a wizard selects the perfect spell for each situation, choosing the right grade of plexiglass is vital. With different grades and thicknesses available, each possessing unique properties, it is essential to select a grade that matches the demands of your project. By doing so, you create a foundation for a bond that will withstand the test of time, free from pesky stress cracks.
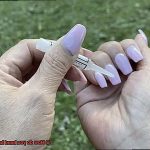
Clean Hands or Gloved Fingers: Banishing Contaminants
Imagine concocting a potion with filthy hands – disaster awaits. Similarly, when handling plexiglass, cleanliness is paramount. Oils and contaminants from our hands can weaken the material, making it susceptible to cracking. Whether you opt for clean hands or don gloves, ensuring a pristine surface is key to preserving the integrity of your plexiglass masterpiece.
Gentle Encounters: The Power of Even Pressure
Excessive force is the enemy of plexiglass harmony. Be it during transportation, installation, or bonding, applying pressure beyond its limits invites disaster in the form of stress cracks. Treat plexiglass like fragile glassware – handle it with care and apply even pressure. Avoid bending or flexing it excessively, and your creation will exude strength and remain crack-free.
Bubble Wrap Embrace: Shielding Your Creation
As you embark on the journey to transport your plexiglass creation, fear not the perils of impact and vibration. Wrap it in the protective cocoon of bubble wrap or foam, shielding it from harm’s way. This extra layer of cushioning will ensure that stress cracks remain nothing but a distant memory, allowing your creation to arrive unscathed.
hT6Ow_cBTps” >
Conclusion
When it comes to bonding two pieces of plexiglass together, there are a few methods you can try.
One option is using an adhesive specifically designed for plexiglass, such as a solvent cement or an acrylic adhesive. These adhesives work by chemically bonding the molecules of the plexiglass, creating a strong and durable bond.
Another method is using mechanical fasteners like screws or bolts to hold the pieces together. This can be especially useful if you need to disassemble the plexiglass later on.
Additionally, heat welding is another technique that can be used to join plexiglass pieces together. By applying controlled heat to the edges of the plexiglass, they can be melted and fused together, forming a seamless bond.
Whichever method you choose, make sure to follow the instructions carefully and take proper safety precautions.