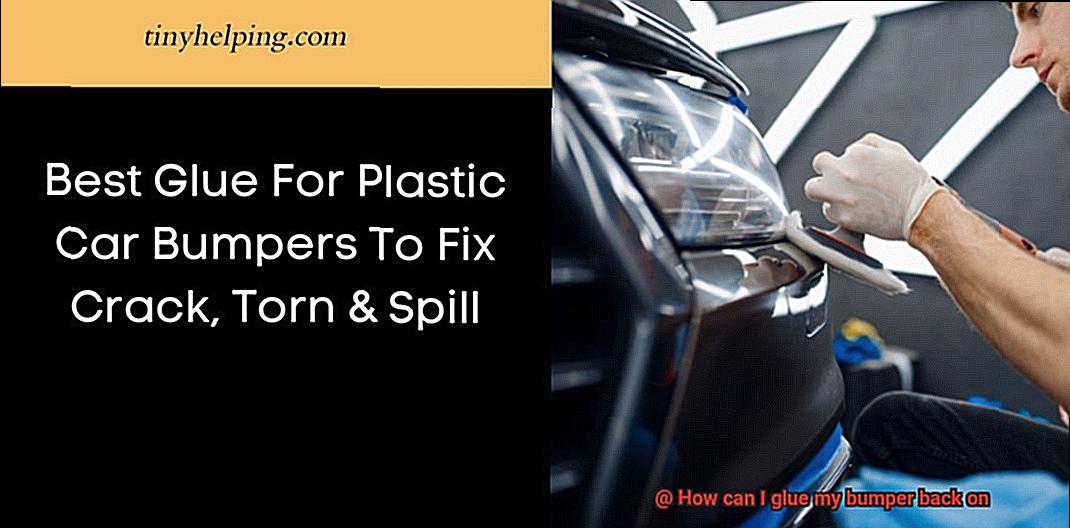
Driving can be a nerve-wracking experience, especially when your bumper becomes loose or detached due to an accident. But don’t panic. Knowing how to fix your bumper can save you time and money. Taking your car to a mechanic can be costly, but gluing your bumper back on is an easy and affordable DIY option.
A damaged or loose bumper not only looks unsightly, but it can also pose a safety hazard and cause further damage to your vehicle. So it’s essential to know how to reattach it properly.
Now the question arises: How do you glue your bumper back on? You might not know this, but there are several types of adhesives available that are strong enough to hold your bumper in place. However, selecting the right adhesive for the job is crucial in ensuring a proper repair.
In this post, we’ll discuss the top adhesive options for gluing your bumper back on and provide step-by-step instructions on how to apply them. With our help, you’ll have your car looking and functioning like new again in no time. Keep reading to learn more.
What You Need to Know Before Gluing a Bumper Back On
Contents
- 1 What You Need to Know Before Gluing a Bumper Back On
- 2 Cleaning the Area Around the Bumper
- 3 Choosing the Right Adhesive for Your Bumper Material
- 4 Aligning the Bumper and Car Body Properly
- 5 Applying the Adhesive
- 6 Allowing Adhesive to Dry Completely
- 7 Glue as a Permanent Solution
- 8 Safety Precautions When Working with Adhesives
- 9 Conclusion
Before you grab the glue and start repairing your bumper, there are a few important things to keep in mind. Firstly, not all adhesives are created equal. Make sure you select an adhesive that can withstand extreme temperatures and weather conditions while holding the weight of your bumper. Secondly, preparation is key. You need to clean the surface thoroughly to ensure the glue adheres properly.
The type of material your bumper is made of is another crucial factor to consider. Plastic bumpers require a plastic adhesive or a two-part epoxy that’s specifically formulated for plastic materials. On the other hand, metal bumpers need a metal adhesive or a two-part epoxy that bonds well with metal surfaces.
It’s essential to remember that gluing a bumper back on is a temporary fix and not a long-term solution. It may work well for minor damage, but it’s not as strong as the original bonding method used by the manufacturer. Therefore, if the damage is severe, it’s best to replace the bumper or seek professional help.
To glue your bumper back on, start by selecting the appropriate adhesive. Then, clean the surface thoroughly using soap and water or a degreaser and sand it lightly to create a better bonding surface. Proper alignment of the bumper and car body is crucial, so use clamps or duct tape to hold it in place while the adhesive sets.
It’s important to follow all safety precautions when working with adhesives, including wearing gloves and eye protection. Once the glue has dried completely, remove any clamps or tape and inspect your repair job.
Cleaning the Area Around the Bumper
Your car bumper has fallen off, but you’re ready to glue it back on. However, before you start applying glue, it’s essential to clean the area around the bumper properly. Cleaning the area ensures that the glue adheres to the surface and eliminates debris or dirt that may hinder the process. Let’s dive into the steps for cleaning the area around a bumper before gluing it back on.
- Step 1: Wash the area around the bumper with soap and water. Use a mild detergent and a soft sponge to avoid damaging the paintwork. This simple step will remove any surface dirt or grime.
- Step 2: Use a degreaser to eliminate oil or grease on the surface. Oil and grease can prevent the glue from adhering properly; thus, this step is crucial. Apply the degreaser with a clean cloth and rub it into the surface until it is clean.
- Step 3: Rinse thoroughly with water and dry it entirely with a clean towel to ensure there is no moisture left on the surface. Moisture can affect the bonding of the glue.
- Step 4: If there are any scratches or chips on the surface of the bumper, it is essential to repair them before gluing. Use fine-grit sandpaper to sand down any rough edges, then apply primer to ensure that the surface is smooth and even.
Choosing the Right Adhesive for Your Bumper Material
Choosing the right adhesive for your bumper material is essential to make sure that the repair lasts as long as possible. There are several types of adhesives available, but three of the most common ones used for bumper repair are cyanoacrylate (super glue), two-part epoxy, and polyurethane adhesive.
Cyanoacrylate adhesive is an easy-to-use adhesive that dries quickly, making it perfect for small cracks and chips in the bumper. However, it may not be strong enough for larger repairs or heavier materials. If you’re dealing with more significant damage, two-part epoxy adhesive could be a better option as it creates a strong, durable bond that can withstand extreme temperatures and harsh weather conditions. Two-part epoxy works well on both plastic and metal bumpers but requires mixing before use.
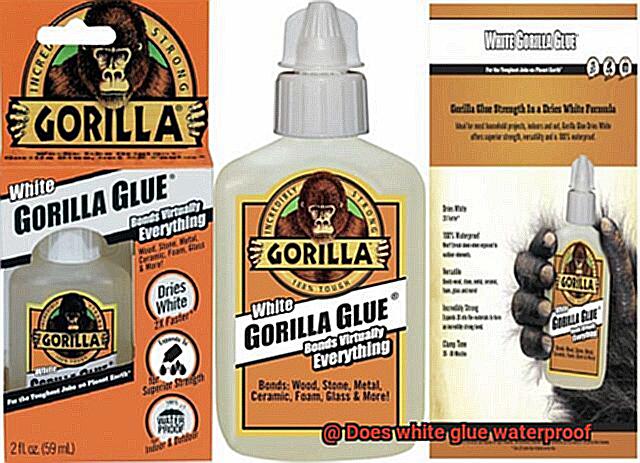
For a versatile and durable adhesive that can bond a variety of materials, including plastic, metal, rubber, and fiberglass, you might want to consider polyurethane adhesive. Not only does it have excellent resistance to chemicals and extreme temperatures, but it also creates a long-lasting bond.
When selecting an adhesive for your bumper material, you should consider the type of repair needed and the material of your bumper. For instance, if you have a plastic bumper with minor damage, cyanoacrylate adhesive would be an appropriate choice. However, if you’re dealing with significant damage on a metal bumper, two-part epoxy would be more suitable.
It’s crucial to follow the manufacturer’s instructions carefully when using any adhesive. Applying the adhesive correctly, allowing enough time for it to dry and cure properly, and ensuring that the surface is clean and free of any debris or contaminants are all crucial steps.
Aligning the Bumper and Car Body Properly
Well, look no further because we’ve got you covered. Proper alignment of your bumper is not only important for aesthetic reasons but also for safety reasons. A misaligned or loose bumper can potentially fall off while driving, causing harm to both you and other drivers on the road.
To begin, it’s essential to clean both surfaces thoroughly before placing the bumper on the car body. Once you’ve done that, check for any gaps or misalignments. If you find any gaps, don’t panic. You can use a car jack to lift the bumper and push it towards the car body until it aligns properly. However, over-tightening the bolts or screws can damage both the bumper and car body.
Once you’ve aligned the bumper, secure it in place with bolts or screws according to the manufacturer’s instructions. It’s recommended to use a strong adhesive along with bolts or screws for added strength and durability. Be mindful of choosing the right adhesive for your specific needs. Cyanoacrylate adhesive is suitable for minor damage, two-part epoxy for harsh weather conditions and extreme temperatures, and polyurethane adhesive for versatile bonding options.
After securing the bumper in place, double-check for any misalignments or gaps before allowing the adhesive to dry completely. It may be tempting to hit the road immediately, but taking a few extra minutes to ensure proper alignment can prevent potential harm.
Applying the Adhesive
A misaligned or loose bumper can not only be an eyesore but also a safety hazard. Fortunately, gluing your bumper back on is a simple and cost-effective solution, but it all comes down to applying the adhesive correctly.
Choosing the Right Adhesive
The first step in applying the adhesive is choosing the right one. Not all adhesives are created equal, and not all are suitable for automotive purposes. Make sure you choose an adhesive that is specifically designed for cars and can withstand the rigors of everyday driving.
Cleaning the Surface
Before applying the adhesive, it’s essential to clean the surface of your bumper thoroughly. Any dirt, oil, or debris can prevent the adhesive from bonding correctly. Use a degreaser or rubbing alcohol to clean the surface of the bumper, and make sure it’s completely dry before moving on.
Applying the Adhesive
Once you have cleaned the surface, it’s time to apply the adhesive. Use a brush or applicator to spread it evenly on both surfaces that need to be glued together. Remember not to apply too much as this can cause it to ooze out and create a messy finish.
Aligning and Pressing
After applying the adhesive, carefully align your bumper with your car’s body and press it firmly into place. Applying pressure across the entire surface area of the bumper will ensure a strong bond. It’s recommended to use clamps or weights to hold the bumper in place while the adhesive sets.
Drying Time
Finally, allow the adhesive to dry completely before driving your car. The drying time will depend on the type of adhesive used, but it can take anywhere from a few hours to a full day. Don’t rush this step; you want to make sure that your bumper is securely attached.
Allowing Adhesive to Dry Completely
When it comes to gluing a bumper back on, allowing adhesive to dry completely is a crucial step that cannot be overlooked. As an expert in this area, I can confidently say that this process is just as important as selecting the right adhesive and applying it correctly.
To fully understand the importance of allowing adhesive to dry completely, let’s break it down:
- Follow manufacturer’s instructions: It’s important to follow the instructions provided by the manufacturer of the adhesive you’re using, as drying times can vary. This will ensure that you’re giving the adhesive enough time to fully dry and cure for maximum strength.
- Avoid stress and pressure: During the drying process, it’s crucial to avoid any stress or pressure on the glued area. This means no driving your vehicle or bumping into objects, as these actions could compromise the bond between the bumper and car.
- Avoid moisture and humidity: Moisture and humidity can affect the drying process of the adhesive, so it’s essential to keep the glued area dry during this time. Consider leaving your vehicle in a temperature-controlled environment to ensure optimal drying conditions.
- Inspect for imperfections: Once the adhesive has fully dried, inspect the glued area for any imperfections or weaknesses. If any issues are found, reapplying the adhesive may be necessary.
By taking the time to allow the adhesive to dry completely, you’re ensuring that your bumper is securely attached to your car for the long haul. A few extra hours spent waiting for the adhesive to dry will save you from potential headaches down the road.
Glue as a Permanent Solution
However, not all types of glue are suitable for this task, and not all gluing techniques will result in a permanent fix. Here are some essential tips to consider if you want to achieve a secure and long-lasting bond using glue as a permanent solution for bumper repair.
Choosing the right type of glue is paramount. Epoxy, polyurethane, and cyanoacrylate (also known as superglue) are all popular choices for bumper repair. These adhesives have strong bonding properties and can withstand exposure to heat, cold, and moisture. However, it’s crucial to select a high-quality product that is specifically designed for automotive use.
Preparing surfaces properly is equally essential. Before applying any glue, clean and dry both surfaces being bonded thoroughly. Any dirt, grease, or paint must be removed to ensure a secure attachment. Sanding the surfaces can also help improve adhesion, particularly if the bumper has a textured finish.
Following application instructions carefully is the final secret to success. Read the manufacturer’s instructions carefully and follow them precisely. Typically, apply a small amount of glue to both surfaces being bonded, and then press them together firmly for several minutes until the glue sets. Keep in mind that different types of glue may have different setting times, so be patient and avoid disturbing the bond until it is fully cured.
It’s important to note that while glue can provide a strong and long-lasting fix for a loose or detached bumper, it may not be suitable for more severe damage. If your bumper has been cracked or severely damaged, it may be necessary to replace the entire part.
Safety Precautions When Working with Adhesives
It’s essential to prioritize safety when working with these products, as they can contain harmful chemicals and emit hazardous fumes that can be detrimental to your health. Here are some safety precautions to follow when working with adhesives to ensure you stay safe.
First and foremost, always read and follow the manufacturer’s instructions and warnings before using any adhesive. This is crucial as it will give you valuable information on how to handle the adhesive safely and any precautions you should take.
In addition, working in a well-ventilated area is paramount when using adhesives. Fumes emitted by these products can be harmful if inhaled in large quantities. If possible, work outdoors or in a room with open windows and doors to allow for fresh air circulation. This simple step can significantly reduce your exposure to toxic fumes.
Wearing protective gear such as gloves, eye protection, and a respirator can also help minimize your exposure to harmful chemicals and fumes. Gloves will protect your skin from coming into contact with the adhesive while eye protection will shield your eyes from splashes or fumes. A respirator will protect your lungs from inhaling any harmful fumes.
Lastly, proper disposal of any leftover adhesive and containers is vital. Never pour leftover adhesive down the drain or throw away containers in the regular trash. Check with your local waste management facility for proper disposal methods.
Yx-qA3Qbbbk” >
Conclusion
In conclusion, gluing your bumper back on is a cost-effective and straightforward DIY solution that can save you both time and money. However, it’s crucial to select the right adhesive for the job, clean the surface meticulously, and align the bumper correctly before applying any glue. Choosing an unsuitable adhesive or failing to prepare the surface adequately can result in a weak bond that won’t last.
It’s important to bear in mind that gluing your bumper back on is only a temporary fix and not a long-term solution. If the damage is extensive, it’s best to replace the bumper or seek professional help.
When handling adhesives, safety should always be your top priority. Follow all manufacturer instructions carefully, work in a well-ventilated area, wear protective gear such as gloves and eye protection, and dispose of any leftover adhesive and containers correctly.
By adhering to these tips and taking proper precautions when using adhesives, you can successfully glue your bumper back on with ease.