Have you ever wondered if Gorilla Glue can work its magic on foam? Well, you’ve come to the right place for answers.
Foam materials, like upholstery foam or those handy foam sheets and boards, are like the chameleons of DIY projects and crafts. They can bend, shape, and mold into just about anything you desire.
But when it comes to finding the perfect adhesive for foam, things can get a bit sticky. Enter Gorilla Glue – known for its Herculean strength and versatility in bonding all sorts of things together.
But can it tame the wild beast that is foam? In this blog post, we’re going to dive deep into the properties of Gorilla Glue and find out if it’s a match made in heaven or a disaster waiting to happen when it meets foam.
So, grab a seat, buckle up, and let’s embark on this journey of adhesive exploration together.
Understanding the Characteristics of Gorilla Glue and Foam
Contents
- 1 Understanding the Characteristics of Gorilla Glue and Foam
- 2 Adhesive Compatibility with Different Types of Foam
- 3 Considerations When Using Gorilla Glue on Foam
- 4 Testing an Inconspicuous Area Before Applying Gorilla Glue to Foam
- 5 Alternative Adhesives for Bonding Foam
- 6 Examples of Specialized Foam Adhesives
- 7 Following Manufacturer Instructions When Using any Adhesive on Foam
- 8 Tips for Ensuring Proper Bonding and Avoiding Damage to the Material
- 9 Conclusion
Gorilla Glue and foam are dynamic materials with unique characteristics that make them indispensable in various applications. However, achieving a strong and durable bond between foam and Gorilla Glue requires a deeper understanding of their individual properties.
In this comprehensive guide, we will explore the distinct characteristics of Gorilla Glue and foam, delve into their compatibility, and provide best practices for optimal bonding results.
Characteristics of Gorilla Glue:
- Expansive Nature: Gorilla Glue’s remarkable ability to expand as it cures enables it to form robust bonds by filling gaps. Yet, this characteristic demands caution when working with foam, as improper application may lead to deformation or loss of shape.
- Curing Time: Patience is crucial when using Gorilla Glue on foam, as it takes approximately 24 hours to reach maximum strength through full curing. This extended time frame can pose challenges when dealing with the soft and flexible nature of foam, necessitating clamping or securing the glued parts for an extended period.
- Moisture Activation: While moisture activates Gorilla Glue for a secure bond, excessive moisture can harm foam by saturating or deteriorating it. Therefore, balancing the moisture levels is vital for maintaining the integrity of both materials.
Characteristics of Foam:
- Porous Structure: Foam’s lightweight nature stems from its porous structure, presenting a challenge when seeking adhesives that create strong bonds without damaging the delicate foam itself.
- Diverse Foam Types: From polyurethane foam to polystyrene foam and memory foam, each variant reacts differently to adhesives. Thus, it is imperative to test compatibility before applying Gorilla Glue on larger surfaces to ensure optimal results.
Best Practices for Bonding Foam with Gorilla Glue:
- Thin and Even Application: To preserve the foam’s shape and integrity, apply a thin and even layer of Gorilla Glue. Excessive glue can lead to deformation or loss of foam shape.
- Moisture Moderation: While Gorilla Glue requires moisture for activation, excess moisture can harm foam. Apply the glue sparingly and ensure the foam is not overly wet before bonding.
- Compatibility Testing: Before committing to full-scale application, conduct a small compatibility test on an inconspicuous area to evaluate the bond strength and compatibility between Gorilla Glue and the specific foam type.
- Specialized Foam Adhesives: If Gorilla Glue falls short of expectations, specialized foam adhesives offer alternatives that are specifically designed to bond various types of foam without compromising their integrity.
Adhesive Compatibility with Different Types of Foam
Choosing the right adhesive for foam projects is essential to ensure a strong and long-lasting bond. Not all adhesives are compatible with foam, as each type of foam has its own unique properties and characteristics. In this comprehensive guide, we will explore the adhesive compatibility requirements for three common types of foam: polyurethane foam, polystyrene foam, and EVA foam.
Polyurethane Foam – A Versatile and Bond-Friendly Material:
Polyurethane foam is a flexible and durable material often used in upholstery, packaging, and insulation. When it comes to adhesive compatibility, polyurethane foam generally works well with most types of glue, including Gorilla Glue. However, it is important to follow the manufacturer’s instructions to achieve optimal adhesion. Proper surface preparation and application techniques are key to ensure a strong bond.
Polystyrene Foam – Handle With Care:
Polystyrene foam, also known as Styrofoam, is a lightweight and rigid material commonly used in insulation, crafting, and packaging. Unfortunately, Gorilla Glue is not recommended for use on polystyrene foam as it can cause the foam to melt or dissolve. Instead, specialized craft glues or foam-safe adhesives should be used for bonding polystyrene foam. These adhesives are designed to provide a strong bond without damaging the foam structure.
EVA Foam – A Flexible Friend:
EVA foam is a soft and flexible material often used in cosplay props, craft projects, and footwear. Gorilla Glue may work well with EVA foam due to its ability to bond various materials. However, it is always advisable to test the adhesive on a small area before applying it to the entire surface. This will ensure that the adhesive does not cause any discoloration or damage to the foam.
Manufacturer Guidelines and Proper Preparation:
To achieve successful bonding, it is crucial to read and follow the manufacturer’s instructions when working with adhesives on foam. Different adhesives may require specific surface preparation or treatment before application. For example, some adhesives may require roughening the foam surface or applying a primer for better adhesion. Additionally, certain adhesives may have temperature or humidity requirements for optimal bonding. It is important to adhere to these guidelines to ensure a strong and durable bond.
Consider Durability and Intended Use:
When selecting an adhesive for foam, it is important to consider the durability and intended use of the bonded material. Some adhesives offer stronger and more durable bonds than others, depending on the application. For high-stress or outdoor applications, it is advisable to choose adhesives that are specifically designed for foam-to-foam or foam-to-other-material bonding. Consulting with adhesive manufacturers or foam suppliers can provide valuable guidance in selecting the appropriate adhesive for your specific foam material and project.
Considerations When Using Gorilla Glue on Foam
Using Gorilla Glue on foam requires careful consideration to ensure a successful bonding experience. Foam, being a porous material, has the ability to absorb liquids like glue, which can affect the bond strength and overall effectiveness of the adhesive.
Therefore, it is crucial to test Gorilla Glue on a small, inconspicuous area of the foam before applying it to your project. This initial test will help you determine if the glue has any adverse effects on the foam, such as discoloration or degradation.
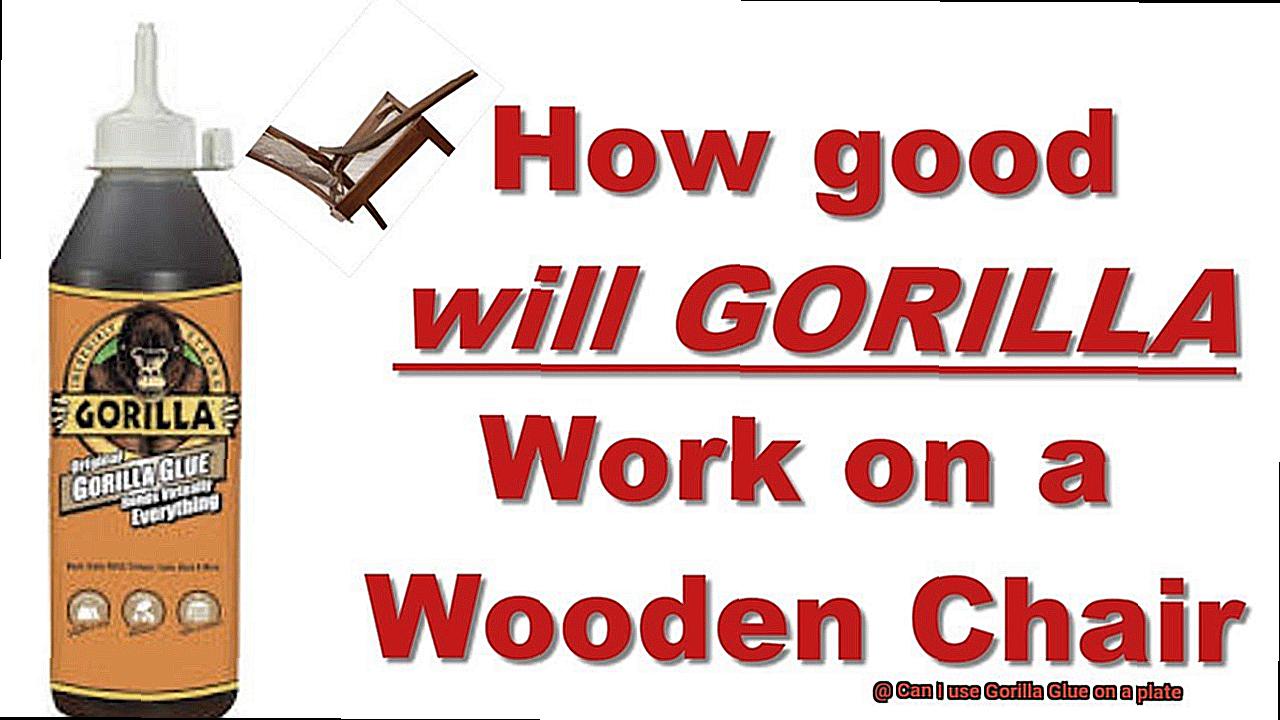
When applying Gorilla Glue to foam, it is recommended to use a thin layer of glue evenly on both surfaces to be bonded. Using too much glue can lead to excessive absorption by the foam, which weakens the bond. Additionally, Gorilla Glue expands as it cures, so it is important to account for this expansion when applying it on foam. Leaving some room for expansion can prevent the foam from being pushed apart or deforming due to excessive pressure.
To ensure a strong bond, proper clamping or pressure is essential during the curing process. Using clamps or weights can help maintain even pressure across the glued surfaces. It is also important to consider the temperature and humidity conditions during the bonding process. Following the manufacturer’s instructions regarding temperature and humidity ranges will help ensure optimum bonding results.
Compatibility with specific types of foam should also be considered. Certain foams, such as polystyrene or polyurethane foam, may have additives or coatings that can react negatively with certain adhesives. Therefore, it is crucial to check if Gorilla Glue is compatible with the specific foam you are using.
Proper ventilation is necessary when working with Gorilla Glue as it emits fumes during the curing process. Working in a well-ventilated area will prevent inhalation of potentially harmful vapors and ensure a safer working environment.
Testing an Inconspicuous Area Before Applying Gorilla Glue to Foam
You’ve got an exciting foam project in mind, and you’re ready to unleash the power of Gorilla Glue to bond it together. But before you dive in headfirst, take a moment to step back and perform a simple test on an inconspicuous area of the foam. Trust me, this small precautionary measure can save you from potential disappointment down the road. Let’s explore why testing Gorilla Glue on an inconspicuous area of foam is crucial and what you need to know.
Why Test on an Inconspicuous Area?
Picture this: you apply Gorilla Glue to your foam masterpiece, only to discover that it causes discoloration or, even worse, damages the foam. By testing the glue on an inconspicuous area first, you can determine if it’s compatible with the foam material and avoid any unwanted surprises.
Performing the Test:
To conduct the test, select a small, hidden area of the foam where any potential damage will go unnoticed. It could be the underside, backside, or a corner that won’t be visible once glued. Apply a small amount of Gorilla Glue following the instructions provided. Allow it to dry completely, and then inspect the test area for any signs of damage or discoloration. If everything looks good, you’re generally safe to proceed with using Gorilla Glue on the foam.
Dos and Don’ts:
When using Gorilla Glue on foam, remember that less is more. Apply a thin layer of glue evenly on both surfaces to be bonded. Too much glue can drown the foam and weaken the bond. Additionally, keep in mind that Gorilla Glue expands as it cures. So give your foam buddy some breathing room to prevent deformation or separation due to excessive pressure.
Safety First:

Handle Gorilla Glue with care and follow all safety precautions mentioned in the product instructions. This includes working in a well-ventilated area, wearing protective gloves, and avoiding direct contact with skin or eyes. Open those windows and let fresh air in to avoid inhaling any fumes.
Alternative Adhesive Options:
If you encounter any negative effects during the test, don’t despair. Specialized glues formulated to bond foam without causing damage or discoloration are available on the market. Explore these alternatives to find the perfect adhesive for your foam project.
Alternative Adhesives for Bonding Foam
Look no further. While Gorilla Glue may be a popular choice for many applications, it may not always be the best option for bonding foam. Foam is a unique material that requires a specific type of adhesive to create a strong and durable bond. But fear not, there is an array of alternative adhesives available that are perfect for bonding foam.
One highly regarded option is spray adhesive. These adhesives are easy to use and provide an even coat on the foam’s surface, ensuring a strong bond. With various strengths and formulations available, it is crucial to select one appropriate for the specific type of foam being worked with.
Another topnotch alternative is contact adhesive. Applied to both surfaces being bonded and dried before pressing them together, contact adhesives create an instant bond and offer excellent adhesion strength. Yet, be sure to follow the manufacturer’s instructions diligently, as contact adhesives can be toxic and require proper ventilation during application.
If you are working on a craft project involving foam, hot glue might be the ideal solution for you. Hot glue sets quickly and provides a robust bond, making it perfect for smaller projects or quick repairs.
Fabric glue is another option that works well on certain types of foam. Though primarily designed for bonding fabric, it can also prove effective on foam materials.
For those craving an extra-strong bond, epoxy adhesive is an excellent choice. Epoxy adhesive is a two-part adhesive that creates an incredibly robust bond but necessitates careful mixing and application.
When selecting an adhesive for bonding foam, it is vital to consider factors such as the type of foam, the intended use of the bonded materials, and the desired bond strength. Compatibility and adhesion can vary depending on these factors; thus, it is always prudent to test the adhesive on a small, inconspicuous area before applying it to the entire project.
Examples of Specialized Foam Adhesives
Foam, a versatile material used in industries ranging from packaging to upholstery, requires specialized adhesives for bonding. While Gorilla Glue may suffice for some, there are adhesives designed specifically for foam that offer stronger, longer-lasting bonds. Let’s delve into examples of these specialized foam adhesives and how to choose the perfect one for your project.
First on our list is the 3M Super 77 Multipurpose Adhesive, a favorite among foam enthusiasts. This adhesive is tailor-made for bonding foam materials, guaranteeing durability and longevity. Its ease of use and excellent coverage make it ideal for larger foam projects.
If your project involves bonding foam to different surfaces like wood, concrete, or metal, look no further than Loctite PL Premium Polyurethane Construction Adhesive. Known for its exceptional bonding strength and versatility, this adhesive is a reliable choice.
For those seeking a fast-drying adhesive that allows for easy repositioning of the foam, consider Foam Lock Spray Adhesive by DAP. It bonds foam to various substrates like fabric, wood, and plastic with flexibility and speed.
Crafters working with delicate or lightweight foam materials such as craft foam or upholstery foam will benefit from Beacon Fabri-Tac. This foam-safe adhesive provides a robust bond without compromising the integrity of the material.
When strength is paramount, Weldwood Original Contact Cement by DAP delivers. Suitable for both small and large foam projects, this adhesive provides a high-strength bond you can rely on.
Remember to consider the type of foam you’re working with when choosing a specialized adhesive. Open-cell foams may require better penetration, while closed-cell foams may demand stronger initial tack. Always read the manufacturer’s instructions and test the adhesive on a small area before diving into larger projects.
Following Manufacturer Instructions When Using any Adhesive on Foam
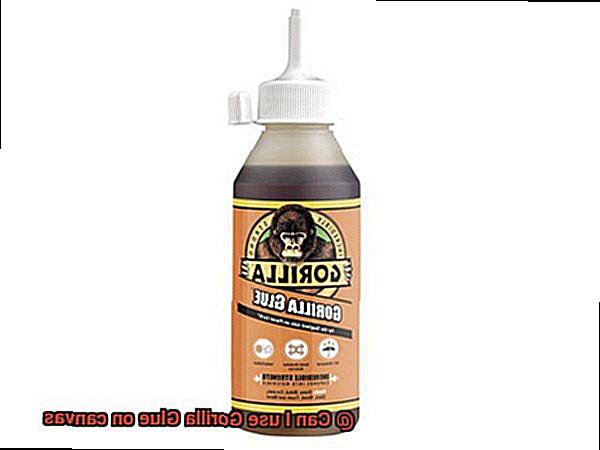
When it comes to foam crafts and DIY projects, finding the right adhesive is crucial for a successful outcome. Gorilla Glue is a popular choice known for its strength, but it’s essential to follow the manufacturer’s instructions to ensure optimal bonding results. In this article, we will explore the benefits of following these instructions when using any adhesive on foam.
Know Your Foam:
Foam materials come in various compositions and densities, much like superheroes with different powers. By following the manufacturer’s instructions, you gain valuable insights into which adhesive product is suitable for your specific type of foam. This knowledge ensures that you choose the right adhesive with the necessary bonding properties.
Proper Surface Preparation:
Before applying any adhesive, it is crucial to clean the foam surface thoroughly and remove any dirt or debris. The manufacturer’s instructions will guide you on how to prepare the foam correctly, whether it involves wiping it with a clean cloth or using a mild detergent. This step creates an optimal bonding environment and ensures a strong bond.
Application Technique:
Gorilla Glue provides specific instructions on how to apply their adhesive on foam. Whether it’s spreading a thin layer or evenly distributing the glue over the surface, following these guidelines will help you achieve an even and strong bond. Applying too much glue can result in problems like uneven bonding or excess glue oozing out.
Curing Time:
Just like superheroes need time to recharge, Gorilla Glue requires a curing time for the adhesive to dry and bond properly with the foam. Following the recommended curing time provided in the instructions is vital for achieving a durable bond. Avoid moving or disturbing the glued foam during this period, as it may affect the adhesive’s effectiveness.
Expansion Factor:
As Gorilla Glue cures, it expands. This expansion factor is important to consider when working with foam. By leaving some space for expansion or using clamps or weights to hold the foam in place, you ensure that the adhesive doesn’t create unnecessary stress on your project. Following the manufacturer’s instructions helps you account for this factor and prevents any potential damage.
Tips for Ensuring Proper Bonding and Avoiding Damage to the Material
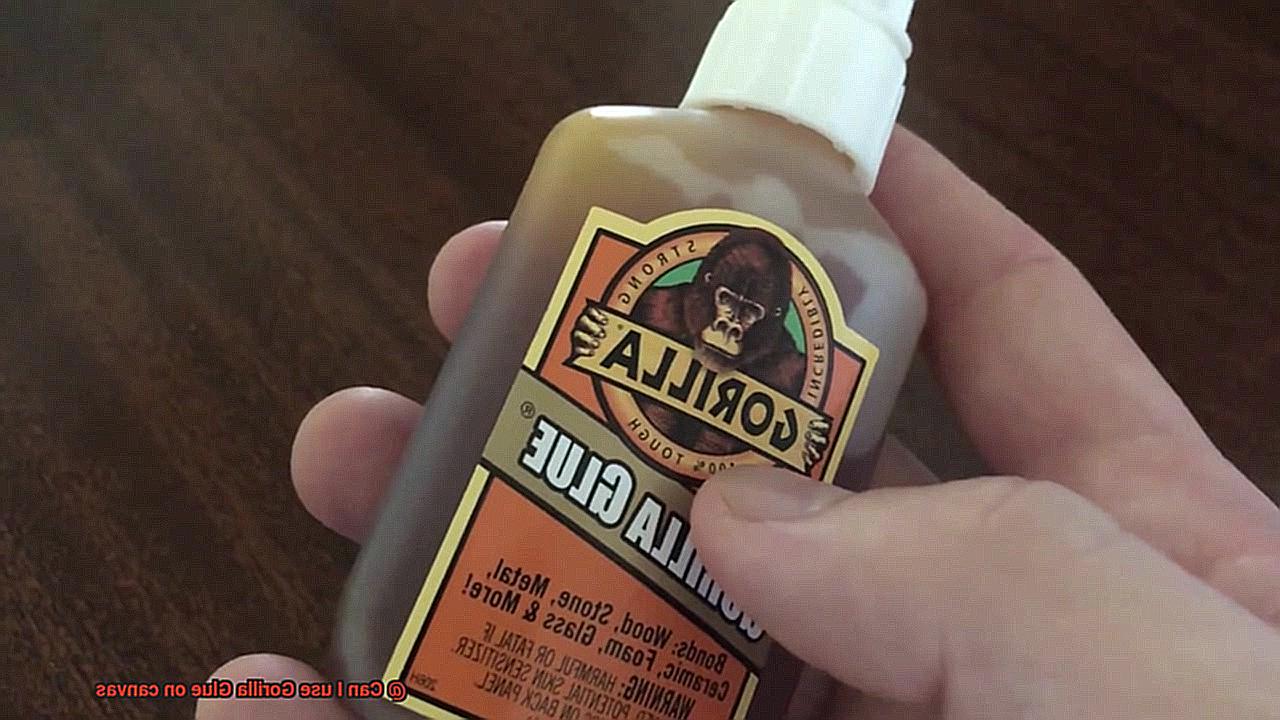
Foam is a versatile material used in various applications, from crafts to upholstery. When it comes to bonding foam, using the right adhesive is crucial to ensure a strong and durable bond. Gorilla Glue is a popular choice for its strength and versatility. In this blog post, we will share some tips to help you achieve proper bonding with Gorilla Glue while avoiding any damage to the foam material.
Clean the Surface:
Before applying Gorilla Glue, it’s important to clean the surface of the foam thoroughly. Any dirt, dust, or oils can hinder the bonding process and weaken the adhesive’s effectiveness. Imagine trying to stick two pieces of foam together with a layer of grime in between – it just won’t work. Use a mild detergent or isopropyl alcohol and a clean cloth to wipe down the foam surface. Ensure that it is completely dry before proceeding.
Test Compatibility:
Not all foams are compatible with Gorilla Glue, so it’s crucial to test the adhesive on a small, inconspicuous area before applying it to the entire surface. Apply a small amount of glue and let it cure according to the recommended timeframe. Check if the bond is strong and if there is any damage to the foam. This compatibility test will help you determine whether Gorilla Glue is suitable for your specific foam material.
Apply in Thin Layers:
When using Gorilla Glue on foam, less is more. Apply a thin, even layer of glue on both surfaces that need to be bonded. The glue expands as it cures, so applying too much can cause excess foaming and potentially damage the foam. Think of it like spreading butter on toast – you want a thin, even layer for maximum coverage.
Use Clamping or Weight:
To ensure a strong bond between the foam and other materials, use clamps or weights to hold them together while the glue cures. This pressure helps create a tight bond and prevents any gaps or air bubbles from forming. Follow the instructions provided by Gorilla Glue regarding curing times and clamping requirements. Just like when you’re putting together a jigsaw puzzle, using clamps or weights helps keep everything in place until the adhesive sets.
Allow Sufficient Curing Time:
Gorilla Glue requires sufficient curing time to achieve maximum strength. It’s tempting to rush the process and start using the bonded material right away, but patience is key here. Follow the recommended curing time mentioned on the product label or packaging. Avoid disturbing or putting stress on the glued area until the adhesive has fully cured. Give it the time it needs to set and solidify, just like waiting for a cake to cool before frosting it.
kg7Z8m5rSjY” >
Conclusion
Yes, you can use Gorilla Glue on foam.
It is a strong adhesive that can bond various materials together, including foam. However, there are a few things to keep in mind when using Gorilla Glue on foam.
First and foremost, it’s important to apply the glue sparingly, as foam is a porous material and excessive glue can cause it to become stiff or distorted. Secondly, it’s crucial to allow sufficient drying time for the glue to fully cure before handling or applying any pressure to the bonded area.
Lastly, always follow the instructions provided by the manufacturer for best results.

