Ready to embark on a wild ride through the world of unconventional nail trends? Well, buckle up because today we’re diving into the mesmerizing world of using Elmer’s glue on your nails. Yep, you heard that right – this blog post is all about whether slathering good ol’ glue on your precious tips is a genius beauty hack or just another wacky trend.
Now, I know what you’re thinking. Is this idea as crazy as it sounds? Can Elmer’s glue really transform your nails into works of art? Don’t worry, my curious comrades, we’re here to separate fact from fiction and spill all the sticky details. But hold onto your nail files because things are about to get seriously informative (and maybe a little bit hilarious too).
So, grab your favorite nail polish and get ready to explore the uncharted territory of Elmer’s glue manicures. We’ll tackle questions like “Is it safe?” and “Will it actually work?” along with plenty of unexpected twists and turns along the way. Let’s dive in and find out if this DIY experiment is worth sticking around for.
Advantages and Disadvantages of Using Elmer’s Glue on Nails
Contents
- 1 Advantages and Disadvantages of Using Elmer’s Glue on Nails
- 2 What are the Alternatives to Using Elmer’s Glue on Nails?
- 3 How to Apply Nail Glue Properly
- 4 How to Remove Nail Glue Safely
- 5 Tips for Keeping Your Nails Looking Great After Applying Nail Glue
- 6 Common Mistakes When Applying Nail Glue
- 7 How Long Does It Take for Nail Glue to Dry?
- 8 Are There Any Health Risks Associated with Using Nail Glue?
- 9 Conclusion
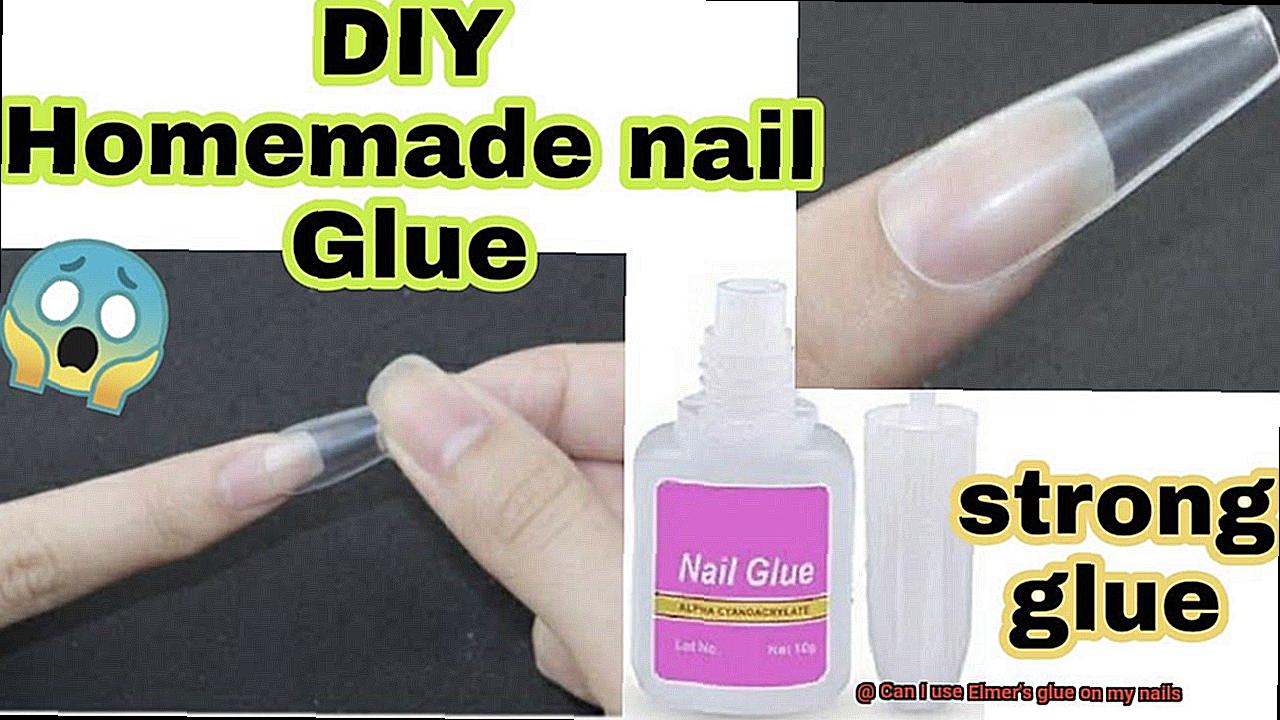
Elmer’s glue might just be the answer. This DIY nail hack has gained popularity, but like any beauty trend, it has its pros and cons. In this article, we will explore the advantages and disadvantages of using Elmer’s glue on nails, helping you make an informed decision about whether to give it a try.
Advantages:
- Cost-effective: Elmer’s glue is a budget-friendly option for those looking to save money. It is widely available and relatively inexpensive compared to traditional nail products like acrylics or nail adhesive. This makes it perfect for those who want to experiment with nail enhancements without breaking the bank.
- Easy application and removal: Applying Elmer’s glue onto your nails is a breeze. Its convenient bottle with an applicator tip allows for easy and precise application. When it’s time to remove the glue, you can simply soak your nails in warm water or use a gentle nail polish remover. No need for expensive salon visits or harsh chemicals.
- Temporary solution: If you enjoy changing up your nail style frequently, Elmer’s glue provides a temporary solution that allows for experimentation without permanent changes to your natural nails. Whether you want longer nails for a special occasion or want to try out different styles, Elmer’s glue offers flexibility and versatility.
Disadvantages:
- Limited durability: While Elmer’s glue may be convenient for temporary nail enhancements, it lacks durability compared to professional nail products. Everyday activities like washing dishes or typing can cause the glue to weaken, resulting in loose nail enhancements. This means frequent reapplication, leading to a less durable and time-consuming maintenance process.
- Potential damage to natural nails: Elmer’s glue is not specifically formulated for use on nails, which means it may not provide the necessary protection and strength for your natural nails. Prolonged use can weaken your nails, making them brittle, thin, and more prone to breakage. Prioritizing nail health and using appropriate products is important to maintain their strength and integrity.
- Limited design options: While Elmer’s glue can be used for basic nail enhancements, it may not offer the same versatility as other nail products. It is primarily a clear adhesive, limiting its suitability for intricate nail art or designs that require different colors or textures. If you enjoy experimenting with unique and creative nail looks, the limited design options of Elmer’s glue may be a drawback.
What are the Alternatives to Using Elmer’s Glue on Nails?
There are numerous alternatives available that offer stronger and longer-lasting adhesion. In this blog post, we will explore the best options to ensure your nail enhancements stay intact.
Nail Glues:
Professional nail brands like Kiss or IBD offer specially formulated nail glues designed for optimal adhesion. These glues provide a strong bond that can last for weeks, ensuring your nails withstand all your daily activities.
Nail Adhesive Tabs:
Looking for a temporary adhesive solution? Nail adhesive tabs are fantastic options. These sticky tabs can be applied to the back of artificial nails or nail tips, adhering them to your natural nails without causing any damage. They are easy to apply and remove, making them perfect for those who frequently change their nail looks.
Nail Gels or Acrylics:
For a long-term solution, consider nail gels or acrylics. Applied in layers and cured under UV light, these methods create durable and long-lasting nail enhancements. Professional application and removal are crucial to maintain the health of your natural nails.
Nail Wraps or Fiberglass Overlays:
If you want to strengthen your natural nails while enhancing their appearance, try nail wraps or fiberglass overlays. These involve applying a thin layer of adhesive over your natural nails and placing a fiberglass wrap or fabric on top for added strength and durability.
Clear Nail Polish:
In a pinch, clear nail polish can act as a quick fix or temporary solution. While it may not provide the same level of adhesion as other alternatives, it can be handy when you need a temporary hold.
How to Apply Nail Glue Properly
Nail glue is specifically formulated to create a strong bond, ensuring your nails stay in place. In this guide, we’ll walk you through the steps of applying nail glue like a pro, giving you a flawless and durable manicure.
Step 1: Prepare Your Nails
To start, ensure your nails are squeaky clean. Remove any lingering nail polish and wipe away oil or moisture. This step sets the foundation for the glue to adhere better and last longer.
Step 2: Apply the Glue
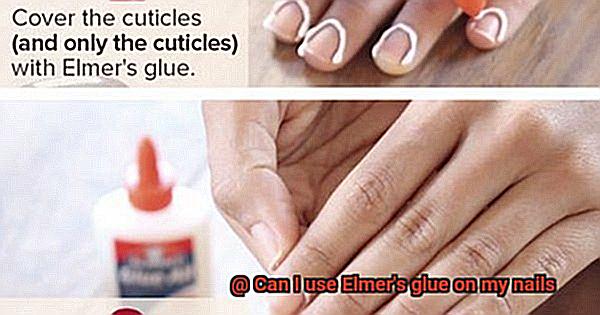
Less is more when it comes to applying nail glue. Start with a small drop and begin at the cuticle area, working your way towards the free edge of your nail. Avoid going overboard, as excessive glue leads to messiness and longer drying times.
Step 3: Press Firmly
Press down gently on the artificial nail or nail tip for several seconds. This ensures even distribution of the glue and creates a strong bond. Exercise caution not to apply too much pressure, as excess glue may seep out.
Step 4: Clean Up Excess Glue
If any glue escapes, don’t fret. Dip a cotton swab in acetone or nail polish remover, then carefully remove the excess before it dries. This final touch ensures a clean and professional finish.
Step 5: Let It Dry
Allow your nails ample time to dry completely before moving on to trimming or shaping. This critical step allows the glue to set properly, guaranteeing long-lasting results.
Remember, Nail Glue Tips:
– Store your nail glue in a cool and dry place to maintain its effectiveness.
- Follow the manufacturer’s instructions for optimal results.
- When removing artificial nails applied with glue, soak them in warm soapy water or use an acetone-based nail polish remover to gently dissolve the glue. Avoid forcefully pulling off the nails to protect your natural nails.
How to Remove Nail Glue Safely
Nail glue may seem tough to remove, but with the right techniques, you can safely say goodbye to that sticky mess. In this blog post, we will guide you through the process of removing nail glue safely, step by step.
Soaking in Warm Soapy Water:
Start by pampering your nails with a relaxing soak in warm soapy water. Fill a bowl with warm water and add a few drops of mild soap. Immerse your nails in this soothing solution for about 10-15 minutes. The warm water will work its magic, softening the stubborn glue and making it easier to remove. Take this time to unwind and enjoy a little TLC for your nails.
Gently Peeling off the Glue:
After your soak, it’s time to gently peel off the softened glue. Use a cuticle pusher or an orange stick to carefully lift and scrape away the glue. Remember to be gentle and avoid forcing or prying too hard, as this can damage your natural nails. If the glue doesn’t come off easily, don’t fret. Simply repeat the soaking process and give it another try.
Using Acetone:
When all else fails, turn to acetone for its adhesive-breaking powers. Soak a cotton ball or pad in acetone and place it on your nail. To keep it securely in place, cover it with aluminum foil or use a nail clip. Let the acetone work its magic for 10-15 minutes, breaking down the glue and making it easier to wipe away. When time’s up, gently wipe off the softened glue with a cotton pad or tissue.
Applying Cuticle Oil:
After removing the nail glue, it’s important to give your nails some extra love and care. Nail glue can leave your nails feeling dry and brittle, so restore moisture and nourishment by applying cuticle oil. Massage the oil into your nails and cuticles to keep them hydrated and healthy. This step will leave your nails looking and feeling fabulous.
Seeking Professional Help:
If you’re unsure or have sensitive nails, it’s always best to seek professional help from a nail technician. They have the expertise and proper tools to safely remove nail glue without causing any harm. A professional can assess your situation and provide customized solutions for your nail care needs.
Tips for Keeping Your Nails Looking Great After Applying Nail Glue
Here are some tips to help you maintain those gorgeous nails.
- Proper Application: Start by ensuring your nails are clean and dry. Remove any old polish and residue with a gentle polish remover. Trim and shape your nails as desired, and gently buff the surface to create a smooth base. Apply a thin layer of glue along the edge of your natural nail and press the artificial nail firmly onto it for a few seconds to ensure perfect adhesion.
- Avoid Excessive Moisture: Water can weaken the bond of the nail glue, causing your artificial nails to lift or break. Protect your nails by wearing waterproof gloves when doing chores or in contact with water for an extended time. Avoid swimming or soaking your hands for too long after applying nail glue.
- Protect Your Nails: Don’t use your nails as tools for opening cans or scratching surfaces. This can cause them to lift or break. Instead, use the pads of your fingers whenever possible. Protecting your nails will prevent all your hard work from going to waste.
- Regular Maintenance: Check for signs of lifting or loosening of the artificial nails and fix them promptly. If you notice any gaps or lifting, gently apply more glue to reinforce the bond. Trim and shape your nails regularly to maintain their length and prevent snags or breaks.
- Moisturize: Keep your natural nails and cuticles hydrated to prevent them from becoming dry and brittle. Apply a nourishing cuticle oil or hand cream regularly to keep them healthy and prevent damage caused by the nail glue.
Common Mistakes When Applying Nail Glue
Today, we’re going to discuss some common mistakes to avoid when applying nail glue. So, grab your favorite polish and let’s dive in.
- Applying too much nail glue: Remember, less is more. Using an excessive amount of glue can lead to a messy application with glue oozing out from the sides of your nails. Aim for just enough glue to secure the nail without going overboard.
- Not allowing enough drying time: Patience is key. Rushing into activities or applying additional products before the glue is fully dried can cause your nails to come loose or the glue to smudge. Give it a few seconds to a minute to dry completely, depending on the brand and type of glue.
- Neglecting proper nail preparation: Don’t skip this crucial step. Clean your nails thoroughly, removing any oils or residues, and gently buff them for better adhesion. This ensures that the glue sticks well and prevents premature lifting or popping off.
- Applying nail glue on damaged nails: Let them heal first. Avoid using nail glue on cuts, broken nails, or infected areas as it can worsen the damage or delay healing. Give your nails some tender loving care before applying any adhesive.
- Using expired or low-quality nail glue: Quality matters. Check the expiration date on the bottle and invest in a reputable brand for better results. Expired or cheap products can result in poor adhesion and disappointment.
- Not removing excess glue: Clean up is essential. Leaving excess glue on your skin can cause irritation or allergic reactions. Use a cotton swab or a clean brush dipped in acetone or nail polish remover to gently remove any excess immediately after application.
By avoiding these common mistakes, you’ll be well on your way to flawless and long-lasting nail glue application. So, go ahead and enjoy those stunning nails that will turn heads wherever you go.
How Long Does It Take for Nail Glue to Dry?
Nail glue is a magical adhesive that can transform your nails into works of art or save you from a broken nail emergency. But how long does it take for nail glue to dry? This guide will provide you with all the information you need to ensure flawless application and stunning results. Get ready for perfectly polished nails.
Factors Affecting Drying Time:
- Brand and Formulation: Nail glues come in different brands and formulations, which can affect drying time. Each brand has its own unique formula, so always follow the instructions provided by the manufacturer for the specific product you are using.
- Humidity and Temperature: Humidity levels play a significant role in drying time. In humid environments, like during the summer or in tropical regions, drying time may be a bit longer. On the other hand, in drier conditions, such as during winter or in air-conditioned rooms, the glue may dry faster.
- Amount of Glue Applied: Thin is in. Applying a thin layer of nail glue is essential for quicker drying. Excessive glue can prolong the drying process and lead to lumpy or uneven results. Stick to a light touch for picture-perfect nails.
Accelerant or Activator Spray:
Some nail glues come with an accelerant or activator spray that acts like a superhero, speeding up the bonding and drying process. These sprays are applied after gluing and work their magic to reduce overall drying time. Say goodbye to waiting around.
Curing Time vs. Drying Time:
Here’s a little secret: even after the suggested drying time, the glue may not have fully cured. While it may appear dry on the surface, it’s important to allow sufficient time for the glue to fully set before subjecting your nails to moisture or pressure. Give it a few hours to ensure lasting perfection.
Patch Test:
If you’re feeling uncertain about the drying time of a particular nail glue, don’t fret. It’s always a good idea to conduct a patch test before committing to the full application. Apply a small amount of glue on a small section of your nail and observe how long it takes to dry before proceeding with the rest.
Precautions:
To avoid any unwanted accidents or damage, exercise a little patience and wait until the nail glue has fully dried and cured before engaging in activities that may stress your nails. Keep the dishes at bay, go easy on the hand force, and resist the urge to apply pressure to your freshly glued nails.
Are There Any Health Risks Associated with Using Nail Glue?
Using nail glue can be a convenient way to achieve those beautiful nails we all desire. Whether you’re a fan of trendy acrylics or simply repairing a broken natural nail, nail glue seems like the perfect solution. However, it’s important to be aware of the potential health risks associated with its use. In this article, we will explore these risks and provide tips on how to minimize them.
One of the main concerns when using nail glue is the possibility of allergic reactions. Some individuals may develop an allergic response to the chemicals in nail glue, resulting in redness, itching, swelling, or even blistering of the skin around the nail. If you experience any unusual symptoms after using nail glue, it is crucial to seek medical attention promptly.
Another risk to consider is skin irritation. Nail glue can be harsh on the skin, especially if it comes into contact with sensitive areas like cuticles or the surrounding skin. To prevent this, make sure to apply the glue properly and avoid prolonged exposure to it. If you do experience any discomfort or irritation, remove any excess glue from your skin promptly and consult a healthcare professional if necessary.
In addition to skin concerns, inhaling the fumes of nail glue can be harmful to your respiratory system. The fumes contain volatile organic compounds (VOCs) that can irritate your airways and lead to symptoms such as coughing, wheezing, or shortness of breath. It is essential to use nail glue in a well-ventilated area and minimize inhalation of these fumes.
Lastly, it is crucial never to ingest nail glue. Swallowing nail glue can be toxic and potentially fatal. If you accidentally swallow any amount of nail glue, seek immediate medical attention without delay.
To minimize the health risks associated with using nail glue, here are some tips to keep in mind:
- Use nail glue in a well-ventilated area to reduce exposure to fumes.
- Follow the manufacturer’s instructions for proper application and removal.
- Promptly remove any excess glue from your skin to prevent irritation.
If you experience any adverse reactions or persistent symptoms, consult a healthcare professional for evaluation and appropriate treatment.
lrxh53tOAvk” >
Conclusion
Using Elmer’s glue on your nails is not recommended.
While it may seem like a quick fix or an alternative to nail glue, it is important to consider the potential risks and drawbacks. Elmer’s glue is not designed for use on nails and may not provide a strong enough bond to keep artificial nails in place.
Additionally, it can be difficult to remove and may cause damage to your natural nails when trying to take off the artificial ones. It’s always best to opt for products specifically made for nail application, such as nail glue or adhesive tabs.
These options are formulated with nail health in mind and will give you a longer-lasting and safer result.