Ever wondered how long contact cement can really stand the test of time? Whether you’re a seasoned DIY guru or just dipping your toes into the adhesive world, knowing the lifespan of contact cement is crucial for achieving top-notch and enduring results.
In this blog post, we’ll dive deep into the realm of contact cement, exploring its durability, factors that can degrade it, and expert tips on how to make it last.
The Lifespan Unveiled:
Contents
- 1 What is Contact Cement?
- 2 Factors That Affect the Longevity of Contact Cement
- 3 Proper Surface Preparation for a Long-Lasting Bond
- 4 Applying Even and Consistent Pressure for a Strong Bond
- 4.1 Preparing for Success
- 4.2 The Art of Even Application
- 4.3 The Power of Pressure
- 4.4 Mastering Time Drying Time: Patience is paramount when it comes to drying time. Follow the manufacturer’s recommended drying time for optimal results. Rushing this step can compromise the strength of your bond. Curing is Caring: Allow your bonded surfaces to cure properly before subjecting them to stress or load. Curing time varies based on the specific contact cement used, so refer to the manufacturer’s instructions for guidance. Contact Cement Not Suitable for Flexible Applications Contact cement is a popular adhesive used in woodworking, construction, and other industries for its strong bond and quick drying time. However, it is important to note that contact cement is not suitable for flexible applications. In this article, we will explore the reasons behind this limitation and discuss alternative adhesives specifically designed for flexible materials. Reasons why contact cement is not suitable for flexible applications: Rigid Bond: Contact cement forms a hard and inflexible bond once it dries. This lack of flexibility prevents the adhesive from stretching or moving with the material. As a result, when applied to flexible materials like fabrics or rubber, the bond can crack, peel, or fail. Lack of Accommodation for Movement: While contact cement may initially create a strong bond on flexible materials, it cannot accommodate movement or stretches. The inflexible nature of the adhesive causes it to break apart or damage the material as it moves or stretches. Alternative adhesives for flexible applications: Fabric Glue: Specifically designed for bonding fabrics, fabric glue provides a strong and lasting bond while allowing for movement and flexibility. Rubber Cement: Ideal for rubber materials, rubber cement offers a flexible bond that can withstand stretching and movement. Epoxy Adhesives: Certain types of epoxy adhesives are formulated to accommodate flexibility while providing excellent bonding strength. Surface preparation and tips for applying adhesives on flexible materials: Proper Surface Cleaning: Before applying any adhesive, ensure the surface is clean and free from debris or contaminants that hinder adhesion. Surface Roughening: To increase bonding strength, lightly roughen the surface to create more area for the adhesive to grip onto. Exposure to Certain Chemicals or Solvents Can Affect Longevity Exposure to certain chemicals or solvents can have a profound impact on longevity, especially when it comes to contact cement. This versatile adhesive relies on a delicate balance of solvents, like toluene or acetone, to create its adhesive properties. However, prolonged exposure to harsh chemicals or incompatible solvents can weaken the bond and diminish the overall lifespan of contact cement. Extreme temperatures also play a role in the deterioration of contact cement. When subjected to high temperatures, the solvents in the adhesive evaporate rapidly, resulting in a loss of bonding strength. Conversely, cold temperatures render contact cement brittle and prone to cracking or breaking. It is crucial to consider temperature conditions during both application and storage. Environmental factors also contribute to the lifespan of contact cement. Moisture and humidity pose significant dangers, as they cause the adhesive to break down over time. If working in a damp environment, it is essential to take extra precautions or seek alternative adhesives specifically designed for moisture resistance. The quality of the product itself plays a vital role in longevity. Different manufacturers employ distinct formulations and additives that impact performance variations. Opting for a reputable brand and adhering to manufacturer guidelines ensures optimal results. To maximize contact cement’s lifespan, proper storage is key. It should be stored in a cool, dry place away from direct sunlight or extreme temperature fluctuations. Additionally, sealing the container tightly after each use prevents solvent evaporation. Repairing a Failed or Weakened Bond with Contact Cement Have you ever had a project where the bond created by contact cement failed or weakened over time? It can be frustrating, especially when you’ve put in so much effort to create a strong and durable bond. In this guide, we’ll walk you through the steps to repair a failed or weakened bond with contact cement, ensuring that your projects stand the test of time. Step 1: Clean the surfaces
- 4.5 Step 2: Apply a solvent
- 4.6 Step 3: Reapply contact cement
- 4.7 Step 4: Wait for the glue to dry
- 4.8 Step 5: Press the surfaces together
- 4.9 Step 6: Allow proper curing time
- 4.10 Step 7: Test the bond
- 5 Choosing the Right Adhesive for Your Project
- 6 Conclusion
Contact cement typically boasts a shelf life of one to two years when stored in a cool, dry sanctuary. Picture unopened containers of this magical adhesive patiently waiting their turn for up to two years from the manufacturing date. However, remember to consult your trusty manufacturer’s instructions for precise guidance – they hold all the secrets.
Factors That Make or Break:
Once unleashed from its container, the lifespan of contact cement becomes an unpredictable adventure. Air exposure is enemy number one, swiftly turning our beloved adhesive into a hardened rubbery mess over time. It’s like watching a once-flexible superhero lose their powers as they transform into something brittle and useless.
Temperature and humidity levels join forces with air exposure to further complicate matters. Higher temperatures and humidity act as catalysts for accelerated hardening, causing our precious contact cement to dry out faster than we’d like. But fear not. Storing your adhesive in cooler temperatures can be its saving grace – a secret weapon against untimely demise. So stash it away in a cool hideout, away from pesky sunlight.
Preserving Its Glory:
To keep your contact cement kicking for longer periods, you must lock it away securely after each use – no half-hearted attempts here. Ensure that container is sealed tightly, denying any air access. And don’t forget to give that rim a thorough cleaning before sealing it shut; we wouldn’t want any dried adhesive wreaking havoc on the lid’s seal. For ultimate protection, consider storing it in airtight containers – like a superhero’s fortress of solitude.
In addition, maintain the purity of your adhesive by using pristine brushes, spatulas, or any other application tools. And remember to snap that lid back on pronto after each use to minimize air exposure. It’s all about keeping your contact cement as fresh and potent as possible.
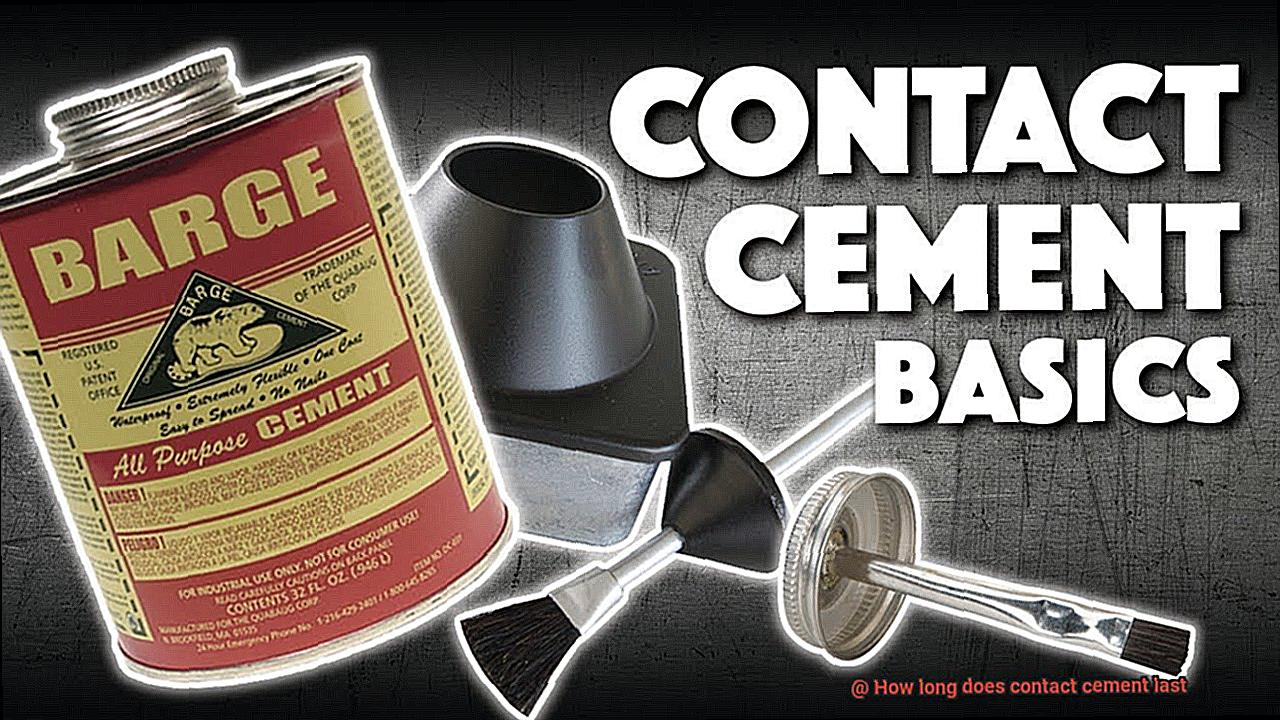
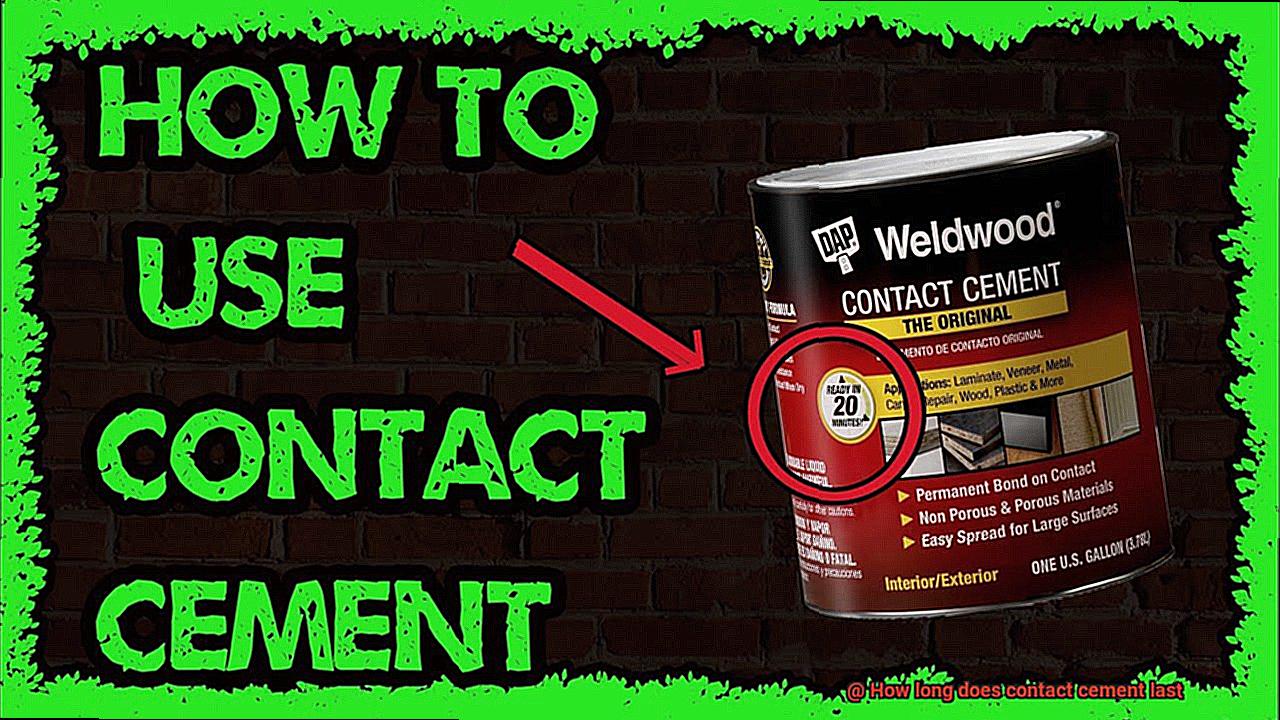
What is Contact Cement?
When it comes to adhesive choices for construction, woodworking, and DIY projects, contact cement stands out as a versatile and reliable option. With its strong bond and ability to adhere to various surfaces, contact cement offers instant bonding and quick assembly. In this article, we will explore the uses, advantages, limitations, and lifespan of this remarkable adhesive.
Uses:
Contact cement is widely used in woodworking, laminating, and bonding different materials together. It excels at joining wood, metal, leather, rubber, plastic, and laminate. Its instant bonding capabilities make it perfect for projects that require immediate results. Moreover, its versatility extends to vertical surfaces and overhead applications.
Advantages:
Contact cement’s resistance to heat, water, and chemicals is one of its major advantages. This makes it suitable for both indoor and outdoor applications. Additionally, once dried, contact cement allows for flexibility in materials that undergo movement or stress. This flexibility helps prevent cracks or breakage in the bonded materials.
Limitations:
While contact cement has numerous benefits, it does have some limitations. It is not recommended for use on heat or solvent-sensitive materials like polystyrene foam or certain plastics. Furthermore, careful application is required because once the two tacky surfaces come into contact, they cannot be repositioned.
Lifespan:
The lifespan of contact cement depends on several factors. Choosing a high-quality adhesive ensures a stronger and more durable bond. Proper surface preparation is crucial; both surfaces should be clean, dry, and free from contaminants or debris.
The conditions under which contact cement is applied and used are also important. Exposure to extreme temperatures or constant stress can make the adhesive brittle and weaken the bond over time. Additionally, contact with certain chemicals or solvents can degrade or dissolve the adhesive.
In general, when stored properly in a cool and dry place, contact cement has a relatively long shelf life. Most manufacturers recommend using the adhesive within one to two years from the date of purchase. Once applied and allowed to cure, contact cement forms a strong bond that can last for many years.
Factors That Affect the Longevity of Contact Cement
Today, we are delving into the myriad factors that can impact the longevity of this crucial adhesive. So, grab a steaming cup of coffee and prepare for an enlightening journey.
First and foremost, the quality of your chosen contact cement holds the key to success. Premium brands invest in superior manufacturing techniques and employ high-grade materials, resulting in a robust and enduring product. Remember, not all glues are created equal.
Now, let’s turn our attention to storage conditions. If you desire long-lasting contact cement, ensure it is stored in a cool, dry sanctuary away from direct sunlight or extreme temperatures. The insidious combination of heat, moisture, or sunlight can swiftly degrade its adhesive properties—faster than you can utter “sticky situation.”
Next on our list is the technique of application. Adhere closely to the manufacturer’s instructions, applying the adhesive evenly and in the recommended thickness. An excess or dearth of adhesive can compromise its efficacy and truncate its lifespan. So, be a glue virtuoso and apply it with precision.
Surface preparation serves as another clandestine ingredient for achieving long-lasting contact cement. Clean and smooth surfaces are paramount for optimal adhesion. Ensure that your bonding surfaces are devoid of grease, oil, dust, or any other contaminants that might impede that formidable bond.
Let us not overlook the materials being joined—their nature can significantly impact contact cement longevity. Porous materials like wood or fabric tend to foster superior adhesion compared to non-porous counterparts such as glass or metal. Furthermore, certain materials may necessitate special primers or surface treatments for optimal adhesion—an intricate dance of compatibility.
Environmental factors also dance in harmony with contact cement longevity. Heightened humidity levels can languish drying time and impair bonding strength, while extreme temperatures can render the adhesive less flexible. Keep a vigilant eye on the weather forecast before embarking on your adhesive endeavors.
Last but certainly not least, consider the usage and stress your project will endure. Heavy loads or frequent movement can exact a toll on the adhesive, necessitating a judicious selection. Additionally, contact cement may exhibit varying longevities depending on whether it is employed for temporary or permanent bonds—choose wisely.
Proper Surface Preparation for a Long-Lasting Bond
When it comes to bonding materials, contact cement reigns supreme with its unwavering strength and durability. However, the key to a long-lasting bond lies in proper surface preparation. In this article, we will guide you through the necessary steps to ensure your contact cement creates an unbreakable bond that withstands the test of time.
Step 1: Cleanliness is Paramount
To start strong, begin with pristine surfaces. Rid the materials of dirt, grime, and oils by diligently scrubbing with a mild detergent or degreaser. Leave no corner untouched and rinse thoroughly with clean water. Allow the surfaces to bask in the sun until completely dry before moving on.
Step 2: Roughen Up for Enhanced Grip
Smooth surfaces hinder adhesive prowess. Combat this by gently sanding or using coarse grit sandpaper to create a textured surface. This added texture provides ample area for the contact cement to latch onto, ensuring a steadfast bond.
Step 3: Banish Dust and Debris
After roughening up the surfaces, eliminate any lingering dust or debris that may have infiltrated during preparation. Employ a soft cloth or tack cloth to meticulously wipe down the surfaces. This step is paramount as loose particles can compromise the bond’s strength.
Step 4: Mind the Temperature and Humidity
Temperature and humidity act as silent partners in adhesive performance. Aim for room temperature (around 70°F) with humidity levels between 40% and 60%. Extreme temperatures or high humidity can disrupt drying time and overall adhesive efficacy. Choose an environment suitable for your project’s success.
Step 5: Compatibility Check
Different materials react differently to solvents present in contact cement. Prior to application, test a small inconspicuous area to ensure compatibility. This crucial step prevents potential discoloration or damage to the materials being bonded.
Applying Even and Consistent Pressure for a Strong Bond
If you’re eager to unlock the power of contact cement and create bonds that can withstand the test of time, you’ve come to the right place. In this post, we’ll delve deep into the importance of evenly and consistently applying pressure to achieve a bond that is strong, reliable, and built to last.
Preparing for Success
- Cleanliness is Key: The foundation of a strong bond begins with proper surface preparation. Ensure that your surfaces are clean, dry, and free from any dust or debris. A pristine surface provides a solid base for the adhesive to work its magic.
- Roughen Up for Grip: Enhance the adhesive’s grip by roughening the surfaces. This step creates microscopic nooks and crannies for the adhesive to seep into, resulting in a stronger bond.
- Mind the Temperature and Humidity: Don’t underestimate the impact of temperature and humidity levels on your bonding process. These environmental factors can directly affect the adhesive’s performance and ultimately determine the success of your bond.
The Art of Even Application
- Brush or Roller? Choose Wisely: Selecting the right tool for applying contact cement evenly is crucial. Whether it’s a brush or a roller, ensure that it allows for smooth and consistent application across your surfaces.
- Avoiding Weak Spots: Uneven application can create weak spots in your bond. Take your time and apply an even layer of adhesive on both surfaces. This ensures that every inch is covered, leaving no room for weaknesses to creep in.
The Power of Pressure
- Clamps and Weights: Harness the power of clamps or weights to apply even and consistent pressure during the bonding process. These tools help distribute pressure evenly, ensuring that every inch of the bond is secured.
- Minimizing Air Pockets: The key to a strong bond lies in minimizing air pockets. Applying pressure evenly across the entire surface area prevents air from getting trapped, reducing the risk of weakened bonds.
Mastering Time
- Drying Time: Patience is paramount when it comes to drying time. Follow the manufacturer’s recommended drying time for optimal results. Rushing this step can compromise the strength of your bond.
- Curing is Caring: Allow your bonded surfaces to cure properly before subjecting them to stress or load. Curing time varies based on the specific contact cement used, so refer to the manufacturer’s instructions for guidance.
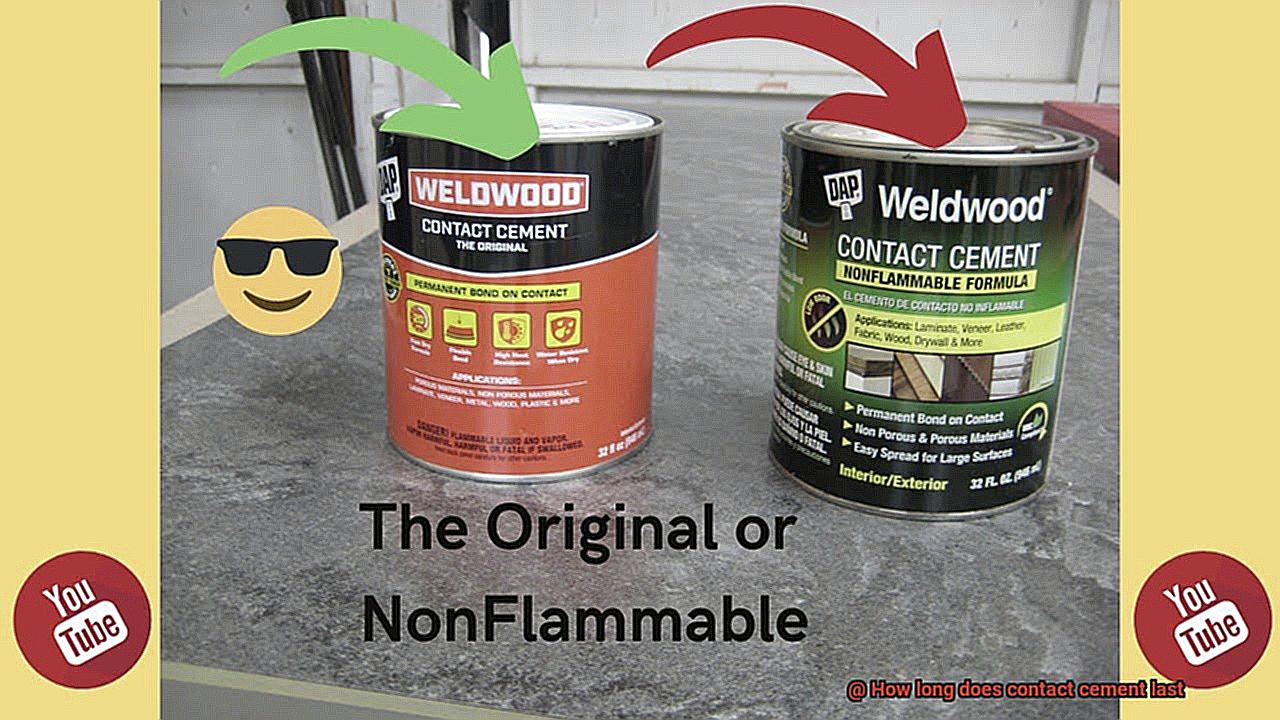
Contact Cement Not Suitable for Flexible Applications
Contact cement is a popular adhesive used in woodworking, construction, and other industries for its strong bond and quick drying time. However, it is important to note that contact cement is not suitable for flexible applications. In this article, we will explore the reasons behind this limitation and discuss alternative adhesives specifically designed for flexible materials.
Reasons why contact cement is not suitable for flexible applications:
- Rigid Bond: Contact cement forms a hard and inflexible bond once it dries. This lack of flexibility prevents the adhesive from stretching or moving with the material. As a result, when applied to flexible materials like fabrics or rubber, the bond can crack, peel, or fail.
- Lack of Accommodation for Movement: While contact cement may initially create a strong bond on flexible materials, it cannot accommodate movement or stretches. The inflexible nature of the adhesive causes it to break apart or damage the material as it moves or stretches.
Alternative adhesives for flexible applications:
- Fabric Glue: Specifically designed for bonding fabrics, fabric glue provides a strong and lasting bond while allowing for movement and flexibility.
- Rubber Cement: Ideal for rubber materials, rubber cement offers a flexible bond that can withstand stretching and movement.
- Epoxy Adhesives: Certain types of epoxy adhesives are formulated to accommodate flexibility while providing excellent bonding strength.
Surface preparation and tips for applying adhesives on flexible materials:
- Proper Surface Cleaning: Before applying any adhesive, ensure the surface is clean and free from debris or contaminants that hinder adhesion.
- Surface Roughening: To increase bonding strength, lightly roughen the surface to create more area for the adhesive to grip onto.
Exposure to Certain Chemicals or Solvents Can Affect Longevity
Exposure to certain chemicals or solvents can have a profound impact on longevity, especially when it comes to contact cement. This versatile adhesive relies on a delicate balance of solvents, like toluene or acetone, to create its adhesive properties. However, prolonged exposure to harsh chemicals or incompatible solvents can weaken the bond and diminish the overall lifespan of contact cement.
Extreme temperatures also play a role in the deterioration of contact cement. When subjected to high temperatures, the solvents in the adhesive evaporate rapidly, resulting in a loss of bonding strength. Conversely, cold temperatures render contact cement brittle and prone to cracking or breaking. It is crucial to consider temperature conditions during both application and storage.
Environmental factors also contribute to the lifespan of contact cement. Moisture and humidity pose significant dangers, as they cause the adhesive to break down over time. If working in a damp environment, it is essential to take extra precautions or seek alternative adhesives specifically designed for moisture resistance.
The quality of the product itself plays a vital role in longevity. Different manufacturers employ distinct formulations and additives that impact performance variations. Opting for a reputable brand and adhering to manufacturer guidelines ensures optimal results.
To maximize contact cement’s lifespan, proper storage is key. It should be stored in a cool, dry place away from direct sunlight or extreme temperature fluctuations. Additionally, sealing the container tightly after each use prevents solvent evaporation.
Repairing a Failed or Weakened Bond with Contact Cement
Have you ever had a project where the bond created by contact cement failed or weakened over time? It can be frustrating, especially when you’ve put in so much effort to create a strong and durable bond.
In this guide, we’ll walk you through the steps to repair a failed or weakened bond with contact cement, ensuring that your projects stand the test of time.
Step 1: Clean the surfaces
Before attempting to repair the bond, it’s crucial to clean the surfaces thoroughly. Remove any debris, dust, or old adhesive residue from both surfaces using a clean cloth or brush. This step will ensure that the new bond has a clean and strong foundation.
Step 2: Apply a solvent
In some cases, applying a solvent can help dissolve any residual adhesive and improve the bonding surface. Acetone or mineral spirits are commonly used solvents for contact cement. Carefully apply a small amount of solvent using a clean cloth or brush and allow it to sit for a few minutes. This will help remove any stubborn adhesive residue and prepare the surfaces for reapplication.
Step 3: Reapply contact cement
Once the surfaces are clean and free from any residue, it’s time to reapply contact cement. Apply a thin and even layer of glue using a brush or roller, ensuring that the entire bonding area is covered. Be sure to follow the manufacturer’s instructions for application techniques and drying times.
Step 4: Wait for the glue to dry
After applying the contact cement, it’s crucial to allow it to dry according to the manufacturer’s instructions. The drying time can vary depending on factors such as temperature and humidity. Patience is key here – rushing this step can lead to a weaker bond.
Step 5: Press the surfaces together
Once the contact cement has dried sufficiently, carefully align the surfaces and press them firmly together. Apply even pressure across the entire bonding area using clamps or by placing heavy objects on top. This step ensures that the bond is secure and maximizes contact between the surfaces.
Step 6: Allow proper curing time
After pressing the surfaces together, it’s important to allow sufficient time for the bond to fully cure. The curing time can vary depending on the type and brand of contact cement used. Refer to the manufacturer’s instructions for specific guidance. Rushing this step can compromise the strength of the bond.
Step 7: Test the bond
Once the curing time is complete, gently test the bond by applying pressure or pulling on the bonded surfaces. If the bond feels secure and there is no movement or separation, it indicates a successful repair. Congratulations. Your project is now ready to be enjoyed for years to come.
Remember, while contact cement can create strong bonds, its longevity can be influenced by various factors such as the type of materials being bonded, environmental conditions, and proper application techniques. Regularly inspect bonded surfaces for any signs of weakening or failure and address them promptly to maintain the integrity of the bond.
If a bond repeatedly fails or weakens despite repair attempts, it may be necessary to consider alternative adhesives or consult with a professional for further guidance. Don’t be discouraged – sometimes finding the right adhesive for your specific project is a matter of trial and error.
Choosing the Right Adhesive for Your Project
Today, we’re going to unravel the secrets to choosing the perfect adhesive for your project. So buckle up and get ready for an adhesive adventure.
When it comes to selecting the right adhesive, there are several key factors to consider. Let’s start with the ever-versatile contact cement. Why is it such an ideal choice? Let’s dive in and find out.
First and foremost, let’s talk about drying time. Contact cement offers a range of drying times, from lightning-fast to leisurely. Need to bond two surfaces in a hurry? Opt for a shorter drying time. Working on a more intricate project that requires precision? Go for a longer drying time. The choice is yours.
Now, let’s explore application methods. Contact cement can be applied with a brush, roller, or spray gun. If you crave control and precision, grab a trusty brush. Need to cover large areas quickly? A spray gun is your best bet. Whatever your project demands, contact cement has got you covered.
But wait. We can’t forget about material compatibility. Contact cements are specially formulated to bond different materials effectively. Wood, metal, leather – there’s a contact cement for every material under the sun. So check the label or product specifications to ensure compatibility with your chosen materials.
Of course, environmental conditions also play a role in adhesive selection. Some contact cements can handle high temperatures and humid environments like champs, while others may crumble under the pressure. If your project will face extreme conditions, choose a contact cement that can handle the heat (literally).
Last but certainly not least, don’t forget the importance of conducting a test before committing to your project. Apply a small amount of contact cement on an inconspicuous area and observe how it performs. This simple step can save you from potential disasters and ensure your project turns out just the way you envisioned it.
LyF134qG_ys” >
Conclusion
Contact cement is a versatile adhesive that can bond various materials together.
But how long does it actually last? Well, the durability of contact cement depends on several factors.
First and foremost, the quality of the adhesive itself plays a crucial role. High-quality contact cement tends to have a longer lifespan compared to lower-quality alternatives.
Additionally, proper application and surface preparation are essential for ensuring optimal adhesion and longevity. If applied correctly, contact cement can provide a strong bond that lasts for years.
Extreme temperatures, humidity, and exposure to sunlight can all impact the adhesive’s performance over time.
You may also like: