Leather – the epitome of timeless style. Whether it’s your trusty boots or that cherished handbag you can’t live without, these leather goodies hold a special place in our hearts. But let’s face it, even the toughest hides can’t escape the ravages of time. That’s where our superhero, super glue, swoops in to save the day. With just a little dab of this magical adhesive, you can mend torn straps and reattach loose seams like a pro.
In this blog post, we’re about to spill all the secrets on how to expertly use super glue on leather. Get ready to breathe new life into your beloved items as we guide you through selecting the perfect glue and achieving an unbreakable bond.
We’ve got some captivating tips and intriguing insights up our sleeves, so buckle up and get ready to immerse yourself in the world of super glue and leather revival. Let’s embark on this adventure together and rediscover the joy of rescuing our favorite leather treasures.
What Is Super Glue?
Contents
When it comes to fixing broken items or bonding different materials together, there is no adhesive more powerful and reliable than super glue. Its exceptional strength and lightning-fast curing time have made it the go-to choice for DIY enthusiasts and professionals alike.
In this article, we will delve into the world of super glue, exploring its discovery, properties, versatile uses, and expert tips for using it on leather.
Unveiling the Origins of Super Glue:
Back in the 1940s, Dr. Harry Coover Jr. was on a quest to develop a transparent plastic for gun sights during World War II. However, fate had a different plan for him. In a twist of serendipity, he stumbled upon a substance that possessed an extraordinary stickiness and could bond almost anything together. This accidental discovery paved the way for the development of cyanoacrylate adhesives, later christened “super glue” in the 1950s.
Properties That Make Super Glue Extraordinary:
At the heart of super glue lies cyanoacrylate, a clear liquid that undergoes rapid polymerization when exposed to even a hint of moisture. This reaction results in an indomitable bond that can withstand immense pressure and endure the test of time. Speed is another defining characteristic of super glue, as it sets within seconds, providing instant results.
Versatility That Knows No Bounds:
Super glue boasts an extensive array of applications. From repairing shattered ceramics to reuniting fractured glass, from piecing together metal fragments to mending broken plastic components, super glue’s versatility knows no bounds.
Crafters, jewelry makers, and model builders rely on its adhesive prowess to bring their creations to life. Even in medical settings, super glue finds its purpose in closing wounds and securing surgical incisions with precision.
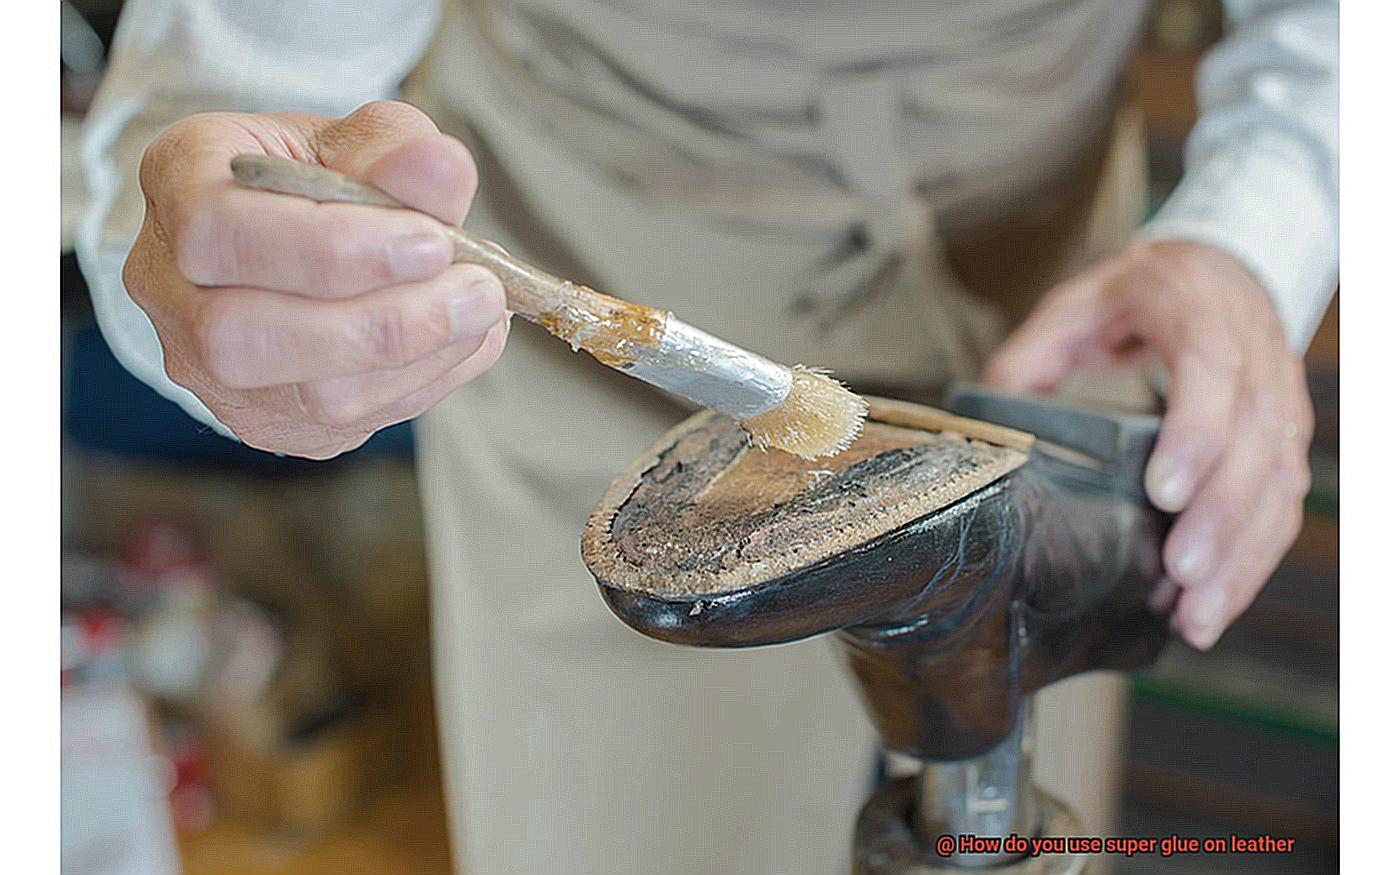
Mastering the Art of Super Glue on Leather:
When it comes to bonding leather, selecting the right formulation of super glue is paramount. Specialized leather adhesives are designed to provide a strong and flexible bond that won’t harm or discolor the material.
Before applying the glue, ensure the leather surface is immaculately clean. With a steady hand, apply a small amount of glue sparingly, then press the surfaces together firmly.
Allow ample drying time before subjecting the bond to stress or excessive pulling. If any excess glue seeps out, swiftly remove it using acetone or nail polish remover. For added strength, consider reinforcing the bond with additional stitching or adhesive tape.
Preparing the Leather Surface
You’ve got your trusty super glue ready to go, and you’re itching to fix that torn leather bag or create something new and exciting. But before you dive in, it’s crucial to prepare the leather surface properly to ensure a strong and lasting bond. Follow these steps to get your leather prepped and ready for some super glue action:
Step 1: Clean the Leather
Start by cleaning the leather surface with a mild soap and warm water solution. Gently scrub away any dirt, oil, or residue using a soft cloth or sponge. Avoid harsh cleaners or abrasive materials that could damage the leather. Afterward, make sure to dry the surface completely. Any moisture left on the leather can interfere with the adhesive properties of the super glue.
Step 2: Smooth Out Imperfections
Inspect the leather for any rough or uneven areas. If you find any, gently sand them down using fine-grit sandpaper. Be careful not to apply too much pressure, as this could damage the leather further. Once you’re done sanding, wipe away any dust or debris with a clean, dry cloth.
Step 3: Degrease if Necessary
If there are oily residues present on the leather surface, it may be necessary to degrease it. Use a specialized leather degreaser following the manufacturer’s instructions. This step ensures that the super glue will adhere properly without any interference from oils.
Step 4: Test on an Inconspicuous Area
Before applying super glue onto the desired spot, it’s always a good idea to test it on a small inconspicuous area of the leather. This way, you can ensure that the glue doesn’t discolor or damage the material.
Step 5: Apply Super Glue
Now that your leather surface is clean, dry, and smooth, it’s time to apply the super glue. Work in a well-ventilated area and protect your hands with gloves. Apply a small amount of super glue onto one of the surfaces you intend to bond. Use a toothpick or another small applicator to spread the glue evenly if necessary.
Step 6: Bond the Surfaces
Press the surfaces together firmly but gently, making sure they align properly. Hold them in place for a few seconds to allow the glue to set. Be cautious not to apply excessive pressure that could squeeze out the glue or warp the leather.
Step 7: Let it Cure
After the initial bonding, it is crucial to let the super glue cure fully before subjecting the leather to any stress or strain. Allow at least 24 hours for the glue to set and create a strong and durable bond.
Step 8: Clean Excess Glue
If you’ve accidentally applied too much super glue or it has oozed out from the bonded surfaces, don’t panic. Clean it up immediately using an acetone-based nail polish remover or a specialized adhesive remover. Take care not to damage the leather surface while removing the excess glue.
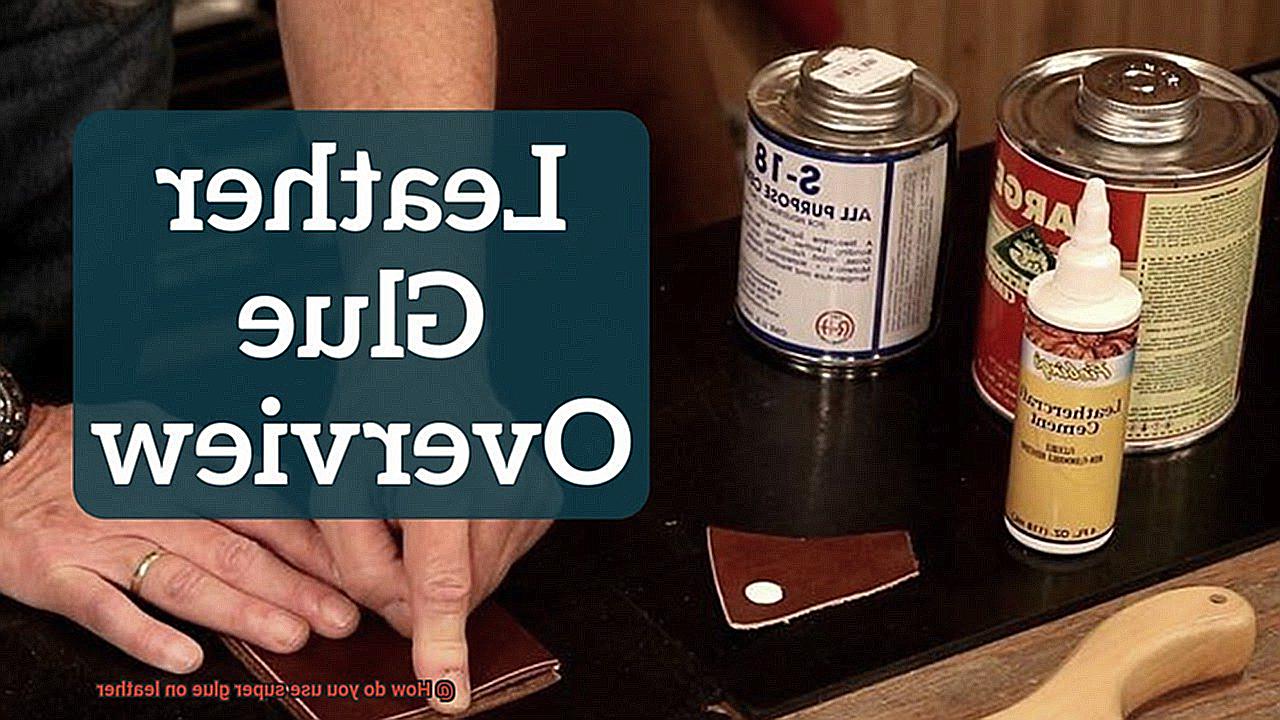
Choosing the Right Type of Super Glue
When it comes to choosing the right type of super glue, it is crucial to consider several factors to ensure a successful bonding experience. First and foremost, strength is paramount. Leather is a durable material, so you’ll want a super glue with serious adhesive power. Look for a glue that specifically mentions its suitability for leather to ensure it will hold up.
Additionally, drying time is an important consideration. Some glues dry faster than lightning, which is great for those in a hurry. However, if you need more time to position and adjust the leather pieces, opt for a slower drying glue.
Flexibility is another key factor when working with leather. You don’t want your hard work to crack or break at the slightest bend or stretch. Therefore, it’s essential to choose a glue that can handle the flexibility of leather without any issues.
Color is also worth considering. Nobody wants their beautiful light-colored or white leather project ruined by a glue that dries with a yellow tint. Look for a glue that dries completely transparent, ensuring your project will shine like a star.
Ease of use is another important aspect to consider. Some super glues come in squeeze bottles, while others have brush applicators. Choose what feels comfortable and allows for precise application, as precision is key when working with leather.
Lastly, check the shelf life of the glue. You don’t want your glue drying out before you even get to use it. Choose one with a reasonable expiry date to avoid disappointment.
Applying Super Glue Sparingly
I am here to guide you through the secrets of applying super glue sparingly, with precision and finesse.
Let’s begin by preparing the battlefield. Before diving into the gluing action, ensure that your leather surface is immaculate. Cleanse it with a mild soap and water solution or a trusted leather cleaner, banishing all traces of dirt and oils that could hinder our epic bonding mission. Remember, a pristine surface is the key to success. Don’t forget to dry the leather thoroughly; moisture is not our ally in this adventure.
Now, let’s talk about the art of applying the glue. To maintain order and precision, arm yourself with an applicator such as a toothpick, cotton swab, or fine brush. Dip the tip into the super glue, but exercise restraint – less is more. We don’t want an explosive glue disaster ruining our heroic efforts. A small amount is usually more than enough to conquer most repairs.
With your trusty applicator in hand, gently and carefully apply the glue to the damaged area of the leather. Begin with a minuscule dab on one side and evenly spread it using delicate back-and-forth strokes. Remember, we’re wielding our power subtly here – excessive pressure may cause the glue to venture beyond our intended target.
Time is of the essence. Super glue dries faster than a speeding bullet, so ensure proper alignment of any pieces requiring bonding before applying the glue. Once everything is in place, press firmly but gently on the bonded area for a few seconds to guarantee a secure hold.
Should any excess glue make an appearance during your heroic application, swiftly eliminate it with a damp cloth or paper towel. We don’t want any unwanted residue or unsightly glue formations cramping our style.
Now, dear glue aficionados, embrace patience. Allow the super glue ample time to fully cure before unveiling your repaired leather item to the world. Drying times may vary, so consult the manufacturer’s instructions for precise guidance. Remember, true superheroes know when to wait for greatness.
One final tip: not all leathers are created equal. When dealing with delicate or high-quality leather, it’s best to seek professional assistance or use specialized leather adhesives tailored specifically for those materials. We want our repairs to be nothing short of exceptional.
Pressing the Surfaces Together
Using super glue on leather can be an effective solution, but the key to success lies in pressing the surfaces together. In this article, we will explore the importance of this step and provide you with expert tips to ensure a strong and durable bond. So, grab your leather project and let’s get started.
Alignment: The Foundation of a Perfect Bond
Before applying super glue, take the time to align the surfaces you plan to bond. Whether it’s a small tear or a larger leather piece, proper alignment is crucial. Once the glue is applied, it sets quickly, leaving little room for adjustments. So, ensure your pieces fit together perfectly before proceeding.
Apply Even Pressure: The Glue’s Best Friend
To achieve a secure and long-lasting bond, it is essential to apply even pressure across the entire bonded area. This allows the glue to spread evenly and create a strong connection between the leather surfaces. You can use your hands to apply pressure or opt for clamps or heavy objects to maintain consistent pressure while the glue sets.
Balance Firmness and Gentleness: Handle with Care
Remember that leather is a delicate material that can easily stretch or deform under excessive force. Find the sweet spot between firm pressure and gentle handling to protect its integrity. Treat your leather project like a fragile treasure, ensuring that it remains intact throughout the gluing process.
Bye-Bye Excess Glue: A Neat Finish
Once you’ve pressed the surfaces together, check for any excess glue that may have squeezed out from the bonded area. Act quickly because super glue dries rapidly. Grab a clean cloth or a cotton swab dipped in acetone or nail polish remover and gently remove any excess glue before it hardens. This will give your project a clean and professional finish.
Patience is Key: Drying Time
You’ve carefully pressed the surfaces together, removed excess glue, and now it’s time to be patient. Allow sufficient drying time for the super glue to fully set and bond with the leather. This typically takes around 24 hours, but always follow the manufacturer’s instructions for specific drying times. Rushing this step can compromise the strength of the bond.
Conclusion:
Pressing surfaces together is a vital step when using super glue on leather. It ensures a strong bond, giving you confidence in the durability of your project. By aligning the surfaces correctly, applying even pressure, handling the leather with care, removing excess glue promptly, and allowing sufficient drying time, you’ll achieve fantastic results.
Allowing Time for Drying
Today, we’re going to dive into the importance of allowing sufficient time for super glue to dry on leather. We all know that impatience can ruin even the best-laid plans, so let’s take a moment to understand why patience is key when it comes to bonding leather with super glue.
Different Drying Times:
Not all super glues are created equal, my friends. Different brands have varying drying times, so always consult the manufacturer’s instructions. Typically, super glue takes around 10-30 seconds to set but requires a full 24 hours to cure completely.
Cleanliness is Crucial:
Listen up. Cleanliness is crucial when working with leather. Before applying super glue, make sure to clean the leather surface thoroughly. Dirt, dust, and oils can hinder the bonding process and weaken the overall strength of the bond. So grab a mild soap solution or leather cleaner and give your leather a good scrub.
Minimal Glue Application:
Remember, less is more when it comes to super glue on leather. Applying too much glue can create a messy situation and even seep through the leather pores, causing discoloration or damage. Apply a thin layer of super glue onto one of the surfaces and remember that restraint is key.
Press and Hold:
Once you’ve applied the super glue and aligned the surfaces precisely, it’s time to press and hold them together. This step ensures a tight bond. But here’s the catch – once you’ve pressed them together, do not move or disturb them. Any movement can disrupt the drying process and weaken the bond.
Allowing Ample Drying Time:
Now comes the most crucial part – allowing ample drying time. While the initial drying time may seem quick, complete curing takes much longer. To achieve a bond as strong as steel, it’s best to leave the glued surfaces undisturbed for at least 24 hours. Patience truly pays off.
Avoid Heat and Moisture:
During the drying period, keep your glued leather away from excessive heat or moisture. High temperatures can cause the super glue to dry too quickly, resulting in a weaker bond. On the other hand, moisture can interfere with the curing process. So find a cool and dry place to store your glued leather for optimal results.
Avoiding Excessive Pulling or Stress
Super glue is an excellent adhesive for repairing tears and cracks in leather items. However, to ensure a long-lasting and strong bond, it’s crucial to prevent excessive pulling or stress on the glued area. In this article, we will explore practical tips and advice to avoid common pitfalls and maintain the integrity of your leather items.
Avoid Heavy Tension:
Do not subject the glued area to heavy or constant tension. Overstuffing bags or carrying heavy items that strain the glued area can weaken the bond. Be mindful of the weight you place on the repaired item to preserve its strength.
Handle with Care:
Gently handle the glued leather item, minimizing unnecessary pulling or tugging. Treat it like a delicate artifact, distributing pressure or weight evenly across the surface. By doing so, you prevent stress from accumulating in one area and damaging the bond.
Reinforce the Bond:
For larger repairs, reinforce the bond with additional materials such as leather patches or fabric. These reinforcements provide extra support and prevent excessive stress on the glued area. They act as a safety net, ensuring that even if some tension occurs, the bond remains intact.
Allow Ample Curing Time:
Follow the manufacturer’s instructions regarding curing time. It is crucial to give the glue enough time to fully cure before subjecting the leather item to any stress or pulling. Rushing this process can compromise the bond’s strength and durability.
Regular Maintenance:
To minimize tearing and damage, keep leather items clean and conditioned. Proper care reduces the chances of needing super glue in the first place. Regularly moisturize and protect your leather items with appropriate products to maintain their flexibility and strength.
Promptly Address Weaknesses:
If you notice signs of weakening or failure in the glued area, address them promptly. Repairing minor issues early can prevent further damage and maintain the bond’s integrity. Don’t wait until the damage worsens and compromises the entire repair.
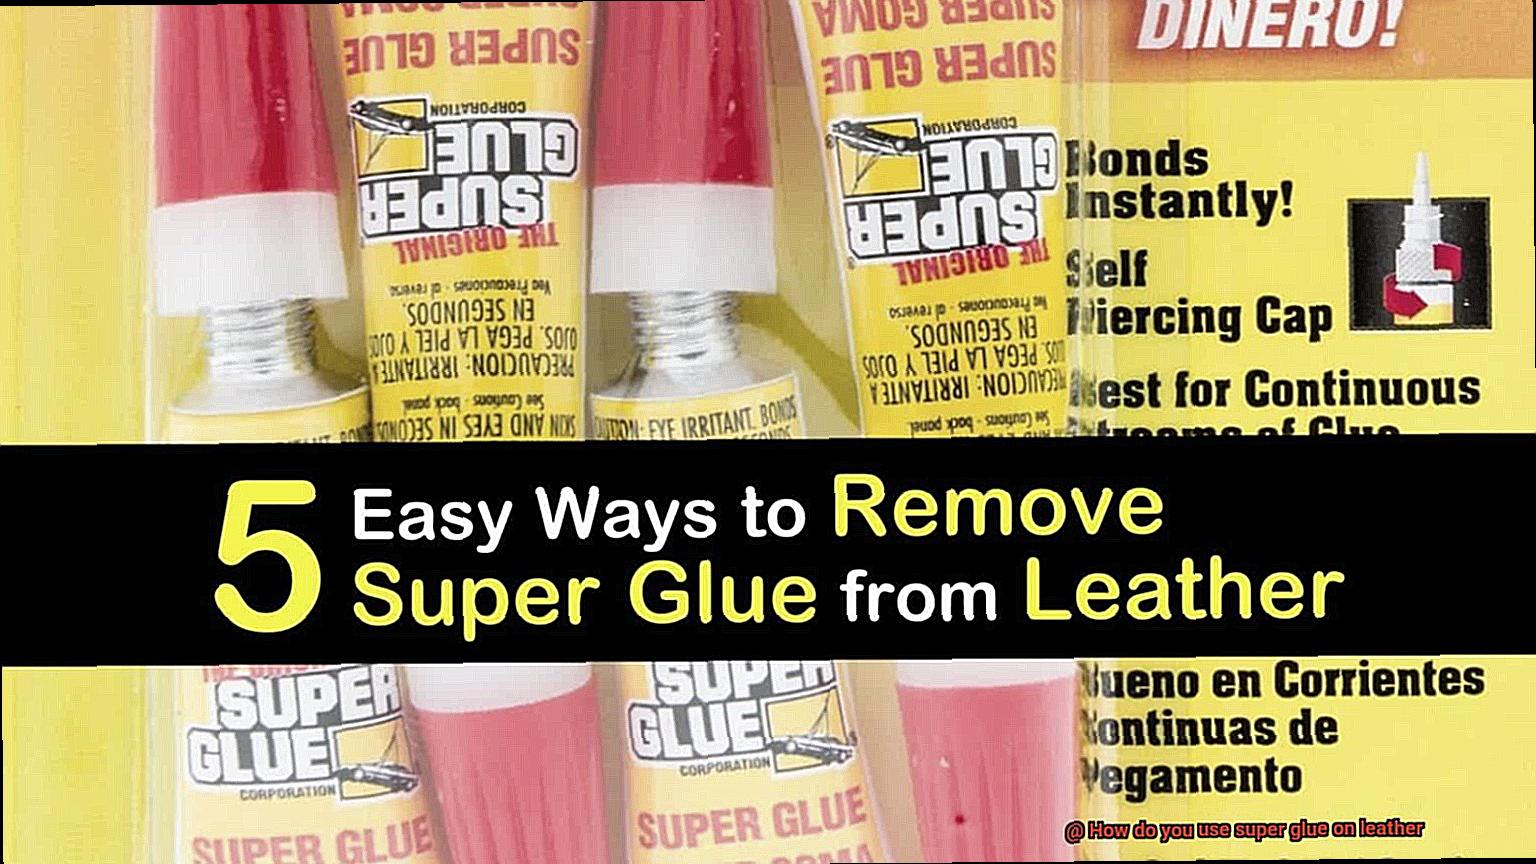
Cleaning Up Excess Glue
Today, we delve into the world of leather and tackle the dreaded task of cleaning up excess glue. Fear not, for I have compiled effective techniques to ensure your leather projects exude a sleek and professional finish. So, grab your aprons as we embark on this sticky adventure.
Act Swiftly:
Time is of the essence when dealing with excess glue on leather. Super glue dries faster than a cheetah chasing its prey, so don’t delay in addressing this sticky situation.
Option 1: Acetone to the Rescue:
Acetone, a superhero solvent, effortlessly dissolves glue. However, before unleashing its powers on your leather, perform a patch test in an inconspicuous area to avoid unwanted discoloration. Once confirmed safe, dampen a soft cloth or cotton swab with acetone and gently dab at the glue. Witness the glue dissolve before your eyes.
Option 2: Warm Soapy Water Magic:
For those seeking a gentler approach or lacking acetone, warm soapy water works wonders. Mix mild dish soap with warm water and dip a soft cloth into the solution. Gently dab at the excess glue without saturating the leather. The warmth and soap will loosen the glue, making it easier to wipe away.
Stubborn Glue Be Gone:
Sometimes, glue clings stubbornly to your beloved leather like barnacles on a ship’s hull. Fear not, intrepid craftsmen. Employ a plastic scraper or even a trusty credit card to carefully scrape away the excess glue. Be cautious not to scratch or damage the leather. Once most of the excess is gone, proceed with acetone or warm soapy water to remove any remaining residue.
Dry and Condition:
After successfully conquering the excess glue, dry and condition the leather properly. Blot away any moisture using a clean, dry cloth, then pamper your leather with high-quality leather conditioner. Your leather will thank you for the tender loving care.
Conclusion
When it comes to using super glue on leather, there are a few key steps to follow.
First, make sure the leather surface is clean and free of any dirt or debris. Next, apply a small amount of super glue to one of the surfaces you want to bond together.
Press the two surfaces firmly together and hold them in place for a few minutes to allow the glue to set. It’s important not to use too much glue as it can seep out and leave unsightly marks on your leather.
Remember, a little goes a long way with super glue. Once the glue has dried completely, check for any excess residue and gently remove it with a soft cloth or sponge.
Your leather item should be securely bonded thanks to the magic of super glue.
With a steady hand and some patience, you’ll be able to fix that torn leather strap or reattach that loose piece in no time.