The thrill of giving your home a makeover. Whether you’re jazzing up your space or getting ready for a fresh new look, nothing can be more annoying than dealing with stubborn glued vinyl flooring on your precious wooden subfloor.
We’ve got your back with all the knowledge and techniques you need to kick that adhesive menace to the curb. In this blog post, we’ll spill the beans on how to flawlessly remove glued vinyl flooring using tried-and-true professional methods mixed with a dash of our laid-back charm.
So roll up those sleeves, folks, and let’s dive into the intriguing world of setting your beautiful wooden subfloors free from glue’s clutches.
What Tools are Needed for Removing Glued Vinyl Flooring?
Contents
Removing glued vinyl flooring can be a challenging task, but with the right tools and knowledge, it can be done smoothly and efficiently. In this guide, we will explore the essential tools needed to tackle this project like a pro. Let’s dive in.
Sharp Utility Knife – Your Trusty Sidekick:
A sharp utility knife is your go-to tool for cutting through tough vinyl flooring like a superhero. With its precise cuts, clean edges, and ability to reach tight corners effortlessly, it will make the removal process a breeze.
Pry Bar – The Lifter Extraordinaire:
Meet your trusty sidekick in this flooring removal mission: the pry bar. This versatile tool is designed to lift and separate the vinyl flooring from the wood subfloor. Its leverage power will loosen the adhesive bond, making it easy to remove larger sections of flooring.
Floor Scraper – Unleash the Power of Scraping:
When it comes to removing glued vinyl flooring, the floor scraper is an unsung hero. Armed with a wide, flat blade, this tool will help you scrape off stubborn adhesive and any leftover vinyl remnants. Your subfloor will look brand new once you unleash the scraping prowess of this mighty tool.
Heat Gun or Hair Dryer – The Adhesive Softener:
Imagine having a magic wand that can soften the adhesive holding your vinyl flooring in place. Well, you don’t need magic when you have a heat gun or hair dryer. By applying heat to the glued vinyl flooring, these tools soften the adhesive, making it easier to remove. Just remember to use them on low settings to avoid any unwanted damage.
Floor Stripper – Dissolve and Conquer:
When the going gets tough, the tough get a floor stripper. This commercial-grade superhero dissolves adhesive and makes scraping off the vinyl flooring a piece of cake. Just make sure to choose a floor stripper that is safe for use on wood surfaces.
Conclusion:
With these essential tools at your disposal, removing glued vinyl flooring from a wood subfloor will be a breeze. Protect yourself with gloves, safety glasses, and a dust mask. Take it step by step, and soon you’ll bid farewell to that old flooring and say hello to a fresh new space.
How to Soften the Adhesive
Maybe it’s time for a change. But before you can install new flooring, you’ll need to remove the old vinyl. Removing glued vinyl flooring from a wood subfloor may seem like a daunting task, but with the right techniques, it can be done easily and safely. In this guide, we’ll show you how to soften the adhesive and say goodbye to sticky floors for good.
Step 1: Gather Tools and Materials
Before you begin, make sure you have all the necessary tools and materials. You’ll need a heat gun or hairdryer, a putty knife or scraper, a floor adhesive remover, vinegar or hot water, and safety equipment such as gloves and goggles.
Step 2: Apply Heat
Using a heat gun or hairdryer on the lowest setting, apply heat to the vinyl flooring. Move the heat source back and forth about 6 inches away from the flooring. The heat will soften the adhesive, making it easier to remove. Be careful not to overheat the flooring or subfloor.
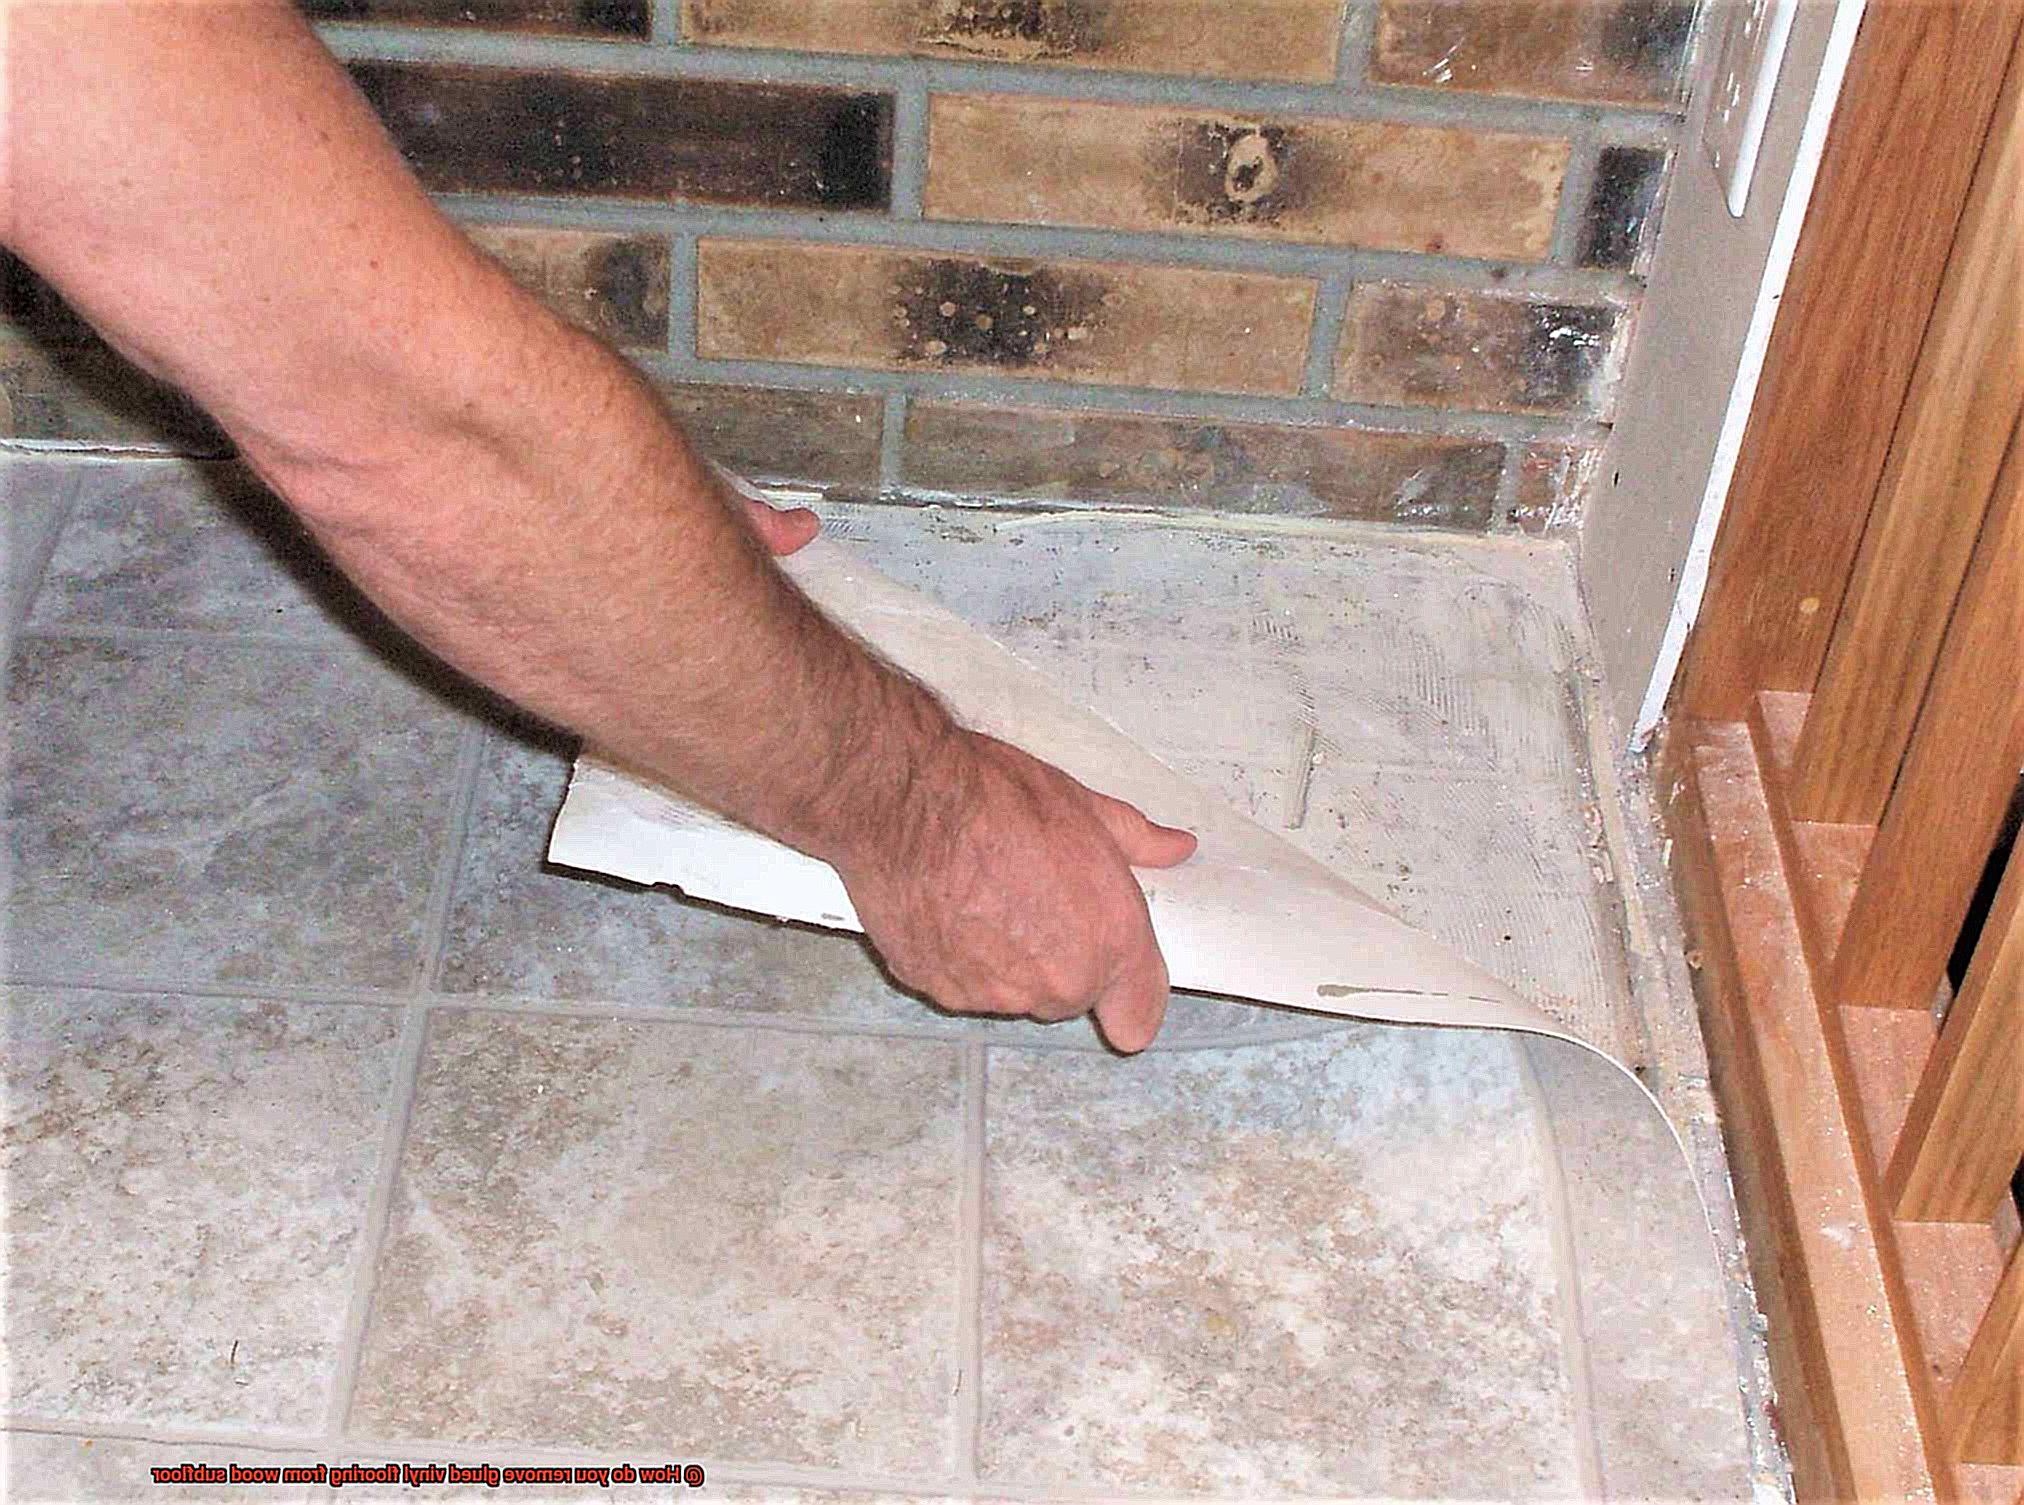
Step 3: Lift and Scrape
Once the adhesive has been softened by heat, use a putty knife or scraper to gently lift and scrape off the vinyl flooring. Work slowly and carefully to avoid damaging the wood subfloor. If there are any stubborn areas or remaining adhesive, move on to step 4.
Step 4: Apply Adhesive Remover or Vinegar
If there are still traces of adhesive left on the subfloor, apply a floor adhesive remover according to the manufacturer’s instructions. Alternatively, you can mix equal parts vinegar and water in a spray bottle and apply it directly to the adhesive. Let it sit for a few minutes to break down the adhesive.
Step 5: Remove the Adhesive
After applying the adhesive remover or vinegar, use a putty knife or scraper to gently lift and scrape off the remaining adhesive. Work in small sections, being careful not to damage the wood subfloor.
Step 6: Clean the Subfloor
Once all the adhesive has been removed, thoroughly clean the wood subfloor using a mild detergent and warm water. Rinse the area with clean water and allow it to dry completely before installing new flooring.
Scraping the Vinyl Flooring and Adhesive
Are you tired of the sight of that worn-out vinyl flooring in your home? Ready for an upgrade? Well, before you can install that stunning new flooring you’ve been daydreaming about, it’s time to tackle the task of removing the old vinyl and adhesive. Don’t fret. We’ve got you covered with this comprehensive guide on how to easily scrape away vinyl flooring and adhesive from a wood subfloor.
First things first, prioritize safety by ensuring you’re in a well-ventilated area. Proper air circulation is key when working with adhesives and flooring materials. Open those windows wide or set up fans to keep the air flowing smoothly.
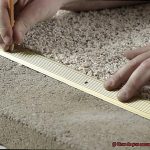
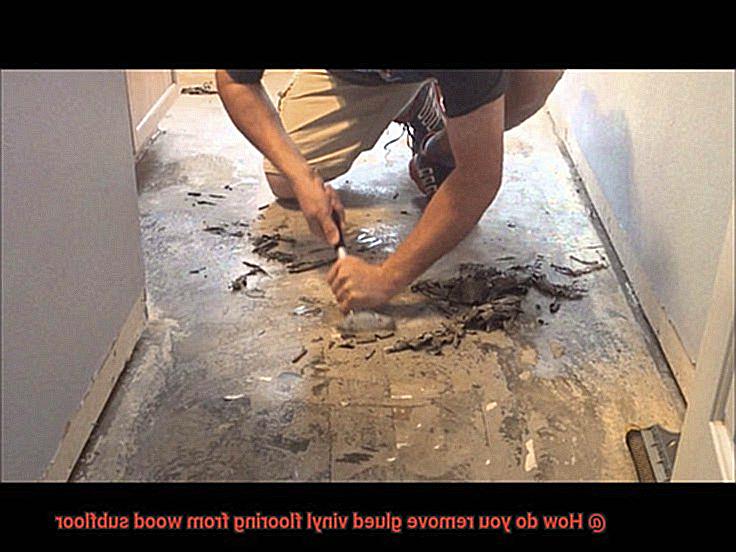
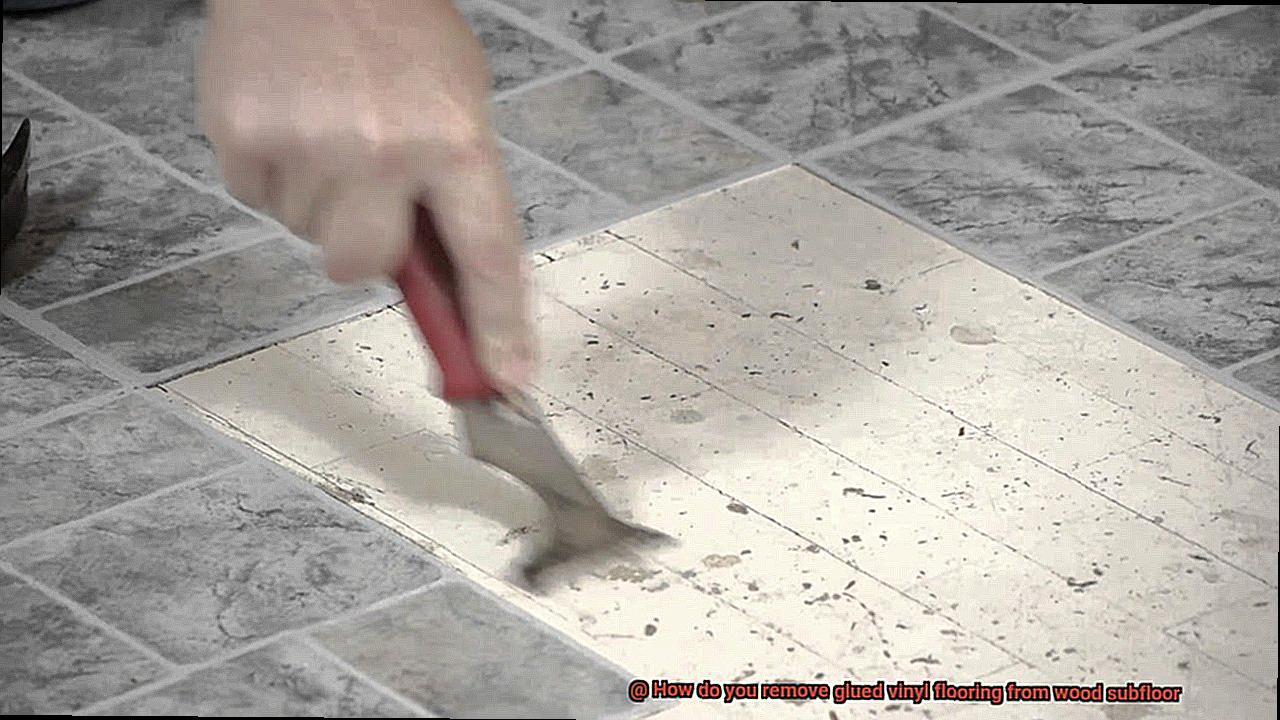
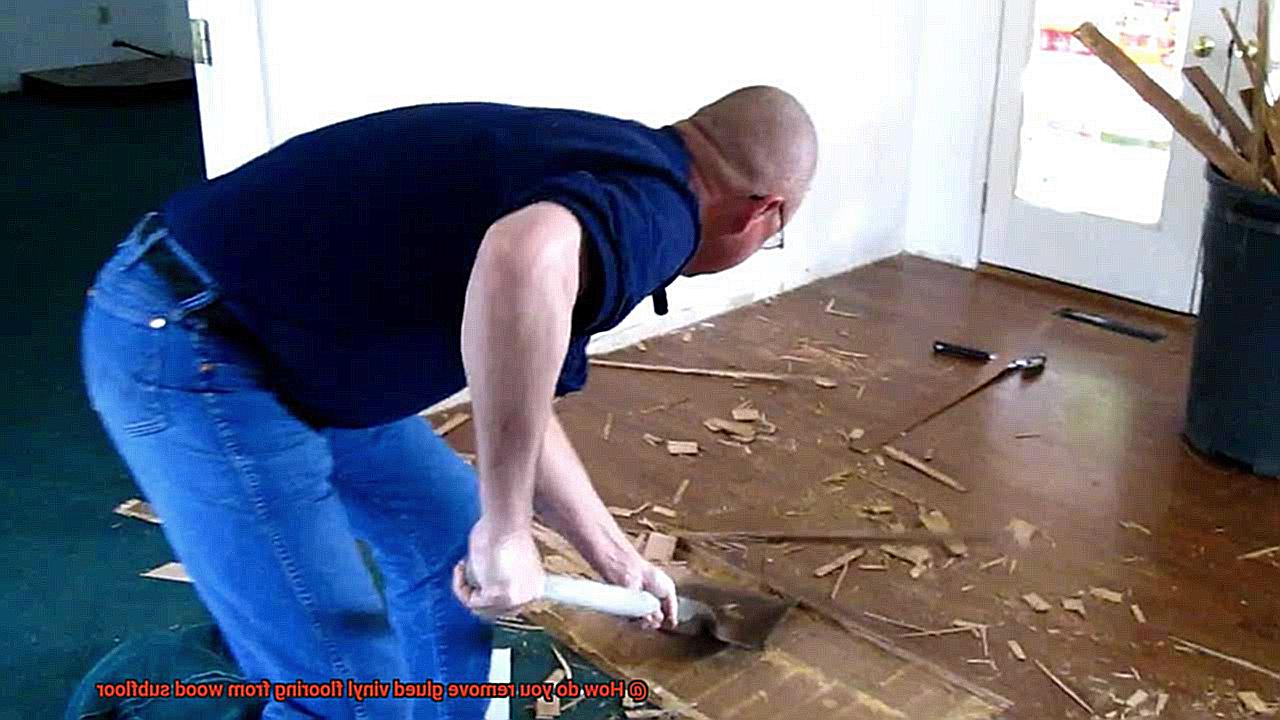
Now, let’s dive into the process. Equip yourself with a reliable floor scraper or putty knife and head to one corner of the room. Start by prying up the vinyl flooring by wedging your scraper under a corner and applying firm pressure. It may require some muscle, but be cautious not to damage the wood subfloor beneath.
As you continue scraping, employ back and forth motions to loosen the adhesive lurking beneath the vinyl flooring. Take your time, be patient, and remember that Rome wasn’t built in a day – nor is a beautifully renovated home.
Encountering stubborn areas where the vinyl flooring refuses to budge? Fear not. Introducing your trusty companion: the heat gun. Hold it about six inches above the surface and move it back and forth to gently heat up the adhesive. This will soften it, making it easier for you to lift and remove the vinyl flooring effortlessly.
Now that you’ve successfully scraped off all the vinyl flooring, it’s time to confront any remnants of adhesive left behind. You don’t want any sticky surprises when it’s time to install your new flooring. Utilize a solvent specifically designed for removing flooring adhesive. Follow the instructions on the label carefully, allowing the solvent to penetrate and soften the adhesive effectively.
Once the adhesive has softened, rearm yourself with your trusty floor scraper or putty knife and commence scraping away the remaining adhesive. This may require a bit of elbow grease, but persevere. Thoroughness is key to ensuring a clean and smooth surface for your new flooring.
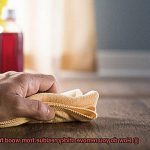
After successfully scraping off all the adhesive, it’s time to give your wood subfloor a thorough cleaning. Grab a damp cloth or sponge and meticulously wipe down the surface, removing any residue or debris. Your subfloor should be sparkling clean before embarking on the installation of your new flooring.
Now, here’s a crucial step: allow your wood subfloor to dry completely before proceeding. This is paramount in ensuring a proper bond between the subfloor and the new flooring material. So sit back, relax, and let that wood subfloor air out and dry thoroughly.
Applying a Floor Adhesive Remover
Well, get ready to bid it farewell and make room for a stunning upgrade. But before you can install that beautiful new flooring, there’s one crucial step you can’t skip: removing the old vinyl and its stubborn adhesive from the wood subfloor. Don’t worry, though – with the right tools and techniques, this task can be a breeze.
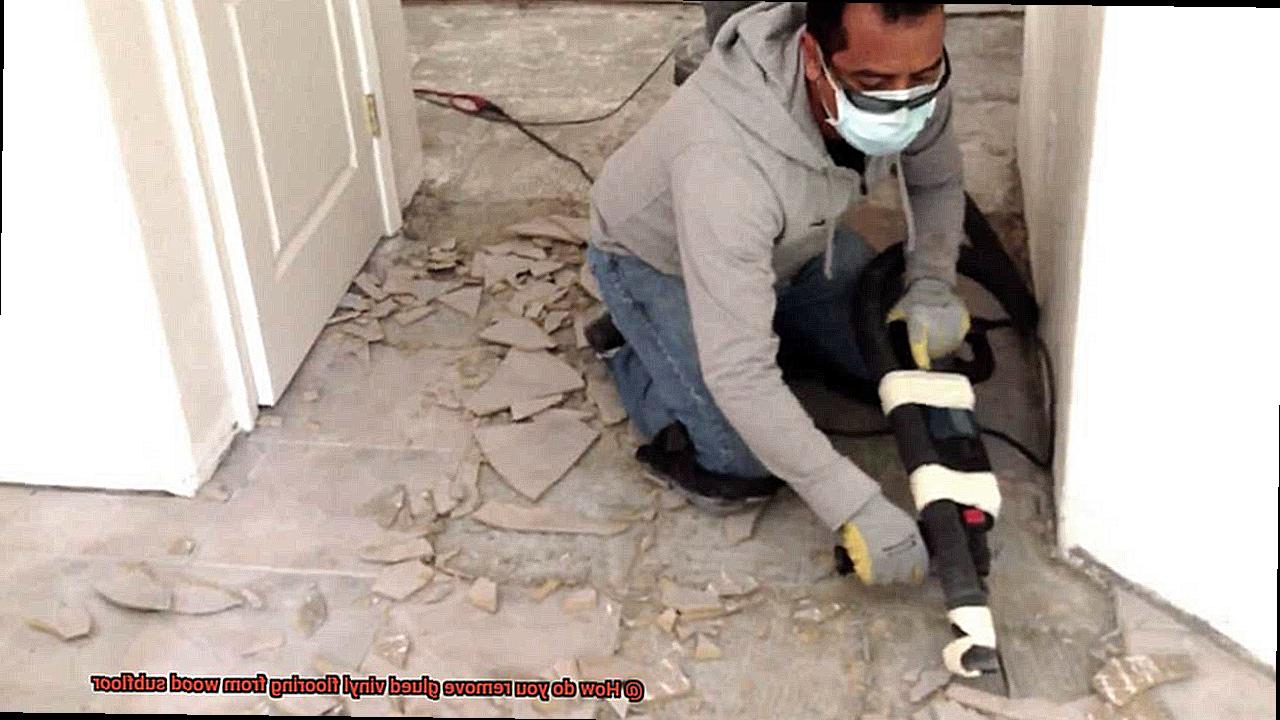
Let’s start by preparing the area. Take the time to remove any loose tiles or debris from the surface of the vinyl flooring. This will make it easier for the adhesive remover to do its job effectively. Now, gear up for safety. Put on your protective gloves, goggles, and mask – we’re about to tackle this project safely and efficiently.
Now, let me introduce you to the star of the show – the floor adhesive remover. This magical solution is specifically designed to dissolve and remove the adhesive used to bond vinyl flooring to a wood subfloor. You can find it at your local hardware store, but before you dive in, always remember to read and follow the manufacturer’s instructions carefully.
When it comes to applying the floor adhesive remover, you have two options: pouring it directly onto the vinyl flooring or using a sprayer – whichever method suits you best. Once applied, give it some time to work its magic. The dwell time can vary depending on the product, so check the instructions for guidance. While you wait, make sure to keep the area well ventilated to minimize exposure to any fumes.
Once the dwell time has passed, it’s time to get your scraping tool ready. Grab a scraper or putty knife and gently start scraping away the softened adhesive. Begin in one corner of the room and work your way across, applying firm but gentle pressure. Be cautious not to damage the wood subfloor in the process.
Now, don’t panic if there are stubborn areas where the adhesive just won’t budge. Sometimes, a little extra time is all it takes. Apply more floor adhesive remover and let it dwell for a bit longer before attempting to scrape again. Patience is key.
Once you’ve successfully removed all the adhesive, it’s time to give the wood subfloor a good cleaning. Grab some warm soapy water and use it to remove any residue from the floor adhesive remover. Rinse with clean water and allow the subfloor to dry completely before moving forward with any further flooring installation or treatment.
You’ve just completed a step-by-step guide on how to apply a floor adhesive remover to remove vinyl flooring from a wood subfloor. With patience and the right tools, that old flooring will be gone in no time, leaving you with a fresh new look in your space.
Repeating the Heating and Scraping Process
Removing glued vinyl flooring from a wood subfloor can be a challenging task. The key to success lies in repeating the heating and scraping process. This technique is crucial because vinyl flooring is often secured with strong adhesives, which can be stubborn to remove completely in one go.
To start, proper ventilation is essential to ensure a safe working environment. Harmful fumes may be released during the heating process, so it’s important to have good airflow in the area. Once you’ve taken care of that, grab your trusty heat gun or hairdryer set to high heat, and begin applying heat to a small section of the vinyl flooring.
As the adhesive softens under the heat, you’ll want to gently scrape it away using a putty knife or floor scraper with a sharp blade. Take care not to damage the wood subfloor while scraping. It’s important to work in small sections at a time for thorough removal of both the vinyl and adhesive.
After successfully removing one section, move on to the next and repeat the process. This repetition is necessary because some adhesive remnants may still cling on after the first round. By repeating the heating and scraping process, you give those stubborn bits another chance to loosen up and bid their final farewell.
Remember to take breaks as needed to prevent fatigue or strain injuries. Hydration is also key during this physically demanding task. If you suspect that your vinyl flooring contains asbestos, it’s best to leave the removal process to professionals who specialize in asbestos handling and disposal.
Once you’ve triumphed over the glued vinyl flooring and adhesive, give yourself a well-deserved pat on the back. But don’t stop there – thoroughly clean the wood subfloor using a mild detergent and warm water to remove any residue left behind by the adhesive.
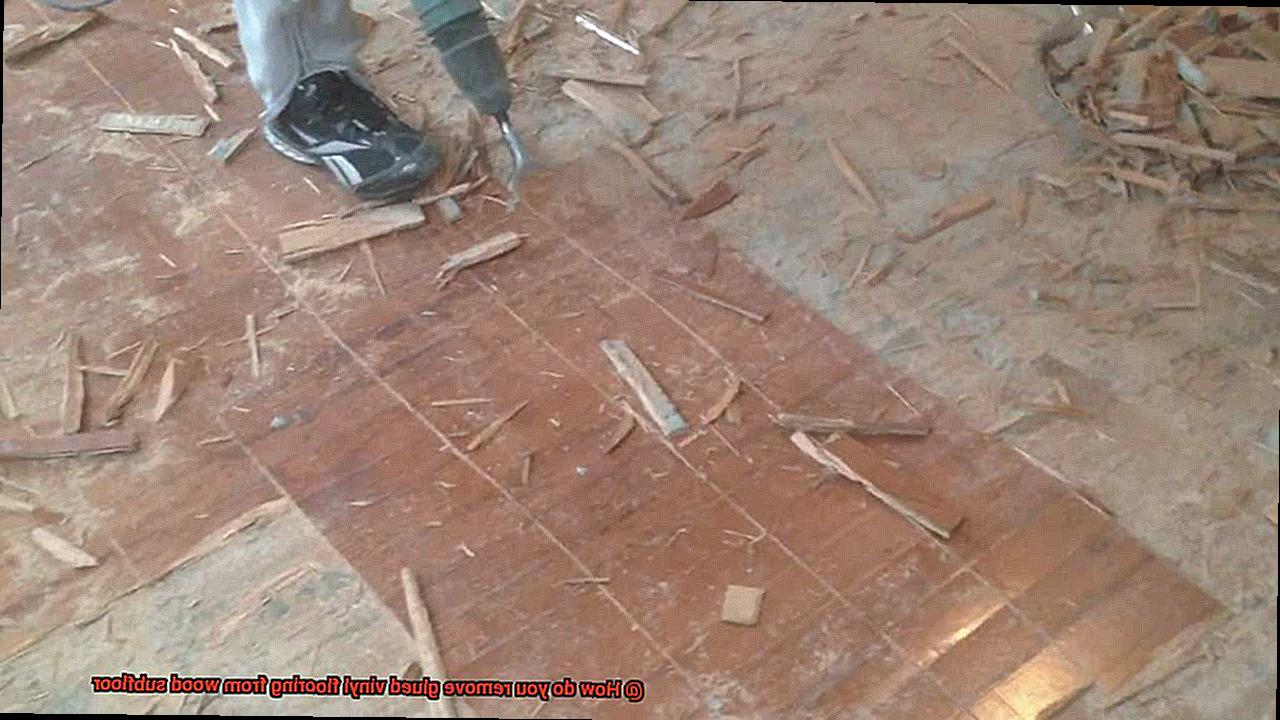
Now that your subfloor is clean and dry, it’s ready for any necessary repairs or preparation before installing new flooring. Fill in any gaps or level the surface as needed to ensure a smooth foundation for your next flooring adventure.
Cleaning the Wood Subfloor
Before embarking on the task of removing glued vinyl flooring, it is crucial to ensure that your wood subfloor is clean and ready for the challenge ahead. Cleaning the subfloor not only aids in the removal process but also sets the stage for a seamless installation of new flooring.
So, let’s delve into the steps involved in cleaning a wood subfloor before removing glued vinyl flooring.
Step 1: Clear the Path
To begin, sweep or vacuum the subfloor to eliminate any loose dirt, dust, and debris. This initial step prevents these particles from becoming trapped under the vinyl flooring during removal. A clean slate is essential for a successful project.
Step 2: Damp Mop or Cloth
Once you have cleared away loose dirt, use a damp mop or cloth to thoroughly clean the subfloor. If there are stubborn stains or sticky residue, mix a mild detergent with water to tackle them. However, be sure to wring out the mop or cloth well before using it on the wood surface, as excess moisture can damage the wood.
Step 3: Conquer Stubborn Adhesive
For more stubborn stains or adhesive residue, you may need to employ a stronger cleaning solution. There are various commercial adhesive removers available in the market specifically designed for removing glue from wood surfaces. Follow the instructions on the product label carefully and test it in a small, inconspicuous area first to ensure it doesn’t cause any damage.
If you prefer an eco-friendly alternative, vinegar can be your secret weapon. Mix equal parts of white vinegar and warm water and apply it to the stained areas. Let it sit for a few minutes to loosen the adhesive, then scrub gently with a soft brush or sponge. Rinse with clean water afterward.
Step 4: Dry and Inspect
After cleaning, allow the wood subfloor to dry completely before proceeding with the removal process. Moisture trapped under the vinyl flooring can cause further damage to the wood, such as warping or mold growth. It’s also the perfect time to inspect the subfloor for any signs of damage, such as rot or decay. Addressing these issues before installing new flooring ensures a solid foundation.
Step 5: Ventilation Is Key
Ensure good ventilation in the area during and after cleaning to help speed up drying and prevent moisture-related problems. Open windows or use fans to circulate air and aid in the drying process.
Taking Safety Precautions When Working with Heat
Whether you’re removing glued vinyl flooring or working with any other heat-related task, it’s vital to prioritize safety. In this article, we will guide you through the essential precautions necessary for a successful and accident-free experience. So, let’s gear up and dive into the world of heat-infused projects.
Protective Gear:
Before embarking on any heat-infused endeavor, make sure to suit up properly. Wear heat-resistant gloves, safety glasses, and long-sleeved clothing to protect your skin from potential burns or splatters. Remember, safety should always be your top priority.
Ventilation:
When working with heat, it’s crucial to maintain proper ventilation in your workspace. Opening windows or using fans will ensure a steady flow of fresh air, preventing the accumulation of fumes or gases that could be harmful to your health. Breathe easy and stay safe.
Electrical Safety:
Before you begin your project, always unplug any nearby electrical sources. By doing so, you eliminate the risk of electrical hazards that could potentially ruin your day and compromise your project’s success.
Fire Extinguisher:
Heat and flammable materials don’t make a pleasant combination. It’s wise to have a fire extinguisher within reach in case things get a little too heated (pun intended). Familiarize yourself with its proper usage beforehand – it could be a real lifesaver.
Slow and Steady Wins the Race:
Patience is key when working with heat. Whether you’re removing vinyl flooring or tackling any other task, remember to work slowly and carefully. By doing so, you minimize the risk of accidents or damage to the underlying surface. Don’t rush it. Consult manufacturer guidelines or seek professional advice for specific instructions on safely using heat for your project.
LsRX-YoKYmw” >
Also Read: How do you glue down vinyl flooring that is lifting?
Conclusion
Removing glued vinyl flooring from a wood subfloor can be quite an arduous task, but fear not. With proper techniques and tools at your disposal, victory is within reach.
Safety first – don’t forget your gloves, goggles, and mask for ultimate protection against potential hazards. Now let’s dive into action. Begin by employing either a heat gun or hairdryer to soften that stubborn adhesive lurking beneath your vinyl floorboards. Take it section by section; gentle heating followed by deftly wielding a putty knife or scraper to pry up those loosened edges.
Proceed with caution, though, as the delicate wood subfloor must remain unscathed throughout this process. Should you encounter particularly tenacious areas, don’t fret – apply more heat or opt for a chemical adhesive remover specially designed for vinyl flooring.
Patience is paramount; work in small sections until every last inch of vinyl is vanquished. But wait. There’s still one final hurdle – residual adhesive clinging to your wood subfloor. Fear not, for we have a solution.