Vinyl flooring is a popular choice for homeowners due to its beauty and durability. However, even the best vinyl flooring can develop issues such as lifting or buckling over time. This can be caused by moisture or improper installation techniques, leading to weak adhesive and unsightly floors that are hazardous to walk on.
But before you throw in the towel and replace your entire floor, consider gluing it back down instead. It may seem like a daunting task, but with a little bit of time and effort, you can fix the problem yourself.
In this post, we’ll explore the common causes of vinyl flooring lifting, as well as safety precautions you should take before attempting to glue it back down. We’ll also cover the tools and materials you’ll need, and provide step-by-step instructions on how to successfully glue down your vinyl flooring.
Don’t let lifting vinyl floors get you down – follow our guide and make your floors look beautiful and smooth again in no time. So let’s dive into how to glue down vinyl flooring that is lifting.
What Is Vinyl Flooring?
Contents
- 1 What Is Vinyl Flooring?
- 2 Reasons Why Vinyl Flooring May Lift
- 3 Preparing the Surface for Glue Down Vinyl Flooring
- 4 Removing Debris and Dirt
- 5 Making Sure the Area is Dry
- 6 Choosing an Adhesive Suitable for Use with Vinyl Flooring
- 7 Applying the Adhesive on the Surface of the Floor
- 8 Placing the Vinyl Flooring Back into Position
- 9 Pressing Down on the Vinyl Flooring to Ensure Proper Adherence
- 10 Allowing the Adhesive to Dry Completely Before Walking on it
- 11 Conclusion
Vinyl flooring is a resilient flooring option that is loved for its durability, easy maintenance, and affordability. It is crafted from synthetic materials like PVC or polyvinyl chloride, and comes in the form of planks, tiles, or sheets. Due to its flexibility and resistance to moisture, vinyl flooring is a popular choice for homes, offices, and commercial spaces.
When it comes to installation, there are two options: floating or glue-down. Floating vinyl floors rely on an interlocking system to hold the planks or tiles in place without attaching them to the subfloor. On the other hand, glue-down vinyl floors require adhesive to be applied to the subfloor before laying down the vinyl material for a more stable and permanent installation.
Sometimes, vinyl flooring may start to lift or buckle due to various factors such as moisture damage, poor installation, or wear and tear. However, with the right adhesive and technique, fixing this issue can be easy.
To begin with, prepare the surface of the floor by removing debris and dirt and ensuring that it’s completely dry before you begin the repair process. Next, select an adhesive that is specifically designed for use with vinyl flooring. Be sure to follow the manufacturer’s instructions carefully and apply the adhesive in a thin, even layer. Too much adhesive can cause bubbling or warping in your vinyl flooring.
After applying the adhesive, carefully place the vinyl flooring back into position. To ensure proper adhesion to the surface of the floor, use a rolling pin or heavy object to press down on the vinyl flooring. Finally, allow the adhesive to dry entirely before walking on your newly repaired vinyl flooring.
Reasons Why Vinyl Flooring May Lift
However, it’s not uncommon for vinyl flooring to start lifting, which can be unsightly and even dangerous. In this article, we’ll explore five reasons why vinyl flooring may lift and how you can fix the problem.
Poor Installation
One of the most common reasons why vinyl flooring may lift is poor installation. If the subfloor is uneven or if the adhesive is not applied evenly, air pockets can form between the adhesive and the vinyl flooring. Over time, these pockets can cause the flooring to lift. To fix this issue, you need to reapply the adhesive and press down firmly on the vinyl flooring with a rolling pin or heavy object.
Moisture Damage
Another reason why vinyl flooring may lift is moisture damage. If there’s excessive moisture in the subfloor, it can weaken the adhesive’s grip on the flooring, leading to buckling or warping of the vinyl. To prevent moisture damage, ensure that your subfloor is dry before installing your vinyl flooring. If you live in an area with high humidity levels, consider investing in a dehumidifier.
Heavy Foot Traffic
High foot traffic areas can also cause vinyl flooring to lift over time. The pressure from constant walking can loosen the adhesive’s grip on the subfloor, causing the flooring to lift or curl. To prevent this issue, consider adding area rugs or runners in high traffic areas to reduce wear and tear on your vinyl flooring.
Harsh Cleaning Chemicals
Using harsh cleaning chemicals on your vinyl flooring can also cause it to lift over time. Certain chemicals can break down the adhesive, making it weaker and more susceptible to lifting. To avoid this issue, use gentle cleaning products specifically designed for use on vinyl floors.
Wear and Tear
Finally, wear and tear over time can also cause vinyl flooring to lift. This is especially true in areas with heavy furniture, where dragging chairs or tables across the floor can cause damage to the adhesive. To prevent this issue, consider adding furniture pads or investing in furniture that is easy to move.
Preparing the Surface for Glue Down Vinyl Flooring
Before you start the installation process, it’s crucial to understand the importance of preparing the surface beforehand. This step is not only essential for aesthetic purposes but also for ensuring a stable and long-lasting installation.
Removing Debris and Dirt
Before gluing down your vinyl flooring, it’s imperative that you properly prepare the surface. This means removing all debris and dirt from the area. Any leftover debris or dirt can prevent the glue from adhering effectively, which could lead to a weak bond and cause your vinyl flooring to lift again.
To remove debris and dirt efficiently, start by sweeping or vacuuming the area thoroughly. Use a broom or vacuum with a soft bristle attachment to avoid scratching the vinyl flooring. Once you’ve removed all loose debris, use a damp mop or cloth to clean the surface. Be sure to use a cleaning solution that is safe for vinyl flooring and avoid using any abrasive cleaners or tools that could damage the surface.
After cleaning, it’s crucial to allow the surface to dry completely before proceeding with gluing down your vinyl flooring. Even small amounts of moisture can impact the adhesion of the glue, so be patient and give it enough time to dry thoroughly before moving on to the next step.
Making Sure the Area is Dry
However, ensuring that the area is completely dry before beginning any repairs is critical to maintaining a flawless finish. Moisture or water can interfere with the adhesive, causing the flooring to lift again in the future.
To guarantee that the area is dry, start by using a moisture meter to check the moisture levels of both the subfloor and the vinyl flooring. The moisture content should be below 4% for concrete subfloors and 12% for wood subfloors. If you notice higher levels, it is essential to address any moisture issues before proceeding with repairs. This may include fixing leaks, improving ventilation, or installing a vapor barrier.
Next, give the area around the lifted vinyl flooring a thorough clean with a mild detergent solution and let it dry completely. You can speed up the drying process by using a fan or dehumidifier if necessary. Once the area is completely dry, use a scraper or sandpaper to remove any old adhesive residue from both the subfloor and the back of the vinyl flooring.
Lastly, before applying any new adhesive, ensure that the temperature of the room falls within the recommended range for your adhesive product. Most adhesives require a temperature range between 65-85°F (18-29°C) for optimal performance.
Choosing an Adhesive Suitable for Use with Vinyl Flooring
When it comes to fixing your vinyl flooring, choosing the right adhesive is crucial. But with so many adhesive options available, how do you choose the right one for your specific situation? Let’s explore the different types of adhesives and their suitability for use with vinyl flooring.
Pressure-sensitive adhesive (PSA) is a popular choice for vinyl flooring. This type of adhesive is applied directly onto the subfloor and creates a strong bond with the vinyl flooring. PSA can be used with both sheet vinyl and vinyl tiles, making it a versatile option.
Solvent-based adhesive is another option, commonly used for commercial applications. While this type of adhesive creates a strong bond with the subfloor, it does come with a strong smell and should only be used in well-ventilated areas.
If you’re looking for an eco-friendly option, water-based adhesives are a great choice. These adhesives have lower odor than solvent-based adhesives and can be easily cleaned up with water. However, they may not be as strong as other types of adhesives and may not work well in high-moisture areas.
Ultimately, choosing the right adhesive depends on the type of vinyl flooring being used and the conditions of the installation area. It’s essential to read the manufacturer’s recommendations and specifications before selecting an adhesive to ensure it will work correctly with your vinyl flooring and provide a long-lasting fix for any lifting issues.
Applying the Adhesive on the Surface of the Floor
Don’t worry, applying adhesive to the surface of the floor is easier than you think. In this section, we’ll walk you through the process step-by-step, so you’ll have a stunning new floor in no time.
First things first, ensure that the surface of the floor is free from any dirt, dust, or grease. This will help guarantee that the adhesive bonds well with the surface. A clean surface means your vinyl flooring will stay in place for years to come.
Next, grab your trowel or notched spreader and spread the adhesive evenly on the surface of the floor. Follow the manufacturer’s instructions on how to apply the adhesive. Depending on the manufacturer’s recommendation, apply it in a specific pattern or thickness.
Remember to work in small sections to prevent the adhesive from drying out before laying down the vinyl flooring. If your room is large, consider working in sections of about 4 feet by 4 feet. Take your time and be patient.
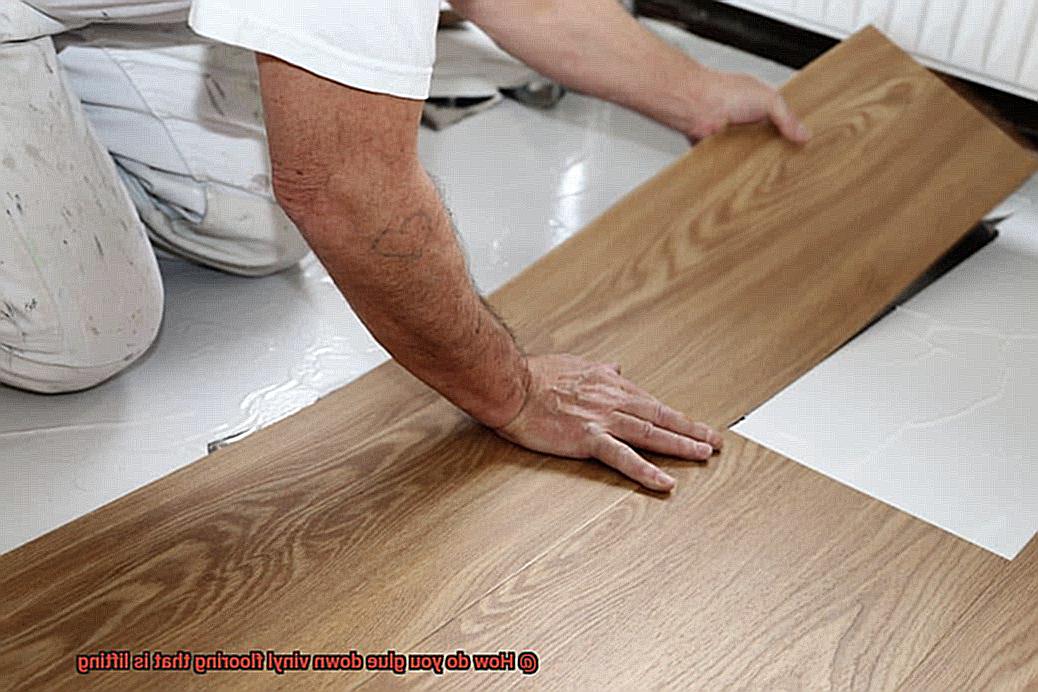
Once you have applied the adhesive, carefully lay down the vinyl flooring over it. Start on one end of the room and work towards the other end, smoothing out any wrinkles or bubbles as you go along. Use a roller to ensure that the vinyl flooring adheres correctly to the surface.
After laying down each section of vinyl flooring, use a damp cloth or sponge to wipe away any excess adhesive. This will help prevent unwanted residue from drying and sticking to your new flooring.
Placing the Vinyl Flooring Back into Position
Whatever your reason may be, gluing down vinyl flooring can transform your space with ease. But how do you properly place the vinyl flooring back into position on a subfloor?
First and foremost, ensure that you have cleaned the surface and spread adhesive evenly with a trowel or notched spreader. Work in small sections to prevent drying out and lay down the vinyl flooring carefully while smoothing out any wrinkles or bubbles. Once that’s done, it’s time to get started with placing the vinyl flooring back into position.
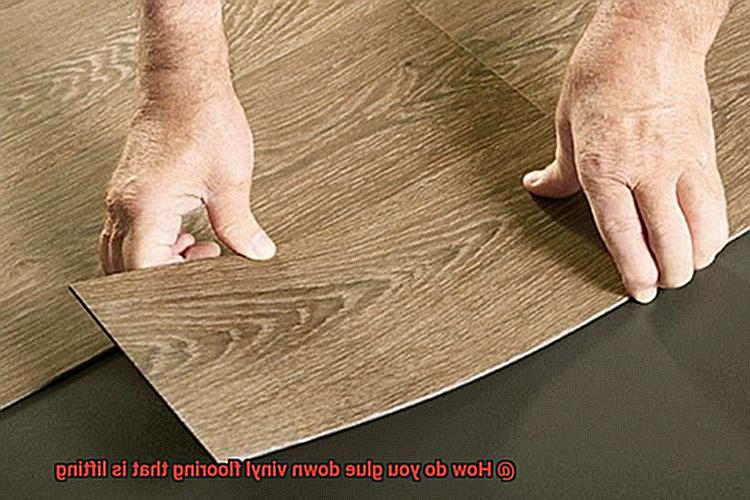
Begin by lifting the vinyl flooring and aligning it with the edges of the subfloor. Using a ruler or straight edge, make sure that the vinyl is straight and even. Slowly lower the vinyl flooring onto the adhesive, smoothing it as you go. This process must be done carefully to ensure that the flooring is aligned correctly and doesn’t buckle or wrinkle.
Now that the vinyl flooring is in position, it’s time to press it down firmly onto the subfloor using a roller or weighted object. Start from the center and work outward to remove any air bubbles and ensure that the vinyl is securely adhered to the subfloor. Don’t forget to roll out any excess adhesive that may have squeezed out from under the vinyl flooring.
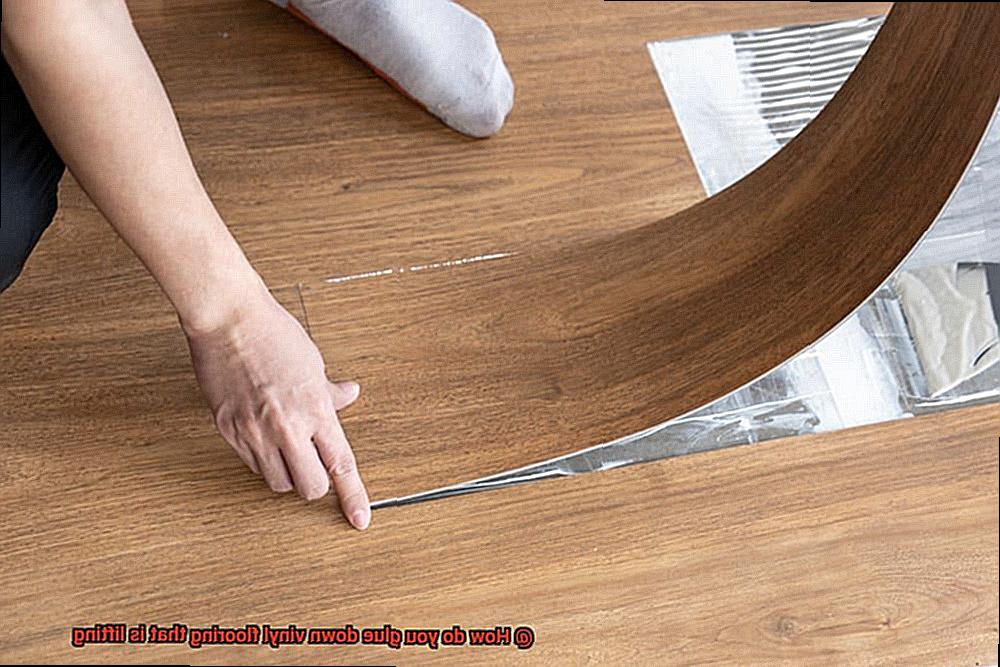
If there are seams in your vinyl flooring, use a seam roller to ensure they are sealed correctly. Apply pressure to each seam for several seconds to guarantee that it’s secure.
It’s crucial to allow the adhesive to dry entirely before walking on or placing furniture on the newly installed vinyl flooring. Depending on the type of adhesive used and humidity levels in your home, this will typically take 24-48 hours.
Pressing Down on the Vinyl Flooring to Ensure Proper Adherence
Transforming your home with vinyl flooring is an exciting project, but it’s crucial to follow all the necessary steps for a successful installation. One step that cannot be skipped is pressing down on the vinyl flooring to ensure proper adherence.
Pressing down on the vinyl flooring helps the adhesive bond securely to the subfloor, preventing future lifting and bubbles. If not done correctly, you may have to reapply adhesive and repeat the process again.
To get started, grab a heavy object such as a stack of books or a weighted roller. Place the object on the lifted area of the vinyl flooring and apply pressure for at least 24 hours. During this time, the adhesive will have enough time to set and bond with the subfloor.
It’s critical to avoid walking or placing any objects on the glued-down area for at least 24 hours. This will help ensure that the adhesive cures correctly and doesn’t get disrupted by any external factors.
If you notice that your vinyl flooring continues to lift after this step, don’t worry. You may need to apply more adhesive and repeat the pressing down process until it properly adheres. Remember, patience is key in this process.
For larger areas of lifted vinyl flooring, it’s helpful to section off smaller areas and work on them one at a time. This strategy ensures that each section adheres appropriately, reducing the risk of future lifting.
Allowing the Adhesive to Dry Completely Before Walking on it
Installing vinyl flooring is an exciting home improvement project, but it’s important to remember that the success of your installation depends on properly allowing the adhesive to dry before walking on it.
Different types of adhesives require different amounts of time to dry completely, so it’s crucial to read and follow the instructions on the adhesive label carefully. Typically, most vinyl flooring adhesives require at least 24 hours of drying time before allowing any traffic on the floor. During this time, avoid walking, rolling, or placing any heavy objects on the newly glued down flooring. Yes, it might be tempting to take a peek and admire your handiwork, but patience is key here.
The reason for this is simple: if the adhesive isn’t given enough time to dry completely, it can result in uneven bonding, bubbles or even damage to the flooring. And nobody wants that. Plus, temperature and humidity levels can affect the drying time of the adhesive. Higher temperatures and lower humidity levels can speed up the drying process, while lower temperatures and higher humidity levels can slow it down. So, make sure you’re aware of these factors during installation.
It’s also important to avoid any water or moisture exposure during this period as well. Water or moisture can compromise the adhesive’s bonding strength and lead to lifting or buckling of the flooring.
RjERrZ9lwok” >
Conclusion
In conclusion, don’t let lifting or buckling vinyl flooring get you down. With a little bit of know-how and the right tools, you can tackle this task like a pro. But before you dive in, it’s important to take necessary safety precautions and understand the root causes of your flooring woes.
Now comes the fun part: choosing the right adhesive for your specific situation. Whether you opt for pressure-sensitive adhesive, solvent-based adhesive, or water-based adhesives, make sure you’re selecting the best option for your needs.
Once you’ve got your adhesive in hand, it’s time to get down to business. Carefully place your vinyl back into position by aligning it with the edges of the subfloor and pressing it down firmly with a roller or weighted object. Don’t forget to give those pesky lifted areas some extra attention.
Last but not least, be patient while waiting for your new glue job to dry completely before walking on or placing furniture on your refreshed floors.