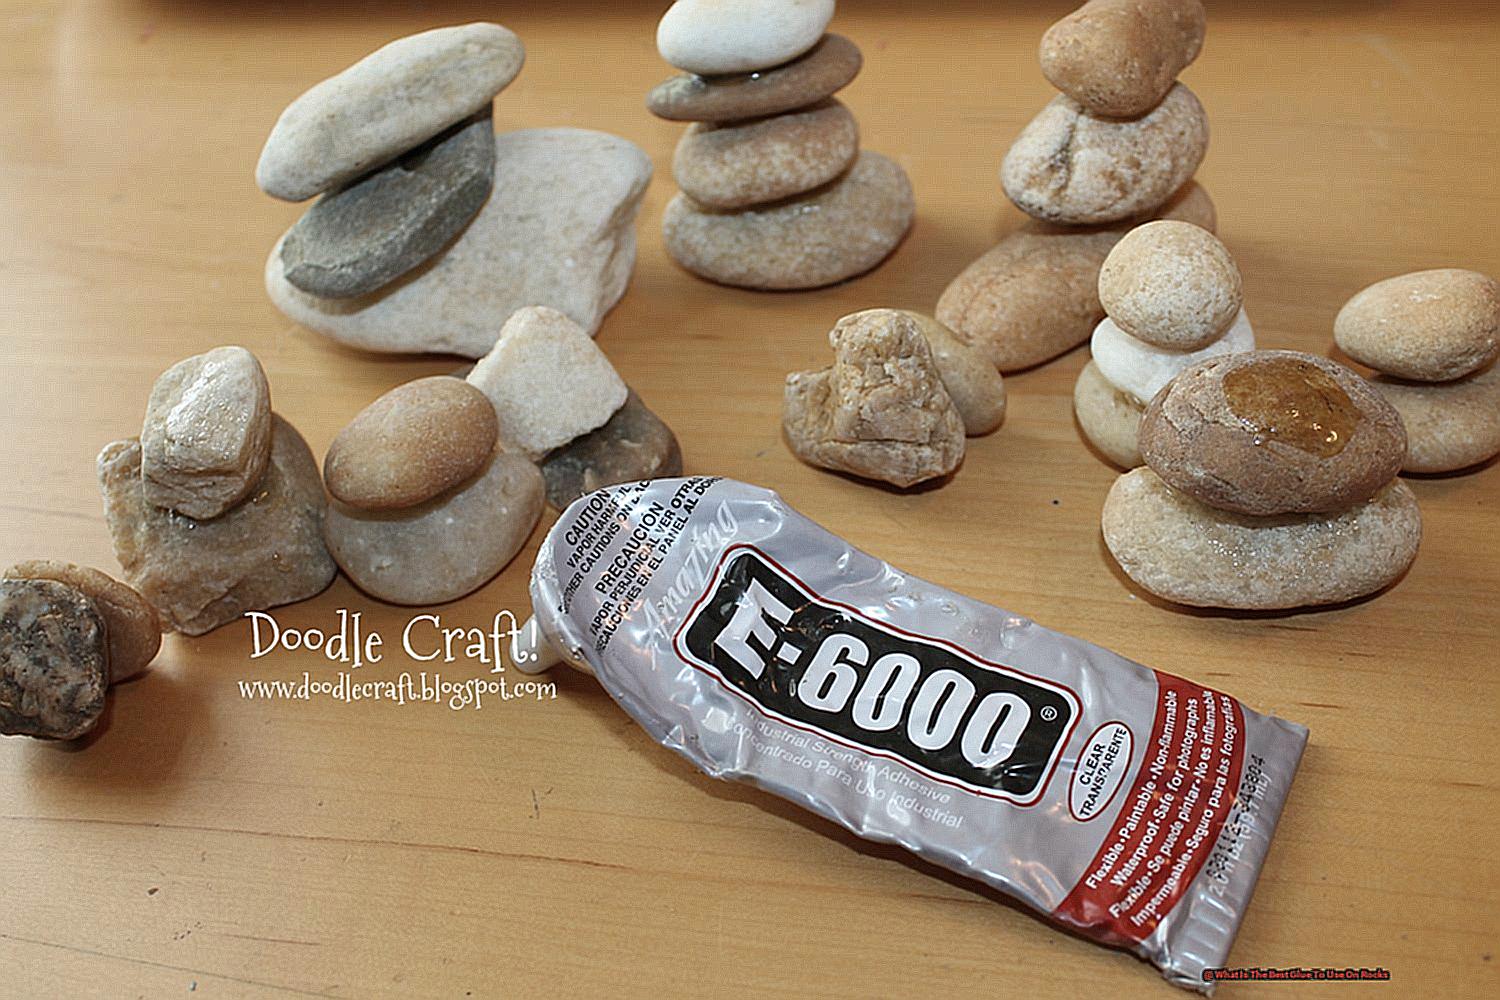
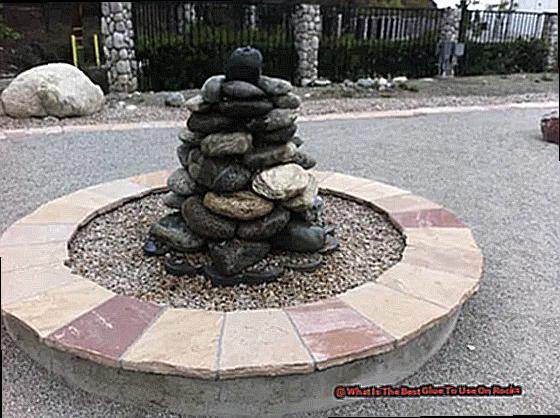
Crafting with rocks is a fun and creative way to add a touch of nature to your projects. Whether you’re building a rock sculpture, sprucing up your garden, or fixing a cracked stone, finding the right glue is crucial for ensuring that your masterpiece stands the test of time. But with so many options out there, how do you know which glue is the best choice for bonding rocks together?
That’s where we come in. In this article, we’ll dive into the world of rock glues and explore the top contenders that are specifically designed to handle the ruggedness of stones. We’ll examine their strength, durability, versatility, and ease of use to help you make an informed decision.
So, if you’re ready to learn about the best glues for rocks that will keep your projects rock-solid, keep reading.
Rocks and Their Properties
Contents
Rocks are the solid, naturally occurring substances that make up the Earth’s crust. They are composed of minerals, which combine in different ways to form various types of rocks. Understanding the properties of rocks is crucial when choosing the right glue for different rock projects. In this overview, we will explore the three main types of rocks and their specific properties that influence adhesive selection.
Igneous Rocks:
Igneous rocks, such as granite, basalt, and obsidian, are formed from cooled magma or lava. Known for their hardness and durability, these rocks have a non-porous surface. Epoxy adhesives are an excellent choice for igneous rocks due to their exceptional strength and durability.
Sedimentary Rocks:
Sedimentary rocks, like sandstone, limestone, and shale, are formed through the accumulation of sediments over time. These rocks typically have a porous structure. Construction adhesives are ideal for bonding sedimentary rocks as they can penetrate the pores and provide good bonding strength and flexibility.
Metamorphic Rocks:
Metamorphic rocks, including marble, slate, and gneiss, form through intense heat and pressure beneath the Earth’s surface. These rocks vary in hardness and texture. For bonding metamorphic rocks with smooth surfaces like marble or slate, epoxy adhesives offer a strong bond due to their adhesive properties.
Considerations:
While understanding the properties of different types of rocks is important, variations exist within each type based on location and geological history. Therefore, it is essential to consider the specific characteristics of the rocks being glued together when choosing an adhesive.
Surface Preparation:
Proper surface preparation is key to a successful bond. Thoroughly clean rock surfaces to remove any dirt or oil that could interfere with the adhesive. Lightly roughening surfaces with sandpaper can enhance the bond.
The Benefits of Using Epoxy for Bonding Rocks
If you’re searching for the perfect adhesive to bring your rock creations to life, look no further. Epoxy is here to save the day with its extraordinary strength and durability. Let’s dive into the world of epoxy and explore its many benefits for bonding rocks.
First and foremost, epoxy is a two-part adhesive consisting of a resin and a hardener. When these two components combine, magic happens. A chemical reaction occurs, resulting in a powerful and permanent bond. It’s like the perfect partnership – when mixed, they create an unbreakable connection that stands the test of time.
One standout advantage of using epoxy for bonding rocks is its ability to withstand extreme temperatures. Whether you’re crafting outdoor rock sculptures or indoor rock décor, epoxy can handle it all. High or low temperatures won’t weaken its adhesive properties, making it the ideal choice for any environment.
Moisture and water can be a real buzzkill for some adhesives, but not epoxy. It laughs in the face of water, remaining resistant to moisture. So, if your rock project involves water or humid environments, rest assured that epoxy will hold strong.
Bonding strength is another key advantage of epoxy. It’s like the superhero of adhesives, penetrating deep into the pores of rocks and creating a mechanical bond that is tough to break. Even porous rocks don’t stand a chance against epoxy’s mighty grip.
But wait, there’s more. Epoxy also offers a long working time. Once mixed, you’ll have plenty of time to apply it to your rocks and position them just right before it sets. No need to rush – take your time and enjoy the process.
Versatility is another feather in epoxy’s cap. Not only can it bond rocks together, but it can also attach rocks to other materials like metal or wood. The possibilities are endless.
And let’s not forget about the aesthetic appeal. Epoxy provides a clear and smooth finish when dry, enhancing the overall appearance of your bonded rocks. It’s like adding a touch of magic to your creations.
Of course, it’s essential to choose the right epoxy for the job. Not all epoxies are created equal, so make sure to select one specifically designed for stone or masonry applications. This will ensure optimal results and a bond that lasts a lifetime.
Before you embark on your epoxy rock bonding adventure, remember to follow the manufacturer’s instructions and take proper safety precautions. Protective gloves and proper ventilation are must-haves in your workspace.
Construction Adhesive as an Alternative to Epoxy
Construction adhesive, a superhero in the adhesive world, has emerged as a potential alternative to epoxy for bonding rocks. While epoxy has long been hailed as the ultimate adhesive for rock creations, construction adhesive offers several advantages that may give epoxy a run for its money.
First and foremost, construction adhesive is readily available. Found in most hardware stores, it comes in various forms such as tubes, cartridges, and cans, making it incredibly easy to apply. This accessibility alone makes it a convenient choice for rock enthusiasts.
Furthermore, construction adhesive is waterproof and weather resistant, making it perfect for outdoor applications. Whether you’re working on a landscaping project or creating an outdoor sculpture, using a waterproof adhesive ensures that your bond will remain strong even in wet conditions.
In terms of bonding strength, construction adhesive impresses with its high initial grab and quick setting time. To maximize strength, it’s crucial to select a product specifically designed for bonding stones or heavy materials.
However, before embarking on your rock bonding adventure with construction adhesive, proper surface preparation is key. Cleanliness is crucial, so ensure that the rocks are free from dirt or dust that could interfere with the bond. Roughening the surfaces with sandpaper or a wire brush can also enhance the bond.
Always adhere to the manufacturer’s instructions when using construction adhesive. Some may require applying it to both surfaces for optimal bonding, while others may only need it on one surface.
After applying the adhesive, it’s recommended to clamp or apply pressure on the bonded area for a certain period of time. This allows the adhesive to cure properly and ensures a strong and durable bond between your rocks.
While construction adhesive can be an excellent alternative to epoxy for bonding rocks, it’s important to consider the specific requirements of your project. If you’re dealing with heavy loads or constant exposure to water, epoxy may still be the more appropriate choice.
Craft Glue as a Lightweight Option
Craft glue offers a reliable bond while being easy to use and lightweight, making it an excellent choice for various rock crafting projects. In this article, we’ll explore the advantages of using craft glue for bonding rocks and why it can be the perfect solution for your next creative endeavor.
Lightweight Nature:
Craft glue is a lightweight alternative to heavy-duty adhesives for rock bonding. Not all projects require the strength of heavy-duty glues, especially when working with smaller or delicate rocks. Craft glue provides a reliable bond without adding unnecessary weight. It’s the perfect choice for those who want a gentle touch without compromising on durability.
Ease of Use:
Craft glues come in user-friendly squeeze bottles or tubes, making application a breeze. The water-based formula ensures easy cleanup, as any excess glue can be wiped away with a damp cloth or sponge. Say goodbye to messy applications and hello to convenience. Plus, craft glues often dry quickly, allowing you to complete your projects faster and with less hassle.
Flexibility:
Rocks come in various shapes and textures, but craft glue can handle these variations with ease. Craft glues are designed to adhere to different surfaces, ensuring a secure bond regardless of the rock’s shape or texture. Whether you’re working with smooth river stones or rough and jagged rocks, craft glue will keep them firmly bonded together.
Choosing the Right Craft Glue:
Selecting the appropriate craft glue is essential for successful rock bonding. Different craft glues have varying strengths and drying times, so it’s crucial to read product labels and instructions. By doing so, you can ensure that you’re using the best-suited craft glue for your specific project and rock bonding needs.
Surface Preparation for Rock Bonding
Rock bonding is an art form that requires meticulous surface preparation to achieve strong and long-lasting bonds. Whether you’re a DIY enthusiast or a professional, taking the time to properly prepare the surface of your rocks will make all the difference. In this comprehensive guide, we will explore the essential steps of surface preparation for rock bonding, equipping you with the knowledge to create bonds that withstand the test of time.
Step 1: Cleanliness is Key

Before diving into the bonding process, it is crucial to ensure that the surface of your rocks is clean and free from any dirt, dust, or debris. These unwanted particles can create barriers between the glue and the rock, compromising the bond’s strength. Grab a brush or a cloth and meticulously remove any loose particles from the surface. For stubborn stains, a gentle wash with water and mild soap will do wonders.
Step 2: Roughen Up for Enhanced Adhesion
Smooth surfaces are not ideal for bonding. To maximize adhesion, grab your sandpaper or wire brush and create a rough texture on the rock’s surface. This process creates microscopic grooves and pits that provide more surface area for the glue to grip onto. Don’t be afraid to get a little rough – it’s all part of the bonding magic.
Step 3: Clean (Again) for Optimal Results
After roughening the surface, it is crucial to give it another thorough cleaning. This step ensures that any loose particles created during roughening are removed, leaving behind a pristine bonding surface. A clean slate is essential for achieving a strong and durable bond.
Step 4: Lay Down the Primer
Now that your rock surface is clean and roughened up, it’s time to apply a primer or bonding agent. These specially formulated products enhance adhesion between rocks and glue, providing a solid foundation for your bond to thrive. Follow the manufacturer’s instructions to ensure proper coverage and even application. The primer acts as a bridge, ensuring a seamless connection between the rock and the adhesive.
Step 5: Patience is a Virtue
Once the primer is applied, resist the temptation to rush into gluing. Allow the primer to dry completely before moving forward. Drying times vary between products, so consult the manufacturer’s instructions for guidance. Patience is crucial here, as applying glue prematurely can compromise the effectiveness of the bond. Remember, good things come to those who wait.
Different Types of Glue for Different Projects
Selecting the most suitable glue is crucial to ensure the success and durability of your projects. In this comprehensive guide, we will delve into various types of glues specifically designed for rock projects and provide valuable tips for choosing the perfect adhesive for your unique needs.
Epoxy Glue: The Rock Solid Choice
When it comes to bonding rocks, epoxy glue emerges as the unparalleled champion. This adhesive’s powerful formulation, consisting of a resin and hardener blend, triggers a chemical reaction that yields an exceptionally sturdy bond. Renowned for its resistance to moisture, extreme temperatures, and time’s relentless passage, epoxy glue guarantees long-lasting results.
Super Glue: Quick Fixes but Not Always Rock-Solid
Cyanoacrylate glue, more commonly known as super glue or instant glue, offers rapid drying and forms a strong bond within seconds. Although suitable for minor rock projects or repairs, it is important to bear in mind that super glue may not deliver the same level of strength and durability as epoxy glue.
Construction Adhesive: Heavy-Duty Bonding
For heavyweight materials like rocks, construction adhesive stands as the ultimate solution. Tailored for robust applications, this adhesive provides unparalleled durability and longevity even in harsh environmental conditions. Available in liquid or paste forms, it can be effortlessly applied using a caulk gun or brush.
Weather-Resistant Power: Polyurethane Adhesive
If your rock projects are destined for outdoor exposure to sunlight, rain, or temperature fluctuations, opt for polyurethane adhesive. This remarkable adhesive boasts exceptional bonding strength while accommodating movement without succumbing to cracking or breaking under pressure. Rest assured that your bonded rocks will withstand the test of time.
Porous Rocks? No Problem.
Porous rocks such as sandstone or limestone necessitate specialized adhesives capable of seeping into their pores for a secure bond. Acrylic-based or stone-specific adhesives are highly recommended for these rock types, characterized by their thinner consistency, enabling them to penetrate the pores and establish a robust bond.
Also Read: How To Glue Rocks Together?
Conclusion
In conclusion, the best glue for bonding rocks depends on the type of rock and the specific project at hand. When it comes to strength, durability, and versatility, epoxy glue reigns supreme. Its exceptional bond can withstand extreme temperatures and moisture, making it a reliable choice for any rock project.
For those seeking an alternative to epoxy, construction adhesive offers numerous advantages. Not only is it readily available, but it is also waterproof and weather-resistant. With its high initial grab strength, construction adhesive proves itself as a formidable contender. However, proper surface preparation is key to achieving a strong bond.
If you’re working on smaller or delicate rock projects that don’t require heavy-duty adhesives, craft glue provides a lightweight option. Its ease of use and quick drying time make it a convenient choice. Craft glue also offers flexibility in adhering to different textures and surfaces of rocks.
When selecting the perfect glue for bonding rocks, take into account factors such as the type of rock, project requirements, and environmental conditions. By understanding the properties of different rocks and properly preparing their surfaces, you’ll set yourself up for success in creating lasting bonds.
Remember to follow manufacturer instructions and prioritize safety precautions when using epoxy glue, construction adhesive, or craft glue.


