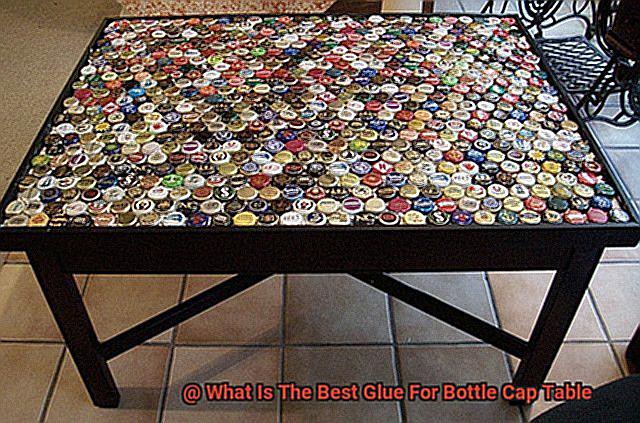
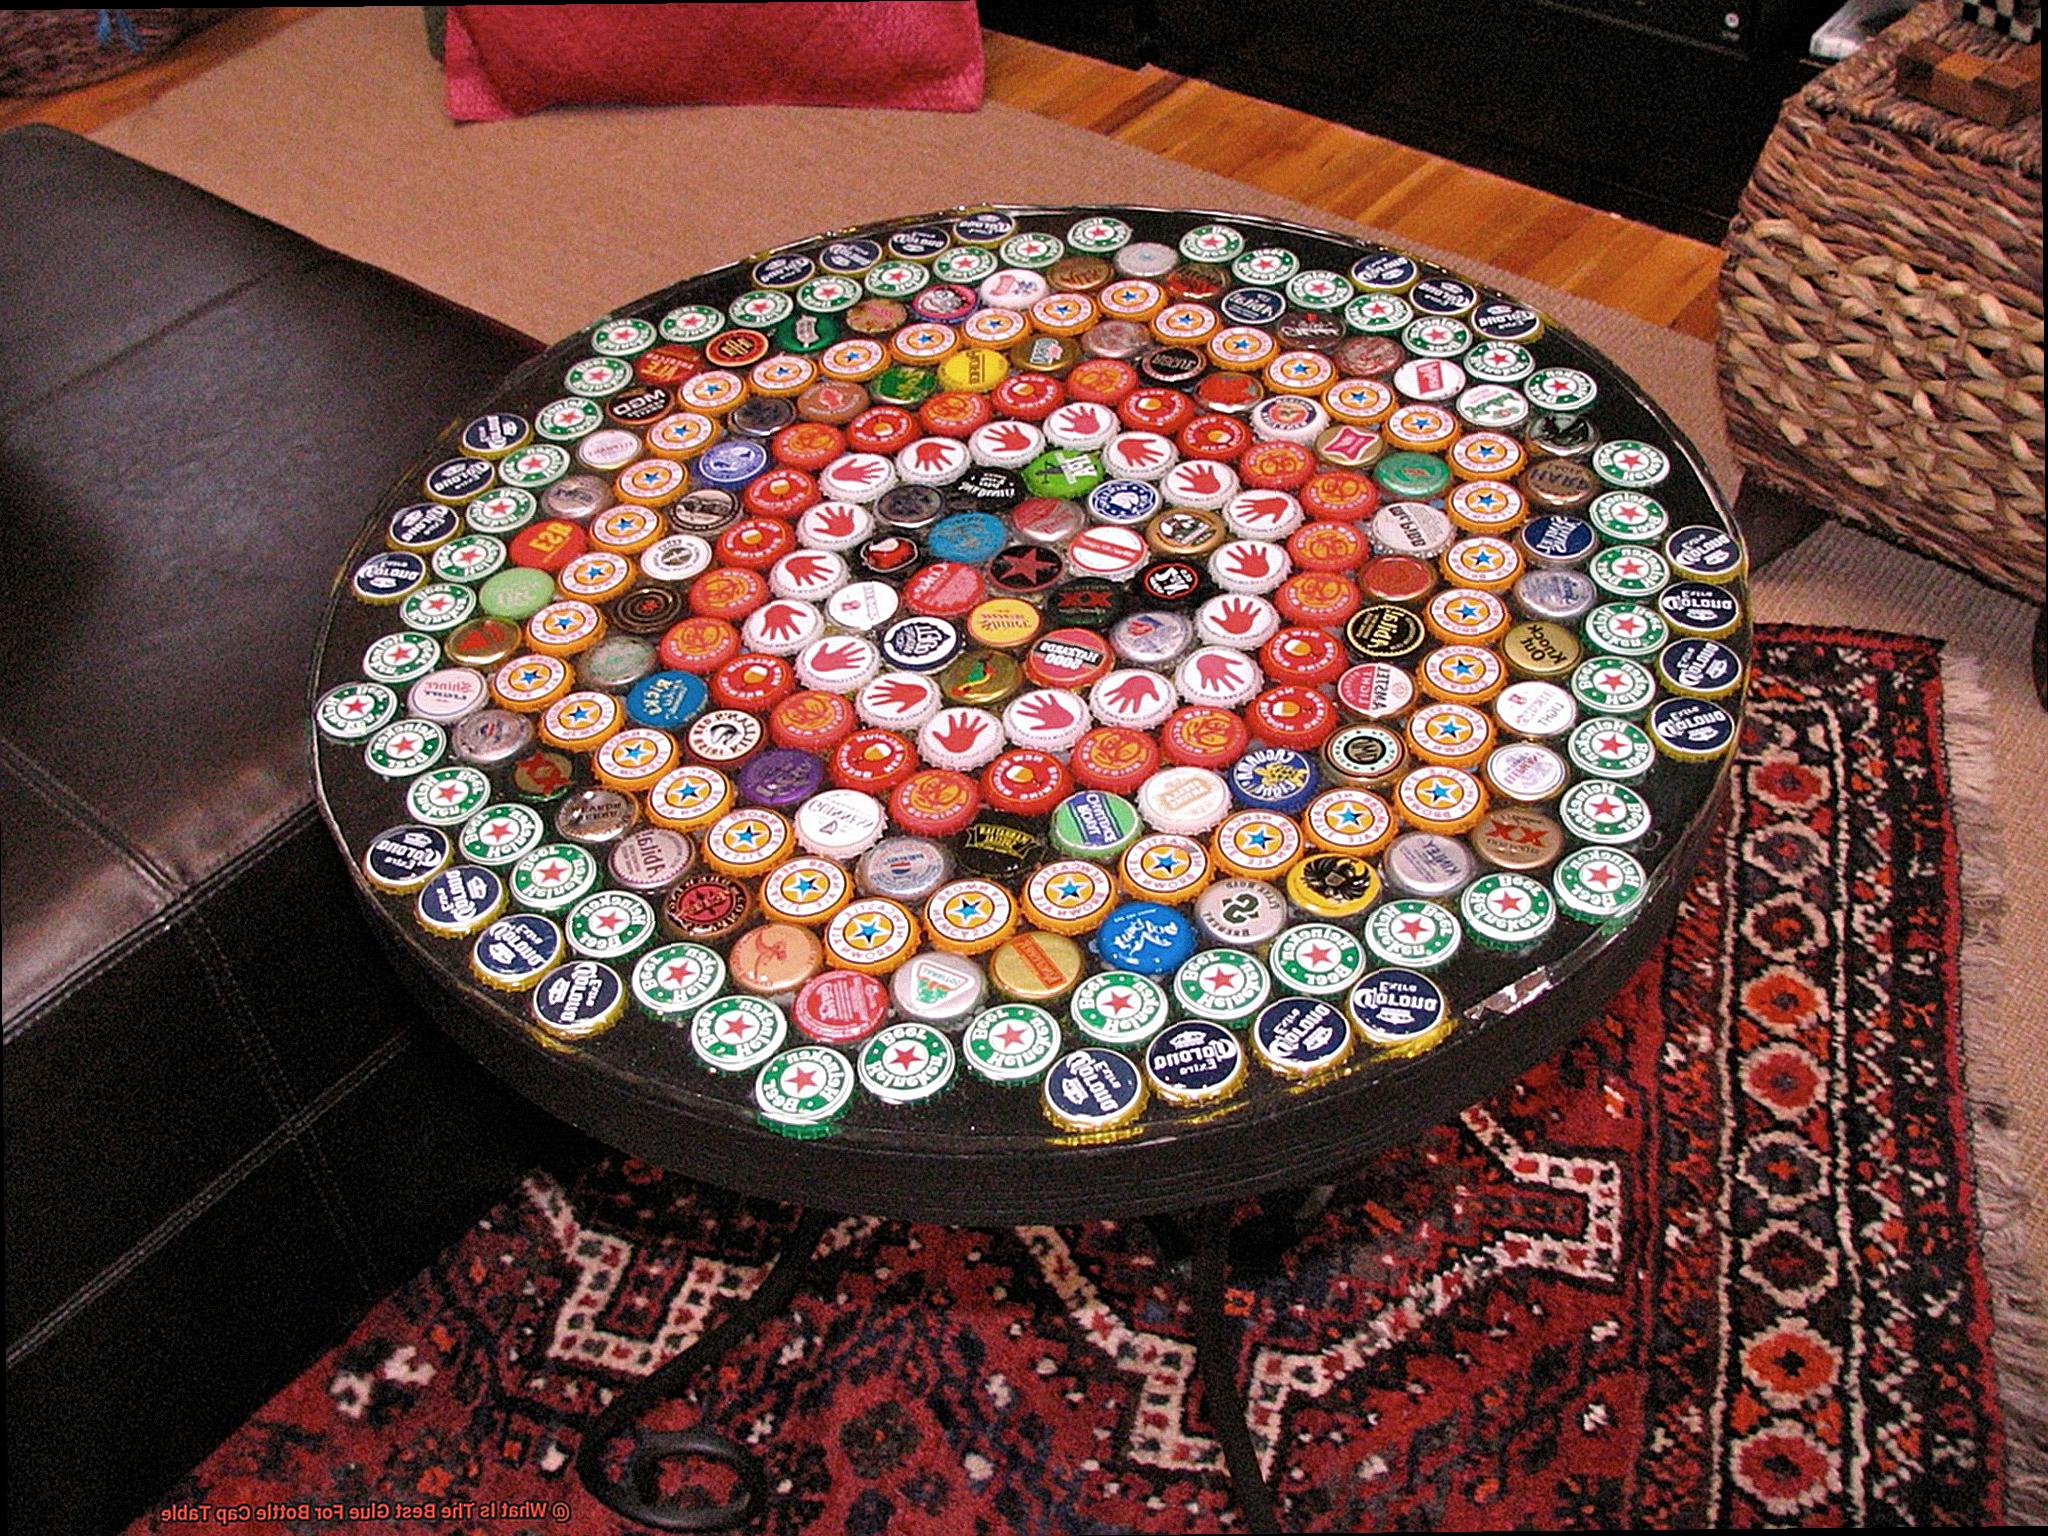
Looking to add some pizzazz to your home with a unique bottle cap table?
Well, my friend, you’re going to need the crème de la crème of glues. The right adhesive can mean the difference between a table that wows and one that falls apart faster than a house of cards in a hurricane.
After countless hours of research and testing, we’ve uncovered the holy grail of bottle cap table glues: E6000 Craft Adhesive. This bad boy is as versatile as it gets, ensuring those caps stay put with an iron grip.
And don’t even get me started on its waterproof, flexible, and industrial-strength formula – it’s like Superman for your bottle caps. With E6000 Craft Adhesive, you can confidently create a show-stopping table that will withstand the test of time (and all those rowdy game nights).
So grab yourself a bottle of this glue wizardry and let the crafting magic begin.
What is Glue?
Contents
- 1 What is Glue?
- 2 Different Types of Glue
- 3 Benefits of Using the Right Glue for Bottle Cap Tables
- 4 Advantages and Disadvantages of Epoxy Resin
- 5 Advantages and Disadvantages of Clear Silicone Adhesive
- 6 Advantages and Disadvantages of Craft Glues
- 7 Preparing the Table Surface for Gluing Bottle Caps
- 8 Applying the Glue to the Bottle Caps and Table Surface
- 9 Conclusion
Glue is a remarkable substance that has the power to bring things together, quite literally. It is the magical adhesive that bonds two or more surfaces, creating a strong and durable connection. From arts and crafts to woodworking and household repairs, glue is an indispensable tool in various applications.
There are different types of glue available in the market, each with its own unique properties and uses. Let’s dive into some of the most common types:
- White Glue: Also known as PVA (polyvinyl acetate) glue, this versatile adhesive is a go-to choice for general crafting projects. It has a transparent drying finish and is non-toxic, making it safe for children to use. White glue is water-based, which means it can be easily cleaned up with water. It works wonders when bonding porous materials like paper, fabric, and wood.
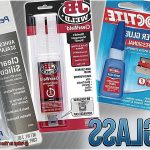
- Super Glue: Known as cyanoacrylate adhesive, this fast-acting adhesive forms an incredibly strong bond in no time. It is commonly used for bonding materials such as metal, plastic, rubber, and ceramics. Super glue is great for quick fixes and repairs but can be a bit stubborn to remove if it accidentally comes into contact with your skin.
- Epoxy Glue: This two-part adhesive consists of resin and hardener that need to be mixed together. Once combined, they create a bond that can withstand high temperatures and resist chemicals. Epoxy glue is perfect for heavy-duty bonding tasks involving materials like metal, glass, and ceramic. However, keep in mind that it requires proper mixing and curing time to achieve its full strength.
- Hot Glue: If you’re looking for instant adhesion, hot glue is your best friend. Applied in a molten state using a hot glue gun, it solidifies quickly upon cooling. This type of glue works wonders when bonding materials like fabric, plastic, and foam. Whether you’re crafting or doing DIY projects, hot glue provides a strong and immediate bond.
Different Types of Glue
There are several different types of glue that can be used for creating a bottle cap table. Each type of glue has its own strengths and weaknesses, so it is important to choose the right one for your project.
Epoxy resin is often considered one of the best glues for bottle cap tables. It provides a strong bond and is resistant to heat, moisture, and chemicals. When using epoxy resin, it is important to follow the manufacturer’s instructions and mix the two components together properly. Once mixed, epoxy resin has a pot life, or working time, before it begins to harden. This means you must work quickly to apply the glue before it becomes too thick. Additionally, epoxy resin typically requires a longer drying time compared to other glues, so patience is key. Despite these considerations, epoxy resin is an excellent choice for a bottle cap table due to its durability and resistance to various conditions.
Another popular option is clear silicone adhesive. This type of glue is flexible and waterproof, making it ideal for outdoor use or areas prone to spills. Clear silicone adhesive also dries clear, ensuring that the design of your bottle caps remains visible. It is easy to work with and provides a strong bond between the bottle caps and the table surface. However, it is important to note that silicone adhesive may require proper surface preparation for optimal adhesion. This may involve cleaning and roughing up the surface of the table before applying the glue.
If you prefer a more traditional glue, you can also use a strong adhesive such as super glue or industrial-strength glue. These types of glues provide a quick bond and are suitable for smaller projects or areas where precise application is required. Super glue works by bonding quickly when it comes into contact with moisture in the air or on surfaces. Industrial-strength glue is designed for heavy-duty applications and can provide a long-lasting bond. However, it is important to exercise caution when using these glues, as they can be difficult to remove or reposition once applied.
Benefits of Using the Right Glue for Bottle Cap Tables
Well, the secret to success lies in using the right glue. The benefits of choosing the correct adhesive for your bottle cap table are numerous and can make a world of difference in the final result.
First and foremost, using the right glue ensures a strong bond between the bottle caps and the table surface. This is crucial because bottle caps can be surprisingly heavy, especially when you start layering them. To ensure that your table can withstand regular use and potential impacts, it’s essential to select an adhesive specifically designed for bonding materials like metal, glass, or plastic. With the right glue, you can rest assured that your bottle caps will stay securely in place.
In addition to providing strength, the right glue helps prevent the bottle caps from coming loose or detaching from the table surface. This becomes especially important if your table will be subjected to frequent use or exposed to elements like moisture or temperature changes. By choosing an adhesive that resists peeling, cracking, or loosening over time, you can ensure that your bottle cap table remains intact and visually stunning.
Furthermore, using the right glue contributes to achieving a seamless and professional finish. Look for an adhesive that dries clear and leaves no visible residue or marks on either the bottle caps or the table surface. This will give your table a smooth and polished appearance, elevating its overall aesthetic appeal.
Another advantage of choosing the right glue is its resistance to moisture and heat. Moisture-resistant adhesives prevent water damage and mold growth, while heat-resistant glues withstand high temperatures without losing their bonding properties. By utilizing these types of glues, you can ensure that your bottle cap table remains structurally sound and visually pleasing for years to come.
Ease of application and cleanup are also important factors to consider when selecting glue for your bottle cap table. Look for a user-friendly adhesive that allows for precise application without creating a mess or wasting excessive amounts of glue. Additionally, choose a glue that is easy to clean up any excess adhesive that may squeeze out during the bonding process. This will make the assembly process more efficient and convenient, allowing you to enjoy your bottle cap table sooner.
Lastly, some glues offer versatility in bonding different materials together. If your bottle caps are made of various materials such as metal, plastic, or glass, it’s crucial to choose a glue that can effectively bond these different materials together. This ensures a cohesive and stable table surface that will stand the test of time.
Advantages and Disadvantages of Epoxy Resin
Crafting a bottle cap table requires careful consideration of the adhesive or finish to be used. One popular choice is epoxy resin, which offers a range of advantages but also comes with some disadvantages. Let’s delve into the pros and cons of using epoxy resin for this purpose:
Advantages:
- Strength and Durability: Epoxy resin is renowned for its exceptional strength and durability, making it an ideal choice for bottle cap tables. Once cured, it forms a hard and rigid surface that can withstand heavy use without succumbing to scratches or dents.
- Clear and Glossy Finish: Epoxy resin boasts a high-gloss finish that enhances the visual appeal of bottle cap tables. It creates a smooth and shiny surface that accentuates the vibrant colors and intricate designs of the bottle caps, imbuing the table with a polished and professional look.
- Chemical and Moisture Resistance: With its resistance to various chemicals, including spills from drinks or food, epoxy resin is well-suited for table surfaces. Additionally, it exhibits excellent moisture resistance, safeguarding against damage caused by spills or humidity.
- Easy to Clean: The smooth and non-porous surface of epoxy resin makes it effortless to clean. A simple wipe with a damp cloth is all it takes to remove any spills or stains, leaving the table looking as good as new.
- Versatility: Epoxy resin’s versatility extends beyond bottle cap tables. It can be used for an array of applications such as countertops, bar tops, and decorative items. Furthermore, it can be poured over various materials like wood, concrete, or metal, offering limitless design possibilities.
Disadvantages:
- Time-Consuming Application: Working with epoxy resin demands meticulous preparation and attention to detail. The mixing process must be executed accurately, while application necessitates evenness to avoid bubbles or uneven surfaces. Moreover, epoxy resin requires several days of curing time before it can be fully utilized.
- Strong Odor: Epoxy resin emits a potent chemical odor during both the application and curing process. This may prove unpleasant for individuals with sensitivities or allergies. Proper ventilation is vital when handling epoxy resin to minimize the smell.
- Limited Working Time: Once mixed, epoxy resin has a finite working time before it starts to harden. This means that one must work swiftly and efficiently during the application process to achieve a smooth and even surface. Mastering the timing, particularly for larger projects, may require practice.
- Sensitivity to Temperature: The curing process of epoxy resin can be sensitive to temperature fluctuations. Extreme heat or cold can impact both the curing time and the final appearance of the table. To attain desired results, it is essential to work in a controlled environment with stable temperatures.
- Cost: Epoxy resin tends to be pricier compared to other adhesive or finish options. The cost of the material itself, along with any additional tools or equipment necessary, can add up. Nevertheless, considering its durability and long-lasting properties, many find epoxy resin to be a worthwhile investment.
Advantages and Disadvantages of Clear Silicone Adhesive
Clear silicone adhesive has several advantages when used for creating a bottle cap table. Firstly, it offers strong bonding capabilities, ensuring that the caps will stay securely attached. This adhesive is also highly resistant to water, moisture, and temperature fluctuations, making it suitable for both indoor and outdoor use. It can withstand exposure to sunlight, rain, and other environmental factors without losing its adhesive properties. Additionally, it can handle temperature changes without compromising its bond.
Furthermore, clear silicone adhesive is flexible, allowing for some movement or expansion of the materials it bonds. This is important for bottle cap tables as they may be subjected to frequent use and slight shifts in temperature or humidity. The flexibility of the adhesive helps prevent cracks or breaks in the bond. Additionally, clear silicone adhesive has excellent adhesion to a wide range of materials, including glass, metal, plastic, and ceramics. This makes it a convenient option for attaching bottle caps to different table surfaces.
However, there are also some disadvantages to using clear silicone adhesive for bottle cap tables. One drawback is its longer curing time. It typically takes several hours or even days to fully cure and reach maximum strength. This can be inconvenient for those who need immediate results or want to complete their project quickly.
Another disadvantage is that clear silicone adhesive may not be suitable for all types of bottle caps. Some caps may have irregular shapes or uneven surfaces that make it difficult for the adhesive to create a strong bond. In such cases, alternative adhesives or methods may need to be considered.
Additionally, while clear silicone adhesive is generally strong and durable, it may not be as resistant to heavy loads or constant stress as some other adhesives. If a bottle cap table is expected to bear significant weight or endure regular heavy use, additional reinforcement or a different adhesive may be necessary.
Lastly, clear silicone adhesive can leave a visible residue or film on the surface it is applied to. This can be unsightly and may require additional cleaning or aesthetic measures to conceal.
Advantages and Disadvantages of Craft Glues
These versatile glues have a multitude of advantages that make them perfect for this project. Firstly, craft glues can bond a wide variety of materials, including plastic, metal, and glass. This means that they are the ideal choice for adhering bottle caps to the table surface, ensuring a secure and long-lasting bond.
One of the standout advantages of craft glues is their strong adhesive properties. These glues are designed to provide a bond that can withstand the test of time, making them perfect for bottle cap tables that will see frequent use and handling. Additionally, craft glues often dry clear, maintaining the aesthetic appeal of the table and ensuring that the focus remains on the bottle caps themselves.
Craft glues are also incredibly easy to use. With convenient squeeze bottles or tubes, precise application is a breeze. This is especially important when working with small bottle caps, as it allows for accurate placement of the glue exactly where you need it. Furthermore, craft glues have a quick drying time, meaning that you won’t have to wait long before continuing with your project and enjoying the finished result.
While craft glues offer many advantages, it’s important to be aware of their limitations as well. One such limitation is their sensitivity to moisture. Most craft glues are not waterproof or water-resistant, which can be problematic if your bottle cap table is exposed to spills or dampness. In these cases, it may be wise to consider alternative adhesive options that are moisture-resistant.
Another potential drawback is the strength of craft glues. While they provide a strong bond for regular use, heavy or rough handling may require a more robust adhesive choice. It’s essential to select a craft glue that is suitable for the specific materials and weight requirements of your bottle cap table.
Lastly, some craft glues emit a strong odor, particularly when wet. This can be unpleasant for those who are sensitive to odors or prefer working in well-ventilated areas. Choosing low odor or odorless craft glues can help alleviate this issue and make the crafting process more enjoyable.
Preparing the Table Surface for Gluing Bottle Caps
Preparing the table surface for gluing bottle caps is a meticulous process that involves several essential steps to ensure a strong and durable bond. Let’s delve into each step in detail:
- Clean and Sand the Surface: The first step is to thoroughly clean the table surface using a mild detergent or cleaner to remove any dirt, grease, or residue. Rinse it thoroughly and allow it to dry completely. Once dry, lightly sand the surface using fine-grit sandpaper. This creates a rough texture that helps the glue adhere better, ensuring a secure bond between the bottle caps and the table.
- Fill in any Gaps or Cracks: Carefully inspect the table surface for any gaps or cracks that may be present. If you find any, use a suitable filler like wood putty or epoxy resin to fill them in. Follow the manufacturer’s instructions for mixing and applying the filler, ensuring it is level with the rest of the surface. Allow the filler to dry and then sand it down until it is smooth and flush with the surrounding area. This step ensures a smooth and even surface for attaching the bottle caps.
- Apply a Primer (Optional): Depending on the material of your table surface, you may choose to apply a primer before gluing the bottle caps. A primer acts as an intermediary layer, creating a strong bond between the surface and the glue. Select a primer that is compatible with your table’s material, such as wood primer for wooden surfaces or metal primer for metal surfaces. Apply a thin and even coat of primer using a brush or roller, following the manufacturer’s instructions. Allow it to dry completely before proceeding.
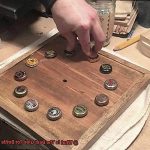
- Arrange the Bottle Caps: Before gluing the bottle caps, take some time to plan and arrange them in your desired pattern or design. Experiment with different layouts to find one that appeals to you visually. This step allows you to visualize how the finished table will look and make any necessary adjustments before starting the gluing process.
- Test Fit: Once you have finalized the arrangement of the bottle caps, do a test fit by placing them on the table surface without applying any glue. This step ensures that everything fits properly and allows you to make any necessary adjustments before permanently gluing them down. Take your time during this stage to achieve the desired placement.
- Apply the Glue: With the arrangement and fit of the bottle caps finalized, it’s time to apply the glue. Choose a high-quality adhesive that is suitable for the materials involved, such as a strong epoxy or multipurpose adhesive. Apply a small amount of glue to the back of each bottle cap, spreading it evenly with a brush or spatula. Work quickly as some adhesives have a short working time. The glue should be applied in an even layer to ensure a secure bond.
- Press and Hold: After applying the glue, carefully place each bottle cap onto the table surface in its designated spot. Press down firmly to ensure good contact between the cap and the surface. If needed, use a rubber mallet or a piece of scrap wood to gently tap the bottle caps into place, ensuring they are securely adhered to the table. Hold each cap in position for a few seconds to allow the glue to set.
- Clean Excess Glue: As you go along, periodically check for any excess glue that may squeeze out from underneath the bottle caps. This excess glue should be removed immediately before it dries using a damp cloth or sponge. Cleaning away excess glue ensures a neat and polished final result.
- Allow Time to Dry: Once all the bottle caps are glued in place, it is crucial to allow sufficient drying time as recommended by the adhesive manufacturer. Avoid placing any objects or applying pressure on the table during this time to prevent shifting or displacement of the bottle caps. Following the recommended drying time ensures that the glue fully cures, resulting in a strong and durable bond.
Applying the Glue to the Bottle Caps and Table Surface
Crafting a bottle cap table is a fun and creative project, but applying the glue to the bottle caps and table surface is a crucial step that requires attention to detail. By following these steps and using the right techniques, you can ensure that your bottle caps stay securely in place and create a stunning table surface.
First and foremost, it is essential to prepare your work area. Cleanliness is key, so make sure your work surface is clean and dry. Any dirt, dust, or moisture can interfere with the adhesive properties of the glue, resulting in weak bondings.
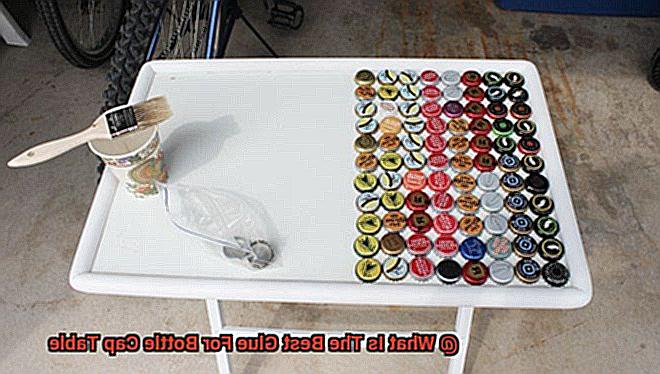
Once your work area is ready, it’s time to arrange the bottle caps. Experiment with different patterns and layouts until you find the one that suits your style and vision. This step will not only help you determine the amount of glue you need but also guide you in positioning each cap accurately.
Choosing the right glue is crucial for a successful project. Depending on the type of glue you are using, you may need to apply it directly to the bottle caps or spread it evenly on the table surface. Pay close attention to the instructions provided by the manufacturer to achieve optimal results.
When applying liquid glue, use a small brush or sponge applicator to apply a thin and even layer onto the back of each bottle cap. Ensure that you cover the entire surface that will come into contact with the table. If you opt for a glue gun, preheat it according to the manufacturer’s instructions. Use small dots or lines of glue on the back of each cap, being careful not to apply an excessive amount that might seep out when pressed onto the table surface.
Another option for securing your bottle caps is using adhesive sheets or double-sided tape. Cut them into small pieces that fit each cap’s back. Peel off one side of the protective backing and firmly press it onto the cap. Then remove the remaining backing and position the cap onto the table surface, pressing down firmly to ensure a strong bond.
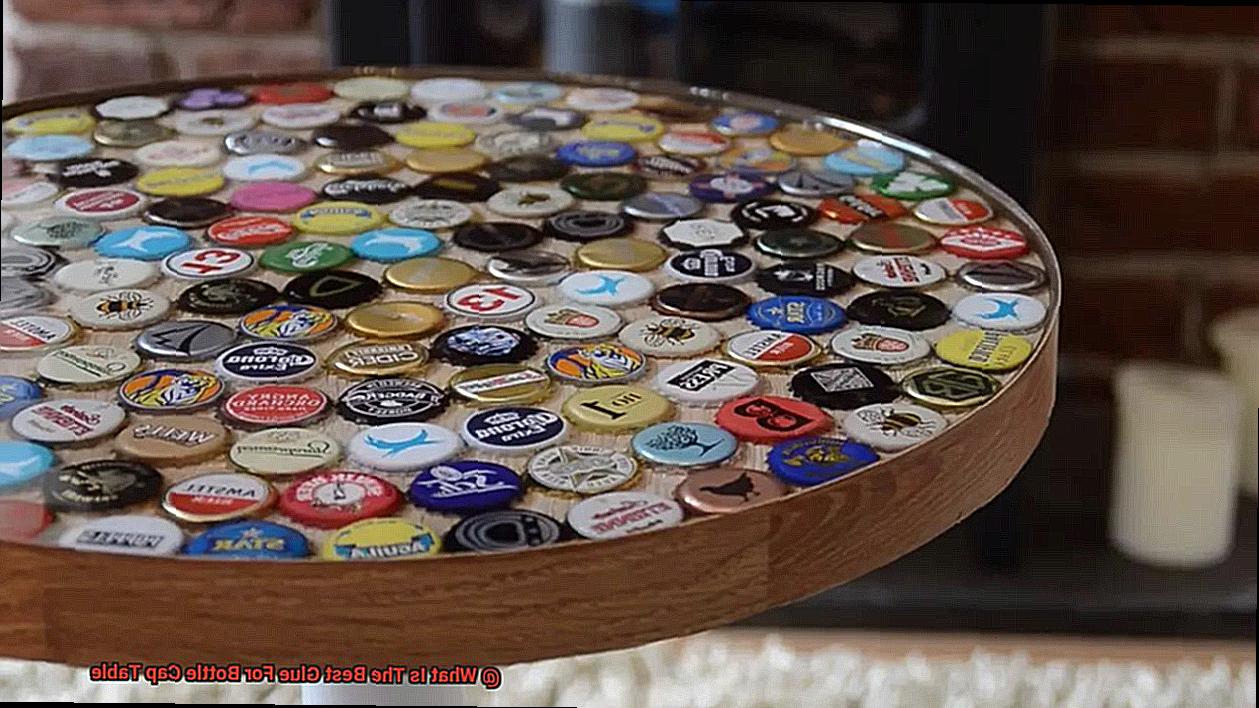
Once you have applied the glue or adhesive to all the bottle caps, carefully place them onto the table surface in your desired pattern. Press down firmly on each cap to ensure proper adhesion and create a secure bond between the cap and the table.
Allow the glue to dry completely before moving or using your bottle cap table. The drying time can vary depending on the type of glue used, so refer to the manufacturer’s instructions for guidance. It may take anywhere from a few hours to overnight for the glue to fully dry.
After the glue has dried, inspect your bottle cap table for any loose or improperly adhered caps. If necessary, apply additional glue to secure them in place and prevent any potential issues in the future.
Finally, take a moment to clean up any excess glue that may have seeped out from under the bottle caps or onto the table surface. Use a damp cloth or sponge to gently wipe away the excess glue, taking care not to disturb the caps.
KskStvuiqVM” >
Conclusion
When it comes to creating a stunning bottle cap table, choosing the right glue is essential. After careful research and testing, we have determined that the best glue for this project is epoxy resin adhesive. Its strong bond and durability make it perfect for securing bottle caps onto your table surface.
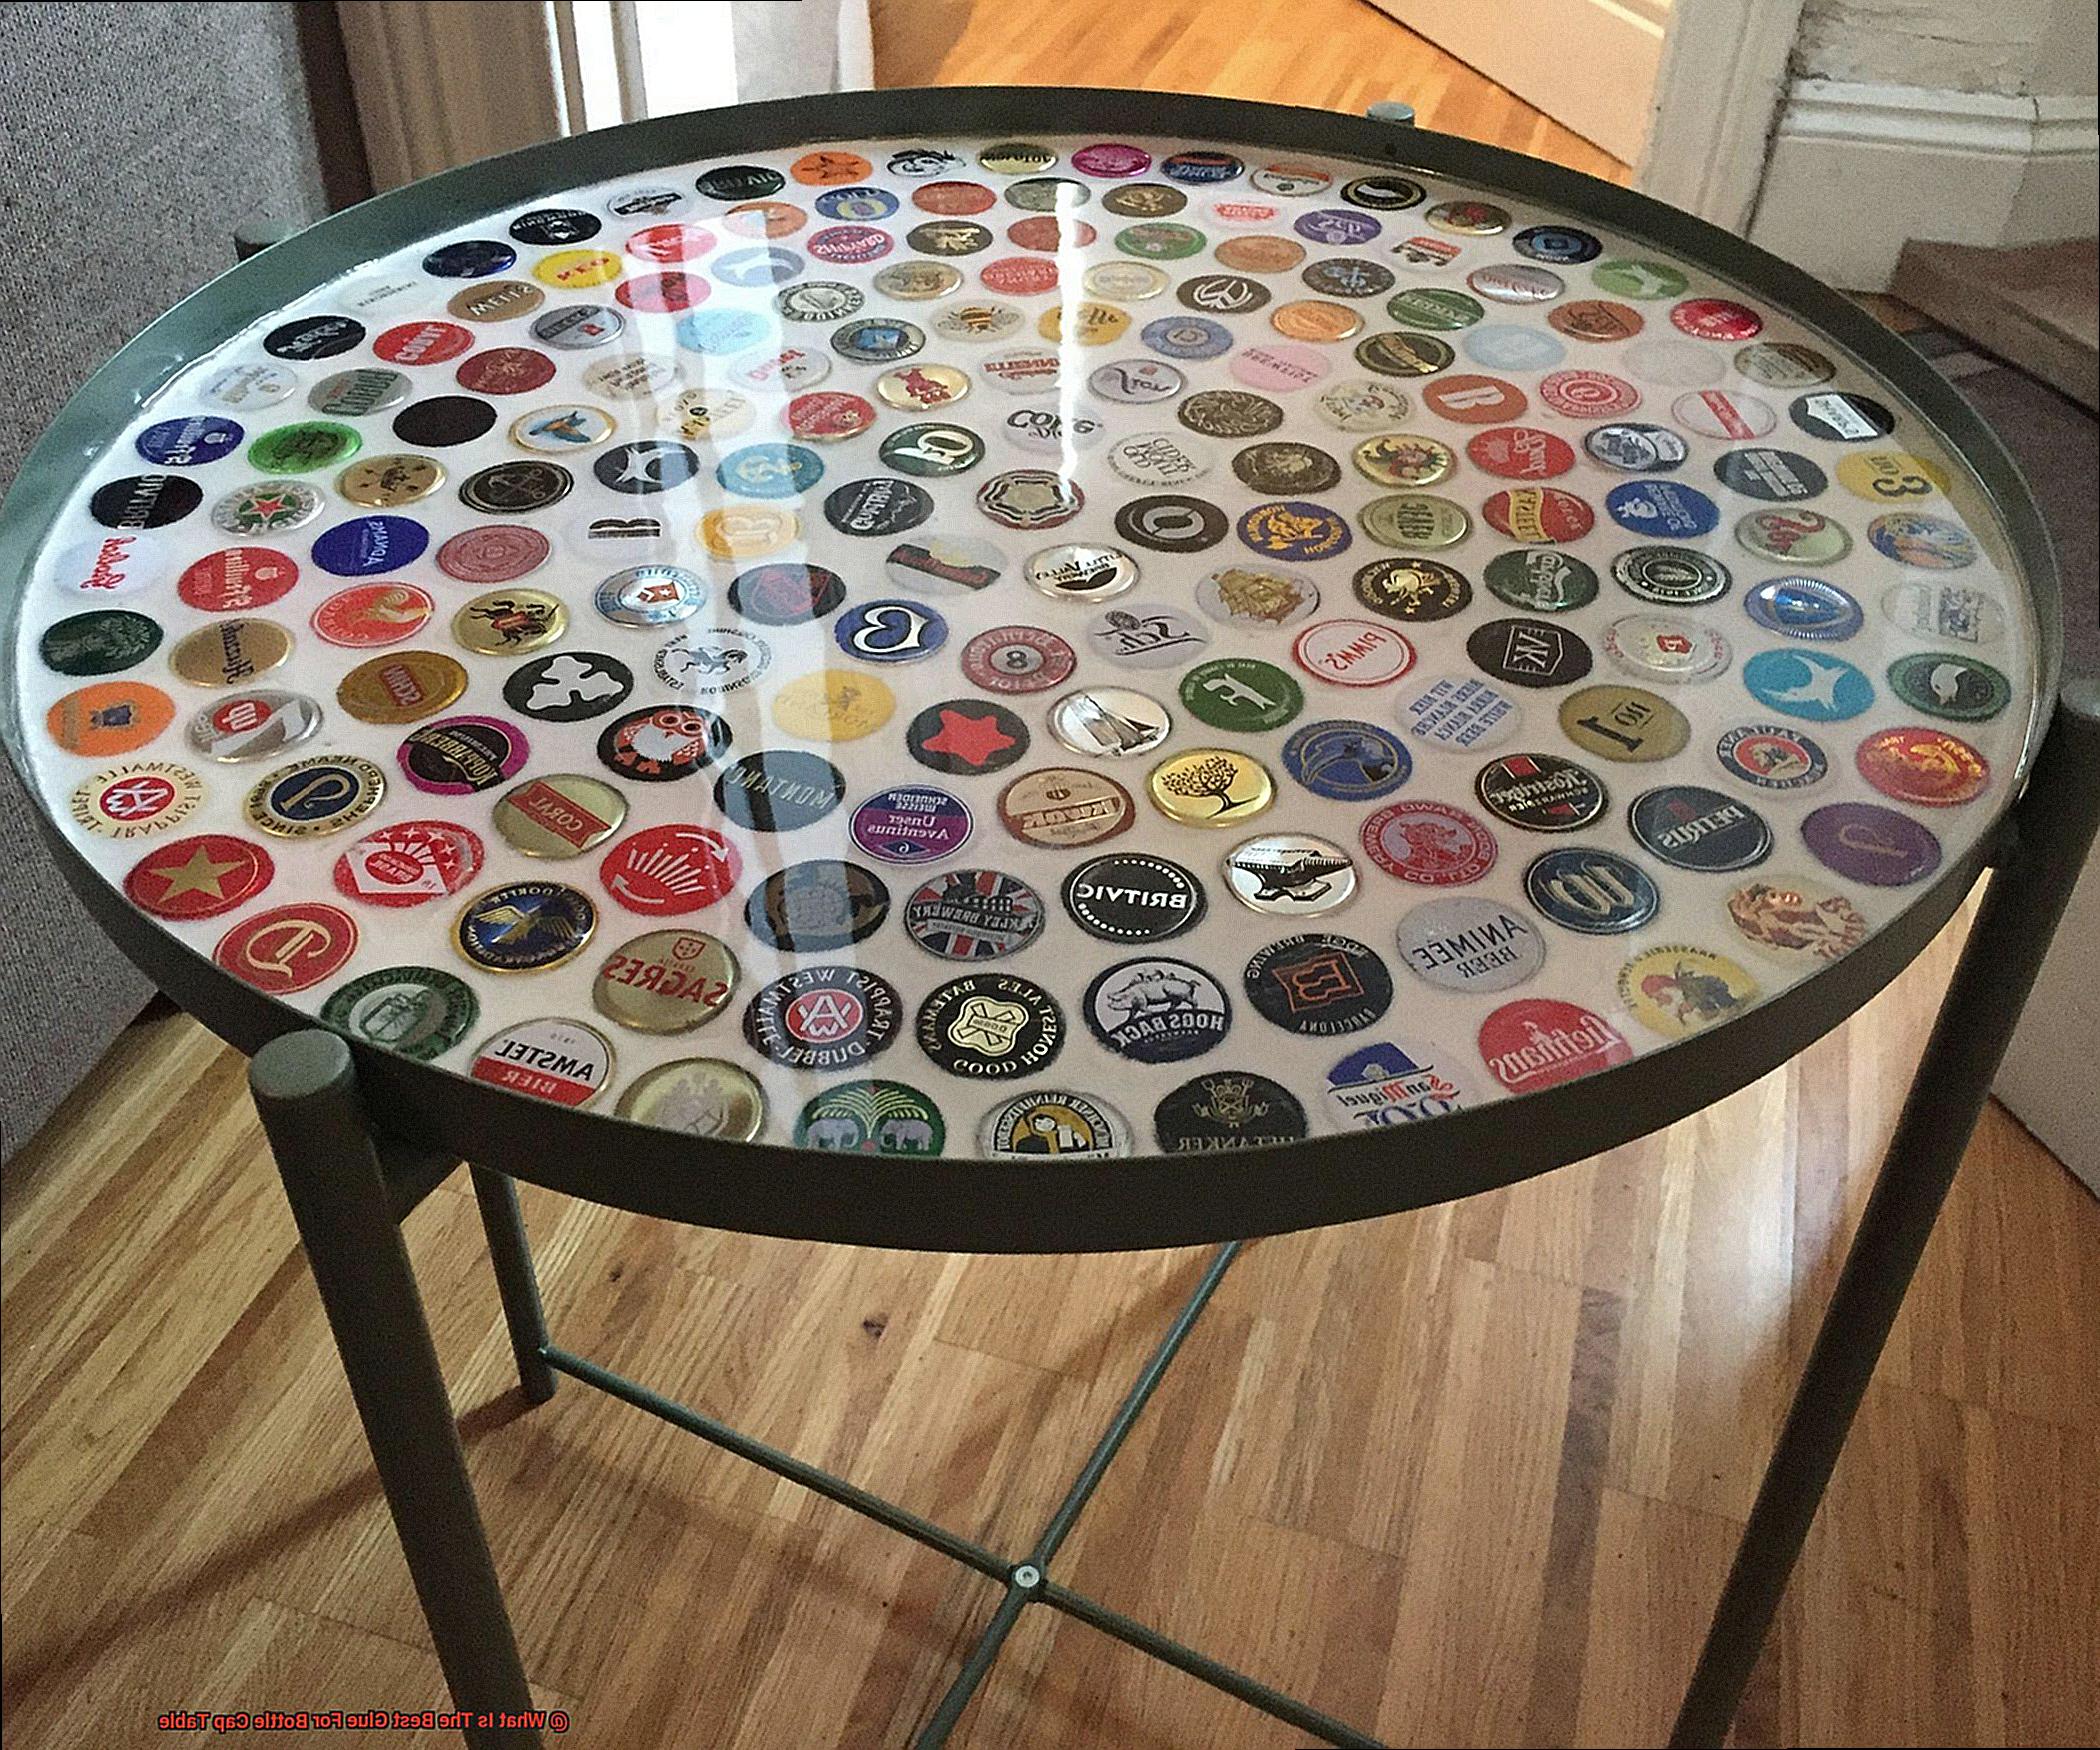
Epoxy resin adhesive not only provides a secure hold but also creates a smooth and glossy finish, enhancing the overall appearance of your table. Its ability to withstand heat, moisture, and daily wear and tear ensures that your bottle cap table will last for years to come.
Unlike traditional glues, epoxy resin adhesive dries clear, allowing the vibrant colors and designs of your bottle caps to shine through. This creates a visually striking centerpiece that will surely be a conversation starter in any room.
Applying epoxy resin adhesive is a straightforward process. Simply mix the two components according to the manufacturer’s instructions and spread it evenly over your table surface. Carefully arrange your bottle caps in your desired pattern, pressing them firmly into the adhesive.
As the epoxy resin cures, it forms a strong bond with both the bottle caps and the table surface, ensuring that they stay securely in place. Once fully cured, you can enjoy your beautiful bottle cap table without worrying about any loose or misplaced caps.
In conclusion, when it comes to gluing bottle caps onto a table surface, epoxy resin adhesive is undoubtedly the best choice. Its strong bond, durability, and ability to enhance the visual appeal of your project make it an ideal option for creating a stunning bottle cap table.