Now, it’s time to take it up a notch and give it that flawless finish.
But here’s the question: how can you sand JB Weld effectively without compromising its structural integrity? Don’t worry, my friend, because we’ve got your back.
In this blog post, we’re going to explore the best tools and techniques to achieve a smooth and polished surface on your JB Weld masterpiece. We’ll dive into everything from different sandpaper grits to power tools like sanders – so get ready to discover all the options available to you.
So grab yourself a cup of coffee, sit back, and let’s dive into the world of sanding perfection for your project.
What is JB Weld?
Contents
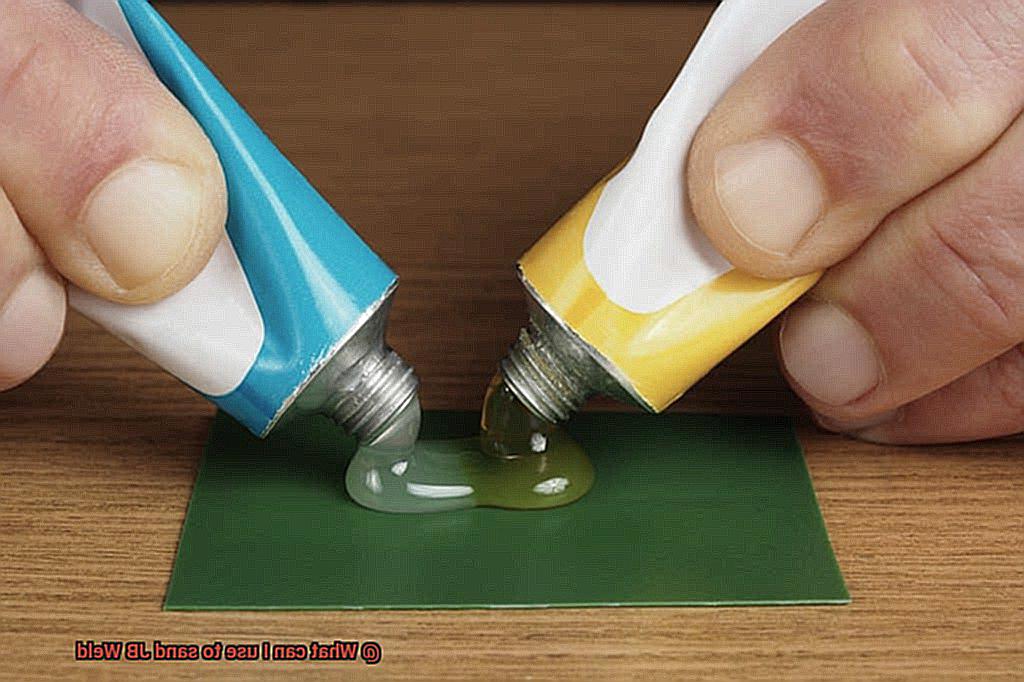
When it comes to adhesive solutions, one name rises above the rest – JB Weld. This extraordinary epoxy adhesive has been the go-to choice for DIY enthusiasts, hobbyists, and professionals for decades. In this comprehensive guide, we will delve into the wonders of JB Weld, exploring its exceptional versatility and bonding properties across a wide range of materials. We will also uncover the secrets to achieving a flawless finish through the art of sanding.
Versatility and Unbreakable Bonds:
JB Weld’s true strength lies in its unparalleled versatility. Whether you need to repair metal, wood, plastic, ceramic, or any other material, JB Weld is up to the task. Its unique two-part epoxy composition, consisting of resin and hardener, undergoes a chemical reaction that creates an unbreakable bond. This adhesive is also resistant to water, chemicals, and high temperatures, making it ideal for both indoor and outdoor applications.
Filling Gaps and Mastering Sanding:
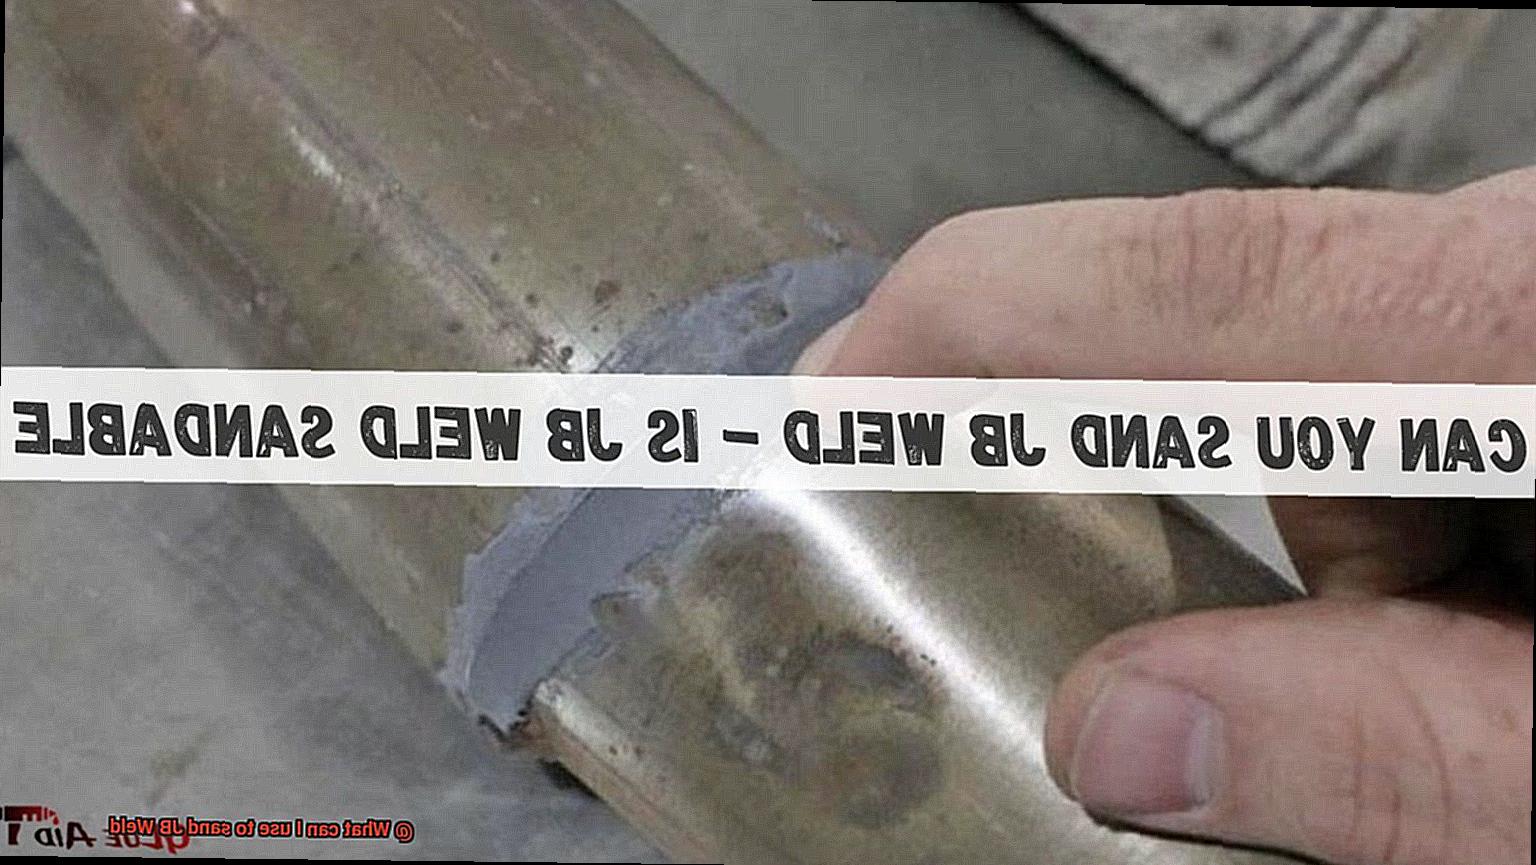
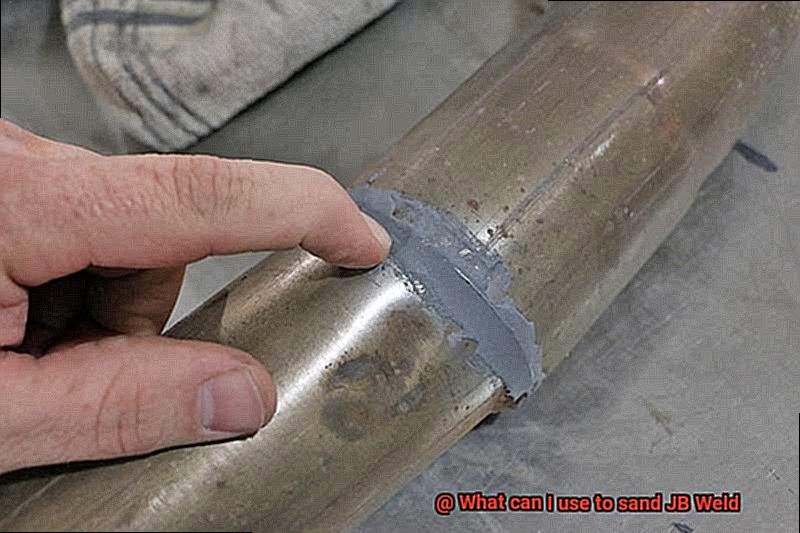
JB Weld does more than just bond materials together – it fills gaps and voids in damaged surfaces with ease. What’s more, its remarkable ability to be sanded down after curing allows for a seamless finish that will leave your repairs looking flawless. To achieve this impeccable result, follow these essential steps:
- Allow JB Weld to fully cure for approximately 24 hours.
- Gather your tools: medium-grit sandpaper (around 120-220), a sanding block or sponge.
- Begin sanding in a smooth back-and-forth motion with consistent pressure.
- Patience is key – work gradually and periodically check your progress.
- Maintain visibility by wiping away dust and debris during the process.
- Switch to finer grit sandpaper (320 or higher) for an even smoother finish.
- Thoroughly clean the sanded area to remove any lingering dust or debris.
JB Weld is the adhesive solution that you have been searching for – reliable, versatile, and capable of achieving flawless results. Its exceptional bonding properties and resistance to various elements make it an essential tool in any DIY toolkit or professional workshop. From filling gaps to achieving a seamless finish through sanding, JB Weld ensures that your repairs are not only strong but also visually appealing.
Tools and Materials Needed for Sanding JB Weld
When it comes to sanding JB Weld, there are a few tools and materials you’ll need to achieve that flawless finish. Let’s dive into the essentials that will take your DIY projects to the next level.
First up, grab some sandpaper. It comes in various grit sizes, from coarse to fine. Coarse grits like 60 or 80 are perfect for shaping and removing excess material, while finer grits like 120 or 220 will give you that smooth and polished finish you desire. Keep a variety of grits on hand for different sanding requirements.
Next, get yourself a sanding block. This trusty tool holds the sandpaper securely in place and provides a flat and even surface for sanding. It distributes pressure evenly, ensuring you don’t create uneven surfaces or accidentally gouge your project. Choose a sanding block that suits your needs, as they come in different shapes and sizes.
For larger or more extensive projects, consider using a power sander. This mighty tool automates the sanding process, saving you time and effort. Random orbital sanders or detail sanders offer versatility and precision. Just be careful not to remove too much material too quickly.
Now, let’s talk safety. Sanding generates fine particles and debris that can be harmful if inhaled. Protect yourself with a dust mask or respirator designed specifically for particle filtration. Ensure a snug fit for maximum effectiveness. Don’t forget to shield your eyes too. Wear safety glasses or goggles throughout the sanding process.
While not always necessary, gloves can be beneficial when working with sandpaper. They protect your hands from rough surfaces or potential skin irritation. Nitrile or latex gloves offer good dexterity and tactile sensitivity while acting as a barrier against abrasives and chemicals.
Last but not least, grab a clean cloth or tack cloth. After sanding, it’s essential to remove any dust or debris from the surface before moving on to painting or finishing. A simple wipe-down with a clean cloth or tack cloth will give you that clean and smooth surface you desire.
Ensuring the JB Weld is Fully Cured
So, you’ve used JB Weld to bond, repair, or fill various materials, and now you’re ready to sand it down for a smooth and polished finish. But before you dive in with your sandpaper, it’s crucial to ensure that the JB Weld is fully cured. In this comprehensive guide, we will walk you through the necessary steps to guarantee that your JB Weld is rock solid before you start sanding.
First and foremost, let’s cover some basics. JB Weld is a two-part epoxy adhesive renowned for its exceptional strength and versatility. It has become a staple for both DIY enthusiasts and professionals tackling a wide range of projects. Curing is the process in which the adhesive hardens and reaches its maximum strength. Typically, JB Weld takes approximately 24 hours to achieve full cure, though this may vary based on variables like temperature and humidity.
To ensure that your JB Weld is fully cured, it’s essential to carefully follow the manufacturer’s instructions. Begin by thoroughly mixing the two parts of the epoxy adhesive in the correct ratio. An improper mix can result in incomplete curing, so take your time and get it right.
Once you’ve applied the JB Weld, it’s time to let it cure undisturbed. Find a well-ventilated area at room temperature and allow the adhesive to settle. It is crucial to avoid exposing it to extreme temperatures, as this can significantly impact the curing process.
Now comes the virtue of patience. While JB Weld may feel hard to the touch after a few hours, it is crucial to provide sufficient curing time before proceeding with sanding. Premature sanding can lead to a gummy or soft surface that won’t yield optimal results. So resist the temptation to rush ahead and give it plenty of time.
To check if your JB Weld is fully cured, perform a fingernail test. Gently press your fingernail into the surface of the adhesive. If it leaves an indentation or feels soft, it means that the epoxy hasn’t fully cured. Conversely, if the surface feels hard and your fingernail doesn’t leave a mark, it’s likely that the JB Weld has achieved full cure.
In some cases, especially when applying a thicker layer of JB Weld or when curing conditions are less than ideal, it may take longer for the adhesive to fully cure. Therefore, exercising patience and allowing sufficient time for the epoxy to harden completely is crucial for optimal results.
Once you’re confident that your JB Weld is fully cured, you can proceed with sanding. Begin with a coarse grit sandpaper to remove any excess material or rough surfaces. As you progress, gradually transition to finer grits for a smoother finish. Coarse grits like 80 or 120 are excellent for initial shaping, while finer grits like 220 or 320 will provide that polished look you desire.
Remember to prioritize safety by wearing protective gear such as goggles and a dust mask while sanding to safeguard your eyes and lungs from epoxy dust. After sanding, ensure to meticulously clean the surface to eliminate any residue or dust using a soft brush, compressed air, or a damp cloth.
Starting the Sanding Process
Step into the world of JB Weld, where adhesive magic happens. If you’ve experienced the unmatched strength of this incredible glue, you know it’s a game-changer for bonding, repairs, and filling. But what about those rough edges or imperfections that may remain after the epoxy has cured? Fear not, my friend. It’s time to dive into the sanding process and unleash your skills to achieve that smooth and polished finish you desire. Let’s get started.
Step 1: Curing is Key
Before we embark on the sanding journey, we must ensure that our JB Weld has fully cured. Patience is our ally here – while it typically takes around 4 to 6 hours, waiting at least 24 hours will yield optimal results. Trust me, this extra time investment will pay off.
Step 2: Gather Your Arsenal
To conquer the sanding process, arm yourself with the necessary tools. Grab some fine grit sandpaper (220 or higher), a sanding block or sponge, and don’t forget your safety gear – goggles and a dust mask to shield yourself from stray particles.
Step 3: Prepare the Battlefield
Cover nearby surfaces with a drop cloth or newspaper to prevent dust and debris from spreading. We don’t want to create chaos while perfecting our masterpiece.
Step 4: Mastering the Art of Sanding
Grasp your sandpaper firmly and begin gently gliding it back and forth over the cured JB Weld surface. Remember, even pressure is the secret ingredient – don’t go too hard or you risk causing damage. For larger areas, opt for a sanding block or sponge for enhanced control and uniform sanding.
Step 5: Assess Your Progress
Periodically inspect the surface for smoothness as you work your way through the sanding process. Remove any accumulated dust or debris to ensure you’re on track to achieving that desirable finish.
Step 6: Level Up if Needed
If you crave an even smoother finish, switch to a finer grit sandpaper. But tread carefully – don’t over-sand, as this could weaken the epoxy bond. Be gentle and precise.
Step 7: Cleanse and Polish

Once you’re satisfied with the smoothness of your sanded JB Weld, it’s time for a thorough cleaning to eradicate any lingering dust or residue. Elevate your creation by polishing it with a fine polishing compound or wax. This will restore its shine and provide an additional layer of protection.
Step 8: Safety Above All
Remember, safety is paramount throughout the sanding process. Always prioritize wearing your protective gear and create a well-ventilated workspace for a pleasant sanding experience.
Working Gradually and Patiently
If you’re a glue enthusiast like me, you know that JB Weld is a true gem in the adhesive realm. But what happens when you’re faced with those pesky imperfections? Fear not, my friend. It’s time to unleash the power of sanding and unlock the secrets to a flawless finish. So grab your sandpaper and let’s embark on this exciting sanding adventure.
The Virtue of Patience:
Before we dive into the enchanting world of sanding, it’s crucial to exercise patience. Give your JB Weld ample time to cure completely before you pick up that sandpaper. While it may be tempting to rush through this step, remember that patience pays off in the form of smooth and professional results.
Equipping Yourself for Success:
To conquer the art of sanding, you’ll need a few tools by your side. Arm yourself with sandpaper of different grits, starting with a coarse one like 80 or 120 to tackle major imperfections. Gradually progress to finer grits like 220 or 320 for a smoother finish. Consider using a sanding block or sponge for added stability and control.
Dancing with the Sandpaper:
Now comes the fun part – it’s time to dance with your sandpaper. Hold it firmly but not too tightly, and apply light pressure as you move it in a circular motion or back and forth over the JB Weld surface. Remember, consistency is key here; avoid dwelling on one spot for too long to prevent unevenness.
Embrace Evaluation:
As you make your way through the sanding process, take breaks to evaluate your progress. Check for smoothness and any remaining imperfections that need your attention. If necessary, switch to a finer grit of sandpaper to achieve that desired level of perfection. This step is all about attention to detail and taking the time to make adjustments.
A Clean Canvas:
Maintaining a clean working environment is vital for a flawless finish. Dust and debris can interfere with the sanding process and even cause scratches on your precious JB Weld. Regularly brush off any particles from both the surface being sanded and the sandpaper itself using a lint-free cloth.
Working gradually and patiently when sanding JB Weld is the secret ingredient to achieving glue perfection. Allow the epoxy to cure fully, gather your tools, and take your time moving through different grits of sandpaper.
Remember to evaluate your progress and maintain a clean workspace. By following these steps, you’ll create a masterpiece that’s smooth, refined, and a testament to your glue expertise. So go forth and conquer, my fellow glue enthusiasts.
The Virtue of Patience:
Before diving into the enchanting world of sanding, it’s crucial to exercise patience. Give your JB Weld ample time to cure completely before picking up that sandpaper. Remember, patience pays off in the form of smooth and professional results.
Equipping Yourself for Success:
To conquer the art of sanding, arm yourself with sandpaper of different grits. Start with a coarse grit like 80 or 120 to tackle major imperfections, gradually progressing to finer grits like 220 or 320 for a smoother finish. Consider using a sanding block or sponge for added stability and control.
Switching to Finer Grits as Needed
Today, we delve into the art of achieving a flawless finish by switching to finer grits as needed. Prepare to be amazed as we unlock the secrets to perfecting your masterpiece.
Imagine this: you have meticulously applied JB Weld, but imperfections threaten to mar its beauty. Fear not. Sanding is here to save the day. But why start with a coarse grit sandpaper? It’s all about laying the foundation for perfection. Coarse grits, ranging from 60 to 120, help remove excess material and smooth out the surface, creating a pristine canvas for your artistic vision.
Now, let’s talk finesse. As your surface becomes smoother, it’s time to transition to finer grits. This gradual shift ensures a polished finish without harming your precious creation. Sandpapers with grits between 150 and 400 are your allies in achieving that glorious smoothness you desire. With each pass, you’ll witness the transformation from rough to refined.
But here’s the twist: every application and desired level of smoothness may vary. To ensure you’re on the right track, consult the manufacturer’s instructions or seek advice from experts in the field. They possess the wisdom to guide you towards the perfect grits for your specific needs, eliminating any doubts along the way.
Remember, my friends, progress is key. As you embark on your sanding adventure, don’t hesitate to check your work. Run your hand over the sanded surface to assess its smoothness. If further sanding with finer grits is needed, fear not. You’re on the right path to perfection.
We mustn’t forget an important rule: use a light touch. Excessive pressure can lead to uneven surfaces or remove too much material. Gracefully glide that sandpaper over your JB Weld, allowing it to work its magic, gently erasing imperfections with each stroke.
As you near the end of your sanding journey, take a moment to bask in the satisfaction of a job well done. But before you celebrate, ensure your masterpiece is spotless. Thoroughly clean the surface, removing any residual dust or debris. This final touch ensures a pristine canvas for future steps like painting or applying a protective coating, taking your creation to new heights of perfection.
Cleaning the Sanded Area Thoroughly
Cleaning the sanded area thoroughly is an absolute must when it comes to working with JB Weld. After all that hard work sanding, we don’t want any pesky particles getting in the way of our perfect bond. So, let’s dive into the details of this crucial step and make sure we’re armed with the right tools and techniques.
First things first, we need to get rid of any dust, debris, or residue that may have settled on the sanded surface. These little troublemakers can act as barriers between our adhesive and our project, sabotaging our hard work. And nobody wants a subpar result, right? So, let’s kick them to the curb.
One option to clean the sanded area is by unleashing the power of compressed air or a trusty can of compressed air. A quick blast will blow away those stray particles and leave us with a pristine surface ready for bonding. It’s like a mini tornado cleaning party.
If you prefer a more hands-on approach, grab a soft brush or a clean, dry cloth and gently wipe away any remaining dust or debris. We’re talking about a delicate touch here – no rough scrubbing allowed. Remember, we want to preserve that beautifully sanded surface, not damage it.
Now, what if we encounter sticky or greasy residues? Don’t panic. We’ve got a secret weapon – a mild solvent or cleaner. Just make sure to choose one that won’t harm your materials and follow those manufacturer’s instructions like a boss. Isopropyl alcohol is often our trusty sidekick – it evaporates in a flash and leaves no residue behind. But hey, always test it on a small area first before going all-in.
- Once our sanded area is spotless, here’s an important tip – let it dry completely before moving forward. Moisture or wet surfaces can throw a wrench in the works and mess with our adhesive’s performance. So, be patient, grab a cup of joe, and let that surface dry to perfection. Trust me, it’ll be worth the wait.
- Oh, one last thing – safety first, my friends. When using solvents or cleaners, protect those hands with gloves, shield those eyes with protective eyewear, and work in a well-ventilated area. Safety is always cool.
vRNPNju4ZjU” >
Also Read: Can You Put JB Weld Over JB Weld? – The Welding Guru
Conclusion
When it comes to sanding JB Weld, there are a few options you can consider.
One popular choice is using sandpaper. The grit of the sandpaper will determine how smooth or coarse the finish will be.
Start with a lower grit, such as 80 or 120, to remove any rough edges or excess material. Then, gradually move up to higher grits like 220 or even 400 for a finer finish.
Another option is using a rotary tool with sanding attachments. This allows for more precise control and access to hard-to-reach areas.
Just be sure to use gentle pressure and keep the tool moving to avoid overheating the JB Weld. Additionally, you can use abrasive pads or sponges specifically designed for sanding purposes.
These pads are usually color-coded based on their level of abrasiveness, making it easy to choose the right one for your needs. Finally, if you’re working on larger surfaces or need a quicker solution, an electric sander can be a time-saving option.
However, make sure to use it carefully and follow all safety precautions.