Imagine this: you’re nestled in your cozy air mattress, enjoying the peace and quiet of the great outdoors. Suddenly, you hear a hissing sound that shatters your tranquility. You check your mattress and find a hole that’s ruining your restful night’s sleep. Or maybe you’re hosting guests and realize that your air mattress has lost air and is now unusable. In either case, you might be wondering what to use to fix a hole in an air mattress. Well, worry no more.
Air mattresses are becoming increasingly popular for their portability and convenience. However, they can develop leaks or punctures over time, leaving you with a deflated bed. But don’t panic. With some handy tools and the right fixing techniques, you can repair your air mattress and restore it to its former glory.
In this comprehensive guide, we’ll provide you with a range of options for what to use to fix a hole in an air mattress – including quick fixes that will help you drift off into dreamland without any interruptions.
Plus, we’ll offer tips on how to prevent future tears and prolong the life of your air mattress. No matter what caused the issue, this guide will have you sleeping easy again in no time at all.
What Causes Holes in Air Mattresses?
Contents
- 1 What Causes Holes in Air Mattresses?
- 2 What is the Best Way to Fix a Hole in an Air Mattress?
- 3 Patch Kits for Air Mattresses
- 4 Using Glue to Repair a Hole in an Air Mattress
- 5 DIY Solutions for Fixing a Hole in an Air Mattress
- 6 Choosing the Right Adhesive or Patch Kit for Your Air Mattress
- 7 How to Apply the Adhesive or Patch Kit Properly
- 8 Tips for Keeping Your Air Mattress Intact and Safe
- 8.1 Choose a durable air mattress
- 8.2 Avoid sharp objects around your air mattress
- 8.3 Use a protective layer between the mattress and the ground
- 8.4 Inflate the mattress to the recommended level
- 8.5 Store your air mattress properly
- 8.6 Avoid sharp objects
- 8.7 Keep away from heat sources
- 8.8 Use a protective cover
- 8.9 Inflate properly
- 9 Conclusion
Air mattresses have become a popular bedding option for many individuals, providing a convenient and comfortable sleeping surface, especially for those who love camping or have limited space in their homes. However, holes in air mattresses can quickly turn a peaceful slumber into an uncomfortable experience. Understanding what causes these holes is crucial for preventing them from happening and prolonging the life of your mattress.
One common cause of holes in air mattresses is wear and tear. Over time, the material of the mattress can become thin and brittle, making it prone to punctures and tears. Exposure to extreme temperatures such as leaving the mattress outside in the sun or storing it in a cold garage can worsen this problem. Therefore, proper storage and avoiding exposure to extreme temperatures are essential.
Accidental damage is another significant cause of holes in air mattresses. Sharp objects such as rocks, sticks, or pet claws can easily puncture the mattress’s surface, causing leaks. Additionally, sitting on the edge of an air mattress or over-inflating it can put undue pressure on the seams and cause them to split or tear. Hence, it’s essential to use your air mattress with caution and avoid placing sharp objects near it.
Poor maintenance practices are also a contributing factor to holes in air mattresses. Neglecting to clean or store your mattress properly can lead to the accumulation of dirt and debris that can weaken the material and cause it to break down over time. Therefore, cleaning your air mattress regularly and storing it in a dry and clean place is necessary.
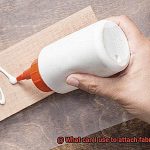
If you discover a hole in your air mattress, there are several options available for fixing it. One of the most common solutions is to use a specialized patch kit designed specifically for air mattresses that includes a patch and an adhesive that seals the hole effectively. Alternatively, you may use strong glue like super glue or epoxy; however, ensure that the glue you use is strong enough to hold up against the pressure of the air inside the mattress while also being flexible enough to move with the material.
What is the Best Way to Fix a Hole in an Air Mattress?
Air mattresses are a fantastic invention for anyone who loves camping, or just needs a quick and easy sleeping solution. Unfortunately, a hole in your air mattress can quickly turn your peaceful slumber into a frustrating experience. Fear not, as an expert in the field, I am here to give you the scoop on the best way to fix a hole in an air mattress.
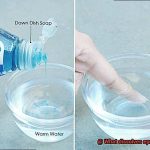
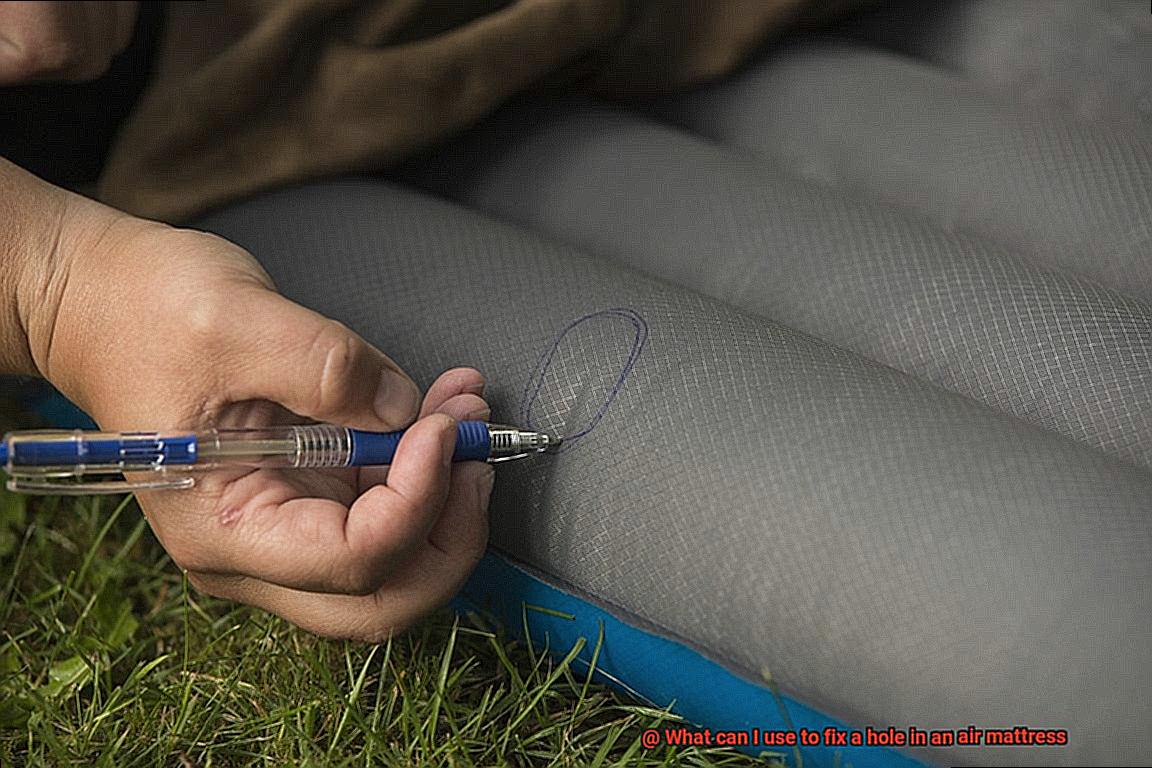
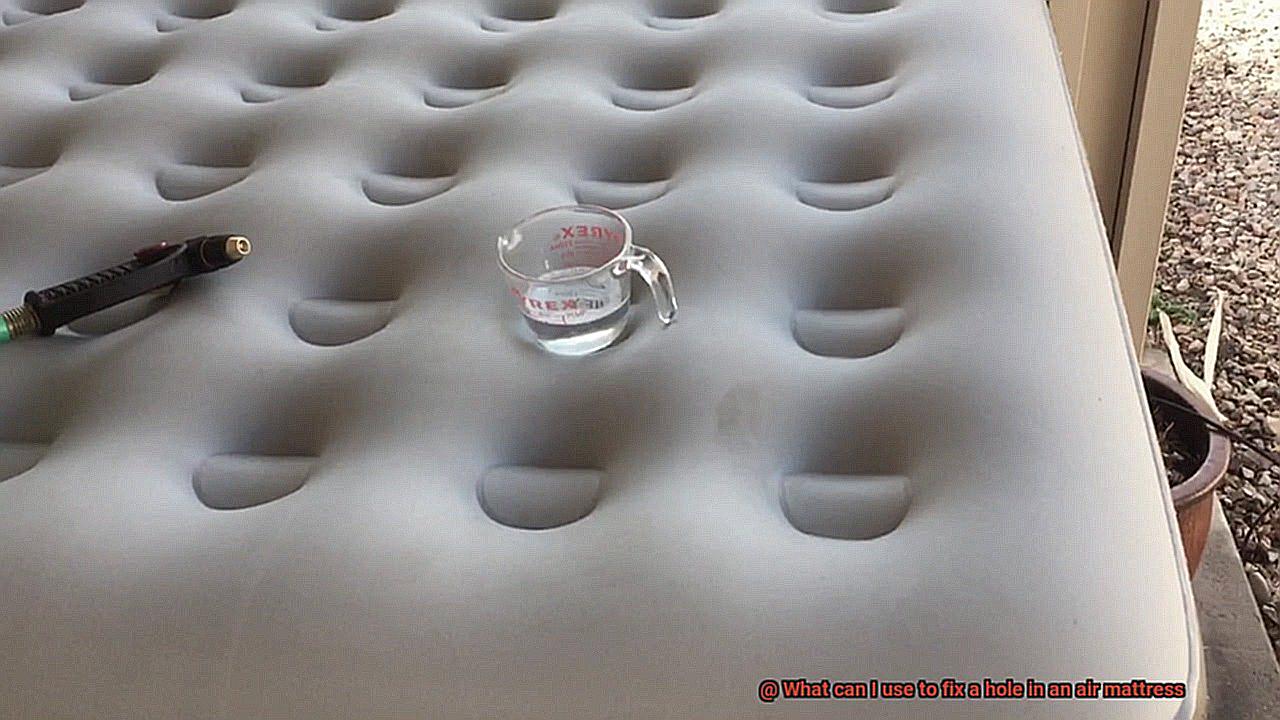
Firstly, it is crucial to locate the hole. There are two primary methods for doing this: inflating the mattress and listening for a hissing sound or applying soapy water to the surface of the mattress and looking for bubbles where air is escaping. Once you have located the hole, you can determine the best method for repairing it.
For small holes, a patch kit is usually the easiest and most effective solution. These kits typically include a patch and adhesive that can be applied directly to the hole. Begin by cleaning the area around the hole with rubbing alcohol and allowing it to dry completely. Then, apply the adhesive to the patch and press it firmly over the hole, ensuring that there are no air bubbles.
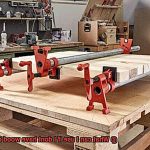
Larger holes require a stronger adhesive such as super glue or contact cement. These adhesives can bond to a wider area and create a more secure seal. It is vital to only use them on surfaces that are entirely clean and dry. Follow the manufacturer’s instructions on how to apply the adhesive, and hold the edges of the tear together until it dries completely.
If you have a tear that is too large for a single patch, you may need to use multiple patches or even a combination of patches and adhesive to repair it adequately. In any case, taking your time and following instructions is critical to ensure that your air mattress is repaired correctly.
Patch Kits for Air Mattresses
When you’re out on a camping trip, discovering a hole in your air mattress can quickly put a damper on things. Fortunately, patch kits for air mattresses are an easy and budget-friendly solution that can save your trip and keep you sleeping soundly all night long.
Patch kits for air mattresses are readily available in the market and come with all the necessary tools and materials required to fix a leak. Typically, these kits include glue or adhesive, a patch, and sometimes a sandpaper or roughing tool to prepare the surface of the mattress.
To use a patch kit, it’s crucial to read the instructions provided carefully. Generally, you’ll need to clean the area around the hole thoroughly, roughen it up with sandpaper, apply the glue or adhesive, and then place the patch over the hole. It’s vital to allow the glue to dry completely before inflating the mattress again.
Patch kits come in various sizes, so it’s essential to choose one that is appropriate for the size of the hole in your air mattress. It’s also worth noting that patch kits may not provide a permanent solution and may need to be reapplied over time.
It’s advisable to keep a patch kit on hand if you frequently use an air mattress. You never know when an accident may occur, and having a patch kit readily available can be a lifesaver. Patch kits can be found in most sporting goods stores or online retailers. Some companies even sell specialized patch kits for their own brand of air mattresses.
Using Glue to Repair a Hole in an Air Mattress
Imagine yourself in the middle of a camping trip, surrounded by nature’s beauty, and suddenly, you hear a hissing sound. The air mattress that you’re relying on for a good night’s sleep has a hole in it. But don’t panic, using glue to repair a hole in an air mattress is an easy and affordable solution. However, not all glues are created equal, and it’s important to choose the right type of glue to ensure a successful repair.
One of the most commonly used glues for repairing air mattresses is PVC glue. This specialized glue is designed to work with PVC materials, making it ideal for fixing small holes. It works by softening the PVC material, allowing it to bond together when pressed firmly. Another option is rubber cement, which works well for small punctures and tears. When applying rubber cement, make sure to use thin layers and let each layer dry completely before adding another layer.
It’s crucial to note that not all types of glue are suitable for repairing air mattresses. Avoid using superglue or other adhesives that are not designed for use with PVC materials, as they can cause further damage to the air mattress.
When using glue to repair a hole in an air mattress, always follow the manufacturer’s instructions carefully. Make sure that the surface area around the hole is clean and dry before applying the glue. Hold the edges of the hole together firmly until the glue is fully dried to ensure a successful repair that lasts longer.
DIY Solutions for Fixing a Hole in an Air Mattress
Imagine the perfect camping trip: surrounded by nature’s beauty, breathing in fresh air, and enjoying a good night’s sleep on your trusty air mattress. But suddenly, you hear a hissing sound. You’ve got a hole in your air mattress. Don’t panic. As an expert in this field, I have researched several DIY solutions to fix a hole in an air mattress that won’t break the bank.
Firstly, one of the most common solutions is using glue or adhesive to patch the hole. There are several types of glue to consider depending on your needs. Silicone adhesive is durable and water-resistant making it ideal for outdoor or humid environments. Super glue is a quick and easy fix for small holes but should be used sparingly as it can damage the material of the air mattress. Vinyl repair kits are designed specifically for vinyl materials, including air mattresses and are affordable and easy-to-use options for bigger holes.
Before applying any adhesive, proper preparation is essential. Clean and dry the area around the hole before application to ensure a long-lasting repair.
If you don’t have any materials on hand or need a quick temporary fix, duct tape can be used. However, keep in mind that duct tape should not be used as a permanent solution as it can peel off over time.
In summary, DIY solutions for fixing a hole in an air mattress can save you both money and trouble. By choosing the right type of glue or adhesive and preparing the area properly before applying it, you can extend the life of your air mattress and enjoy your camping trip without any worries.
Choosing the Right Adhesive or Patch Kit for Your Air Mattress
Imagine you’re in the middle of a relaxing camping trip, surrounded by stunning scenery, when suddenly you hear a dreaded hissing sound. Your air mattress has a hole. Fear not, as an expert in air mattress repair, I’m here to help you choose the right adhesive or patch kit to fix your beloved air mattress and ensure a restful night’s sleep.
There are several options available on the market, each with its own strengths and weaknesses. The three most common options are contact cement, patch kits, and specialized adhesives.
Contact cement is ideal for fixing larger tears or holes. It creates a permanent bond between surfaces, but it does require some skill and practice to apply correctly. You’ll need to apply it evenly and allow it to dry completely before joining the two surfaces.
Patch kits are perfect for repairing smaller holes and tears. These kits usually come with pre-cut patches made from vinyl or other synthetic materials that can be glued onto the damaged area using a special adhesive. They’re easy to use, but make sure you choose the right size patch for your hole to ensure adequate coverage.
Specialized adhesives are designed specifically for inflatable products like air mattresses. They come in tubes or cans and can be applied directly to the damaged area using a brush or other applicator. They’re easy to use and provide a strong bond, making them a great option for quick repairs.
When choosing which adhesive or patch kit is best for your situation, consider the size and location of the hole as well as your personal preference and experience with different types of adhesives.
To ensure a successful repair that lasts over time, carefully read and follow the instructions provided with any repair product. A poorly executed repair job could cause further damage or even render your air mattress unusable.
How to Apply the Adhesive or Patch Kit Properly
Don’t worry, fixing a hole in your air mattress is easy with the right tools and techniques. Follow these steps to apply an adhesive or patch kit properly and get back to catching some Zs.
Step 1: Clean the Area Around the Hole
Before applying any adhesive or patch, make sure that the area around the hole is clean and dry. Any debris or moisture can prevent the adhesive from properly bonding with the surface of the mattress. Use a clean cloth and some rubbing alcohol to clean the area thoroughly.
Step 2: Apply the Adhesive or Patch Kit
When applying adhesive or patch kit, less is more. Only apply a small amount of adhesive to the patch or directly onto the hole. Applying too much can cause the patch or adhesive to become lumpy and uneven. Instead, apply several thin layers.
If you’re using a self-adhesive patch, carefully place it over the hole and press firmly to ensure good adhesion. Smooth out any bubbles or wrinkles. If you’re using adhesive only, wait for it to dry before moving on to the next step.
Step 3: Ensure Proper Adhesion
It’s important to ensure that the adhesive or patch is applied evenly and smoothly, without any air bubbles or wrinkles. Use a roller or credit card to smooth out any imperfections and ensure that the adhesive or patch adheres properly.
Step 4: Wait for Drying Time
Allow the adhesive or patch kit to dry completely before inflating the air mattress. This may take several hours, so be patient and avoid putting any weight on the repaired area until it is fully cured. Check the product instructions for specific drying times.
Step 5: Inflate and Test
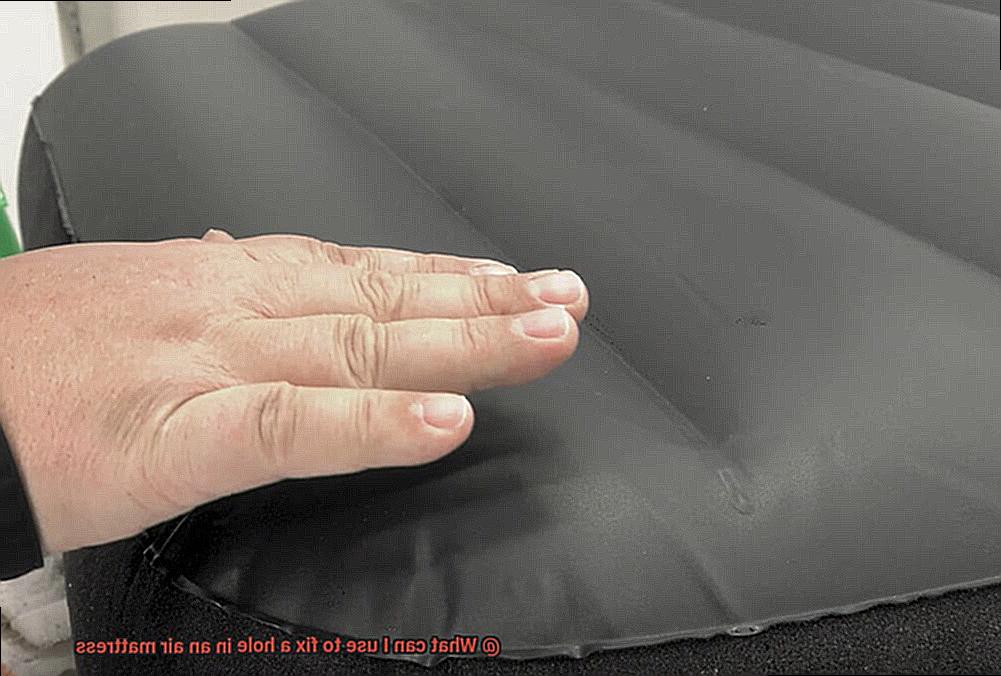
Once you’ve allowed enough time for drying, inflate your air mattress and check for leaks. Listen for any escaping air or squeeze the mattress with your hands to feel for any leaks.
If there are still leaks, repeat steps 2-4 until the hole is completely sealed. If everything looks good, you’re ready to get a good night’s sleep on your newly repaired air mattress.
Tips for Keeping Your Air Mattress Intact and Safe
Air mattresses are a popular choice for temporary sleeping arrangements due to their convenience and comfort. However, they are also prone to punctures and leaks, which can be a major inconvenience. To keep your air mattress intact and safe, there are several tips you can follow.
Choose a durable air mattress
When purchasing an air mattress, it is important to check for its durability rating. A higher rating indicates that the mattress is less likely to puncture or tear. Look for materials such as PVC or nylon, which are known for their durability.
Avoid sharp objects around your air mattress
Sharp objects such as jewelry, belts, zippers, and even pets with sharp claws can puncture your air mattress. Keep these items away from your sleeping area to prevent accidents.
Use a protective layer between the mattress and the ground
Placing a tarp or a blanket under your air mattress can protect it from sharp rocks or rough ground surfaces. This additional layer of protection can prevent punctures and tears in your air mattress.
Inflate the mattress to the recommended level
Over-inflating your air mattress can put additional pressure on the seams and cause them to weaken over time. Always inflate your mattress according to the manufacturer’s recommendations to prevent damage.
Store your air mattress properly
When not in use, deflate your air mattress and store it in a dry and cool place. Avoid storing it in direct sunlight or extreme temperatures as this can damage the material.
By following these simple tips, you can keep your air mattress intact and safe for longer periods of time. However, accidents can still happen, so it is important to know how to fix a hole in an air mattress quickly and efficiently.
To prevent punctures and tears in your air mattress, there are additional tips you can follow:
Avoid sharp objects
Sharp objects such as knives, scissors, and needles can easily puncture an air mattress. Keep them away from your sleeping area and avoid placing your air mattress on rough surfaces such as concrete or gravel.
Keep away from heat sources
High temperatures can damage your air mattress, so it is important to keep it away from sources of heat such as heaters, radiators, and direct sunlight.
Use a protective cover
A protective cover made of durable materials such as nylon or PVC can provide an additional layer of protection for your air mattress, preventing punctures and tears.
Inflate properly
Over-inflating your air mattress can cause it to stretch beyond its capacity, leading to punctures and tears. Follow the manufacturer’s instructions on how to inflate your air mattress properly.
lk4PFcI3lyc” >
Conclusion
If you find yourself with a hole in your air mattress, don’t fret.
There are several options available to fix it. From DIY patches made out of duct tape or super glue to commercial repair kits, there’s a solution for every budget and level of expertise.
Just make sure to follow the instructions carefully and allow enough time for the adhesive to dry before inflating the mattress again.