Is your headliner driving you crazy with its sagging and peeling?
Don’t fret, my friend. I’ve got your back and I’m here to help you find the perfect adhesive to fix that pesky problem.
It’s time to put an end to the frustration and restore your headliner to its former glory. In this blog post, we’re diving deep into the world of adhesives for headliners.
Say goodbye to that unsightly mess and get ready for a headliner that will make your vehicle’s interior shine.
Types of Adhesives for Headliners
Contents
- 1 Types of Adhesives for Headliners
- 1.1 Spray Adhesive: Effortlessly Restore Your Headliner
- 1.2 Brush-On Adhesive: Exquisite Precision for Heavy-Duty Headliners
- 1.3 Headliner Repair Adhesives: Conquer the Ride with Confidence
- 1.4 Material Compatibility: A Match Made in Automotive Heaven
- 1.5 Environmental Considerations: Weatherproof Your Headliner
- 1.6 Surface Preparation: The Key to Unwavering Adhesion
- 2 Advantages and Disadvantages of Aerosol Adhesives
- 3 Advantages and Disadvantages of Liquid Adhesives
- 4 Specialty Adhesives for Headliners
- 5 Important Considerations When Choosing an Adhesive
- 6 Preparing the Surface for Attaching the Headliner
- 7 Applying the Adhesive to the Headliner
- 8 Curing Times for Different Types of Adhesives
- 9 Conclusion
Your car’s headliner is like a cozy sky above you, adding style to your ride. But over time, the adhesive holding it in place can weaken, leading to a sagging or loose headliner. Fear not. We’re here to navigate the world of adhesives and help you find the perfect one to restore your headliner’s glory.
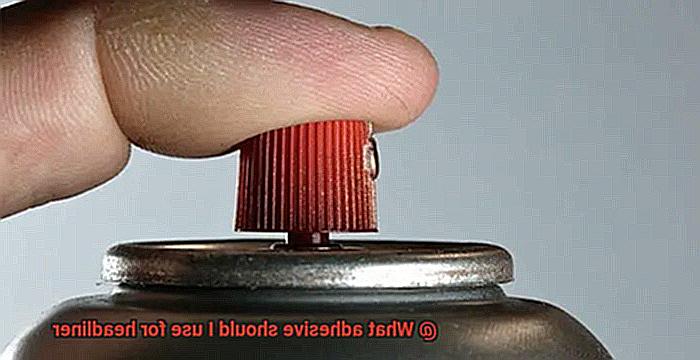
Spray Adhesive: Effortlessly Restore Your Headliner
Spray adhesive is the go-to choice for lightweight fabric or foam headliners. Picture a magic mist evenly coating the surface, effortlessly reattaching your headliner. Quick and easy, but remember to apply it in a well-ventilated area for maximum convenience and safety.
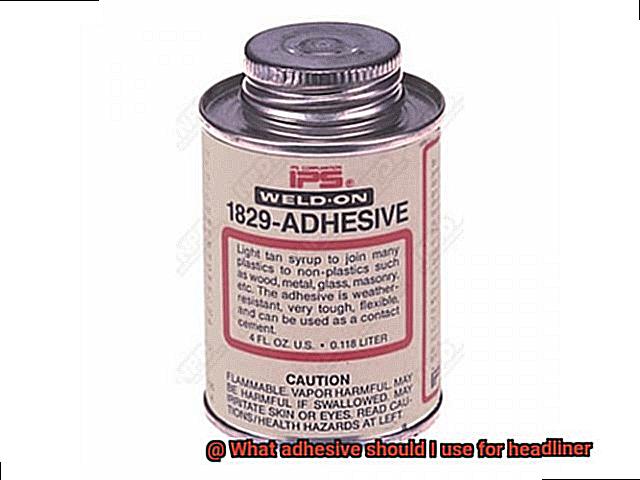
Brush-On Adhesive: Exquisite Precision for Heavy-Duty Headliners
For heavier headliners made of vinyl or leather, brush-on adhesive offers precise application control. Unleash your artistic touch by applying it to specific areas or creating unique patterns. Just beware of potential residue on the surface as you work your adhesive magic.
Headliner Repair Adhesives: Conquer the Ride with Confidence
Designed specifically for headliner repair, these adhesives are in it for the long haul. With heat resistance and flexibility, they ensure your headliner stays securely in place even during bumpy rides and extreme temperatures. No more worrying about your headliner losing its grip.
Material Compatibility: A Match Made in Automotive Heaven
Different adhesives work better with specific materials. Vinyl or leather headliners may require specialized adhesives tailored to their unique properties. Always consult the manufacturer’s guidelines or seek professional advice to find the perfect match for a seamless bond.
Environmental Considerations: Weatherproof Your Headliner
If your car faces scorching temperatures or high humidity, choose an adhesive that won’t let you down. Opt for an adhesive that can withstand the elements without compromising its adhesive properties. Your headliner will stay firmly in place, no matter the weather conditions.
Surface Preparation: The Key to Unwavering Adhesion
Before applying any adhesive, ensure a clean slate for success. Thoroughly clean the surfaces, removing dirt, grease, and old adhesive residue. For maximum adhesion, you may even need to roughen the surface slightly. Prepare your headliner’s canvas for a flawless bonding experience.
Armed with adhesive knowledge, you can confidently restore your headliner’s glory. Whether it’s a lightweight fabric, heavy-duty vinyl, or luxurious leather headliner, the right adhesive will ensure a secure and stylish interior. Follow instructions, test on a small area, and seek professional help if needed.
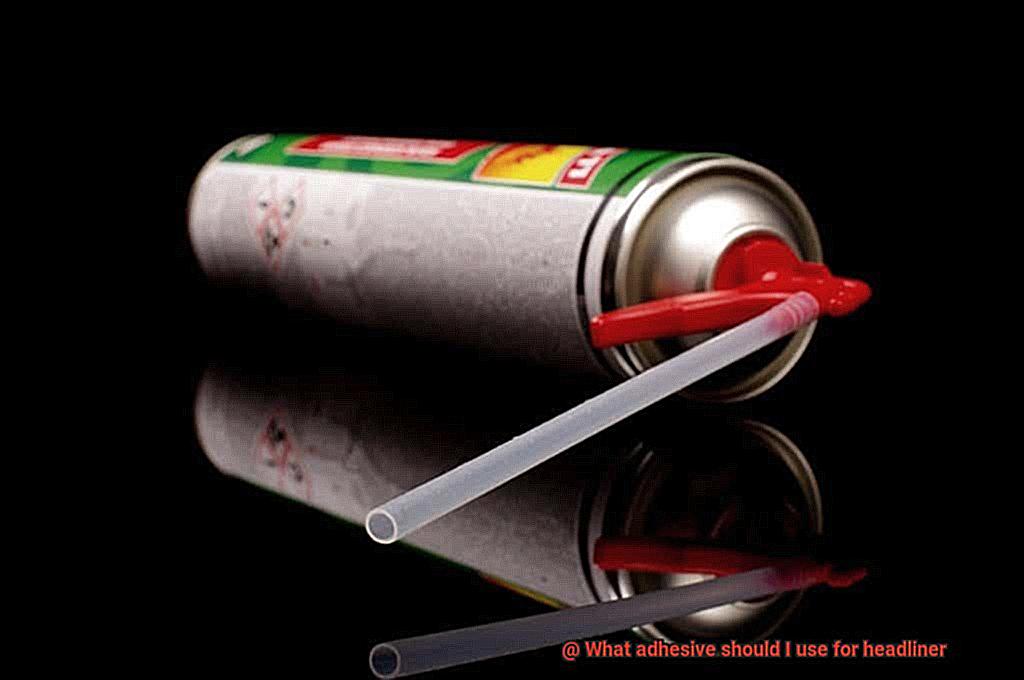
Advantages and Disadvantages of Aerosol Adhesives
Don’t despair. There’s a solution that can make it look brand new again – aerosol adhesives. These convenient cans of glue offer a quick and effective way to bond your headliner material to the underlying surface. But before you grab a can and start spraying away, let’s delve into the advantages and disadvantages of using aerosol adhesives for headliner projects.
Advantages:
- Ease of Application: With the spray nozzle on the can, you can effortlessly distribute the adhesive onto the headliner material with precision. No more worrying about globs of glue ruining your hard work.
- Fast Drying Time: Aerosol adhesives dry rapidly, meaning less waiting around for the glue to set. Perfect for time-sensitive projects or if you’re eager to hit the road again.
- Versatility: Whether your headliner is fabric, foam, vinyl, or lightweight plastic, aerosol adhesives can handle it all. Ideal for various automotive applications as different vehicles may have different headliner materials.
- Strong Bond Strength: When applied correctly, aerosol adhesives provide a robust bond between the headliner material and the underlying surface. No need to fret about vibrations, temperature changes, or general wear and tear compromising your newly restored headliner.
Disadvantages:
- Inhalation Hazards: The fine mist particles released during spraying can be easily inhaled without proper precautions. Ensure you use these adhesives in well-ventilated areas and wear a mask to protect against respiratory issues or irritation.
- Messiness: If you’re not careful, overspray can occur, leaving unwanted adhesive residue on surrounding surfaces. Maintain control during application to avoid any messy mishaps.
- Limited Coverage: Depending on your headliner project’s size, one aerosol can may not be enough, requiring multiple cans or interruptions to replenish the adhesive supply.
- Difficulty in Removal: Once aerosol adhesives have set and cured, they can be challenging to remove if any mistakes occur during application. Exercise caution and precision from the start to avoid headaches down the road.
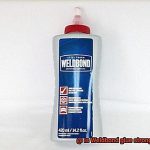
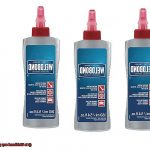
Advantages and Disadvantages of Liquid Adhesives
Liquid adhesives are the ultimate solution for revamping your headliner. But before you embark on this adhesive adventure, let’s delve into the advantages and disadvantages of using liquid adhesives. This comprehensive guide will provide you with the knowledge needed to make an informed decision and ensure a successful transformation.
Advantages:
- Versatility: Liquid adhesives possess superhero-like abilities when it comes to bonding various headliner materials, including fabric, foam, leather, and vinyl. No matter what your headliner is made of, these adhesives have got you covered.
- Easy Application: Spray or brush-on forms make liquid adhesives a breeze to apply evenly across your headliner’s surface. Say goodbye to uneven spots and hello to a flawlessly bonded headliner.
- Quick Drying: Time is precious, especially during an interior makeover. Liquid adhesives boast a fast drying time, allowing for efficient installation and getting you back on the road in record time. Plus, they dry clear, leaving no unsightly residue or marks behind.
- Strong Bonding: Liquid adhesives create a secure and durable bond between the headliner material and the vehicle’s roof. No matter how bumpy the ride or how much your car shakes, your headliner will remain firmly in place.
Disadvantages:
- Potential Messiness: Like any adhesive, liquid adhesives can get messy if not applied carefully. Overspray or excess adhesive may end up on surrounding areas or even on your hands, necessitating extra cleanup efforts.
- Odor: Some liquid adhesives emit strong odors during application and drying. This can be unpleasant for those sensitive to smells or when working in enclosed spaces. To combat this issue, work in a well-ventilated area and consider wearing a mask if needed.
- Limited Repositioning: Once applied, liquid adhesives set quickly, leaving little room for repositioning or readjustment of the headliner. It’s crucial to ensure proper alignment before applying the adhesive to avoid any regrets later on.
- Difficulty in Removal: Should you ever need to remove or replace the headliner in the future, liquid adhesive removal can pose a challenge. Residue may be left behind, potentially damaging the surface it was applied to and requiring additional effort for removal.
Specialty Adhesives for Headliners
It’s time to embark on an adhesive adventure and revamp your headliner with specialty adhesives. These powerful glues are specifically designed for bonding headliner materials, such as foam-backed fabrics or vinyl, and offer a range of benefits that will leave your headliner looking brand new.
One popular type of specialty adhesive for headliners is the aerosol adhesive. This superhero adhesive comes in a convenient spray can, making application a breeze. Just a few sprays and you’ll achieve an even and thorough bond between the headliner material and the roof of your vehicle. The aerosol adhesive dries quickly, so you won’t have to wait long before enjoying your newly restored headliner.
If precision is your game, then brush-on adhesives are your sidekick. These adhesives are applied using a brush or applicator, allowing for more controlled and precise application. While brush-on adhesives may take longer to dry compared to aerosol adhesives, they often provide a stronger bond. Say goodbye to sagging or peeling headliners when you choose this adhesive.
But wait, there’s more. Some specialty adhesives for headliners are formulated to withstand high temperatures. No more worries about sagging or peeling headliners when the temperature rises. Your headliner will remain securely bonded even on scorching hot summer days.
When selecting the right adhesive for your headliner project, consider the type of material you’re working with. Different adhesives are designed for specific materials like foam-backed fabrics or vinyl. By choosing an adhesive that matches your material, you’ll ensure optimal bond strength and durability.
Temperature resistance is another crucial factor to consider. Opt for a heat-resistant adhesive if you live in a hot climate or frequently park your car in the sun. This ensures that your headliner stays put even in the most extreme conditions.
Lastly, always follow the manufacturer’s instructions when applying specialty adhesives for headliners. Proper surface preparation and application techniques make a world of difference in the effectiveness of the adhesive and the longevity of the bond.
Important Considerations When Choosing an Adhesive
When it comes to choosing an adhesive, there are several important considerations to keep in mind. These considerations can make a significant difference in the success and longevity of the bond between materials. Whether you’re working on a headliner or any other project, here are some key factors to consider when selecting the perfect adhesive.
- Material Compatibility: The first consideration is to determine the material of the surface you’re bonding. Different adhesives are designed for specific materials such as fabric, vinyl, or foam-backed fabric. Choosing an adhesive that is specifically formulated for your material will ensure optimal bonding and longevity.
- Application Method: The application method of the adhesive is another crucial factor. Some adhesives come in aerosol cans, providing quick and even coverage. Others come in tubes or containers that require a brush or applicator for precise application. Consider your preferred application method and choose an adhesive that suits your needs.
- Drying Time: The drying time of the adhesive is also essential. Quick-drying adhesives can save time and increase efficiency, but be sure to consider the working time as well. Some adhesives have a short window before they become too tacky to work with, so factor this into your decision-making process.
- Strength and Durability: When choosing an adhesive, it’s crucial to consider the strength and durability it offers. For applications like headliners in vehicles, adhesives should provide a strong bond that can withstand constant vibrations and movements without deteriorating over time. Additionally, ensure that the adhesive is resistant to temperature changes and moisture to maintain its performance.
- Compatibility with Other Materials: Consider the compatibility of the adhesive with other materials involved in the project. It should not only be compatible with the headliner material but also with the surface it will be bonded to, such as metal or plastic. Consult manufacturer’s recommendations or seek expert advice to ensure compatibility.
- Safety Precautions: Lastly, consider the safety precautions associated with the adhesive. Some adhesives may contain harmful chemicals or emit strong odors during application. If you’re working in an enclosed space like a vehicle interior, choose an adhesive that is safe to use and won’t pose any health risks.
Preparing the Surface for Attaching the Headliner
Attention to detail is key when it comes to car interiors, and one often overlooked aspect is preparing the surface before attaching the headliner. A secure and long-lasting bond between the headliner and the surface is crucial. In this comprehensive guide, we will walk you through the step-by-step process of preparing your surface using glue. Get ready to transform your ride from ordinary to extraordinary.
Step 1: Remove the Old Headliner:
Carefully peel off any existing headliner material or residue. For stubborn adhesive remnants, use a scraper to gently remove them. Take your time during this process to avoid any damage to the underlying surface.
Step 2: Thoroughly Cleanse the Surface:
Now that the old material is gone, it’s time to give your surface a thorough cleaning. Use a mild detergent or upholstery cleaner with a soft cloth to eliminate any dirt, grease, or grime that could hinder proper adhesion. Remember, a clean surface is the foundation for success.
Step 3: Create a Rough Texture:
To enhance adhesive bonding, lightly sand the surface using fine-grit sandpaper. Employing a circular motion, ensure you don’t oversand or damage the surface. This step creates a textured surface that promotes optimal adhesion.
Step 4: Eliminate Dust and Debris:
After sanding, wipe away any lingering dust or debris using a clean, dry cloth. A pristine and smooth surface is crucial for effective adhesion. A quick wipe-down will work wonders.
Step 5: Consider Primer Application:
Depending on your headliner material, applying a primer may be necessary prior to adhesive use. Consult the manufacturer’s instructions for guidance. If applicable, apply the primer as directed and allow it to fully dry before proceeding.
Step 6: Ensure a Completely Dry Surface:
Before applying the adhesive, confirm that the surface is completely dry and free from any moisture. Even the tiniest amount of moisture can compromise adhesive effectiveness. Exercise patience, allowing ample drying time.
Applying the Adhesive to the Headliner
Transforming your car’s interior into a sleek and refined space requires attention to detail, and one crucial step in achieving that polished look is applying adhesive to the headliner. Fear not, as we have compiled a comprehensive guide to help you master this process with ease.
First and foremost, preparation is paramount. The surface of your headliner must be immaculate, free from any dust or debris that could jeopardize the strength of the bond between the adhesive and the headliner material. A thorough cleaning with a vacuum cleaner or a damp cloth will ensure a pristine canvas for the adhesive application.
Choosing the right adhesive is equally important. Automotive headliners demand a high-quality adhesive capable of withstanding the unique conditions inside a vehicle, such as rapid temperature changes and persistent vibrations. Seek out adhesives specifically formulated for automotive headliners, guaranteeing a secure and long-lasting bond that won’t falter under pressure.
There are two primary methods for applying adhesive: spraying or brushing. Spraying allows for even coverage, reducing the risk of over-application and ensuring a uniform bond. On the other hand, brushing provides precision in hard-to-reach areas and intricate designs, allowing you to navigate every contour with finesse. Whichever technique you choose, remember to apply a light, even coat of adhesive. Multiple thin coats triumph over one thick coat, minimizing drips and maximizing adhesion.
Once the adhesive has been skillfully applied, exercise patience and let it dry for the recommended duration specified by the manufacturer. This timeframe can range from 15 minutes to an hour, depending on the specific adhesive used. During this critical drying period, resist any temptation to touch or disturb the headliner, as even the slightest disruption could compromise the bond.
With the adhesive appropriately dried, delicately press the headliner onto its intended surface. Begin at one edge and slowly work your way across, employing smooth yet firm motions to ensure optimal contact between the headliner and the surface. If any wrinkles or bubbles emerge, gently smooth them out with your hands or a soft cloth, taking care to maintain the integrity of the adhesive and the headliner material.
Now, here comes the grand finale: allowing the adhesive to fully cure. This crucial step can take approximately 24 hours, but always consult the manufacturer’s instructions for precise curing times. During this period, refrain from subjecting the headliner to any stress or tension, giving the adhesive ample time to solidify its steadfast grip.
Curing Times for Different Types of Adhesives
The headliner of your vehicle not only adds a touch of style to the interior but also provides insulation and soundproofing. However, over time, the adhesive that holds it in place can weaken, causing the headliner to sag or come loose. To restore its functionality and appearance, it’s crucial to choose the right adhesive. In this blog post, we’ll explore the different types of adhesives and their curing times, helping you make an informed decision for a successful headliner repair or installation.
Spray Adhesive: Swift and Convenient
Spray adhesives have gained popularity due to their rapid-drying properties. With curing times ranging from mere minutes to a few hours, they offer a convenient solution for swift installations or repairs. Simply spray the adhesive onto the headliner material and vehicle roof, press them together, and voila. However, ensure you follow the manufacturer’s instructions for optimal results.
Contact Adhesive: Unmatched Durability
When seeking a bond that withstands the test of time, contact adhesive is your ultimate choice. Although it may take several hours or even overnight to fully cure, its durability is unparalleled. Apply the adhesive to both surfaces, let it dry until tacky, and then carefully press them together. The result? A headliner that remains firmly in place even during bumpy rides.
Epoxy Adhesive: Power in Permanence
For those aiming for an unbreakable bond, epoxy adhesives are the answer. Although they require more time to cure (ranging from hours to days), their exceptional strength makes them worth the wait. Mix the epoxy components according to instructions, apply it evenly on both surfaces, join them together, and allow time for the adhesive to work its magic.
Factors Affecting Curing Time
Temperature and humidity play significant roles in the adhesive’s curing process. Higher temperatures generally accelerate curing, while lower temperatures can slow it down. Similarly, high humidity levels may prolong the curing time. It’s crucial to consider these factors and follow the manufacturer’s instructions for the best results.
Tips for a Successful Headliner Repair
To ensure a strong and secure bond, thoroughly clean both the headliner material and the vehicle roof before applying the adhesive. Remove any dirt, grease, or old adhesive residue to promote optimal adhesion. Additionally, testing the adhesive on a small area of the headliner beforehand can help determine compatibility and bond strength.
LfjogwGECUM” >
Conclusion
When it comes to choosing the right adhesive for your headliner, you want to make sure you’re using a product that is specifically designed for automotive applications.
The adhesive needs to be strong enough to hold the headliner in place, but also flexible enough to withstand temperature changes and vibrations. One popular option is a high-strength spray adhesive, which provides a quick and easy application process.
Whichever adhesive you choose, it’s important to follow the manufacturer’s instructions carefully and give it ample time to dry before reattaching your headliner.