Welcome to the captivating realm of woodworking, where craftsmanship and creativity collide. As we embark on this journey together, we find ourselves pondering a burning question: Is wood glue hard to sand?
Wood glue, that invisible hero holding our projects together, plays a vital role in achieving flawless results. But when it’s time to fine-tune our creations and achieve that smooth finish, does wood glue pose a challenge?
In this blog post, we dive headfirst into the fascinating world of woodworking to uncover the truth about sanding wood glue. Whether you’re a seasoned pro or just beginning your DIY adventure, understanding this process can make all the difference in creating projects that truly shine.
So join us as we unravel the mysteries and explore professional insights on the potential challenges of sanding wood glue. Together, let’s discover techniques that will elevate our woodworking projects from ordinary to extraordinary.
Different Types of Wood Glue and Their Sanding Characteristics
Contents
- 1 Different Types of Wood Glue and Their Sanding Characteristics
- 2 Factors That Affect Sanding Wood Glue
- 3 Tips for Applying the Right Amount of Glue
- 4 Drying Time Considerations When Sanding Wood Glue
- 5 The Consistency of Dried Glue and Its Impact on Sanding
- 6 Techniques to Make Sanding Wood Glue Easier
- 7 Selecting the Right Grit for Sanding Wood Glue
- 8 Using Light Pressure When Sanding Wood Glue
- 9 Conclusion
Wood glue is a versatile tool for woodworking projects, but understanding the sanding characteristics of different types of glue is crucial for achieving smooth and flawless finishes. In this guide, we will explore the various types of wood glue and their sanding prowess. So grab your sandpaper and let’s delve into the world of adhesive magic.
PVA Glue – The Smooth Operator:
Polyvinyl acetate (PVA) glue, widely known as the go-to glue for woodworkers, offers a strong bond and ease of use. When it comes to sanding, PVA glue is a dream. It dries clear and leaves no residue, making it effortless to achieve a smooth surface. However, it’s important to exercise caution as excessive sanding can weaken its bond.
Epoxy Glue – A Tough Nut to Crack:
Epoxy glue, the superhero of adhesives, boasts unmatched strength and durability. Ideal for heavy-duty projects like furniture repairs, epoxy glue requires a bit more muscle when it comes to sanding. Its hardened finish demands patience and determination to overcome, but with perseverance, you can conquer its toughness and reveal a polished result.
Polyurethane Glue – The Water Warrior:
Polyurethane glue is a popular choice due to its water-resistant properties and versatility in bonding various materials. While it provides a strong hold, sanding polyurethane glue can be a bit tricky. Its high density and toughness make it more challenging to sand compared to PVA glue. Brace yourself for some extra effort and time when taming this mighty adhesive, but rest assured that its water resistance makes it suitable for outdoor projects.
Super Glue – Fast but Fragile:
Cyanoacrylate glue, or super glue, is renowned for its lightning-fast bonding power. Though not specifically designed for woodworking, it can be a useful adhesive in certain applications. However, sanding super glue requires caution. Its hardness and brittleness make it susceptible to chipping and cracking when sanded aggressively. Take it slow, and you’ll achieve the desired smoothness without compromising its integrity.
Specialty Glues – Traditional Delights:
For those seeking a touch of tradition or convenience, hide glue and hot melt glue offer unique sanding characteristics. Hide glue, derived from animal collagen, is easily sanded and reversible, meaning it can be softened with heat and reactivated. On the other hand, hot melt glue, used with a glue gun, can be sanded relatively easily. However, be mindful of any residue it may leave behind during the sanding process.
Conclusion:
Wood glues come in various types, each with its own sanding characteristics. PVA glue reigns as the easy-sanding champion, while epoxy and polyurethane glues demand extra effort.
Factors That Affect Sanding Wood Glue
Wood glue is an indispensable component of woodworking projects, but sanding it demands a delicate touch and comprehensive knowledge. In this informative piece, we will delve into the multitude of factors that influence the efficacy of sanding wood glue. From the type of glue employed to the duration of drying and application technique, we shall leave no stone unturned. So, let us embark on this enlightening journey.
Type of Wood Glue:
Various types of wood glue possess distinct properties that impact sanding outcomes. For example, polyvinyl acetate (PVA) glue, widely used in woodworking, proves more amenable to sanding than epoxy or cyanoacrylate glues. PVA glue dries to a pliable texture, facilitating the achievement of a smooth finish.
Drying Time:
Drying time plays a pivotal role in sanding wood glue. Should the glue not fully cure or dry, it may retain a soft and gummy consistency that hampers smooth sanding. Thus, allowing ample drying time for the glue to attain maximum hardness is essential before commencing the sanding process.
Application Technique:
The manner in which wood glue is applied can significantly impact the ease or difficulty of subsequent sanding. Applying an excessively thick or uneven layer of glue may result in raised areas or excessive adhesive residue that necessitates additional effort during sanding. To ensure a seamless surface, it is advisable to apply a thin and even layer of glue using a brush or roller.
Clamping Pressure:
Clamping pressure applied during the drying stage when joining pieces of wood together can influence the subsequent sanding process. Excessive pressure can cause excessive glue squeeze-out, leading to hardened residue that proves more challenging to sand down. Striking a balance by applying adequate but not excessive clamping pressure minimizes squeeze-out and facilitates smoother sanding.
Sandpaper Grit:
The choice of sandpaper grit significantly impacts the sanding process for wood glue. Coarser grits, such as 80 or 100, excel at removing excess glue and leveling uneven surfaces. Gradually transitioning to finer grits, like 150 or 220, ensures a polished and refined finishing touch.
Sanding Technique:
The technique employed while sanding wood glue plays a pivotal role in the final result. Employing light and even pressure, utilizing long and fluid strokes, helps avoid uneven sanding marks and ensures a consistent surface. Paying careful attention to the direction of the wood grain during sanding mitigates the risk of creating unsightly scratches or tear-outs.
Tips for Applying the Right Amount of Glue
Achieving a strong bond without excess mess is crucial when working with wood. To ensure a successful project, it’s important to apply the right amount of glue. Too little can result in a weak bond, while too much can create a messy appearance that’s challenging to clean up.
In this article, we will explore some expert tips for applying the perfect amount of glue.

Use a Thin, Even Layer:
To ensure maximum adhesion without excess mess, apply a thin, even layer of glue. Spread the glue across the surface using a small brush or your finger. This technique guarantees that every nook and cranny is covered, providing a solid connection.
Consider the Type of Wood:
Different woods have varying levels of porosity. Softer woods require less glue, while harder woods may need a slightly thicker layer for a strong bond. When working with different types of wood, adjust the amount of glue accordingly to achieve optimal results.
Apply Glue to Both Surfaces:
For a secure and even spread, apply glue to both surfaces being bonded. This allows the glue to penetrate both pieces, creating a stronger connection. By applying the glue to both surfaces, you ensure that no area is left exposed, ensuring a solid bond.
Avoid Excessive Pressure:
When applying glue, resist the temptation to use excessive pressure. Too much pressure can squeeze out excess glue and create an unsightly mess. Gentle pressure is sufficient to achieve proper bonding without the need for excessive cleanup.
Clamp or Hold the Pieces Together:
After applying the glue, use clamps or hold the pieces together to maintain alignment and ensure proper bonding. Following the manufacturer’s instructions regarding drying and curing times is crucial for achieving optimal results.
Drying Time Considerations When Sanding Wood Glue
Wood glue is a magical substance that holds our woodworking projects together, but it’s important to give it the time it needs to dry before we start sanding away. Rushing the process can result in a gummy mess on your hands, or rather, sandpaper.
So, let’s explore the world of drying time considerations when sanding wood glue.
First and foremost, the drying time of wood glue can vary depending on the type of glue you’re using. Different glues have different requirements, so always refer to the manufacturer’s instructions for accurate drying times. In general, most wood glues will dry within 24 hours, but for optimal results, it’s best to be patient and wait a full 48 hours before reaching for that sandpaper.
Now, let’s talk about environmental conditions. The temperature and humidity in your drying area play a significant role in how quickly the glue dries. If you’re working in a warm and dry environment, you’ll likely see faster drying times. On the other hand, if you find yourself in a colder or more humid space, you might need to extend the drying time. It’s all about finding that Goldilocks zone for your glue to cure properly.
Thickness matters too. Thicker applications of glue will take longer to dry compared to thinner ones. So, if you’re laying it on thick (pun intended), be prepared to wait a bit longer before sanding. Remember, patience is key in woodworking.
To summarize, here are some key points to consider when it comes to drying time and sanding wood glue:
- Follow the manufacturer’s instructions for accurate drying time.
- Wait at least 48 hours before sanding for optimal results.
- Take into account the temperature and humidity in your drying area.
- Thicker applications of glue will require longer drying times.
- Be patient and resist the urge to rush the process.
The Consistency of Dried Glue and Its Impact on Sanding
The consistency of dried glue is a key factor that can greatly impact the sanding process. Understanding this relationship is crucial for achieving smooth and professional-looking woodworking projects.
Not all dried glues are created equal. Different types and brands of wood glue can dry to varying consistencies. Some glues dry to a relatively soft consistency, while others become harder and more rigid. This difference can make a big difference when it comes to sanding.
The moisture content of the glue plays a significant role in determining its consistency. Glue with higher moisture content tends to dry softer, while lower moisture content results in a harder, more brittle consistency. Following the manufacturer’s instructions regarding the appropriate moisture content is essential for optimal drying and sanding results.
The drying time also affects the consistency of dried glue. Glues that dry quickly often result in a harder consistency compared to those that take longer to dry. Rapid drying can prevent the glue from forming flexible bonds, resulting in a more rigid and difficult-to-sand surface.
So, how does the consistency of dried glue impact the sanding process?
Firstly, if the dried glue has a hard and brittle consistency, it can cause sandpaper to wear out faster due to increased friction. This means frequent paper changes and increased sanding time – definitely not ideal.
Secondly, the hardness of dried glue can make it more resistant to sanding, especially if there are uneven or excess glue residues on the surface. Sanding such areas can be challenging as the hard glue may resist abrasion, causing sandpaper to slide over instead of effectively removing the excess glue.
But fear not. There are techniques you can employ to overcome these challenges.
One approach is to use a coarser grit sandpaper initially to remove any excess dried glue or level uneven surfaces. Once the majority of the glue has been removed, finer grit sandpaper can be used for final smoothing.
Alternatively, you can use specialized tools such as a scraper or chisel to carefully remove dried glue before sanding. This can help prevent excessive wear on sandpaper and save time in the sanding process.
Additionally, applying a pre-sanding sealer or wood conditioner before sanding can help soften the dried glue and make it more responsive to abrasion. This can aid in achieving a smoother and more even surface.
Techniques to Make Sanding Wood Glue Easier
In this article, we’re going to share with you some techniques that will make sanding wood glue a breeze.
First things first, before you even think about grabbing your sandpaper, consider using a scraper to remove any excess or raised glue. This simple step can save you a lot of time and effort in the long run. A scraper effortlessly removes the hardened glue without damaging the surrounding wood, minimizing the amount of sanding required.
Now, let’s talk about sandpaper. When it comes to sanding wood glue, it’s best to start with a coarser grit sandpaper. Think 80 or 100 grit. The coarser grit will be more effective in removing the hardened glue without clogging up quickly. As you progress, switch to finer grit sandpaper for that smooth finish you desire.
Here’s a pro tip: try wet sanding. This technique involves using water or a lubricant while sanding. Not only does it prevent the sandpaper from clogging up with glue residue, but it also reduces friction and heat, making the sanding process easier and more efficient. Just dip your sandpaper into water or apply a lubricant like mineral oil or soapy water onto the surface before sanding away.
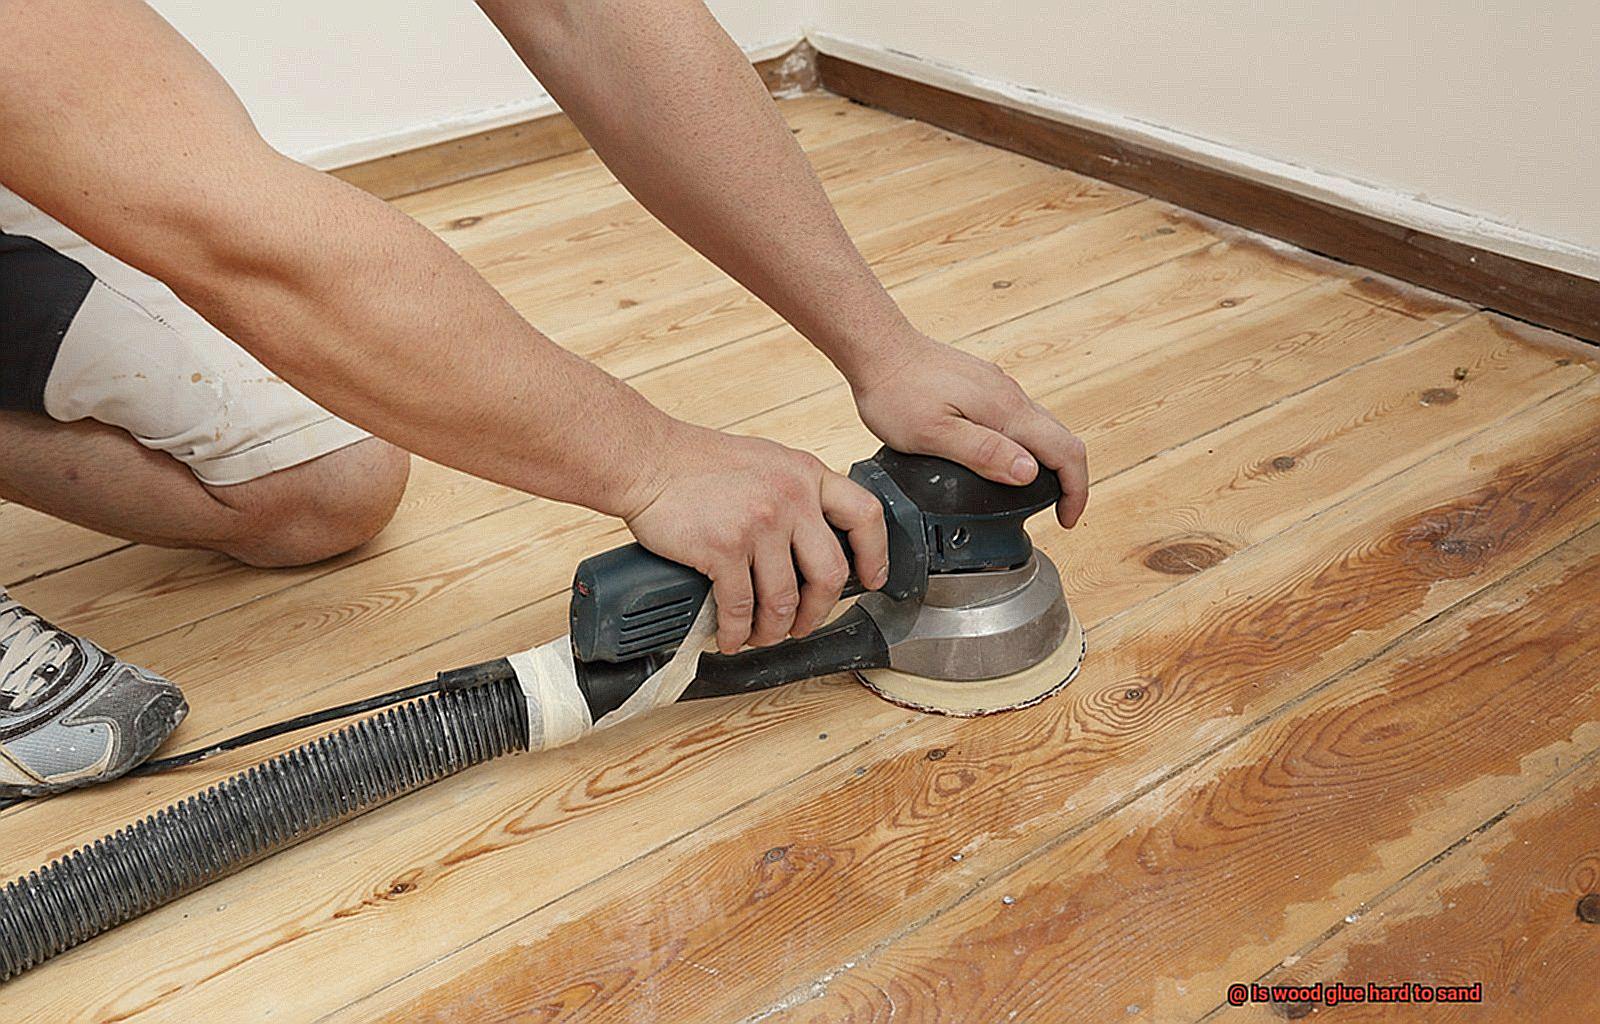
If you want to take your sanding game to the next level, consider using an orbital sander. This power tool is a game-changer when it comes to sanding wood glue. Its circular motion eliminates swirl marks and evenly distributes the sanding action. Just remember to use low speed and gentle pressure to avoid damaging the wood or causing excessive heat buildup.
Last but not least, if all else fails, try applying heat to soften that stubborn wood glue. You can use a heat gun or a household iron set to a low temperature. Gently heat the glue, and watch it become softer and easier to sand. But be cautious, my friend, as excessive heat can damage the wood or release toxic fumes. Safety first.
Selecting the Right Grit for Sanding Wood Glue
Selecting the right grit for sanding wood glue is crucial for achieving a smooth, even surface. Grit refers to the coarseness or fineness of the sandpaper, measured by the number of abrasive particles per square inch. The higher the number, the finer the grit. Here’s why selecting the right grit matters:
- Patience is key: If you’re dealing with wet glue, it’s best to wait until it dries completely before sanding. Sanding wet glue will only spread it and create a mess.
- Start with medium grit: For dried wood glue, begin with a medium-grit sandpaper, around 120 to 150 grit. This removes excess glue and smooths uneven surfaces effectively.
- Progress to finer grits: As you continue sanding, move on to finer grits like 220 or 320. These refine the surface and prepare it for finishing or painting.
- Use a sanding block or machine: To ensure even results, use a sanding block or machine. This prevents uneven sanding and minimizes the risk of creating low spots or gouges.
- Regularly check and replace sandpaper: Glue can quickly clog up sandpaper, reducing its effectiveness. Check and replace the sandpaper as needed for optimal performance.
- Sand with the grain: Always sand in the direction of the wood grain to avoid visible marks that are difficult to remove.
- Consider higher-grit for final polishing: After sanding with finer grits, use a higher-grit sandpaper like 400 or 600 for a final polishing touch before applying finish or paint.
Using Light Pressure When Sanding Wood Glue
You may be wondering why sanding glue is even important. Well, my friends, let me enlighten you on the significance of using light pressure during this process, as it is vital in achieving that flawlessly smooth finish you desire.
Wood glue has a tendency to harden and become stubbornly tough. This is no ordinary sanding job, my friends. Applying excessive pressure while sanding can lead to disastrous consequences – envision unsightly marks and damaged wood. We must avoid such a fate at all costs.
Now, here’s the deal. When you embark on sanding that dried-up glue, arm yourself with a medium-grit sandpaper – around 120 or 150 grit should suffice. Grasp that sandpaper firmly, but remember, dear friends, apply gentle pressure. We aim to delicately eliminate the excess glue without inflicting any harm upon our beloved wood.
Pay close attention to your progress as you diligently sand away. It might be necessary to switch to a finer grit sandpaper – think 220 or 320 grit – for that extra touch of finesse. However, always bear in mind, my friends, that light pressure is the key. Furthermore, ensure that you follow the grain of the wood religiously. We mustn’t allow any tearing or gouging to occur here.
Oh, and do not neglect the importance of regular cleaning for your sandpaper. Glue tends to accumulate upon it, rendering it less effective or even causing scratches on the wood’s surface. Acquire a stiff brush or a trusty sanding block and give it a thorough scrubbing.
Patience is paramount throughout this endeavor, my friends. Hasty actions might result in uneven surfaces or worse – damage to your magnificent woodworking creations. Take your time and revel in the journey.
Lastly, my esteemed woodworking comrades, once you feel content with the removal of the majority of excess glue, consider utilizing a fine-grit sandpaper, such as 400 or 600 grit, for that final touch of perfection. This will bestow upon your project an extra dose of flawlessness before you proceed with any finishing touches.
Also Read: How To Glue Sand to Wood? – Glue Things
Conclusion
Sanding wood glue can be quite a challenge.
The adhesive properties of wood glue make it resistant to sanding, requiring extra effort and patience. This sticky substance tends to clog up sandpaper quickly, making the sanding process slower and more tedious.
The hardened glue can also leave behind rough patches that are difficult to smooth out. However, with the right techniques and tools, it is possible to achieve a smooth finish.
Using coarse-grit sandpaper initially helps remove the bulk of the dried glue, followed by finer grits for refining the surface. It’s important to take breaks and clean or replace the sandpaper regularly to prevent buildup.
Remember to wear protective gear like goggles and a dust mask when working with wood glue as well.