This stuff is like a glue, sealant, and finish all rolled into one. It’s the go-to product for turning ordinary objects into extraordinary creations.
But here’s the thing that keeps us all up at night: Is Mod Podge tacky after drying? You know that feeling when you finally finish your masterpiece, only to have it feel disappointingly sticky?
Well, fear not my fellow crafters. In this blog post, we’re going to dig deep into the world of Mod Podge to uncover the truth behind this age-old question.
So grab your glitter and let’s embark on a quest to solve the mystery of Mod Podge’s stickiness.
What is Mod Podge?
Contents
This versatile adhesive is not just your ordinary glue – it’s a game-changer that brings your creative vision to life.
In this article, we will embark on a journey to discover the wonders of Mod Podge, from its origins to its various formulations and techniques. Get ready to unlock your artistic potential with Mod Podge.
What is Mod Podge?
Mod Podge, born in the 1960s under the imaginative mind of Jan Wetstone, derives its name from “modern decoupage,” an art form that involves layering paper cutouts onto surfaces to create stunning designs.
As a water-based adhesive, Mod Podge serves as both a glue and a sealer, making it an indispensable tool for crafters.
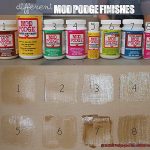
A Spectrum of Formulations:
Mod Podge comes in an array of finishes, each offering a unique touch to your projects. Whether you desire a subtle matte look, a glossy sheen, a satin smoothness, or a sparkly flourish, there is a Mod Podge formulation to match your creative vision. Experiment and discover which finish suits your style best.
The Power of Adhesion and Protection:
One of Mod Podge’s superpowers lies in its ability to bond various materials securely. From porous surfaces like wood and fabric to non-porous surfaces like glass and metal, Mod Podge effortlessly adheres them all. But that’s not all – this wonder adhesive also works as a protective sealer, guarding your creations against moisture, dust, and wear.
A Flawless Finish:
Imagine adding the perfect finishing touch to your masterpiece – that’s where Mod Podge shines brightest. As a topcoat, it dries clear and non-tacky, leaving your crafts with a professional, polished appearance. Say goodbye to rough edges and hello to a flawless finish that will make your creations stand out.
Tips and Techniques for Success:
To achieve the best results with Mod Podge, apply it in thin, even layers rather than thick coats. Thin applications dry faster and prevent tackiness. For those who can’t wait to see their projects come to life, using a heat gun or hairdryer on low heat can speed up the drying process. And for an extra layer of protection, consider applying a clear acrylic sealer over cured Mod Podge.
Does Mod Podge Remain Tacky After Drying?
As a glue and crafting expert, I’m here to unveil the truth behind this common concern and provide you with foolproof tips and tricks to avoid or resolve any tackiness issues. Let’s dive in.
Understanding Mod Podge Varieties:
Mod Podge comes in different types, including the original formula, matte, glossy, and satin finishes. Each type boasts unique characteristics and drying times. The original formula intentionally dries clear with a slight tackiness, making it perfect for easy repositioning during your crafting endeavors.
Factors Influencing Drying Time:
Several factors can influence how long it takes for Mod Podge to dry. These include temperature, humidity, and the thickness of the application. To ensure optimal drying, allow Mod Podge a minimum of 24 hours to cure before handling or adding additional layers.
Possible Reasons for Tackiness:
If your Mod Podge remains tacky even after drying, several culprits may be at play:
- Thick or uneven application: Applying Mod Podge too thickly or unevenly can prolong drying time and result in persistent tackiness.
- Unfavorable environmental conditions: High humidity or low temperatures can impede the drying process, leaving Mod Podge sticky.
- Excessive use on non-porous surfaces: Overusing Mod Podge or applying it to non-porous surfaces can hinder proper drying.
Preventing and Resolving Tackiness:
Don’t panic if your Mod Podge stays sticky; solutions abound:
- Thin and even coats: Applying thin, even layers of Mod Podge promotes quicker and more thorough drying.
- Optimal drying conditions: Situate your project in a well-ventilated area with suitable temperature and humidity levels to expedite the drying process.
- Sealant or varnish: If tackiness persists, applying a sealant or varnish over the dried Mod Podge can create a non-sticky surface.
Final Tips:
Remember that excessive moisture or high humidity levels can reawaken Mod Podge’s tackiness. Avoid using it on items regularly exposed to water or humid environments for long-lasting results.
Factors That Affect the Drying Time of Mod Podge
In this informative guide, we’ll delve into the factors that affect the drying time of Mod Podge and provide you with practical tips to achieve optimal results.
Temperature and Humidity:
Mod Podge loves warm and dry environments. Higher temperatures and lower humidity levels facilitate faster evaporation of moisture, resulting in quicker drying times.
So, if you’re working in a chilly or damp space, consider using a fan or dehumidifier to speed up the process.
Thickness of Application:
Remember, thin is in. Applying thin, even layers of Mod Podge promotes faster drying. Thick applications tend to trap moisture beneath the surface, thus extending drying times. Optimal results can be achieved by using a foam brush or sponge to ensure an even coat.
Surface Type:
Different surfaces have varying levels of porosity, affecting how Mod Podge dries. Porous materials like paper or fabric absorb more moisture, leading to longer drying times. In contrast, non-porous surfaces such as glass or plastic allow for quicker evaporation. Take note of your surface’s characteristics when estimating drying times.
Mixing with Water:
While water can be added to Mod Podge for certain projects, be aware that it prolongs drying time. The additional moisture slows down evaporation, resulting in a longer wait for your project to dry. For speedier results, use undiluted Mod Podge.
Ventilation:
Proper airflow is key. Adequate ventilation helps moisture evaporate more efficiently, expediting the drying process. Ensure your workspace has good air circulation by opening windows or using fans. This tip is especially helpful for large or heavily coated projects.
Layering and Curing:
Patience is a virtue. If you’re applying multiple layers of Mod Podge or using it as a sealer, each layer needs ample drying time before adding the next. Rushing this step can lead to a tacky finish. Allow each layer to fully cure before proceeding, and you’ll be rewarded with a beautifully finished project.
Types of Mod Podge and Their Properties
Mod Podge is a crafting glue that has captured the hearts of crafters worldwide. With its versatility and ability to adhere different materials together, it has become a staple in many creative projects.
However, one question that often arises is whether Mod Podge remains tacky after drying. In this blog post, we will explore the various types of Mod Podge and discuss some tricks to address tackiness.
Types of Mod Podge:
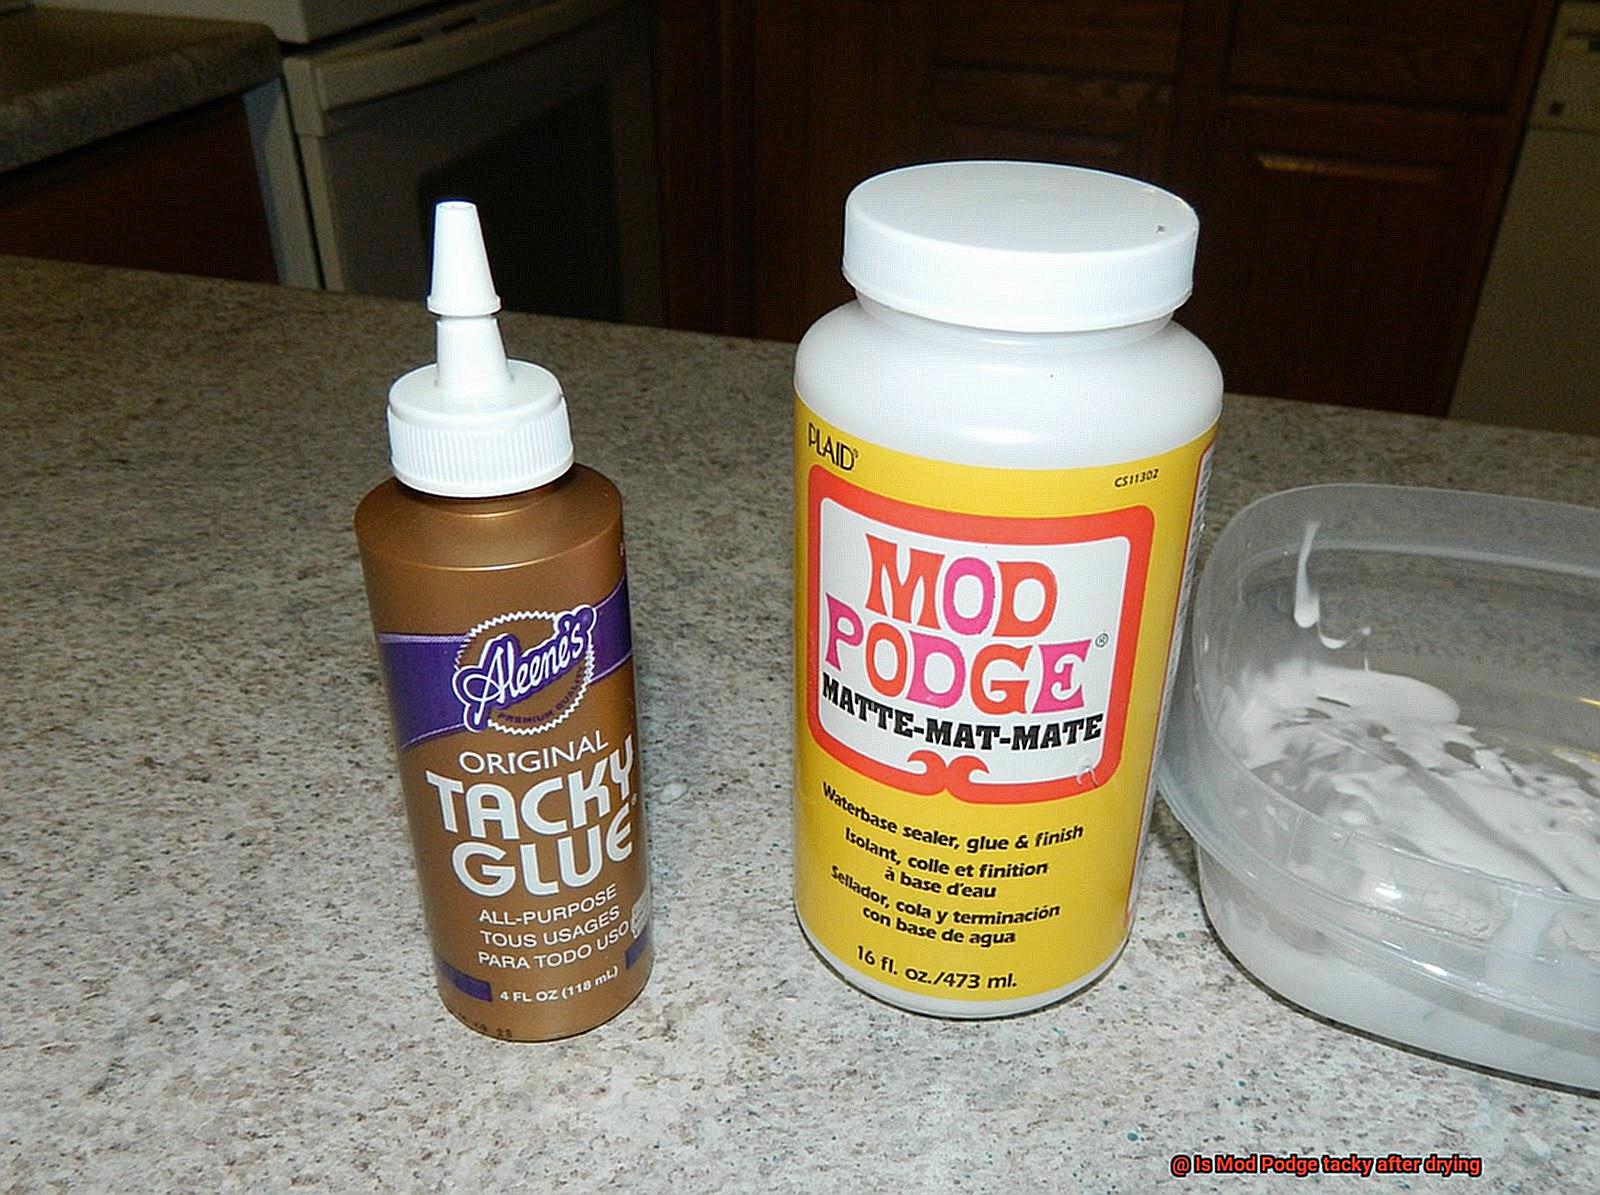
Mod Podge comes in different formulations, each with its own unique properties. The original formula is an all-in-one sealer, glue, and finish that dries clear with a slightly glossy finish. For those who prefer a non-glossy look, the Matte formula is an excellent choice.
It provides the same adhesive and protective properties but dries to a matte or flat finish. If you want to add some sparkle to your crafts, the Sparkle formula contains fine glitter particles that create a dazzling effect when applied.
Tricks to Address Tackiness:
While Mod Podge does dry to a hard finish, it can sometimes feel tacky even after curing. To minimize tackiness, it’s important to apply Mod Podge in thin, even layers rather than thick coats.
Thicker applications take longer to dry and may remain tacky for an extended period. Additionally, using a heat gun or hairdryer on low heat can help speed up the drying process without compromising the quality of your project. Be cautious not to overheat the Mod Podge, as excessive heat can cause bubbles or other issues.
Furthermore, applying a clear acrylic sealer over the cured Mod Podge can create a non-tacky protective layer. This not only helps reduce tackiness but also adds an extra layer of durability to your project.
Techniques to Reduce or Eliminate Tackiness
Crafters often encounter the frustrating problem of tackiness when using Mod Podge. But fear not. I’m here to share some fantastic techniques that will banish tackiness and give your Mod Podge projects a flawless finish.
First and foremost, thin layers are the secret to success. Thick coats of Mod Podge are a recipe for tackiness. Instead, apply thin coats and let each layer dry completely before adding the next. This will result in a smoother finish and decrease the likelihood of tackiness.
Patience is key. Give your Mod Podge project plenty of time to dry between layers and after the final coat. Different formulas have different drying times, so read the instructions on the bottle. Generally, wait at least 24 hours before handling or adding more layers.
Ventilation is crucial in the battle against tackiness. Poor air circulation can prolong drying time and leave you with a sticky mess. Open those windows, turn on a fan, do whatever it takes to get that air moving and bid farewell to tackiness.
Watch out for temperature and humidity. Extreme temperatures, whether scorching or freezing, can cause tackiness. High humidity levels can also prolong drying time and result in stickiness. Aim for a moderate temperature and humidity environment for optimal results.
When all else fails, seal it with a topcoat. Applying a clear varnish or acrylic sealer over your dried Mod Podge can minimize tackiness and add an extra layer of protection. It’ll give your creation a professional and polished look.
And if tackiness persists, don’t panic. Grab some fine-grit sandpaper and gently sand the affected area. This will smooth out the sticky texture without causing damage.
Intentional Use of Tackiness for Certain Effects
Crafters and artists alike know the secret power of Mod Podge – its tackiness after drying. Yes, tackiness can actually be a good thing. In this post, we will explore the intentional use of Mod Podge’s tackiness for certain effects and how it can elevate your crafting projects to a whole new level.
Let’s begin with fabric and paper crafts. When working with these materials, Mod Podge’s tackiness is your best friend. It securely holds fabric in place while it dries, making it perfect for creating stunning fabric-covered jewelry boxes or decorative frames. No more slipping or sliding, just a firm grip that ensures your fabric stays exactly where you want it.
But wait, there’s more. Mod Podge’s tackiness can also add texture and dimension to your mixed media projects. By applying it in layers and allowing each layer to dry partially before adding the next, you can achieve a mesmerizing textured effect. Think about the possibilities with collages or enhancing the depth of your paintings – it’s like magic happening right before your eyes.
Now let’s venture into the world of decoupage, a classic technique that involves adhering paper cutouts or images onto a surface. Mod Podge’s tackiness is a game-changer here too. It creates a secure bond between the paper and the surface as it dries, resulting in beautiful decorative items like trays, coasters, and even furniture. Your imagination is the limit.
Of course, it’s important to remember that Mod Podge’s tackiness may not be suitable for all projects. If you’re aiming for a smooth and non-tacky finish, there are other sealants available that may better meet your needs. However, if you’re going for a textured or dimensional effect, Mod Podge is undeniably your go-to glue.
So there you have it – the intentional use of Mod Podge’s tackiness can breathe life into your crafting projects. Whether you’re working with fabric, paper, or exploring mixed media techniques, Mod Podge’s tackiness is a valuable asset. Just remember to consider your desired outcome and choose the appropriate application method and materials.
bYUyLhCc-Uw” >
Conclusion
In conclusion, Mod Podge is a must-have for crafters, serving as both a glue and sealer with its versatile adhesive properties. With various formulations available, each offering unique finishes and characteristics, Mod Podge caters to every creative vision.
While Mod Podge does dry to a hard finish, it can sometimes leave behind an annoying tackiness that lingers even after curing. But fear not. There are ways to combat this sticky situation and achieve the perfect final result.
To minimize tackiness, remember the golden rule: thin is in. Applying Mod Podge in thin, even layers ensures faster drying and reduces the chances of stickiness. Keep in mind that factors like temperature, humidity, and application thickness can affect drying time. So be sure to find your project’s sweet spot by providing optimal drying conditions – a well-ventilated area with suitable temperature and humidity levels.
If tackiness persists despite your best efforts, don’t fret. Solutions abound. One option is applying a clear acrylic sealer over the dried Mod Podge to create a non-tacky surface. Another handy trick involves using fine-grit sandpaper to gently smooth out the sticky texture without causing any damage.
It’s important to note that Mod Podge’s tackiness can also be intentionally harnessed for certain effects in fabric and paper crafts or mixed media projects. This unique quality securely holds fabric or paper in place while creating textured or dimensional masterpieces.
In summary, mastering the art of Mod Podge requires understanding the factors influencing drying time and implementing appropriate techniques. By doing so, you’ll ensure flawless finishes for all your crafting endeavors.