Long curing time:
Gorilla Glue requires sufficient time to reach its maximum strength. Depending on the specific product used, it may take anywhere from 24 hours to several days for the glue to fully cure. This extended curing time can be inconvenient when quick repairs are needed.
Limited flexibility:
While Gorilla Glue provides a strong bond, it may not be the best choice for rubber materials that require flexibility. The cured glue can be rigid and may not allow for natural movement or stretching of rubber components. Consider this limitation when working on projects that involve dynamic rubber parts.
Different Types of Rubber and Their Compatibility with Gorilla Glue
Today, we embark on a journey into the fascinating world of rubber and its compatibility with the formidable Gorilla Glue. With various types of rubber at our disposal, it’s crucial to understand their unique properties to determine whether they can form a lasting bond with Gorilla Glue. So, let’s dive in and uncover the secrets of this sticky relationship.
Rubber Types and Compatibility:
- Natural Rubber: Derived from the sap of rubber trees, natural rubber boasts impressive elasticity and tear resistance. Thanks to its high surface energy, it forms a strong bond with Gorilla Glue. To ensure optimal adhesion, clean the surface thoroughly and roughen it slightly.
- Synthetic Rubber: Crafted through chemical processes, synthetic rubber is a versatile material that mimics natural rubber while offering customization options. Neoprene rubber, known for its durability and flexibility, is compatible with Gorilla Glue. However, silicone rubber proves to be a tough nut to crack – Gorilla Glue fails to adhere to its surface.
- Nitrile Rubber: Frequently found in industrial settings due to its resistance to oils and chemicals, nitrile rubber generally plays well with Gorilla Glue. However, it’s always wise to conduct a small test in an inconspicuous area before proceeding with a larger bonding project.
- Silicone Rubber: Known for its ability to withstand extreme temperatures like an unyielding champion, silicone rubber disappoints in terms of compatibility with Gorilla Glue. The magical touch required for bonding silicone rubber lies in specialized adhesives tailored specifically for this resilient material.
- EPDM Rubber: Popularly used in roofing membranes and electrical insulation, EPDM rubber harmoniously bonds with Gorilla Glue when applied correctly. Its properties contribute to the formation of a robust connection that withstands the test of time.
Long-term Durability and Reliability of the Bond
Rubber bonding is a fascinating realm, and today we’re diving into the mighty Gorilla Glue to explore its long-term durability and reliability. This polyurethane-based adhesive boasts impressive properties for creating a strong bond with various materials, including rubber. However, it’s important to keep in mind that the effectiveness of the bond can vary depending on the type of rubber.
Different rubber types, such as natural, synthetic, and silicone rubber, have unique properties and resistance to adhesives. While Gorilla Glue can form a robust bond with natural and synthetic rubber, it may not fare as well with silicone rubber. So, consider the specific type of rubber you’re working with before grabbing that bottle of Gorilla Glue.
To ensure a reliable bond between Gorilla Glue and rubber, there are key considerations to remember. Firstly, thoroughly clean the rubber surface to remove dirt, oil, or grease that can compromise the bond’s durability. Applying pressure while the glue dries is crucial for achieving strength and durability. Use clamps or heavy objects to hold the bonded surfaces together until the glue cures completely. Keep in mind that Gorilla Glue expands as it dries, so use it sparingly with small or delicate rubber items to avoid messy mishaps.
Now, let’s talk about long-term durability. While Gorilla Glue can create an initial strong bond with rubber, its longevity depends on several factors. Exposure to moisture or extreme temperatures can weaken the bond over time. If your rubber item will face these conditions constantly, explore alternative adhesives.
Mechanical stress is another factor. Frequent flexing or stretching of bonded rubber surfaces may cause the bond to break or become less reliable. For heavy-duty or high-stress applications, consider specialized adhesives formulated specifically for rubber bonding.
Specialized Adhesives for Rubber
Rubber, a versatile material used in various applications, requires specialized adhesives to ensure a strong and durable bond. When selecting an adhesive for rubber, factors such as the type of rubber and the intended application must be considered. By understanding these considerations, you can choose the right adhesive that will effectively bond rubber.
Rubber can be categorized into two main types: natural rubber and synthetic rubber. Natural rubber, derived from latex, boasts remarkable elasticity and flexibility. On the other hand, synthetic rubber, made from petroleum-based materials, possesses different properties based on its composition.
Each type of rubber has unique properties that impact the effectiveness of adhesives. Natural rubber, with its high surface energy, forms robust bonds with adhesives. In contrast, synthetic rubbers can have varying levels of surface energy. Some synthetic rubbers exhibit low surface energy, making it more challenging for adhesives to bond effectively.
In addition to considering the type of rubber, the intended application must also be taken into account. Rubber is often exposed to harsh environments like extreme temperatures, moisture, chemicals, or mechanical stress. Therefore, it is crucial to select an adhesive capable of withstanding these conditions while providing a reliable bond.
Fortunately, there are several specialized adhesives available for bonding rubber. Cyanoacrylate glue, popularly known as super glue, forms a strong and durable bond with rubber surfaces. This adhesive is resistant to moisture, chemicals, and temperature changes. Another option is epoxy adhesive, which can withstand high temperatures and harsh environments while providing a strong bond.
For bonding rubber materials, silicone adhesive is commonly used. Silicone adhesives offer flexibility and excellent resistance to heat, moisture, and chemicals. These properties enable them to create reliable bonds that withstand the movement and flexibility of rubber.
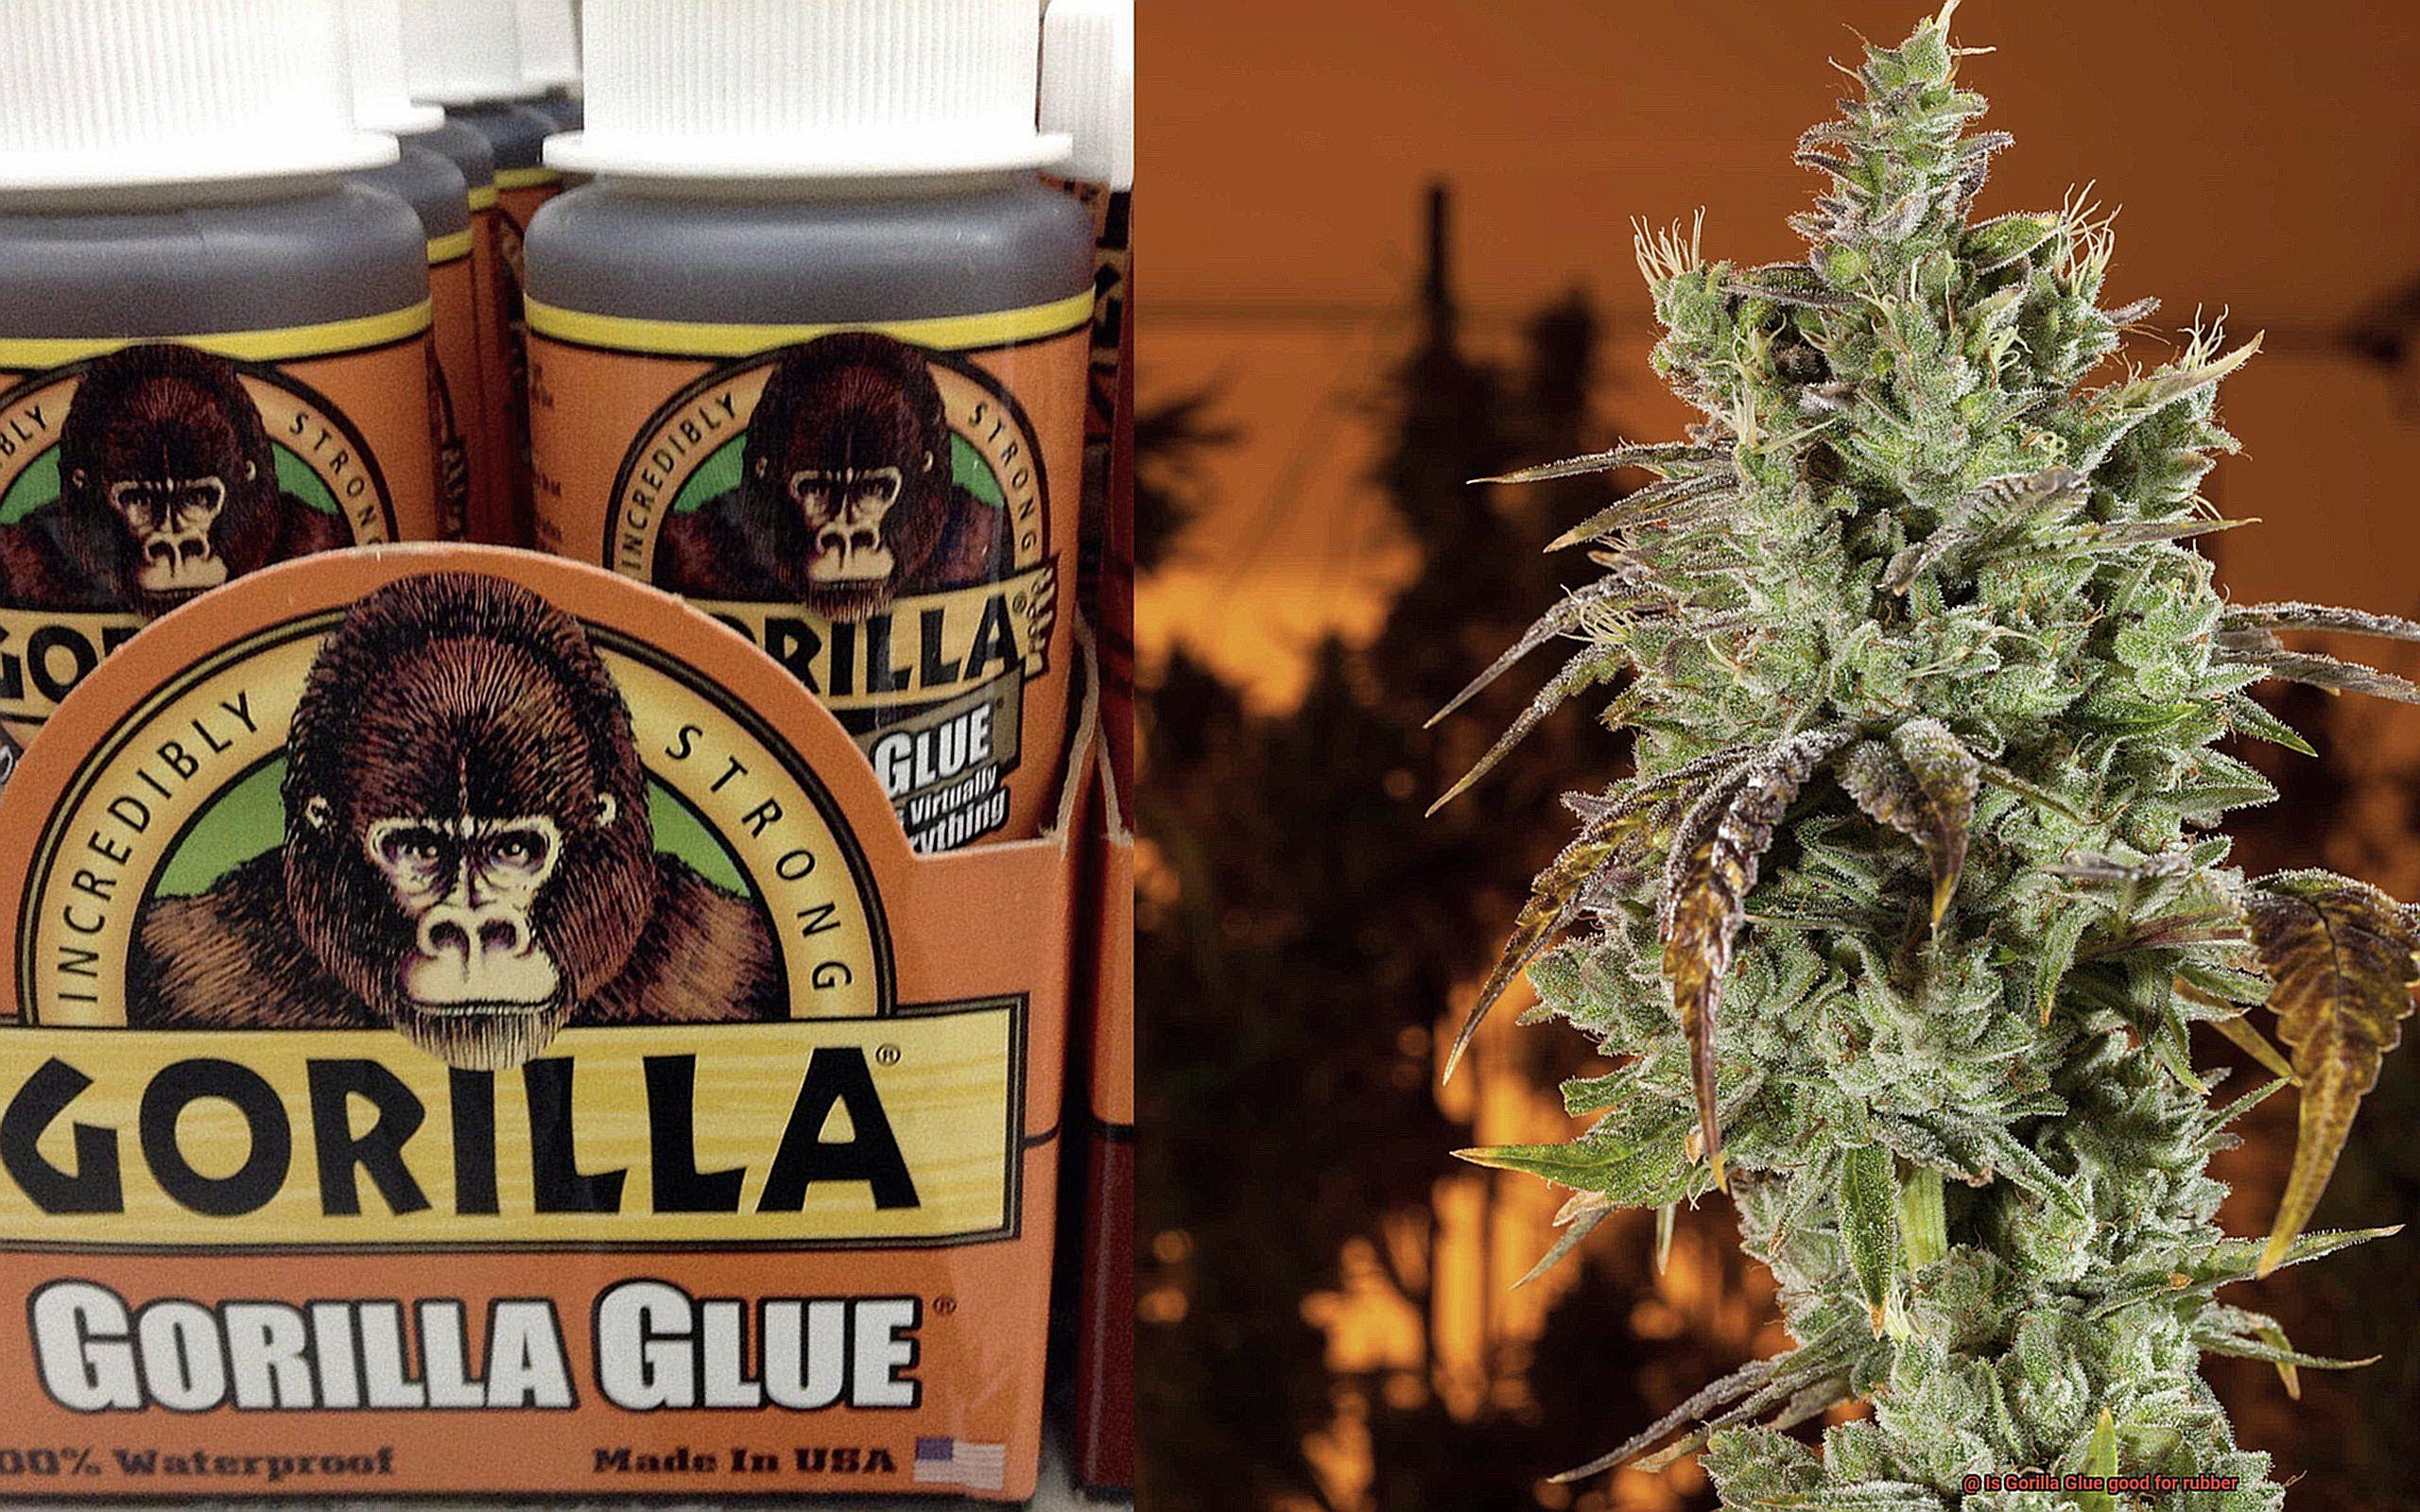
However, it is important to note that while Gorilla Glue is renowned for its strength and versatility, it may not be the best choice for bonding rubber materials. Gorilla Glue is primarily designed for porous surfaces and may not adhere well to rubber.
Preparing the Surface Before Applying Adhesive
Adhesives possess the power to join materials together like superheroes, but to unleash their full potential, proper surface preparation is crucial. In this journey into the exciting world of adhesive bonding, we will explore the secrets of preparing rubber surfaces to create unbreakable bonds. So put on your cape and get ready to dive into the art of surface preparation.
Cleanliness is Key:
Just like superheroes need a clean slate to save the world, adhesives require a pristine surface to bond effectively. Remove dirt, dust, grease, and other contaminants lurking on the rubber surface using a mild detergent or rubbing alcohol. Remember, a clean surface is a happy surface.
Out with the Old:
Old adhesive can be a villain in disguise, preventing a strong bond from forming. Bid it farewell using a scraper or sandpaper, ensuring not to damage the rubber. Clearing the path for new adhesion will lead you to victory.
Roughen Up:
Smooth and non-porous rubber surfaces pose challenges for adhesives seeking a stronghold. Fear not. We have a secret weapon – roughening the surface. With sandpaper or a wire brush in hand, gently rub down the rubber, creating more surface area for our adhesive to grip onto. Get ready for an unyielding bond.
Compatibility Testing:
Before committing to your chosen adhesive, perform a compatibility test. Apply a small amount of glue on an inconspicuous area and let it dry completely. Inspect the bond’s strength without any adverse reactions. If all looks good, it’s time to move forward.
Prime Time (Optional):
For those tough-to-bond rubbers like silicone, we have an optional power-up – primer. Primers are specially designed sidekicks that promote adhesion with challenging materials. Follow the manufacturer’s instructions carefully when applying primer before using your adhesive. Give your adhesive the ultimate boost.
Follow the Instructions:
Now that we’ve done our prepping, it’s time to listen to our adhesive’s instructions. Different adhesives may have specific recommendations for surface preparation and application techniques. By following these guidelines, we ensure the best possible bond and set ourselves up for success.
Armed with the knowledge of cleaning, removing old adhesive, roughening the surface, compatibility testing, optional priming, and following instructions, you are now equipped to conquer the rubber world with your adhesive superpowers. Remember, a superhero-worthy bond requires meticulous preparation. So go forth and join materials together with confidence – the superhero of adhesion.
Application Techniques for Adhesives on Rubber
When it comes to bonding rubber materials, choosing the right adhesive is crucial. But that’s only half the battle. To ensure a strong and durable bond, it’s essential to master the art of proper application techniques. In this section, we will explore some key tips and tricks that will transform you into a bonding expert.
- Surface Preparation: Just like you wouldn’t stick something on a dirty window, adhesives need a clean surface to work their magic. Start by giving the rubber surface a good scrub with a mild detergent or rubbing alcohol. Remove any dirt, grease, or contaminants that might hinder the adhesion process. Once it’s squeaky clean, let it dry completely before moving on.
- Roughening the Surface: Rubber surfaces have low surface energy, which can make it challenging for adhesives to bond effectively. Time to roughen things up a bit. Grab some sandpaper or a wire brush and create small scratches or grooves on the rubber surface. This gives the adhesive something to grip onto and enhances bonding ability.
- Applying the Adhesive: Now comes the fun part – applying the adhesive. Follow the instructions provided by the manufacturer and use a suitable applicator such as a brush or nozzle to evenly spread the adhesive onto both rubber surfaces. Be careful not to overdo it – too much adhesive can lead to messy results and may not improve bond strength.
- Curing Time: Patience is key when it comes to curing time. Adhesives need sufficient time to cure and form a strong bond. The exact curing time depends on factors such as the type of adhesive used and environmental conditions like temperature and humidity. Rushing this process can result in a weaker bond that won’t stand up to stress or load. So be patient and allow enough curing time as specified by the manufacturer.
- Clamping or Pressure Application: Sometimes, a little extra help is needed. Using clamps or applying pressure can give your bond an extra boost. This technique ensures maximum contact between the adhesive and rubber, eliminating any potential air gaps that can weaken the bond. Just make sure not to apply too much pressure that could deform or damage the rubber.
- Temperature Considerations: Adhesives, like humans, have temperature preferences. Some adhesives perform optimally within specific temperature ranges. So make sure to check the manufacturer’s guidelines and follow them diligently. Extreme temperatures, whether too hot or too cold, can affect the adhesive’s performance and compromise the bond.
Curing Times for Adhesives on Rubber
Have you ever wondered how long it takes for adhesives to fully cure on rubber surfaces? In this blog post, we will dive into the world of curing times specifically for Gorilla Glue when applied to rubber. This popular adhesive is known for its strength and reliability, but it’s important to understand the unique characteristics of rubber and how they can affect the curing process.
Understanding Curing Times:
Gorilla Glue’s typical curing time is around 24 hours on most surfaces. However, when working with rubber, we need to consider its specific properties.
The challenge of bonding rubber lies in its flexibility and porous nature. The flexibility makes it more difficult for adhesives to form a strong bond, while the porous nature of rubber can affect the penetration and drying of the adhesive.
Extended Curing Time for Rubber:
To ensure a successful bond on rubber surfaces, it is advisable to extend the curing time to at least 48 hours or even longer. This allows the adhesive to thoroughly penetrate and bond with the rubber, resulting in a stronger and more durable bond.
Environmental factors such as temperature and humidity can also influence the curing process. Higher temperatures and lower humidity levels tend to speed up curing, while lower temperatures and higher humidity levels slow it down.
Tips for Successful Bonding:
Always refer to the instructions provided by the adhesive manufacturer. They may offer specific recommendations for bonding rubber materials.
Prioritize testing the adhesive on a small, inconspicuous area of the rubber surface before applying it to the entire area. This helps assess compatibility and determine the optimal curing time for your specific application.
bG60VfP5Z84″ >
Also Read: Will Gorilla Glue damage rubber?
Conclusion
In conclusion, Gorilla Glue is indeed a reliable adhesive for rubber materials.
Its strong bond and durable hold make it an excellent choice for repairing or bonding rubber objects. Whether you’re fixing a torn shoe sole or securing a rubber gasket, Gorilla Glue will get the job done effectively.
So, if you’re looking for a dependable solution to adhere rubber surfaces together, Gorilla Glue is definitely worth considering.