Are you ready to give your home a fresh new look by replacing your old, tired vinyl flooring?
Before you can install anything new, you’ll need to remove the old flooring first. But if your vinyl is glued down, it can be a tricky process that requires some patience and the right tools.
Luckily, we’re here to help with some expert tips and tricks on how to safely and effectively remove glued vinyl flooring. First things first: make sure you have all of the necessary tools and materials before getting started.
You’ll need a scraper, heat gun or hairdryer, adhesive remover, safety goggles, and a mask to protect yourself from any fumes. Once you’ve gathered everything you need, it’s time to get down to business.
Removing glued vinyl flooring is not a quick task – it requires patience and attention to detail for the best results. But don’t worry – we’ve got you covered with step-by-step instructions on how to efficiently and correctly remove your old flooring.
So, let’s find out.
Necessary Tools and Equipment
Contents
Removing glued vinyl flooring can be a daunting task, but with the right tools and equipment, you can make the process a breeze.
Similar to how a painter needs their brushes to create a masterpiece, you will need your tools to remove that stubborn vinyl flooring. Your safety should always come first.
Protect yourself by wearing gloves, safety glasses, and a mask to avoid any debris or harmful chemicals. With your protective gear on, it’s time to gather your tools.
A utility knife is the perfect tool for cutting through the vinyl flooring and adhesive. A sharp blade will make the process smoother and prevent any accidents or injuries.
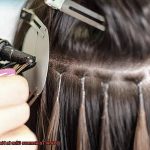
Next up, it’s time to apply heat to the adhesive using a heat gun. Think of it as melting butter on a hot pan – the heat gun will soften the adhesive and make it easier to scrape off.
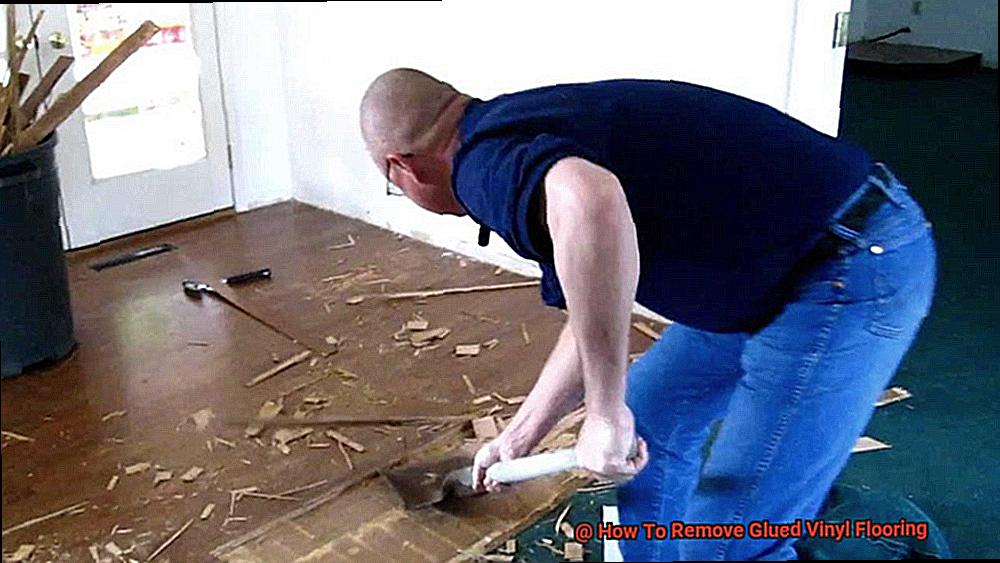
Now that you have softened the adhesive, use a heavy-duty floor scraper with a sturdy handle to remove the vinyl flooring and adhesive. For smaller areas or hard-to-reach spots, a putty knife will do the trick.
If there are stubborn areas that won’t budge, use a pry bar to lift them up. If all else fails, you may need to use a chemical adhesive remover.
Follow the instructions carefully and use protective gear when handling any chemicals. It’s important to work slowly and carefully to avoid damaging the subfloor underneath.
Once all of the glued vinyl flooring has been removed, use a vacuum or broom to clean up any debris or leftover adhesive. It’s crucial to thoroughly clean the subfloor before installing new flooring.
So, removing glued vinyl flooring requires patience, caution, and the right tools and equipment.
Preparing the Area
Preparing the area is a crucial step in removing glued vinyl flooring, and it’s like preparing your workspace for the ultimate project.
You need to ensure that the area is safe, clean, and free of any obstacles. Start by clearing the area of any furniture or appliances.
This will give you ample space to work and minimize the risk of damage to your belongings. It’s like decluttering your desk before starting a task.
Next, cover the vents and doorways with plastic sheeting to contain dust and debris generated during the removal process. Make sure to seal off any other openings, such as windows or air ducts, to prevent dust from spreading throughout your home.
Protective gear such as gloves, goggles, and a dust mask is essential before you start removing the vinyl flooring. It’s like putting on your safety uniform before starting your workday.
This equipment will protect you from potential hazards like dust, chemical fumes, or sharp objects that may be present during the removal process. Now that you have prepared yourself and the area, it’s time to start removing the vinyl flooring.
Be patient and persistent, especially if the glue has been applied thickly or if it has been in place for many years.
Loosening and Removing the Vinyl Flooring
Although it may seem like a daunting task, don’t worry, we’ve got you covered.
With the right tools and techniques, you can loosen and remove it efficiently, just like piecing together a puzzle. Before starting, make sure you have all the necessary equipment and safety gear.
Think of it like gearing up for a mission – gloves, safety glasses, a respirator mask, a putty knife, a heat gun or hairdryer, and a scraper are all essential tools in your removal kit. Now that you’re fully equipped, let’s get started.
Begin by heating up the glue underneath the vinyl flooring using your heat gun or hairdryer. This will help loosen up the glue without damaging the subfloor.
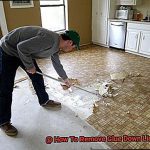
Think of it like warming up before exercise – it prepares you for the task ahead. Starting at one corner of the room, use your putty knife to lift up the edges of the vinyl flooring.
Be patient and gentle, just like peeling off a Band-Aid. Be careful not to damage any surrounding areas such as walls or baseboards.
Once you’ve lifted up a section of the vinyl flooring, use your scraper to remove any remaining glue or adhesive from the subfloor. Think of it like cleaning out your closet – removing any sticky residue to reveal a fresh foundation.
Continue working in sections until all of the vinyl flooring has been removed. Make sure to dispose of the vinyl properly according to local regulations.
Think of it like recycling – doing your part to keep our planet clean and healthy.
In conclusion, removing glued vinyl flooring may seem overwhelming but with patience and the right tools, it can be done successfully.
Heating the Glued Vinyl Flooring
Heating the glued vinyl flooring is a handy technique that can make the process much easier and efficient. It’s like a warm-up before a workout – heating the vinyl flooring softens the adhesive, making it easier to remove.
To start, you’ll need some tools, including a heat gun or hairdryer set on high heat, a putty knife or scraper, and most importantly, patience. Begin heating up small sections of the vinyl flooring by holding the heat source about 6 inches away from the floor and moving it around in a circular motion.
Be careful not to overheat or scorch the flooring, as it can cause damage. Once a section is heated, use your putty knife or scraper to gently pry up the vinyl flooring.
Begin at the edges and work your way towards the center of the section. If you face any resistance or difficulty in removing the flooring, reapply heat to that area and try again.
Keep repeating this process until all the vinyl flooring has been removed. It’s important to note that some adhesive may remain on the subfloor after removing the vinyl.
You can remove any remaining adhesive by using a solvent-based adhesive remover or scraping it off with your putty knife. And don’t forget to take proper safety precautions when using this method, as heating the vinyl flooring can release toxic fumes.
In conclusion, heating the glued vinyl flooring is an effective technique for removing old vinyl floors.
With a little time and effort, you can successfully remove glued vinyl flooring from your home and enjoy a fresh start with new flooring.
Lifting and Removing Small Sections of the Flooring
Removing glued vinyl flooring can be a daunting task, but fear not.
Lifting and removing small sections of the flooring can make the process much more manageable. It’s like unwrapping a present – with a bit more elbow grease.
To start, arm yourself with a putty knife or any similar tool to pry up the edges of the vinyl. Begin at one corner of the section you want to remove and work your way around the perimeter, gently lifting up the edges of the flooring as you go.
Take your time, like a delicate surgery, to avoid damaging anything underneath. Once you have lifted the edges of the flooring, it’s time to tackle any leftover adhesive residue.
Use a scraper or similar tool to remove it. Think of it like scraping off frosting from a cake – you want to be thorough and meticulous without going overboard.
After all adhesive residue has been removed, you can lift up the section of flooring and dispose of it properly. Label any vinyl planks or tiles you plan on reusing so that you know where they came from.
Bear in mind that while this method is ideal for small areas, it may not be practical for larger ones. In these cases, consider using heat or chemical solvents.
Applying Adhesive Remover to Stubborn Areas
Removing glued vinyl flooring can be a daunting task, especially when you come across stubborn areas where the adhesive just won’t budge.
But don’t fret. Applying an adhesive remover can be a game-changer and make the process much easier and manageable.
Before diving into the adhesive remover, ensure that you’re geared up with protective gear like gloves and goggles. It’s crucial to have a well-ventilated room since adhesive removers can be harsh chemicals.
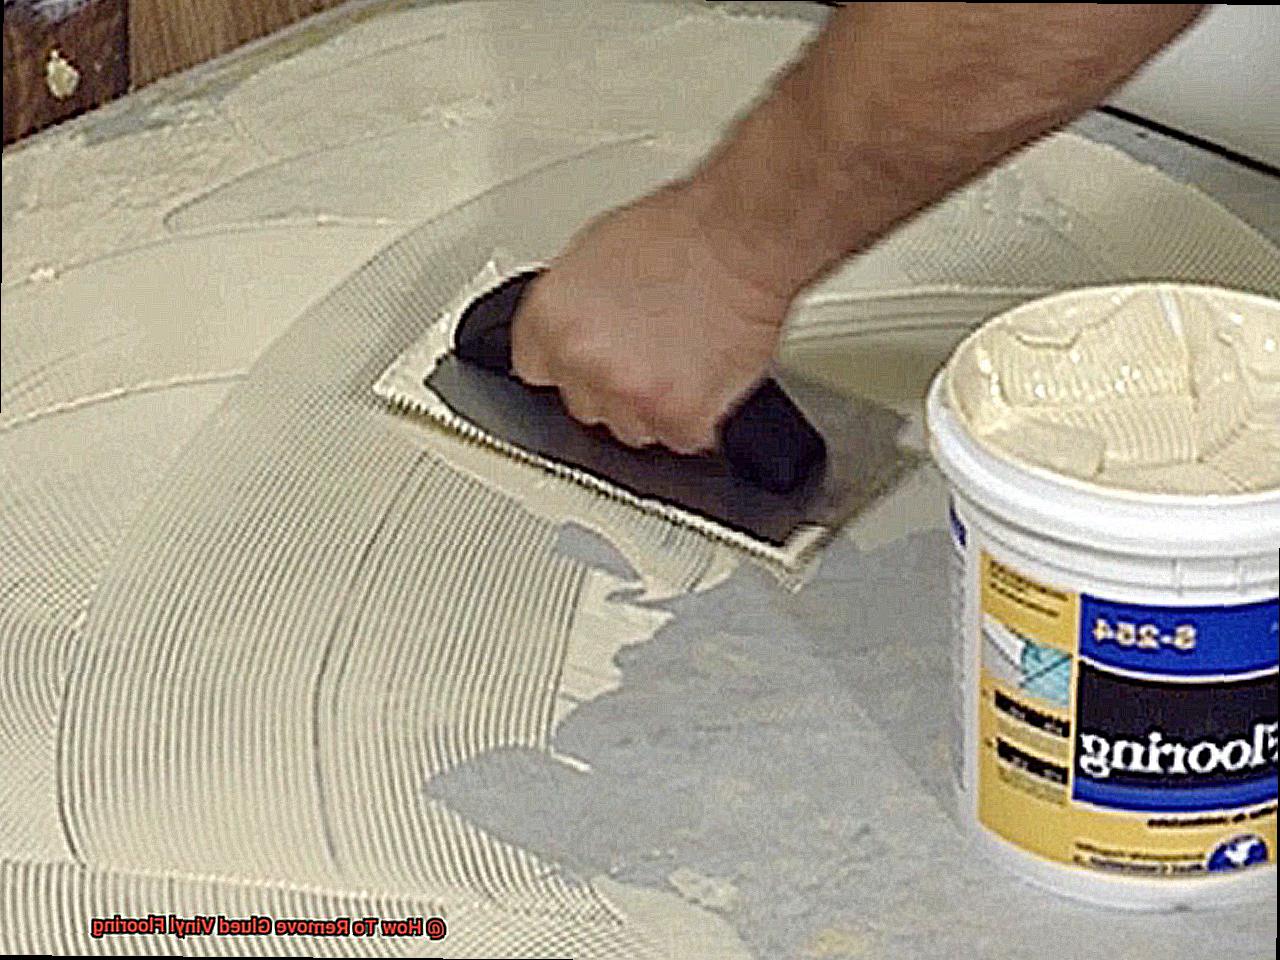
Safety should always come first. Once you’re geared up, it’s time to apply the adhesive remover directly to the stubborn areas using a brush or sponge.
Remember to read the manufacturer’s instructions carefully, as the amount of time needed for the remover to work can vary. After the recommended time has elapsed, use a scraper or putty knife to gently remove the adhesive.
Keep in mind that patience is key during this process because forcing anything can damage the subfloor. If there are still areas where the adhesive remains, don’t panic.
Removing glued vinyl flooring may feel like unwrapping a present with a bit more elbow grease, but applying an adhesive remover can help make it a much smoother and satisfying process.
COvmAtJrtTE” >
Conclusion
In summary, removing glued vinyl flooring may seem like a daunting task, but it can be done efficiently and safely with the right tools and techniques.
Patience, attention to detail, and proper protective gear are key to success. To prepare for the removal process, clear out furniture and appliances from the area and cover vents and doorways with plastic sheeting.
Wear protective gear such as gloves, goggles, and a dust mask to avoid injury or inhalation of harmful particles. One effective technique for removing glued vinyl flooring is heating it up using a heat gun or hairdryer.
This softens the adhesive, making it easier to scrape off. Lifting and removing small sections of the flooring can also make the process more manageable.
If stubborn areas refuse to budge, applying an adhesive remover can be a game-changer. However, it’s crucial to follow manufacturer instructions carefully and work slowly and carefully to avoid damaging the subfloor underneath.