Are you looking for an easy and cost-effective way to join copper pipes?
Glue is the perfect solution. It’s simple to do, and with a few items and equipment, you can securely attach two pieces of copper pipe.
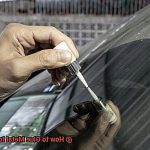
In this blog post, we’ll show you how to glue copper pipe so that your project will be a success. To begin gluing copper pipe, you’ll need a good quality adhesive specifically made for use on copper pipes.
You’ll also need a cloth rag, wire brush, sandpaper, and protective gloves. Once you have all of your supplies ready, follow these steps:
- Clean the surfaces of the two pipes with a wire brush and sandpaper. Make sure to remove any dirt or debris that may hinder adhesion.
- Apply an even coating of adhesive to one end of each pipe. Ensure that it is spread evenly across the entire surface area.
- Push the two ends together until they are completely joined together. Hold them in place for at least 30 seconds before releasing them from your grasp.
- Allow the adhesive to dry completely before using or testing the joint’s stability (this usually takes about 24 hours). When dry, test its strength by running water through it or applying pressure with pliers or wrenches.
Now you know how to glue copper pipe. With this knowledge, you can confidently complete your project without worrying about leaks or other problems caused by poor adhesion between two pieces of metal piping.
Advantages of Gluing Copper Pipe
Contents
- 1 Advantages of Gluing Copper Pipe
- 2 Different Types of Glue for Copper Pipe
- 3 Preparing the Surfaces for Bonding
- 4 Applying the Adhesive to the Copper Pipes
- 5 Holding the Pipes in Place Until Set
- 6 Limitations of Gluing Copper Pipe
- 7 Best Practices When Gluing Copper Pipe
- 8 Troubleshooting Common Issues When Gluing Copper Pipe
- 9 Conclusion
Gluing copper pipes is an increasingly popular alternative to traditional soldering techniques, boasting many advantages that make it the go-to choice for DIY enthusiasts and professional installers alike.
From quicker installation and no need for special equipment to improved bonding and reduced fire risks, gluing copper pipes offers a multitude of benefits. To begin with, gluing copper pipes is much faster than soldering.
Instead of having to heat up the area, apply flux, and melt solder around the joint, all you’ll have to do is apply adhesive to the pieces, assemble them, and let them dry. If dealing with multiple joints, this could save a significant amount of time during assembly.
Moreover, gluing eliminates the need for any special tools like a soldering iron or flux. All you’ll require is an adhesive and a brush to apply it – making it ideal for those who don’t have access to or experience with special tools required for soldering copper pipes.
In terms of safety, gluing also gets rid of the risk of fire hazards associated with heating up pipes during soldering. Inexperienced installers can start a fire if they aren’t careful with the heat source they are using for soldering; with gluing there’s no need to use heat at all.
Not only does gluing provide safety benefits but also stronger bonding strength than soldering. The adhesive used specifically bonds and holds the pipes together permanently even under high water pressure conditions; in comparison, soldered joints may have weaker connections that could lead to leaks or bursts in the joints causing water damage or potentially dangerous situations.
Finally, gluing copper pipes eliminates the need to drain water from the pipes prior to installation – something that must be done when soldering in order to dry out the area before melting solder around it.
Different Types of Glue for Copper Pipe
When it comes to joining copper pipes, the most important part of the procedure is finding the right glue.
With so many different types of adhesive available, it can be difficult to decide which one is suitable for your application. Here, we’ll explore some of the various types of glue for copper pipes and discuss their advantages and disadvantages.
Epoxy
Epoxy is a two-part adhesive that creates a strong bond when mixed together. It’s ideal for pipes that will be under pressure, such as those used in water supply systems.
Polyurethane-based adhesive
Polyurethane-based adhesive is also an excellent choice for copper pipes because it is waterproof and can withstand high temperatures. This kind of adhesive can be used to seal small leaks or connect pipes that won’t be under high pressure.
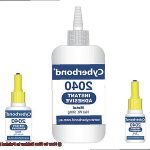
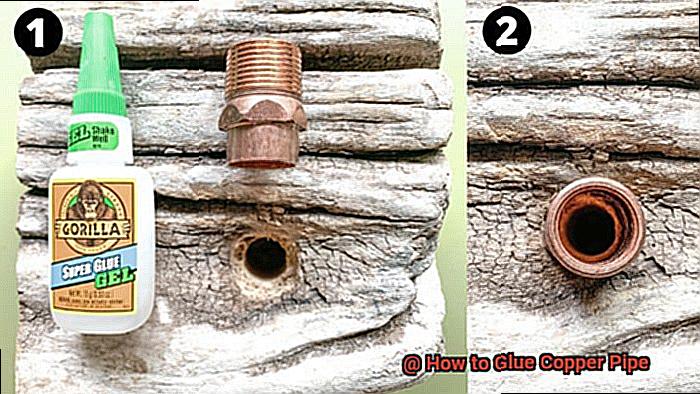
Super Glue
Cyanoacrylate glue, also known as super glue, can also be used to bond copper pipes together – but only in low-pressure systems. Super glue sets very quickly, so it should be handled with care.
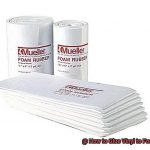
Special adhesive tape
Another option is special adhesive tape; this rubber material forms a tight seal around the pipe, making it perfect for fixing small leaks or connecting pipes that won’t be under high pressure. However, like super glue, it should not be used in high-pressure systems.
No matter what kind of glue you choose for your copper pipe project, make sure you follow the manufacturer’s instructions carefully to ensure a strong and reliable bond.
Preparing the Surfaces for Bonding
Creating a strong and long-lasting bond between two copper pipes requires careful preparation of their surfaces.
To begin, it is essential to clean the copper pipe with an appropriate cleaning solution such as isopropyl alcohol or acetone. This will ensure that no dirt or debris will interfere with the adhesive’s ability to stick.
Next, use sandpaper to roughen the surface of the pipe by creating small scratches or grooves. This will increase the surface area for the glue to adhere to and provide a more secure bond.
Lastly, be sure to choose an adhesive that is compatible with both materials being bonded together, such as epoxy or silicone-based adhesives for gluing copper pipes to wood.
Applying the Adhesive to the Copper Pipes
Creating a strong bond between two copper pipes is easy when you know the right steps.
The most popular adhesive for copper pipes is solder, but epoxy, PVC cement, and silicone adhesives can also be used.
- To get started, clean the copper pipes with sandpaper or a wire brush to remove any corrosion, oxides, or dirt that could interfere with the bonding process.
- After cleaning, apply a coat of flux to the copper pipe and fittings for improved adhesion. Once everything is ready to go, it’s time to apply the adhesive.
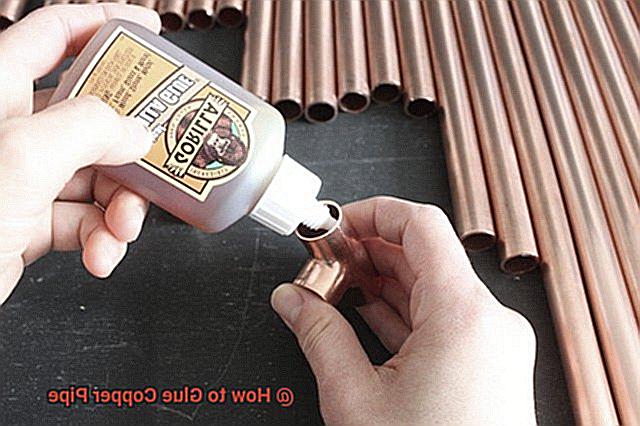
- Use a brush or applicator to evenly spread the adhesive on both sides and make sure not to over-apply; excess glue can cause drips and result in a weaker bond. Once applied, quickly join the copper pipes and fittings together and hold them in place until the adhesive has set.
- Applying adhesive to copper pipes may seem intimidating at first, but following these steps will ensure that you have a secure connection that won’t leak when you turn on the water supply or use it for any other purpose.
Holding the Pipes in Place Until Set
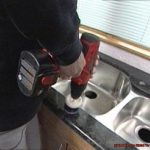
When it comes to gluing copper pipes, one of the most important steps is holding them in place until the adhesive sets.
Without this crucial step, your plumbing won’t be as secure or last as long. To ensure a strong bond between the copper pipe and the fitting, there are several methods you can use to hold them in place.
Clamps are an easy way to keep your pipes in place. These adjustable tools can be found at any hardware store and fit any size of pipe.
Braces work well too; simply tighten a strip of metal or wood against the pipe and hold it firmly until the glue sets. If neither clamps nor braces are available, you can also use duct tape – just wrap it around the pipes and keep it tight until the glue has hardened completely.
No matter which method you choose, make sure you take enough time to hold your pipes in place until the glue sets.
Limitations of Gluing Copper Pipe
Gluing copper pipe is often seen as an easy and convenient way to join two pipes without soldering.
However, it’s important to understand the limitations of this method before you start. Firstly, selecting the right glue for your application is essential.
Different types of glues work best with specific metals and surfaces, so make sure to choose one that is compatible with both copper and other materials. Secondly, gluing may not be suitable for high-pressure or high-temperature applications.
Soldering or brazing may be better options in these cases for creating a stronger bond. Thirdly, keep in mind that gluing isn’t always a long-term solution.
Over time, the glue may break down due to humidity or exposure to the elements, leading to leaks or other issues. Finally, while it may be possible to fix a copper pipe without soldering by using a strong adhesive, it’s important to consider the potential risks and drawbacks associated with this method.
To sum up, gluing copper pipe can provide an effective way to join two pipes without soldering in certain situations – however it’s important to understand its limitations before getting started.
J_UMVfF-vr4″ >
Best Practices When Gluing Copper Pipe
When joining copper pipes, gluing can be a quick and efficient way to connect two pieces without soldering.
However, it’s important to note that this technique isn’t as reliable as soldering and may not be suitable for all applications. To ensure a strong and long-lasting bond, here are the best practices when gluing copper pipe:
First, make sure that the surfaces you are bonding are clean and dry before applying the glue or adhesive. This will help ensure the pipes and fittings are in good condition.
Additionally, use the appropriate type of glue or adhesive for your project, taking into account both the materials used and the intended use of the joint. When applying the adhesive or glue, use it sparingly and evenly to prevent over-applying it or creating weak spots.
Also allow sufficient curing time before applying pressure or turning on the water – always follow manufacturer instructions for optimal results. Before applying the glue or adhesive, consider using a primer or activator; this will help prepare the surface for bonding and boost joint strength.
Finally, remember that gluing copper pipe is not recommended for permanent repairs; soldering is still considered to be most effective in this regard.
Troubleshooting Common Issues When Gluing Copper Pipe
Gluing copper pipe is a cost-effective and efficient way to join two pieces of pipe, but it’s important to be aware of the potential issues that can arise in order to ensure a successful installation.
Leakages, joint separation, clogged pipes, and incomplete sealing are all common problems that can occur when gluing copper pipe. To prevent these issues, it’s essential to clean and dry the pipe thoroughly before applying the glue.
Make sure to use the correct type of glue and follow the manufacturer’s instructions carefully. Apply a generous amount of glue and press the pipe firmly into place until it forms a complete seal.
If you suspect an issue with your glued connection such as a leak or clog, use a snake or auger to remove any blockages and check for any gaps or thin layers of glue that may have caused incomplete sealing.
Conclusion
Gluing copper pipes is a simple and cost-effective way to join two pieces of metal piping.
With the right adhesive, you can create a strong bond that won’t leak or burst under extreme water pressure conditions. To get started, gather your supplies: an adhesive made specifically for use on copper pipes, a cloth rag, wire brush, sandpaper, protective gloves, and flux.
Clean the surfaces with wire brush and sandpaper before applying an even layer of adhesive to each pipe. Bring the two ends together until they are completely united, then hold them for at least 30 seconds before releasing them from your grasp.
Allow the adhesive to dry completely before using it in any capacity. Options for gluing copper pipes include epoxy, polyurethane-based adhesives, cyanoacrylate glue (super glue), special adhesive tape, and solder paste; make sure you choose one that is compatible with both materials being bonded together.
Lastly, hold the pipes in place until the glue is set to ensure a secure bond between them.