Planning a home improvement project and need to know how long to clamp Liquid Nails adhesive?
Look no further. Liquid Nails is the adhesive of choice for DIYers, pros, and everyone in between.
Its versatility and strong bonding make it perfect for all sorts of projects. But here’s the thing: you gotta follow the recommended clamping time for success.
So grab your tool belt, get comfy, and let’s unlock the secrets to jaw-dropping results with Liquid Nails adhesive.
What is Liquid Nails?
Contents
When it comes to construction and home improvement projects, finding the right adhesive can make all the difference. That’s where Liquid Nails comes in. As a trusted brand of construction adhesive, Liquid Nails offers a reliable and versatile solution for bonding a wide range of materials. In this blog post, we will delve into the world of Liquid Nails, exploring its features, applications, and tips for achieving the strongest bond possible.
Versatility and Strength:
Liquid Nails is not your ordinary glue – it’s a construction adhesive that can bond materials such as wood, metal, concrete, drywall, ceramics, and more. Its versatility makes it an essential tool for carpenters, DIY enthusiasts, and professionals alike. With its strong and durable hold, Liquid Nails can withstand high temperatures, extreme weather conditions, and even some level of movement or vibration without compromising its integrity.
Variations and Application:
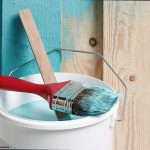
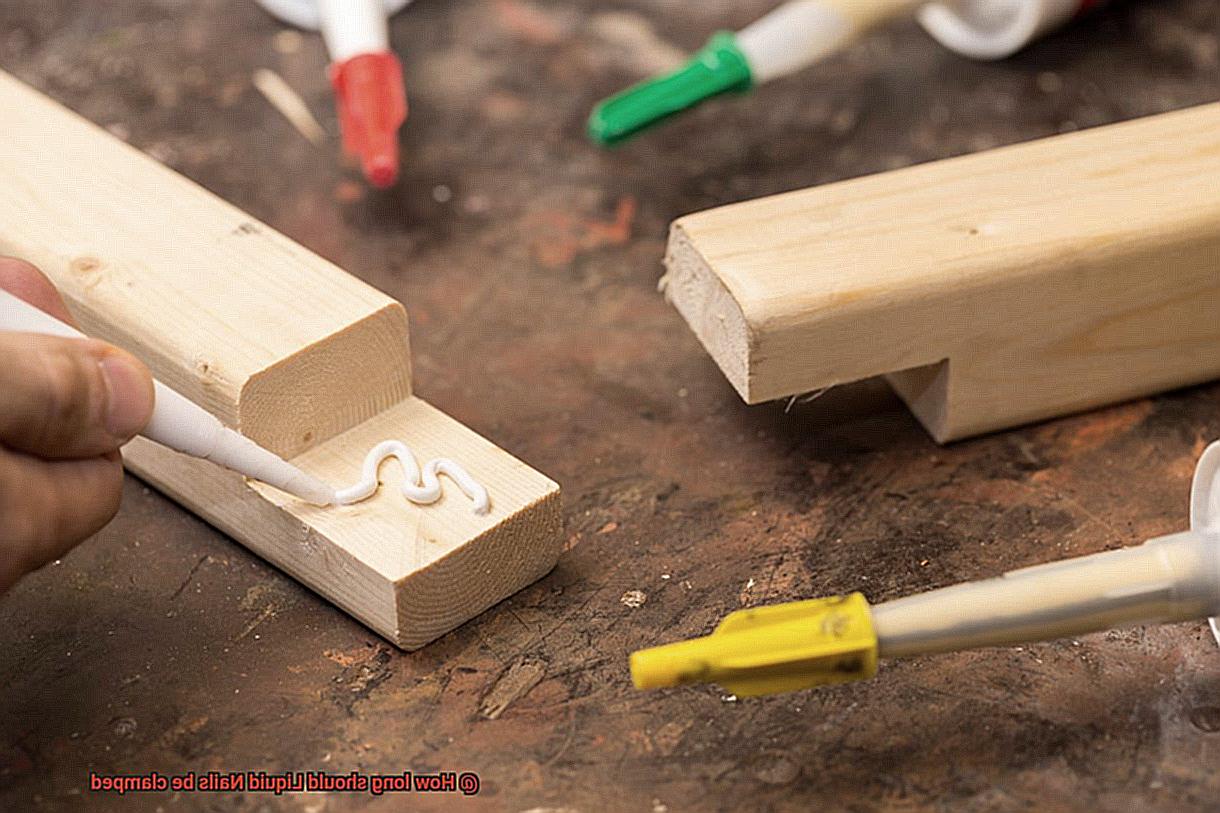
Liquid Nails understands that different projects require different levels of strength or speed. That’s why it comes in various formulations tailored to specific needs and materials. Whether you require a heavy-duty adhesive for industrial projects or a fast-drying option for quick repairs, there is a suitable variation available. Applying Liquid Nails is a simple process – just dispense the adhesive from a tube or cartridge using a caulking gun. Apply it directly onto one surface and firmly press it against the other surface to create a bond. Clamping is often recommended to ensure proper adhesion and allow the adhesive to cure effectively.
Clamping and Curing:
To achieve the strongest bond possible, it is important to follow the manufacturer’s instructions regarding clamping duration. Typically, Liquid Nails recommends clamping for at least 24 hours to allow the adhesive to fully cure and develop its maximum holding strength. However, factors such as temperature, humidity levels, and material type can influence curing times. It is crucial to read and follow the specific product instructions provided by the manufacturer for accurate clamping duration and other important considerations.
Why Clamping is Necessary
If you’re passionate about adhesive like me, then you’ve probably encountered Liquid Nails. But did you know that clamping is a vital step when using this versatile construction adhesive? Today, we will delve into the reasons why clamping is necessary with Liquid Nails adhesive. So grab your safety goggles, and let’s dive into the details.
Pressure Distribution:
Picture this – you’ve carefully applied Liquid Nails to your materials, but without clamping, there’s a risk that the adhesive won’t spread evenly across the surface. Clamping ensures even pressure, guaranteeing full contact between the adhesive and both surfaces being bonded. A bond without gaps or voids means a stronger connection.
Bonding Time:
Time is of the essence in glue projects. Liquid Nails needs time to develop its full strength, and clamping holds everything together during the curing process. This prevents any unwanted movement or separation that could compromise the bond. Remember, patience is key.
Alignment:
Have you ever experienced a project where everything appeared perfectly aligned until you let go, and…oops. It shifted slightly? Clamping solves this problem by securing your materials in place while the adhesive sets. This helps maintain proper alignment, ensuring your masterpiece stays intact.
Adhesive Squeeze-Out:
Squeeze-out may sound negative, but in this case, it’s a positive sign. When pressure is applied through clamping, excess adhesive may squeeze out from between the surfaces being bonded. This indicates that the adhesive has made contact and filled any gaps or irregularities, ensuring a tight fit. Just make sure to clean up the excess before it dries for a neat finish.
Enhanced Bond Strength:
We all want projects that stand the test of time, right? Clamping plays a crucial role in achieving maximum bond strength with Liquid Nails. By firmly holding the materials together, it allows the adhesive to fully cure and reach its peak strength potential. So whether you’re working on construction or woodworking projects, clamping is your secret weapon for long-lasting bonds.
General Guidelines for Clamping Duration
One pivotal step in the adhesive bonding process is clamping. In this comprehensive guide, we will explore the general guidelines for clamping duration when utilizing the unmatched power of Liquid Nails glue. By adhering to these principles, your projects will be held together with unwavering strength.
The Basics of Clamping:
Clamping revolves around applying the necessary pressure to facilitate proper adhesion and bond strength. When it comes to Liquid Nails, it is typically recommended to maintain clamping for a minimum of 24 hours. Nevertheless, it is vital to note that different types of Liquid Nails may have specific instructions pertaining to clamping durations. Always consult the manufacturer’s guidelines for optimal outcomes.
Factors Affecting Clamping Duration:
Understanding the factors that influence clamping duration will enable you to achieve exceptional results. Temperature and humidity play a significant role in the curing time of Liquid Nails. Higher temperatures expedite curing, while colder temperatures decelerate it. Similarly, elevated humidity levels prolong curing. Ensure you refer to the manufacturer’s instructions for temperature and humidity requirements.
Additional Support for Heavier Materials:
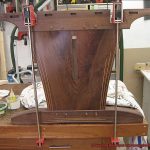
For heavier materials or vertical applications, additional support may be indispensable during the curing process. This can entail employing extra clamps or other ingenious methods to secure the materials in place. Guaranteeing even pressure distribution is paramount for impeccable bonding.
Patience is Key:
Premature removal of clamps can jeopardize adhesion and weaken bonds. To evade disappointment, it is advisable to err on the side of caution and allow longer clamping durations when unsure. Remember, patience is the ultimate virtue.
Proper Clamping Pressure:
Similar to Goldilocks searching for the perfect porridge, discovering the ideal clamping pressure is indispensable. Insufficient pressure may result in feeble adhesion, while excessive pressure can extrude surplus adhesive and create uneven bond lines. Adhere to the manufacturer’s recommendations concerning clamping pressure for optimal outcomes.
Final Touches:
Once the recommended clamping duration has elapsed, it is still prudent to allocate additional time for the adhesive to fully cure and harden before subjecting it to any stress or load. This additional step guarantees maximum bond strength and unparalleled longevity.
Factors That Impact Clamping Duration
Today, we embark on an exploration into the captivating realm of glue as we delve into the factors that can influence the clamping duration when using Liquid Nails. Whether you’re a seasoned pro or just beginning your adhesive adventures, understanding these factors will not only enable you to achieve optimal results but also forge unbreakable bonds in your projects. So, let’s dive right in.
Type of Liquid Nails:
Just as there are myriad glues for different purposes, Liquid Nails comes in various formulations, each with its own drying time and adhesive properties. Some variants dry swiftly, necessitating less clamping time, while others require more time to set. Hence, selecting the appropriate type of Liquid Nails for your project is essential to avoid any unexpected surprises during clamping.
Material Being Bonded:
The material you are working with plays a pivotal role in determining the clamping duration. Porous materials, like wood, tend to absorb more adhesive, resulting in longer drying times and extended clamping durations. Conversely, non-porous materials such as metal or glass do not absorb the adhesive as much, enabling faster drying and shorter clamping durations.
Temperature and Humidity:
Mother Nature herself exerts her influence on the bonding process. Environmental conditions such as temperature and humidity can significantly impact the drying time of Liquid Nails. Higher temperatures generally expedite drying, necessitating less clamping time. Conversely, lower temperatures impede drying and call for longer clamping durations. Similarly, high levels of humidity can prolong drying times.
Application Thickness:
The thickness of the layer of Liquid Nails applied also affects the clamping duration, especially in areas where air circulation is limited, such as the center. To facilitate speedier drying and reduce the required clamping duration, it is crucial to apply an even and thin layer of adhesive. Remember, when it comes to Liquid Nails, less is more.
Pressure Applied:
Finding the optimal pressure during clamping is critical. Adequate pressure ensures a robust bond and diminishes the need for an extended clamping duration. However, excessive pressure may cause excess adhesive to be squeezed out, weakening the bond. Strive for the perfect balance of pressure – not too much, not too little – just like Goldilocks.
Quality of Liquid Nails:
Investing in a high-quality Liquid Nails product can make all the difference in clamping duration. Trusted brands often boast faster drying times and provide superior bonding strength. Therefore, when it comes to your adhesive, do not skimp on quality – it serves as the backbone of your project’s success.
Reading and Following Instructions
In the world of do-it-yourself (DIY) projects, the ability to read and follow instructions is an invaluable skill. Whether you’re assembling furniture, installing a new appliance, or tackling a home renovation, understanding and adhering to instructions can make all the difference between success and frustration. In this passage, we will explore the importance of reading and following instructions, providing practical tips and insights to help you become a master at it.
The Significance of Instructions:
- Clarity and comprehension: Instructions provide clear guidance on how to complete a task or project. They outline step-by-step procedures, ensuring that you understand each action required.
- Safety first: Instructions often include safety precautions that are vital for your well-being. By following them, you can prevent accidents and injuries.
The Art of Reading Instructions:
- Take your time: Rushing through instructions can lead to mistakes. Read each step carefully, ensuring you understand it before proceeding.
- Highlight key details: Use a highlighter or underline important information such as measurements, specific tools needed, or warnings.
Following Instructions Effectively:
- Sequential order: Instructions are usually organized in a logical sequence. Follow the steps in the order presented to achieve the desired outcome.
- Ask for clarification if needed: If a step seems unclear or confusing, don’t hesitate to seek clarification from the manufacturer or consult online resources.
Troubleshooting and Problem-solving:
- Plan ahead: Before starting a project, familiarize yourself with the instructions in their entirety. This allows you to anticipate potential challenges and gather any necessary additional materials or tools.
- Adaptability: Sometimes, unexpected issues arise during a project. Use your critical thinking skills to find alternative solutions while still adhering to the overall instructions.
The Benefits of Reading and Following Instructions:
- Efficiency and time-saving: Following instructions ensures that you complete a project efficiently, without wasting time on unnecessary guesswork or trial and error.
- Quality outcomes: Instructions are designed to help you achieve the best possible results. By following them, you can ensure a finished product that meets or exceeds your expectations.
Type of Material Being Bonded
When it comes to the world of glue, understanding the type of material being bonded is crucial. Different materials have different properties and require varying amounts of time to fully bond. Liquid Nails adhesive is a reliable option that can handle a wide range of materials, but achieving the best results requires careful consideration of the material being bonded.
Let’s start with porous materials like wood or concrete. These thirsty little things love to absorb moisture and adhesive, so it’s essential to apply pressure for at least 24 hours when bonding them. This extended clamping time allows the adhesive to penetrate the pores, creating a strong and lasting bond. Skipping this step could lead to a weak connection that won’t stand the test of time.
Now, let’s turn our attention to non-porous materials like metal or glass. These smooth operators are like Teflon – nothing sticks to them easily. Since they don’t absorb adhesive like porous materials do, they typically achieve full strength within a shorter period. Clamping for just 1-2 hours is usually sufficient for these surfaces.
But wait, there’s more. Manufacturers often provide specific recommendations for clamping time based on the type of material you’re working with. Don’t forget to consult the product label or reach out to the manufacturer for their expert advice. Following their guidelines will ensure you get the best results possible.
In addition to material type, environmental conditions also play a role in curing time. Temperature and humidity can impact how quickly the adhesive sets and cures. Keep an eye on these factors and make adjustments as needed to achieve optimal bonding.
By considering the type of material being bonded, following recommended guidelines, and factoring in environmental conditions, you’ll be well-equipped to create strong and reliable bonds with Liquid Nails adhesive.
Temperature and Humidity Conditions
Join us on a journey through the intricate dance of curing and clamping time, as we uncover the secrets behind this adhesive’s true potential.
Temperature – The Goldilocks Zone:
Liquid Nails adhesive is like Goldilocks searching for the perfect porridge, craving an ideal temperature range for its curing magic. Too hot, and it races to cure town at lightning speed. Too cold, and it becomes a slow-dancing snail. But fear not. Find that sweet spot between 60°F and 80°F (15°C and 27°C), and witness the adhesive’s true potential come to life.
Humidity – The Moisture Mischief:
Humidity, that sneaky mischief-maker, can either be your best friend or worst enemy when bonding with Liquid Nails adhesive. High humidity slows down the curing process, extending clamping time like an unexpected detour on your glue journey. On the other hand, low humidity turns your bonding dreams into a whirlwind romance, as the adhesive cures too quickly. Aim for a relative humidity between 40% and 60% to achieve bonding bliss.
Substrate Temperature – The Unsung Hero:
Ah, the substrate temperature – often overlooked but crucial for a successful bond. Just like a good partner, the substrate needs to match Liquid Nails adhesive’s preferred temperature range. If it’s too hot or too cold, it throws off the adhesive’s groove and leads to disappointing results. So, before embarking on your bonding adventure, ensure your substrate is in sync with the recommended temperature range.
Guidelines and Tools – Your Glue Guru:
To conquer the art of bonding with Liquid Nails adhesive, always consult the manufacturer’s guidelines and product-specific instructions. They hold the key to unlocking the adhesive’s full potential. And don’t forget to arm yourself with the ultimate glue guru tools – a trusty thermometer and hygrometer. These mighty instruments help you monitor the temperature and humidity conditions, ensuring your bonds are rock-solid.
Curing Time Considerations
Curing Time Considerations: Unleashing the Strength of Liquid Nails Adhesives
Get ready for a wild ride as we dive into the fascinating world of Liquid Nails adhesives. Today, we’re going to explore the crucial factor of curing time and how it impacts the strength of your bond. Whether you’re a DIY enthusiast or a professional contractor, understanding these considerations will elevate your adhesive game.
Curing time is like a magic spell that transforms runny liquid into a robust bond. But, like any good magic trick, there are secrets to making it work perfectly.
Factors that affect curing time include the type of Liquid Nails product, the materials being bonded, temperature and humidity conditions, and even the amount of adhesive applied. It’s not just about slapping some glue on and hoping for the best.
To ensure maximum bond strength, follow the manufacturer’s instructions for the specific Liquid Nails product you’re using. As a general rule of thumb, Liquid Nails adhesives typically take anywhere from 24 to 48 hours to fully cure. Check the product label or instructions for accurate information since some products may have shorter or longer curing times.
Now, let’s talk about how external factors can influence curing time. Higher temperatures and lower humidity levels generally result in faster curing times, while lower temperatures and higher humidity levels can slow down the process. So, be patient if you’re working in a chilly and humid environment and give your adhesive extra time to work its magic.
Remember, patience is key. Prematurely removing clamps or applying weight to the bonded surfaces before full cure can compromise strength and durability. Let your Liquid Nails adhesive work its magic undisturbed.
To ensure optimal bonding and curing, apply even pressure using clamps or other appropriate methods during the curing process. This minimizes gaps or air pockets and pays off in the long run.
Here’s a little secret – some Liquid Nails products offer a quick-grab feature, forming an initial bond within a shorter timeframe. However, it’s still advisable to wait for the recommended full curing time for maximum bond strength. Good things come to those who wait.
If you desire a faster cure time, you can increase temperature using heat lamps or heaters. Just be cautious not to exceed the recommended limits specified by the manufacturer. Proper ventilation during curing can also expedite drying time.
Remember, even if the adhesive appears dry on the surface, it may still be curing internally. Wait until the full recommended curing time has elapsed before subjecting the bond to stress or load.
If unsure about curing time or have concerns about bond strength, contact the manufacturer’s customer service or technical support for guidance.
Conclusion
When it comes to using Liquid Nails, clamping is an essential step for ensuring a strong bond. But how long should you keep the clamps on? Well, the answer depends on various factors such as temperature, humidity, and the materials being bonded.
In general, it is recommended to leave the clamps on for at least 24 hours. This allows enough time for the adhesive to fully cure and create a durable bond. However, it’s always a good idea to check the specific instructions provided by the manufacturer of your Liquid Nails product.
Now, you might be tempted to remove the clamps too soon, thinking that the adhesive has set enough. But trust me, patience is key here. Giving it that extra time ensures a stronger and longer-lasting bond.
So go ahead and secure those clamps tightly. Let them do their job while you focus on other tasks or simply relax. Remember, proper clamping is crucial for achieving professional-quality results.
In conclusion, when using Liquid Nails, make sure to keep those clamps in place for at least 24 hours. Don’t rush it. Give the adhesive ample time to cure and solidify its grip. By doing so, you’ll ensure a sturdy bond that will stand the test of time.