Are you a woodworking enthusiast looking to create your next masterpiece? Choosing the right adhesive is crucial to ensure that your creation stands the test of time. With so many options available, it can be difficult to determine which glue is best for the job. That’s where white glue, also known as PVA glue, comes in as a popular choice.
But before you start applying white glue on wood, you may be wondering: how long does it take to dry? Well, hold on tight because the answer might surprise you. The drying time of white glue depends on various factors such as temperature, humidity, and even the thickness of the glue layer. So don’t expect it to dry instantly – it can take anywhere from a few minutes to several hours.
In this blog post, we’ll venture into the world of white glue and explore what affects its drying time. We’ll also discuss the optimal conditions for applying white glue and ways to expedite the drying process. Plus, we’ll provide tips on how to tell if white glue has dried completely.
Whether you’re a seasoned woodworking pro or just starting out with your first project, understanding how long white glue takes to dry on wood is vital information. So join us as we uncover the mysteries of white glue drying time.
Factors that Affect the Drying Time of White Glue on Wood
Contents
- 1 Factors that Affect the Drying Time of White Glue on Wood
- 2 General Rule for Drying Time
- 3 The Ideal Temperature Range for White Glue to Dry Efficiently
- 4 Risks of Rushing the Drying Process
- 5 Tips for Ensuring Successful Projects with Strong Bonds
- 6 Best Practices for Applying White Glue on Wood
- 7 Troubleshooting Common Issues with White Glue on Wood
- 8 Alternatives to White Glue for Woodworking Projects
- 9 Conclusion
As a woodworker, you know that white glue is an essential tool for creating strong and durable bonds between wood pieces. However, have you ever wondered what factors affect the drying time of white glue on wood? The answer lies in several variables, including temperature, humidity, type of wood, and thickness of the glue application.
Temperature is a significant factor in the drying time of white glue. Higher temperatures speed up the drying process, while lower temperatures slow it down. The ideal temperature for drying white glue on wood is around 70 degrees Fahrenheit. If the temperature is too low, it can slow down the drying process, while if it is too high, it can cause the glue to dry too quickly and become brittle. Therefore, it’s essential to work in an environment with a stable and moderate temperature to ensure proper bonding.
Humidity also plays a crucial role in the drying time of white glue. High humidity levels can slow down the drying process, making it take longer for the glue to fully set. Low humidity levels, on the other hand, can speed up the drying time but may also cause the glue to dry too quickly and not bond properly. Therefore, it’s vital to work in an environment with moderate humidity levels to ensure proper bonding.
The type of wood being used can also affect the drying time of white glue. Some woods are more porous than others and may absorb moisture from the glue, causing it to take longer to dry. Additionally, oily or resinous woods may require more time for the glue to fully set since the oils can interfere with the bonding process.
Finally, the thickness of the glue application can impact its drying time. A thicker layer of glue will take longer to dry than a thinner layer since there is more moisture that needs to evaporate from the surface. It’s important to apply an even layer of glue and avoid applying too much at once to ensure proper drying and bonding.
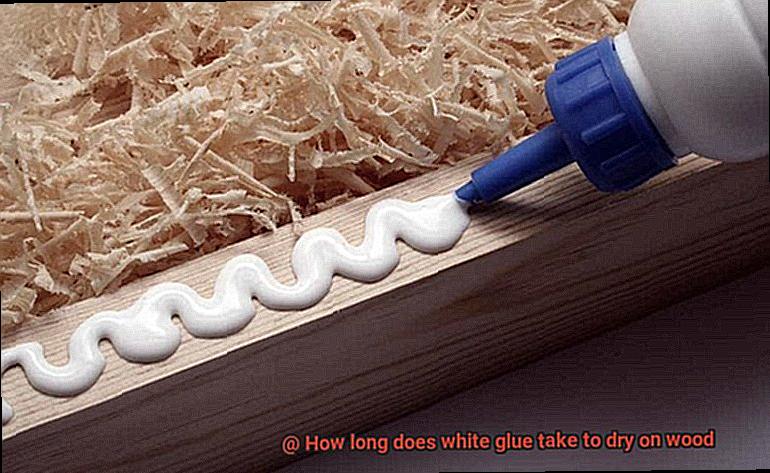
General Rule for Drying Time
First, the type of wood you’re using can impact drying time. More porous woods like pine or cedar can take longer to dry as they absorb more moisture from the glue. Less porous woods like maple or oak may dry more quickly. If you’re working with a more porous wood, be patient and allow extra time for the glue to dry.
Humidity levels can also play a role in drying time. Higher humidity can slow down evaporation, while lower humidity can speed it up. If you’re working in a humid environment, you may need to wait longer for the glue to dry. In contrast, if you’re working in a dry environment, the glue may dry faster.
Temperature is another factor to consider when it comes to drying time. Warmer temperatures can speed up the process, while cooler temperatures can slow it down. However, be careful not to let the temperature get too high. An overly warm environment can cause the glue to dry too quickly, resulting in a weaker bond.
The Ideal Temperature Range for White Glue to Dry Efficiently
Before you start, let me share with you the key to a successful bond: temperature. That’s right. The ideal temperature range for white glue to dry efficiently on wood is between 18-24°C (65-75°F).
When the temperature is too cold, the glue will dry too slowly, and bonding strength may be compromised. Conversely, if the temperature is too hot, the glue may dry too quickly, resulting in a weaker bond. So, it’s crucial to ensure that the temperature is within the ideal range for white glue to dry efficiently.
But wait. There’s more. Humidity can also affect the drying time of white glue. High humidity can slow down the drying process, while low humidity can speed it up. Therefore, it’s essential to keep humidity levels moderate when using white glue to achieve optimal bonding strength.
Proper ventilation is also a crucial factor in how long it takes for white glue to dry on wood. Ventilation helps to speed up the drying process by allowing moisture to evaporate quickly. So, make sure you’re working in a well-ventilated area.
To sum it up, when using white glue for woodworking projects, keep in mind that the ideal temperature range for efficient drying is between 18-24°C (65-75°F). Moderate humidity levels and proper ventilation also contribute significantly to achieving optimal bonding strength.
In conclusion, here are some tips for successful white glue bonding:
- Keep your work area well-ventilated
- Monitor humidity levels
- Ensure that the temperature is within the ideal range of 18-24°C (65-75°F)
Risks of Rushing the Drying Process
Rushing the drying process can lead to several risks that can compromise the quality and durability of your project.
Primarily, if you don’t give the glue sufficient time to adhere correctly to the wood surface, it can result in weak bonds that may break or come loose over time. Weak bonds are not only frustrating but also a colossal waste of time and resources.
Another risk of rushing is that the glue may not cure correctly, leading to warping or cracking of the wood. This can be particularly problematic for larger projects or pieces of furniture where structural integrity is crucial. Nobody wants their hard work to fall apart just because they didn’t take enough time to let the glue dry and cure.
But wait, there’s more. Rushing the drying process can also impact the appearance of your project. If you don’t give enough time for the glue to dry and cure correctly, it may leave behind visible residue or discoloration on the wood surface. This can be particularly noticeable on lighter woods or when using darker-colored glue.
To avoid these risks, make sure you give your white glue enough time to dry and cure before moving on to the next step of your project. While it may be tempting to rush through this part of the process, taking the time to allow the glue to dry completely will ensure a stronger bond and a more durable finished product.
Remember, temperature is key – keep it between 18-24°C (65-75°F) to ensure efficient drying and optimal bonding strength. Also, monitor humidity levels and ensure proper ventilation in your workspace.
In conclusion, rushing the drying process of white glue on wood is not worth the risk. Take your time, follow proper drying techniques, and you’ll have a beautiful and long-lasting finished product. Here are some tips to help you avoid the risks of rushing the drying process:
- Be patient and don’t rush through the drying process.
- Keep the temperature between 18-24°C (65-75°F) for efficient drying and optimal bonding strength.
- Monitor humidity levels and ensure proper ventilation in your workspace.
- Allow sufficient time for the glue to dry and cure before moving on to the next step of your project.
Tips for Ensuring Successful Projects with Strong Bonds
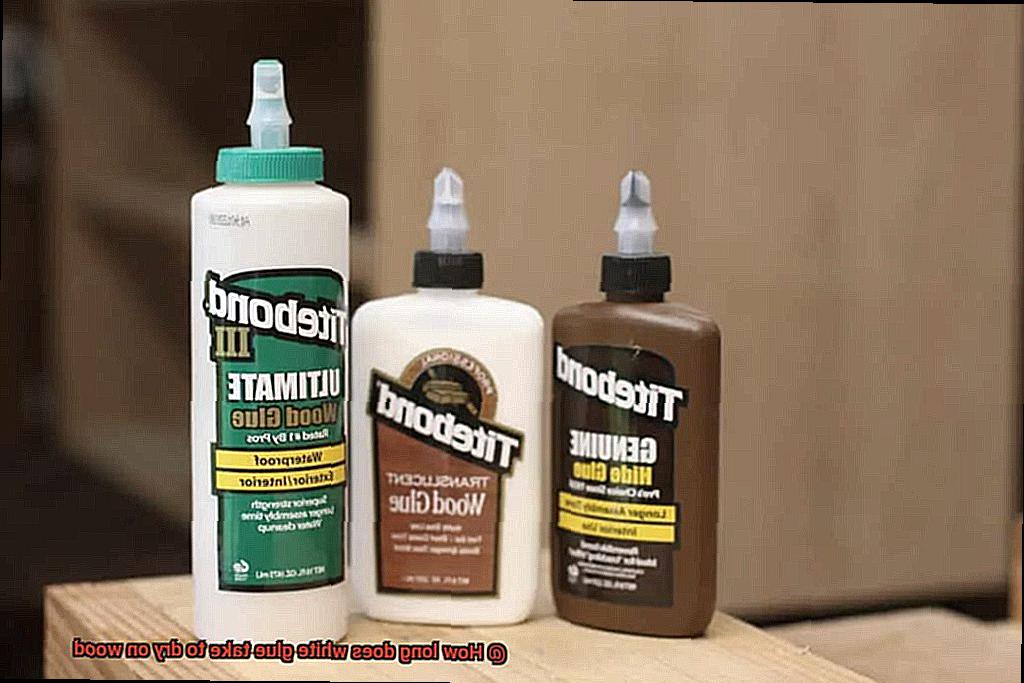
Woodworking can be a rewarding hobby, but it’s important to ensure that your projects have a strong bond that will last over time. Using white glue on wood is a popular choice for many woodworkers, but there are specific steps you need to take to ensure successful projects with strong bonds. Here are some tips to help you achieve just that.
Prepare the Surface
The first step in ensuring a strong bond is preparing the surface of the wood. Make sure that it is clean and dry before applying the glue. Any debris or moisture on the wood can affect the bond. Use sandpaper to smooth out any rough spots and remove any dirt or dust.
Apply the Right Amount of Glue
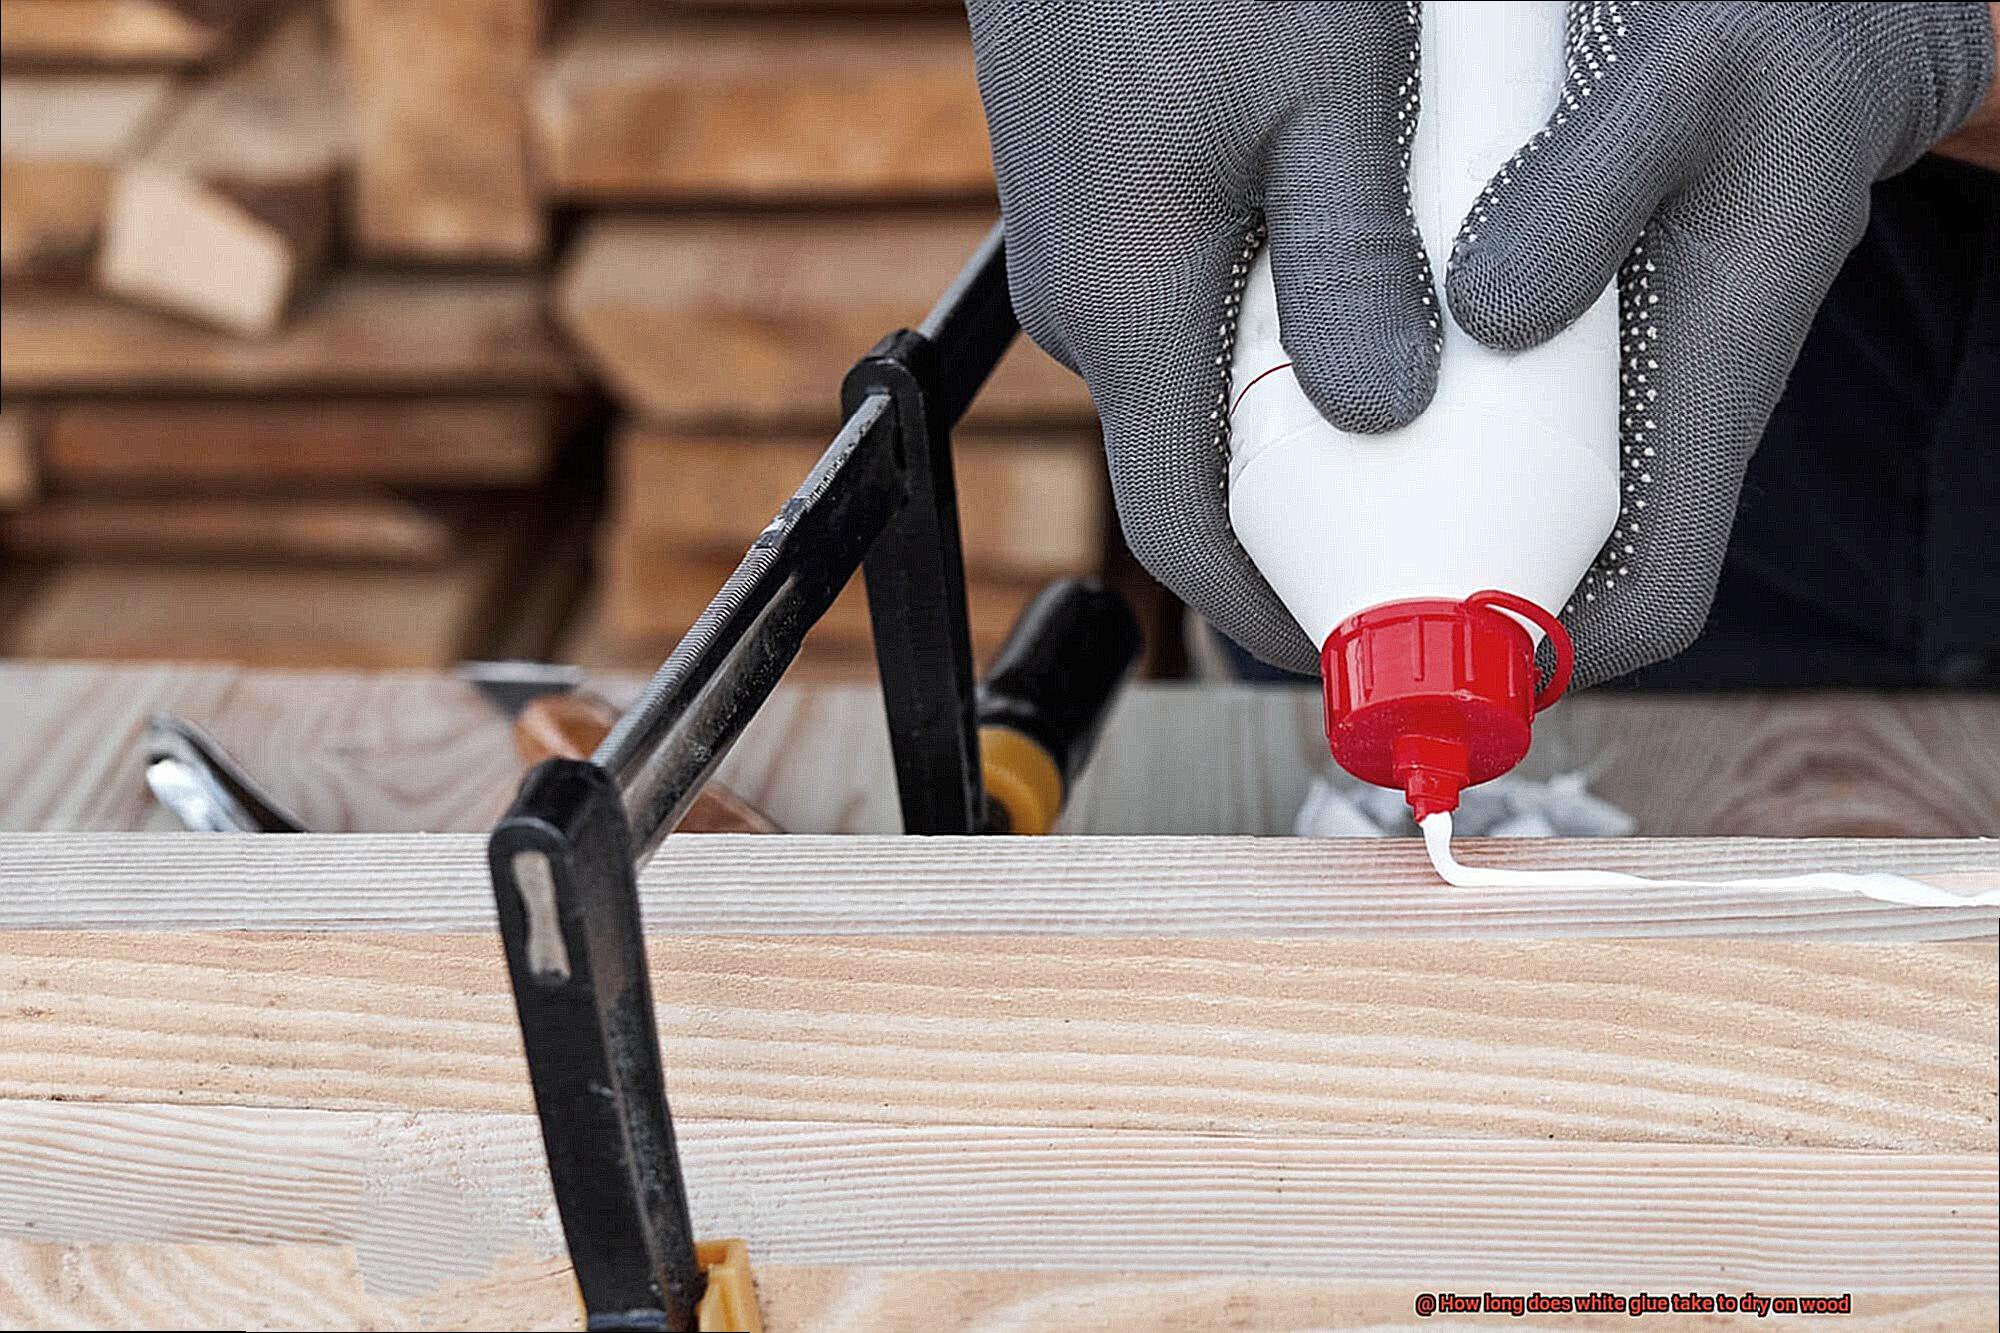
Using the right amount of glue is crucial for a strong bond. Too little glue will not create a strong enough bond, while too much glue can lead to a messy project. Apply just enough glue to cover the surface evenly using a brush, roller, or spatula.
Use Clamps
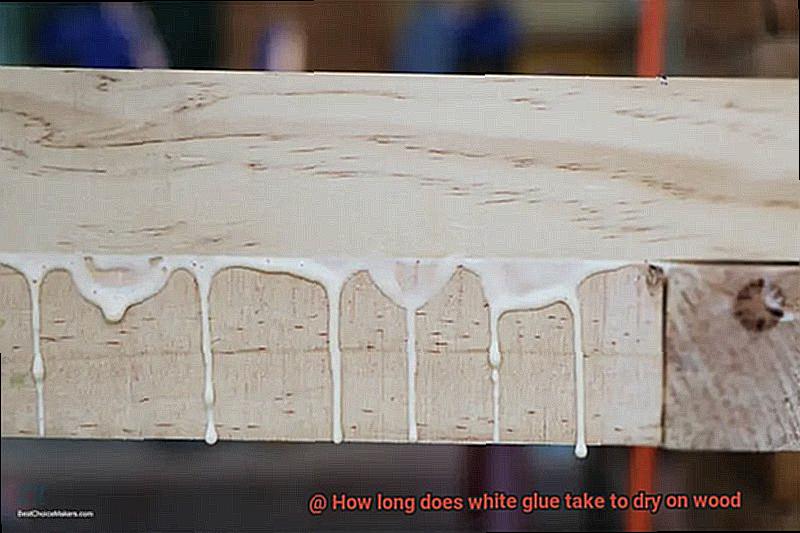
Clamps are an essential tool for ensuring a strong bond between two pieces of wood. They hold the pieces together while the glue dries, preventing any air pockets from forming between the two surfaces. Be sure to use clamps that are appropriate for the size of your project.
Allow Ample Drying Time
White glue typically takes at least 24 hours to dry completely. Rushing this process can result in a weak bond that will not hold up over time. Ensure that you give your project enough time to dry completely before removing the clamps or moving it.
Avoid Temperature Changes
Temperature changes can affect the glue’s bond with the wood. Try to keep your project in a consistent temperature environment while it dries. Avoid exposing it to direct sunlight or extreme heat or cold.
Best Practices for Applying White Glue on Wood
If you’re using white glue to bond wood together, it’s important to follow best practices to ensure a lasting and sturdy result. In this post, we’ll explore the top tips for applying white glue on wood.
Preparation is Key
Before applying any glue, it’s crucial to prepare the surfaces properly. Make sure they are clean, dry, and free from debris. Sand down any rough spots or imperfections to create a smooth surface. This will help the glue bond evenly and without any weak areas.
The Right Amount of Glue
The amount of glue applied is also important. Too much can lead to a longer drying time and weaker bond, while too little can result in a weak bond altogether. As a general rule of thumb, apply a thin and even layer of glue to both surfaces. This should be enough to create a strong bond.
Clamps are Your Friends
Once you’ve applied the glue, press the two surfaces firmly together. Clamps can be used to hold them in place while the glue dries. It’s important that the pieces are aligned correctly before clamping, as adjustments after the glue dries can be difficult.
Give it Time
White glue typically takes around 30 minutes to an hour to dry completely, but this can vary depending on humidity and temperature. To be safe, wait at least 24 hours before applying any stress or weight to the glued surfaces.
Additional Tips
- Use a brush or roller to apply the glue evenly.
- Consider using a glue spreader for larger projects.
- Make sure to choose the right type of white glue for your project.
Troubleshooting Common Issues with White Glue on Wood
You may run into some common issues during the drying process. But don’t fret. We’ve compiled a list of easy-to-follow tips to help you troubleshoot these issues and complete your project with success.
Uneven Drying:
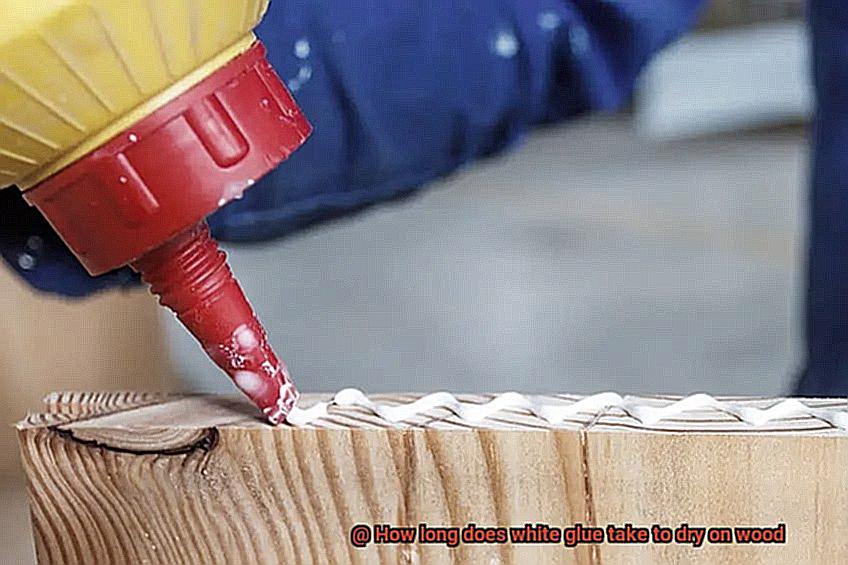
One of the most common issues when using white glue on wood is uneven drying. This can happen if too much glue is used or if it’s not spread evenly over the surface of the wood. To address this issue, start by using the correct amount of glue and spreading it evenly with a brush or roller. It’s also important to ensure that the wood is completely clean and dry before applying the glue, as any moisture can affect the drying process. By taking these steps, you can ensure that your glue dries evenly and creates a strong bond between your pieces.
Bubbles:
Another issue that may arise is the formation of bubbles in the glue. This can happen if air is trapped between the wood and the glue or if the glue isn’t spread evenly. To prevent this issue, apply a thin, even layer of glue and press the wood firmly into place after applying it. If bubbles do form, remove them by gently pressing them out with a roller or use a needle to puncture them and then press them flat. By following these steps, you can ensure that your finished project has a smooth surface without any unsightly bubbles.
Discoloration:
Discoloration can be an issue when using white glue on wood, especially if it’s not allowed to dry completely or if it’s exposed to moisture before it’s fully cured. The best way to prevent discoloration is to make sure that the glue dries completely before sanding or painting and protect it from moisture until it has fully cured. This will help maintain the integrity of your project and ensure that it lasts for years to come.
Alternatives to White Glue for Woodworking Projects
For woodworking projects, choosing the right adhesive is crucial for achieving a strong and long-lasting bond. While white glue may be a go-to option, there are several alternatives that can deliver superior results. Here are some of the most popular options worth considering:
- Epoxy: Highly regarded for its strong bonding capabilities and gap-filling properties, epoxy is a two-part adhesive composed of a resin and hardener. It’s also waterproof, making it ideal for outdoor projects or items exposed to moisture. However, depending on the brand and type used, epoxy can take anywhere from five minutes to 24 hours to dry, which requires patience and careful planning.
- Polyurethane glue: Another excellent alternative is polyurethane glue, commonly known as Gorilla Glue. This water-activated adhesive expands as it dries, filling gaps and creating a robust bond. It can also be used on various surfaces such as wood, metal, and plastic. However, it can be messy to work with and requires cleanup after use. Polyurethane glue typically takes around 30 minutes to dry.
- Cyanoacrylate glue: If you need an adhesive that dries quickly, cyanoacrylate glue, also referred to as super glue, is an excellent choice. This fast-acting adhesive forms an almost instant bond that can be used on a wide range of materials, including wood, metal, and plastic. However, it’s not suitable for larger projects as it dries too quickly.
- Hide glue: Made from animal collagen, hide glue has been a staple in woodworking projects for centuries due to its strong bonding capabilities. It’s also easy to reverse with heat or moisture if necessary. However, depending on the type and brand used, hide glue can take anywhere from 30 minutes to several hours to dry.
U0hhFjjW5EU” >
Also Read: How To Glue Pictures On Wood?
Conclusion
In conclusion, PVA glue, commonly known as white glue, is a go-to for woodworking enthusiasts due to its robust bonding capabilities. However, the drying time of this adhesive depends on several factors such as temperature, humidity, type of wood, and thickness of the glue layer. To achieve optimal drying results, maintain a workspace temperature between 18-24°C (65-75°F) with moderate humidity levels and proper ventilation.
Hastening the drying process can lead to weak bonds that may break or come loose over time, warping or cracking of the wood, and visible residue or discoloration on the surface. Therefore, it’s crucial to prepare the surface adequately by cleaning and sanding it down before applying just enough glue to cover it evenly. Use clamps to hold them in place while the glue dries and allow ample drying time before removing clamps or moving the project.
If any issues arise during the drying process such as uneven drying, bubbles, or discoloration, there are easy-to-follow tips to troubleshoot them. Moreover, several alternatives are worth considering if white glue doesn’t meet your needs such as epoxy for strong bonding capabilities and gap-filling properties; polyurethane glue for water-activated adhesive that expands as it dries; cyanoacrylate glue for fast-acting adhesive that forms an almost instant bond; and hide glue made from animal collagen with strong bonding capabilities that can be easily reversed with heat or moisture.
By following these tips and using the right adhesive for your project needs, you can create a masterpiece that stands the test of time.

