If you’re knee-deep in a DIY project or desperately seeking a strong adhesive, Liquid Nails Clear is the go-to choice. But here’s the million-dollar question: how long does this magic potion take to dry?
Today, we’re peeling back the curtain on this mystery. Liquid Nails Clear prides itself on its speedy drying formula, ensuring your project gets wrapped up in record time.
So grab yourself a steaming cup of your favorite brew, kick back, and let’s embark on this adhesive adventure together.
Types of Liquid Nails Clear
Contents
- 1 Types of Liquid Nails Clear
- 1.1 Liquid Nails Clear Standard:
- 1.2 Fast-Drying Liquid Nails Clear:
- 1.3 Specialized Variants:
- 1.4 Additionally, if you’re working on projects that involve movement or vibrations, flexible variants of Liquid Nails Clear are available. These adhesives can withstand such conditions, ensuring a long-lasting bond.
- 2 Factors Affecting Drying Time
- 3 Application Methods for Liquid Nails Clear
- 4 Manufacturer’s Instructions for Drying Time
- 5 Temperature and Humidity Considerations
- 6 Airflow Considerations
- 7 Troubleshooting Tips for Increasing Drying Time
- 8 Conclusion
In this article, we will take a closer look at these variants and their respective drying times, helping you choose the perfect one for your project.
Liquid Nails Clear Standard:
The standard Liquid Nails Clear adhesive is a reliable option for general bonding needs. It typically takes around 24 hours to dry completely. However, factors like temperature, humidity, and the materials being bonded can affect the drying time. To ensure the best results, allow sufficient drying time before applying any pressure or stress to the bonded surfaces.
Fast-Drying Liquid Nails Clear:
If you’re in a hurry to finish your project, consider using fast-drying Liquid Nails Clear. This variant is specially formulated to dry much quicker than the standard version. In as little as 15 minutes to 1 hour, you can see significant progress. Keep in mind that while fast-drying Liquid Nails Clear offers speed, it may not provide the same level of strength and durability as the standard version due to its faster curing time.
Specialized Variants:
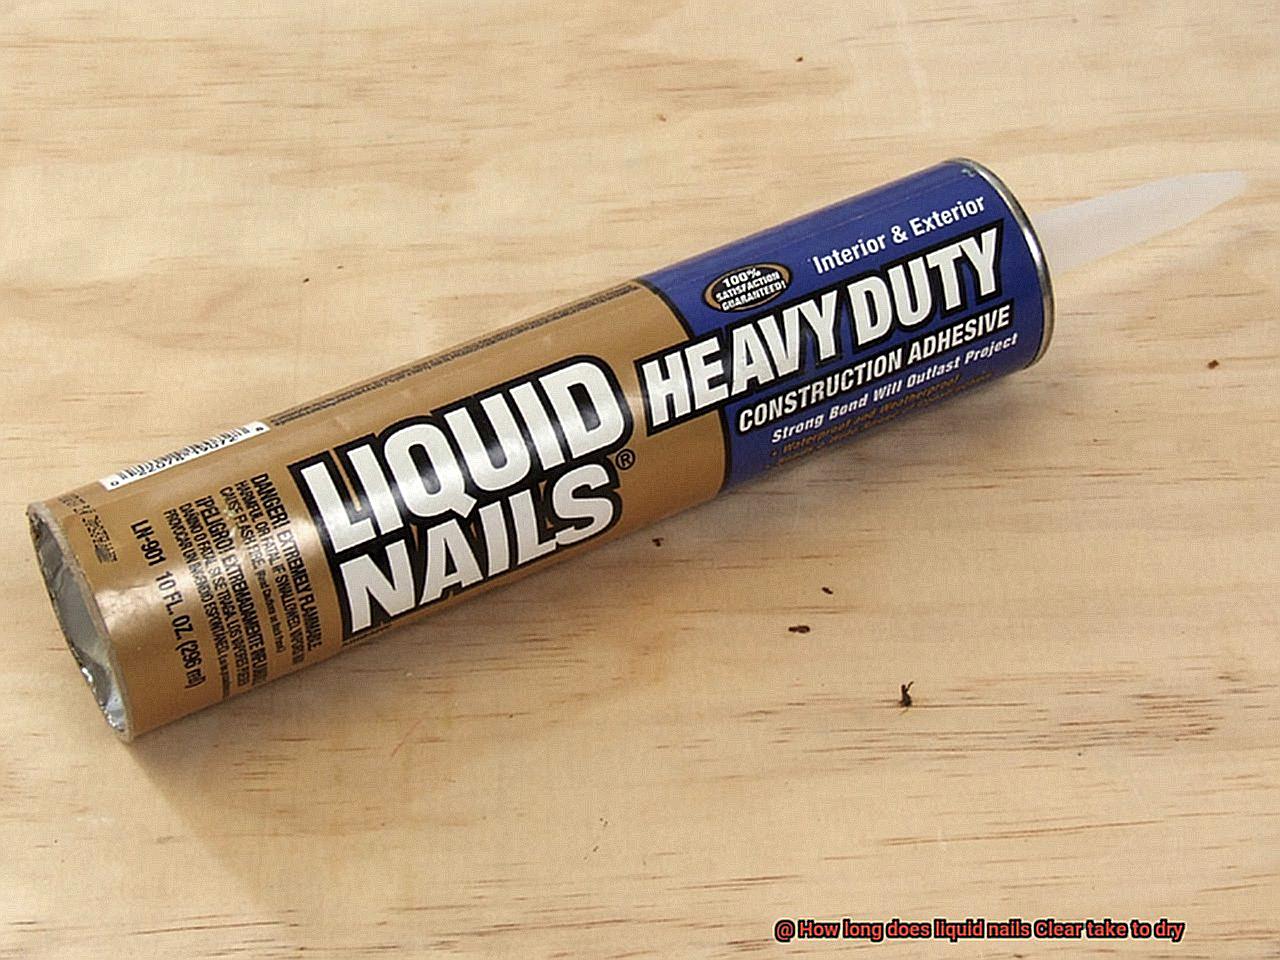
Liquid Nails also offers specialized variants of their Clear adhesive to cater to specific needs. For heavy-duty applications, there are high-strength variants designed to provide extra bonding power. These may require longer drying times of up to 48 hours or more.
Additionally, if you’re working on projects that involve movement or vibrations, flexible variants of Liquid Nails Clear are available. These adhesives can withstand such conditions, ensuring a long-lasting bond.
Lastly, if your project requires outdoor use or areas prone to moisture, waterproof variants of Liquid Nails Clear are suitable. These adhesives are designed to withstand the elements and provide a reliable bond.
In conclusion, Liquid Nails Clear offers a range of adhesive options to suit various needs. Whether you’re looking for a standard adhesive with a 24-hour drying time or a fast-drying variant that can be ready in as little as 15 minutes, there’s a Liquid Nails Clear product for you.
Remember to consider factors like temperature, humidity, and the specific materials being bonded to ensure optimal drying times and a strong, lasting bond. Always refer to the manufacturer’s instructions for accurate drying times and best practices when using Liquid Nails Clear.
Overall, Liquid Nails Clear provides versatile adhesive solutions for different projects. Whether you need a quick-drying option or a specialized variant for heavy-duty or outdoor use, there is a suitable product available.
By understanding the different types of Liquid Nails Clear and their drying times, you can make an informed decision on which one best meets your requirements.
Factors Affecting Drying Time
This versatile glue is your ultimate companion for all your DIY projects. So, grab a cup of joe, settle in, and let’s unravel the secrets behind the factors that influence the drying time of this magical adhesive.
Factor #1: The Chemistry Behind Composition:
Liquid Nails Clear is a concoction of various chemical compounds that hold the key to its drying time. Each adhesive has its own unique composition, affecting how swiftly it dries. Some adhesives contain solvents that evaporate like lightning, leading to a quick drying process.
Others may boast a thicker consistency, requiring a tad more patience during drying. It all boils down to finding the perfect balance for your project.
Factor #2: The Weather’s Wild Card – Temperature and Humidity:
Mother Nature plays her part when it comes to drying times. Higher temperatures transform into turbochargers, propelling solvent evaporation and speeding up drying. So, if you’re working in a cozy summer workshop, rejoice.
However, chilly temperatures put on the brakes, making patience your trusty ally. Humidity levels also play a role; higher humidity can extend drying time while low humidity can hasten it.
Factor #3: Thin is In – Application Thickness:
Ever wondered why thin layers dry faster? It’s all about surface area. Thin applications boast a larger surface area-to-volume ratio, resulting in quicker drying. On the flip side, thicker applications require more solvent evaporation and complete solidification, thus lengthening drying time. So, remember to apply Liquid Nails Clear in thin, even coats to expedite the process.
Factor #4: Porous vs. Non-Porous Surfaces:
Imagine porous surfaces as thirsty sponges, eagerly absorbing moisture from the adhesive. This can delay drying time as the adhesive battles against moisture absorption. On the other hand, non-porous surfaces refuse to play these games, allowing for faster drying times. So, choose your surface wisely and let it dictate the pace of your project.
Factor #5: Fresh Air’s Finale – Ventilation:
Let’s give a standing ovation to fresh air, shall we? Adequate ventilation is paramount for efficient drying of Liquid Nails Clear. Good airflow acts as a moisture-removing superhero, accelerating evaporation and leaving your adhesive high and dry. So, throw open those windows, switch on a fan, and give your glue some breathing space.
Application Methods for Liquid Nails Clear
Liquid Nails Clear, the adhesive of choice for DIY enthusiasts and professionals alike, boasts a versatile nature that allows it to bond a variety of materials, including wood, metal, and plastic.
However, achieving a successful bond with this adhesive requires careful preparation and consideration of the application method. Let’s delve into the various ways you can apply Liquid Nails Clear and the important steps to ensure a strong and durable bond.
Preparation is Key
Before applying Liquid Nails Clear, it is crucial to prepare the surface properly. This involves more than a cursory wipe-down; it requires a thorough cleaning to remove any dirt, dust, or grease that could compromise adhesion. By ensuring a clean surface, you lay the foundation for an unyielding bond.
Methods for Application
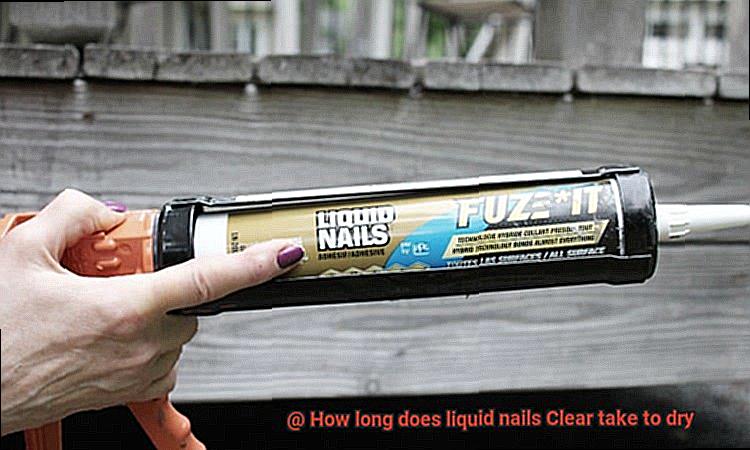
- Direct Application: One common method is to apply the adhesive directly from the tube onto the surface. It’s as simple as squeezing the tube gently and evenly spreading the adhesive onto the desired area. This method works well for smaller projects or precise applications where control is paramount.
- Caulk Gun: For better control and precise placement of the adhesive, using a caulk gun is recommended. Cut the tip of the tube at a 45-degree angle to ensure a smooth and even application. The caulk gun allows for consistent pressure and distribution of the adhesive, ensuring an even bond.
- Trowel or Putty Knife: When working on larger projects or areas that require a significant amount of adhesive, employing a trowel or putty knife can be advantageous. This method allows for even spreading of the Liquid Nails Clear, ensuring proper coverage and reducing the risk of weak spots in the bond.
Tips for Success
- Apply enough adhesive to create a strong bond but avoid applying too much, as excess adhesive can seep out and create a messy appearance.
- Once applied, press the surfaces firmly together to ensure proper adhesion. This step is crucial for achieving a secure bond.
- Allow sufficient drying time before subjecting the bonded surfaces to any stress or load-bearing activities. Rushing this process can compromise the strength of the bond.
- If necessary, use clamps or weights to hold the surfaces together while the adhesive dries. Follow the manufacturer’s instructions for proper clamping techniques to maximize the effectiveness of this method.
- Be patient. The drying time for Liquid Nails Clear can vary depending on factors such as temperature, humidity, and the thickness of the adhesive layer. On average, it takes 24 to 48 hours for the adhesive to fully dry and cure, so plan accordingly.
Manufacturer’s Instructions for Drying Time
Manufacturer’s instructions for drying time are crucial to follow when using liquid nails clear. These instructions provide specific guidelines on how long the adhesive needs to dry before it reaches its full strength. By following these instructions, you can ensure that you achieve a strong and durable bond that will stand the test of time.
The manufacturer’s instructions for drying time can usually be found on the product packaging or on the manufacturer’s website. They outline the recommended drying time for different applications and environmental conditions. It is important to note that liquid nails clear typically requires a drying time of 24 hours for it to fully cure and reach its maximum strength. However, this can vary depending on factors such as temperature, humidity, and the materials being bonded.
One of the main reasons why it is important to follow the recommended drying time is because it ensures that the adhesive has reached its maximum strength. While the adhesive may feel dry to the touch after a certain amount of time, it may still not have fully cured. By waiting for the full recommended drying time, you can be confident that the bond will be strong and able to withstand stress or load.
Environmental factors such as temperature and humidity can also affect the drying time of liquid nails clear. Colder temperatures slow down the curing process, while high humidity can also extend the drying time. It is important to take these factors into consideration and adjust your expectations accordingly. By following the manufacturer’s instructions, you can ensure that you allow enough time for the adhesive to properly bond the materials together.
Additionally, it is worth mentioning that the manufacturer’s instructions may recommend longer drying times for certain applications or materials. For example, if you are bonding non-porous surfaces or working in high humidity conditions, the drying time may be extended. By following these specific recommendations, you can ensure that the adhesive has enough time to properly bond the materials together.
Temperature and Humidity Considerations
We’ve all experienced the frustration of waiting for glue to dry, only to discover it’s taking longer than expected. Did you know that temperature and humidity can significantly affect the drying time of adhesive?
In this article, we will explore the fascinating world of Liquid Nails Clear adhesive and its drying process, uncovering the secrets of how temperature and humidity play a crucial role in achieving the perfect bond.
By understanding and controlling these factors, you can ensure optimal drying times and maximize the performance of your projects.
Temperature Matters:
Just like Goldilocks searching for the perfect porridge, Liquid Nails Clear adhesive prefers a specific temperature range. Working in an environment with temperatures between 60°F and 80°F (15°C and 27°C) is ideal. Below 60°F, drying time may be extended, while above 80°F, it could dry too quickly. Maintaining the right temperature ensures that the adhesive cures evenly and achieves a strong bond.
Chilling Effects of Low Temperature:
If you find yourself working in colder conditions below 60°F (15°C), be prepared for a longer wait. The adhesive may take its sweet time to cure and fully bond. So before you start sticking things together, make sure your workspace is cozy enough for Liquid Nails Clear to work its magic.
Hotter Than Hot:
On the other hand, working in temperatures above 80°F (27°C) might have you singing “Hot Stuff” by Donna Summer in no time. The adhesive will dry faster, but remember that speed comes with responsibility. You need to work quickly and efficiently to ensure an even application and a strong bond.
Humidity’s Role:
Temperature isn’t the only factor that affects drying time; humidity plays a part too. High humidity levels slow down the drying process because moisture in the air hinders evaporation. Conversely, low humidity can accelerate drying but may compromise the bonding strength.
Controlling the Elements:
To achieve optimal drying times, it’s important to control both temperature and humidity. Ensure proper ventilation in your workspace and consider using dehumidifiers or fans if needed. Also, avoid exposing the adhesive to direct sunlight or drafts, as they can disrupt the curing process. By creating a stable environment, you can ensure that Liquid Nails Clear cures properly and achieves its maximum bonding strength.
Other Factors to Consider:
While temperature and humidity are vital, remember that other factors can also influence drying time. The thickness of the adhesive application, the surface type, and its porosity can all affect how long it takes for Liquid Nails Clear to dry and bond. Thicker applications or porous surfaces may require additional time. It’s essential to take these factors into account when planning your project and adjusting your expectations accordingly.
Airflow Considerations
Today, we embark on a journey through the captivating realm of proper airflow considerations. But why does airflow matter so much when it comes to glue? Buckle up, my friends, for an enlightening adventure into the depths of expert knowledge.
The Superhero Cape of Ventilation:
Imagine proper airflow as the superhero cape that swoops in to save the day for Liquid Nails Clear. It’s the magical force that evaporates those pesky solvents in the adhesive, ensuring a swift and efficient drying process. Without adequate ventilation, your glue may take longer than expected to dry and could even result in an incomplete cure.
Crafting the Perfect Airflow Symphony:
To orchestrate the perfect airflow symphony, crack open those windows or unleash the power of fans to create a refreshing cross breeze. This dynamic duo works tirelessly to whisk away any excess moisture or humidity that could hinder the drying process. Remember, a moderate room temperature is key too – warmer temperatures ignite solvent evaporation while cooler temperatures slow things down.
Unveiling the Secrets of Surfaces:
When dealing with porous or absorbent materials like wood or concrete, proper airflow becomes even more crucial. These cunning surfaces have a knack for holding onto moisture, making good ventilation absolutely essential for effective drying. Think of it as giving your glue some well-deserved breathing space.
Mastering the Art of Application:
If you find yourself applying Liquid Nails Clear in a confined space or between two surfaces that restrict air circulation, brace yourself for extended drying times. But fret not. You can employ mechanical aids like clamps or weights to secure the surfaces together while still granting some air movement. It’s all about finding that delicate balance.
Striking a Harmonious Balance:
As with all things in life, balance is key. Excessive airflow may create its own set of challenges. Beware of strong drafts or wind blowing directly onto your adhesive, as they can lead to uneven drying or even hinder proper adhesion. Let’s discover that sweet spot where sufficient airflow meets a draft-free environment.
Troubleshooting Tips for Increasing Drying Time
Liquid Nails Clear is a versatile adhesive used in many projects, but it can sometimes take longer than expected to dry. If you’re frustrated by slow drying times, don’t worry. In this article, we’ll explore troubleshooting tips to help speed up the drying process and ensure your projects are completed on time.
Apply the Right Amount:
Applying too much Liquid Nails Clear can lead to longer drying times. It’s important to follow the manufacturer’s instructions and apply the recommended amount of adhesive. Using too much adhesive not only increases the amount of material that needs to dry but also prolongs the evaporation of solvents within the adhesive. By applying the correct amount, you allow for quicker solvent evaporation and faster drying.
Temperature and Humidity:
The surrounding temperature and humidity levels can significantly affect the drying time of Liquid Nails Clear. Higher temperatures and lower humidity levels create ideal conditions for faster drying. If possible, work in a well-ventilated area or use fans and dehumidifiers to increase airflow and reduce moisture in the air. This helps expedite solvent evaporation and accelerates the drying process.
Apply Pressure:
After applying Liquid Nails Clear, use clamps or weights to apply pressure evenly across the bonded materials. Applying pressure not only ensures a strong bond but also helps expedite the drying process. The pressure helps squeeze out excess adhesive and promotes contact between the adhesive and surfaces being bonded. This reduces air gaps and allows for better solvent evaporation, resulting in faster drying.
Avoid Disturbance:
Once you’ve applied Liquid Nails Clear, it’s important to resist the temptation to move or disturb the bonded materials until the adhesive is completely dry. Any movement can disrupt the bonding process and prolong drying time. Be patient and allow sufficient time for the adhesive to dry according to the manufacturer’s recommended drying time. Rushing the process can compromise the bond strength and effectiveness of the adhesive.
Priming Porous Surfaces:
For porous or absorbent surfaces like wood or concrete, consider priming before applying Liquid Nails Clear. Priming helps seal the surface and reduces its ability to absorb moisture from the adhesive. This reduces drying time as less moisture is absorbed, allowing for quicker solvent evaporation. Priming also improves adhesion and strengthens the bond between the adhesive and porous surfaces.
ccdw8KeK74g” >
Conclusion
Liquid Nails Clear, a popular adhesive used for various projects, requires a certain amount of time to fully dry. The drying time can vary depending on factors such as temperature and humidity levels. On average, it takes about 24 hours for Liquid Nails Clear to completely dry and cure. However, it’s important to note that this is just an estimate and the actual drying time may differ in different situations. It’s always recommended to follow the manufacturer’s instructions for the specific product you are using.
When applying Liquid Nails Clear, it’s crucial to ensure that you allow enough time for it to dry properly before subjecting your project to any stress or pressure. Rushing the drying process can lead to compromised results and potential damage down the line.
To achieve optimal results, make sure you apply Liquid Nails Clear in a well-ventilated area with temperatures between 60°F and 90°F (15°C and 32°C). Additionally, maintaining a relative humidity level of around 50% is ideal. These conditions will help facilitate the drying process and ensure a strong bond.
As the adhesive dries, you may notice that it changes from its initial milky appearance to a clear finish. This visual transformation is an indicator that the adhesive is progressing towards full curing. However, keep in mind that even though the surface may appear dry after several hours, it’s essential to allow ample time for complete drying throughout.
In conclusion, if you’re wondering how long Liquid Nails Clear takes to dry, be prepared to exercise patience. Give it approximately 24 hours under suitable environmental conditions before subjecting your project to any stress or strain.