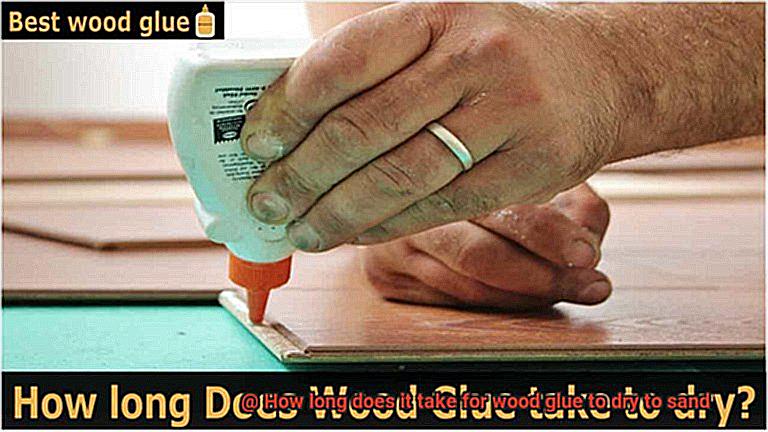
Woodworking is a craft that demands precision, skill, and a whole lot of patience. Whether you’re creating a stunning piece of furniture or restoring a cherished heirloom, wood glue plays a vital role in achieving that flawless finish. But when it’s time to sand, how long do you need to wait for the wood glue to dry? We’ve got the answers you’re looking for, along with some handy tips to make your woodworking journey smoother.
Let’s face it: wood glue isn’t exactly Usain Bolt. Unlike instant adhesives, it needs ample time to fully cure before it can be sanded. So if you’re in a hurry, take a deep breath and remind yourself that good things come to those who wait. Rushing the process might compromise the strength and durability of your project – and nobody wants that.
Now, let’s get down to business. How long does it actually take for wood glue to dry enough for sanding? Well, my friend, that depends on several factors like the type of wood glue you’re using, the environmental conditions in your workshop (or garage), and even the thickness of the glue line itself.
But fear not. We’ll guide you through this sticky situation step by step so that you can confidently wield your sandpaper when the time is right.
Types of Wood Glue
Contents
Wood glue is the unsung hero of woodworking projects, binding pieces of wood together with its remarkable adhesive properties. However, not all wood glues are created equal. There are various types of wood glue available in the market, each with its own distinct advantages and disadvantages. Let’s delve into the world of wood glue and discover which type suits your needs best.
PVA Glue: The Versatile Sidekick
PVA (Polyvinyl Acetate) glue is the go-to choice for woodworking enthusiasts. It is water-based, making it easy to clean up with just water. PVA glue is versatile and can be used for a wide range of woodworking applications. Whether you’re constructing furniture or crafting intricate pieces, PVA glue is reliable and user-friendly.
Polyurethane Glue: The Multifaceted Hero
Polyurethane glue is renowned for its versatility in bonding different materials such as wood, metal, and plastic. It excels at creating strong bonds, even on non-porous surfaces. Additionally, this adhesive has excellent gap-filling capabilities. However, be cautious of its foaming action, which can create a messy work environment.
Epoxy Glue: The Indomitable Warrior
Epoxy glue is the ultimate choice for heavy-duty projects that require exceptional strength and resistance to water and chemicals. This two-part adhesive necessitates precise mixing and application. Once cured, epoxy glue can endure extreme temperatures and heavy loads.
Hide Glue: The Ancient Craftsman’s Secret
Step back in time with hide glue, an ancient adhesive made from animal collagen. Craftsmen have relied on hide glue for centuries in woodworking and furniture making. It provides excellent bond strength and reversibility, making it ideal for antique furniture repairs. However, it should be stored carefully due to its shorter shelf life.
Cyanoacrylate Glue: The Quick-Fix Magician
When you need a rapid solution, cyanoacrylate glue, also known as super glue, is the magician you seek. It forms quick and secure bonds, although it may not be as strong as other wood glues. Take care not to inadvertently bond your fingers together, as it sets instantly.
Wood glue is the backbone of woodworking projects, holding everything together with its exceptional adhesive properties. Whether you opt for the versatility of PVA glue or the strength of epoxy glue, each type has its own advantages and disadvantages.
Drying Time for PVA Glue
Imagine you’ve just finished assembling a gorgeous woodworking project using the trusty old PVA glue, also known as wood glue or white glue. Now, all that stands between you and a polished masterpiece is the drying time. But why is drying time so crucial when it comes to sanding? And how can you speed up the process without compromising the strength of the glue bond? Let’s dive in and find out.
Let’s start with the basics: drying time for PVA glue. The length of time it takes for PVA glue to dry can vary depending on factors such as temperature, humidity, and the thickness of the glue application. Generally, you can expect PVA glue to dry fully within 24 hours. However, keep in mind that environmental conditions can influence this timeframe.
Now, let’s talk about why drying time matters when it comes to sanding. If you attempt to sand a surface before the glue has fully dried, you’ll be met with a messy disaster. Wet glue will clog up your sandpaper, leaving behind unsightly residue and creating an uneven finish. Trust me when I say that nobody wants that mess.
To ensure a smooth and successful sanding process, exercise patience and wait the full 24 hours before picking up that sandpaper. I know it can be tempting to rush things along, but trust me, patience is key here.
But what if you’re in a hurry? Fear not. There are some tips and tricks you can employ to speed up the drying process without compromising the integrity of the glue bond.
Firstly, proper ventilation is essential. Open windows or use fans to circulate air in your workspace. This promotes faster evaporation of moisture from the glue. However, be cautious not to introduce excessive heat, as it can cause the glue to cure too quickly and weaken the bond. So, no hairdryers or heaters, please.
Another effective way to expedite drying time is to apply pressure to the glued surfaces. By clamping or holding the pieces firmly together during the drying process, you ensure proper bonding and prevent any movement that could disrupt the drying process. This simple technique helps the glue dry faster and creates a stronger bond.
In ideal conditions, with a temperature around 70°F (21°C) and humidity between 45% to 55%, PVA glue can dry within 1 to 2 hours. However, bear in mind that these optimal conditions may not always be achievable.
So, remember, when working with PVA glue and needing to sand your project, take into account the importance of drying time. Allow a full 24 hours for proper drying before reaching for that sandpaper. And if you’re in a hurry, don’t forget to provide adequate ventilation and apply some pressure to speed up the process.
Drying Time for Epoxy Resin Adhesives
When it comes to woodworking, choosing the right glue is essential. And for strength and durability, epoxy resin adhesives are hard to beat. But let’s dive deeper into the drying time because we all want to finish our projects as quickly as possible, right?
First off, epoxy resin adhesives consist of two components – a resin and a hardener. These two components must be mixed before application, triggering a chemical reaction that leads to curing and hardening.
The curing process happens in two stages: the initial cure and the full cure. The initial cure is when the adhesive becomes touch-dry, allowing for handling and further work. The full cure is when the adhesive reaches maximum strength and becomes fully hardened.
Now, how long does it take for epoxy resin adhesives to dry? Well, it depends. The drying time can range from a few hours to several days, depending on factors such as the brand or type of epoxy, temperature and humidity conditions, and the amount of adhesive applied.
Temperature and humidity play significant roles in the drying time. Higher temperatures speed up the curing process, while lower temperatures slow it down. Likewise, higher humidity levels can prolong drying times, while lower humidity levels can expedite them.
Patience is key when working with epoxy resin adhesives. Rushing the drying process can result in weaker bonds and compromised strength. So, give the adhesive ample time to fully cure for the strongest bond and maximum durability.
Once fully cured, if you want to sand the adhesive for a smooth finish, wait at least 24 hours or follow the manufacturer’s instructions. This waiting period ensures that the adhesive has reached its full cure and is ready for further finishing or manipulation.
Drying Time for Polyurethane Glue
In the world of woodworking, adhesive application is an art form that determines the strength and durability of projects. Among the various options available, polyurethane glue stands out for its versatility and exceptional bonding properties. However, understanding the drying time of this adhesive is crucial to ensure successful outcomes. So let’s delve into the factors that influence the drying time of polyurethane glue.
Temperature and Humidity:
The temperature and humidity levels in your workspace play a significant role in how quickly polyurethane glue dries. Higher temperatures accelerate the drying process, while lower temperatures slow it down. Similarly, low humidity can speed up drying, while high humidity can extend drying time. To expedite drying in colder or humid environments, consider using heating devices or dehumidifiers.
Thickness of Glue Application:
The thickness of the polyurethane glue layer also affects drying time. Thicker applications require more time to dry compared to thin layers. Remember, patience is key here. Rushing the process by applying excessive heat may compromise the bond’s strength and integrity.

Curing Time:
While polyurethane glue may dry to the touch within 30 minutes to an hour, it’s important to note that full curing takes much longer. To ensure maximum strength, allow at least 24 hours before subjecting glued surfaces to stress or pressure. After 24 to 48 hours, the adhesive reaches its peak strength.
Sanding:
Once fully cured, polyurethane glue can be sanded to achieve a smooth finish. However, timing is crucial here too. Waiting too long to sand may make the glue harder to work with, while sanding too soon can result in a gummy residue or damage to the wood surface. As a general guideline, wait 24 to 48 hours before sanding.
Drying Time for Hide Glue
In the captivating world of woodworking, adhesive application is an art form that holds the key to sturdy and long-lasting projects. Among the array of options available, hide glue emerges as a timeless superstar with exceptional bonding abilities. However, understanding the drying time of this adhesive is paramount for triumphant outcomes. In this article, we will delve into the factors that influence how swiftly hide glue dries, ensuring your woodworking projects are nothing short of perfection.
Temperature and Humidity:
Imagine your workspace as a climate-controlled kingdom where temperature and humidity reign supreme. Higher temperatures bestow upon us the gift of accelerated drying, while lower temperatures slow it down like a leisurely stroll in the park. Likewise, low humidity lends a helping hand by expediting drying time, whereas high humidity extends it like a tantalizing suspense novel. To hasten drying in chilly or humid environments, consider employing heating devices or dehumidifiers as trusty allies.
Thickness of Glue Application:
Ah, behold the thickness of our adhesive layer – a crucial factor in determining drying time. Just like spreading butter on toast, thicker applications require more patience to dry compared to their thin counterparts. Remember, my friends, patience is our greatest virtue here. Hastening the process by applying excessive heat may compromise the strength and integrity of our bond.
Wood Type and Moisture Content:
Different types of wood can also impact the drying time of hide glue. Some woods have higher moisture content or are more porous, which can slow down the drying process. It is important to consider the characteristics of the wood being glued when estimating drying time. Ensure proper preparation of the wood surface by removing excess moisture before applying hide glue for optimal results.
Curing Time:
As we embark on this adhesive journey with hide glue, let us not be deceived by its touch-dry facade within 30 minutes to several hours. Nay, my fellow craftsmen. Full curing requires much more time to reach its pinnacle of strength and reliability. To ensure maximum fortitude in our creations, grant at least 24 hours before subjecting glued surfaces to stress or pressure. After 24 to 48 hours have passed since our adhesive adventure began, rejoice. For our bond has achieved its zenith.
Environmental Conditions and Drying Times
Today, we embark on a journey to unlock the secrets behind how environmental conditions shape the destiny of our adhesive bonds. Join us as we explore the intriguing relationship between temperature, humidity, and ventilation, and their impact on drying times.
Temperature: The Fiery Catalyst
In the realm where molecules dance, temperature holds the power to either hasten or delay the drying process. Embrace the warmth, for higher temperatures ignite a chemical reaction that rapidly transforms liquid glue into a solid bond. However, beware the icy grip of cold temperatures, for they slow down drying times and put our patience to the test.
Humidity: The Moisture Maze
Ah, humidity – a mystical force that can befriend or betray us. High humidity levels, like a misty morning haze, hinder evaporation and delay drying. Conversely, low humidity, reminiscent of a desert breeze, accelerates moisture removal. Remember, balance is key.
Ventilation: The Breath of Fresh Air
Ventilation is our ally in this adhesive adventure. Adequate airflow sweeps away moisture from glue surfaces, expediting drying times. Imagine a gentle breeze caressing your project – fans or open windows can create that ideal environment for swift drying.
Quick-Drying Glues: A Time-Saving Marvel
In this fast-paced world, time is often of the essence. Enter quick-drying wood glues. These innovative options are designed to expedite drying times, perfect for those urgent projects that demand immediate results. Just ensure they are suitable for your specific woodworking needs.
Thickness of the Glue Layer and Drying Times
Today, we embark on a journey to unlock the secrets behind how environmental conditions shape the destiny of our adhesive bonds. Join us as we explore the intriguing relationship between temperature, humidity, ventilation, and the thickness of the glue layer, and their impact on drying times.
In the realm where molecules dance, temperature holds the power to either hasten or delay the drying process. Embrace the warmth, for higher temperatures ignite a chemical reaction that rapidly transforms liquid glue into a solid bond. However, beware the icy grip of cold temperatures, for they slow down drying times and put our patience to the test.
Humidity – a mystical force that can befriend or betray us. High humidity levels, like a misty morning haze, hinder evaporation and delay drying. Conversely, low humidity, reminiscent of a desert breeze, accelerates moisture removal. Remember, balance is key.
Ventilation is our ally in this adhesive adventure. Adequate airflow sweeps away moisture from glue surfaces, expediting drying times. Imagine a gentle breeze caressing your project – fans or open windows can create that ideal environment for swift drying.
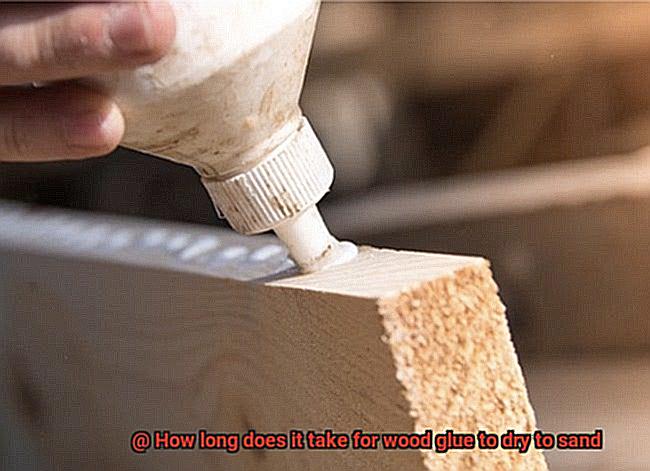
But let us not forget the thickness of the glue layer itself. This overlooked factor can significantly influence drying times. When applying wood glue, it is important to ensure that the glue layer is even and not too thick.
A thicker layer of glue will take longer to dry compared to a thinner layer. This is because the drying process of wood glue involves the evaporation of moisture from the glue.
Thicker layers of glue have more moisture content, which means it will take longer for all the moisture to evaporate. In contrast, thinner layers of glue have less moisture content, allowing them to dry faster.
It is recommended to apply a thin and even layer of wood glue to ensure optimal drying time. Additionally, excessive glue application can lead to weaker bond strength and may result in visible glue lines after sanding. It is important to follow the manufacturer’s instructions regarding the recommended thickness of glue application.
Factors such as temperature and humidity can also affect the drying time of wood glue. Higher temperatures and lower humidity levels generally result in faster drying times, while lower temperatures and higher humidity levels can prolong drying times.
Tips for Optimal Results
Wood glue is an essential tool for woodworking projects, but to achieve optimal results, it’s important to follow the right steps. In this article, we will outline six key tips that will help you achieve the perfect wood glue bonding and sanding outcome. Let’s delve into these tips and elevate your woodworking skills.
Choose the Right Glue:
The first step to achieving optimal results is selecting the right type of wood glue. Not all wood glues are created equal, so it’s important to choose the one that suits your specific project needs. Yellow glue, also known as carpenter’s glue, is perfect for woodworking projects as it creates strong bonds and resists moisture. Make a wise choice based on the requirements of your project.
Prepare the Surfaces:
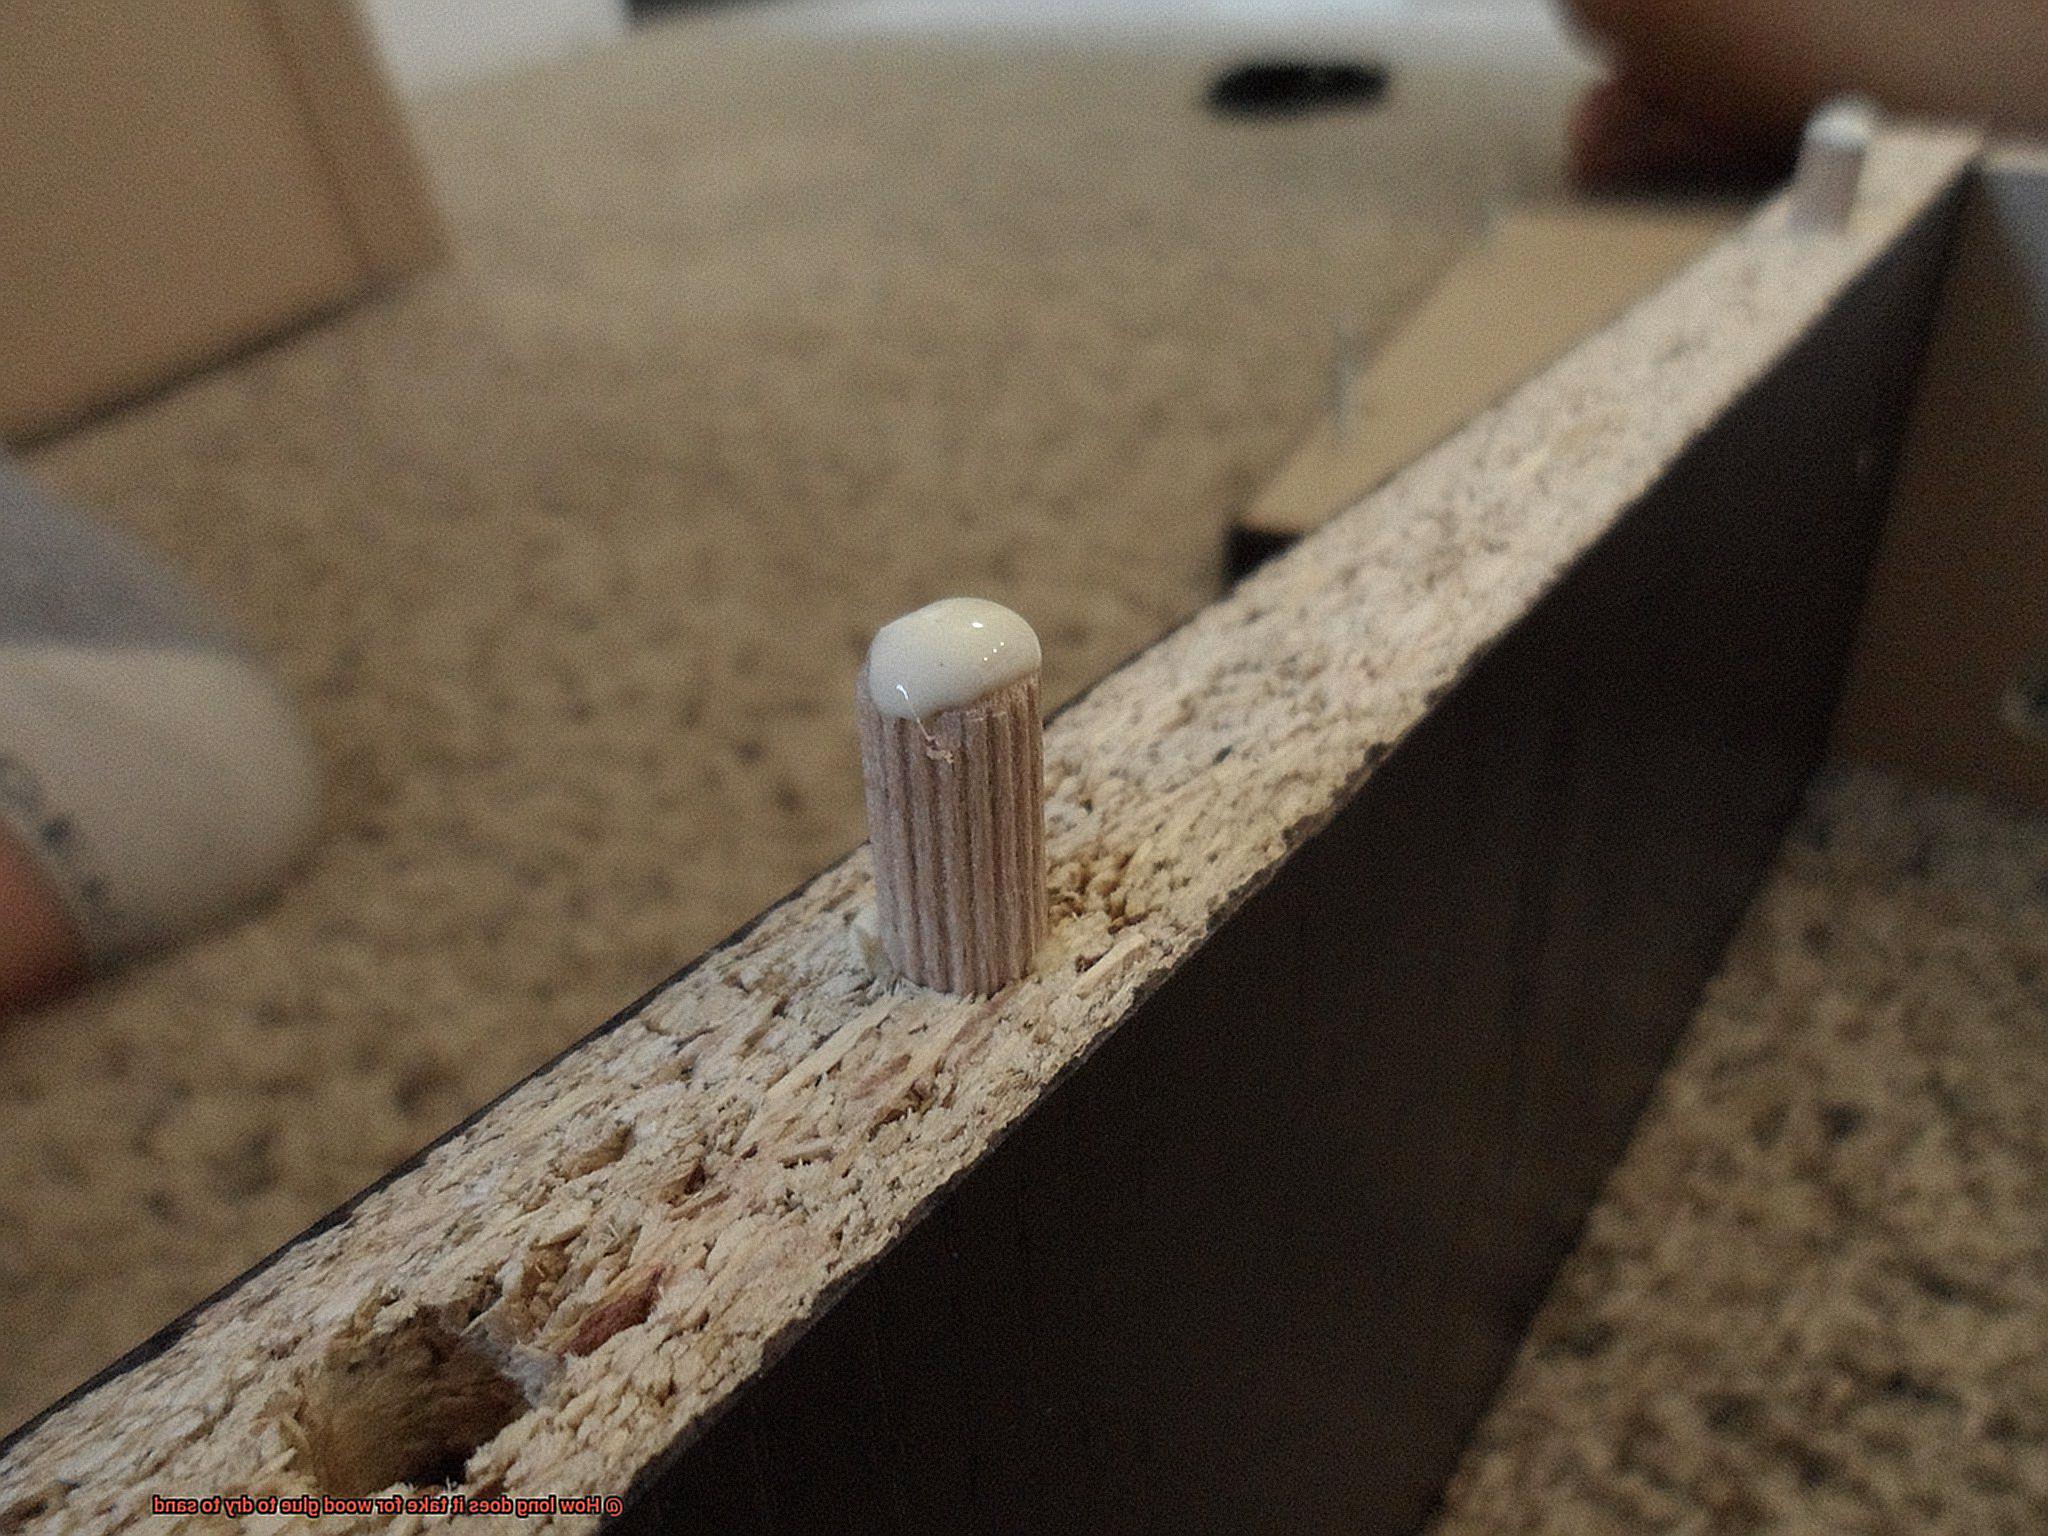
Before applying wood glue, proper surface preparation is crucial. Ensure that the surfaces are clean, dry, and free from any dust or grease. To enhance the bond, lightly sanding the surfaces will create a textured surface that promotes better glue adhesion.
Apply Glue Evenly:
When applying wood glue, ensure an even application on both surfaces to be bonded. Use a brush or roller to spread the glue smoothly and consistently. Avoid applying too little or too much glue, as this can impact the strength of the bond.
Use Clamps or Weights:
To guarantee a solid bond, use clamps or weights to hold the glued pieces together while they dry. This will apply consistent pressure and prevent any movement during the drying process. Strategically position the clamps to avoid interfering with the glued area.
Allow Proper Drying Time:
Patience is key when using wood glue. Different glues have varying drying times, so it’s important to follow the manufacturer’s instructions. Rushing the drying process can weaken the bond and compromise the quality of your project. Allow sufficient time for the glue to dry completely.
Test Before Sanding:
Before sanding, it’s essential to ensure that the wood glue has fully dried. Apply gentle pressure to the joint to test its strength. If it feels weak or moves, give it more drying time or reapply glue if necessary. Sanding too soon can ruin the bond and affect the final result.
U0hhFjjW5EU” >
Also Read: How To Glue Sand to Wood? – Glue Things
Conclusion
Wood glue typically takes around 24 hours to dry enough to sand.
However, this drying time can vary depending on various factors such as humidity levels, temperature, and the type of wood glue used. It’s important to follow the manufacturer’s instructions for the specific wood glue you are using to ensure optimal drying time.
Keep in mind that rushing the drying process can lead to weaker bond strength and compromised results.