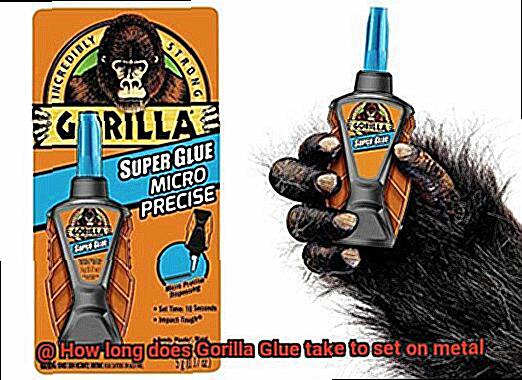
Got a metal project in the works? Chose Gorilla Glue as your secret weapon? Good call. This stuff is like the superhero of adhesives, known for its crazy strong bond that can tackle any job. But here’s the burning question: just how long does Gorilla Glue take to set on metal?
Whether you’re a DIY guru, a pro metalworker, or just a regular Joe trying to fix something, knowing how fast Gorilla Glue dries on metal is key. It determines when you can touch your project again or when that broken item will be back in action.
In this article, we’ll dive into the nitty-gritty of Gorilla Glue’s curing time on metal surfaces and explain why it’s crucial info for getting the results you want. So grab your favorite beverage, kick back, and let’s unlock the science and magic behind Gorilla Glue’s metal bonding process.
Setting Time of Gorilla Glue on Metal
Contents
- 1 Setting Time of Gorilla Glue on Metal
- 2 Factors That Influence the Setting Time of Gorilla Glue on Metal
- 3 Initial Tack of Gorilla Glue on Metal
- 3.1 Step 1: Surface Preparation – A Clean Canvas
- 3.2 Step 2: Roughen the Surface – Unleash the Beast
- 3.3 Step 3: Apply Gorilla Glue – The Art of Precision
- 3.4 Step 4: Press Firmly – A Fusion of Forces
- 3.5 Step 5: Allow for Curing Time – The Art of Patience
- 3.6 Step 6: Safety First – The Guardians of Adhesion
- 4 How to Achieve Maximum Bond Strength with Gorilla Glue on Metal
- 5 Different Variants of Gorilla Glue and Their Setting Times
- 6 Accelerating the Curing Process with Pressure or Clamping
- 7 Ensuring Clean, Dry, and Non-Contaminated Surfaces for Quicker Bonding
- 8 Testing Gorilla Glue Before Use on Important Projects
- 9 Conclusion
Gorilla Glue is renowned for its strength and versatility, making it a popular choice for bonding various materials, including metal. However, achieving the best results requires an understanding of the factors that can affect the setting time of Gorilla Glue on metal surfaces. In this article, we will explore the setting and curing process of Gorilla Glue on metal, providing research-backed information and tips for a strong bond.
Factors Affecting Setting Time:
- Type of Metal: The type of metal being bonded plays a crucial role in the setting time. Smooth and non-porous metals may take longer to set compared to rough or porous surfaces.
- Surface Preparation: Before applying Gorilla Glue, it is vital to ensure that the metal surface is clean, dry, and free from oils, dirt, or rust. Proper surface preparation improves bond strength and reduces setting time.
- Ambient Temperature: Temperature has a significant impact on the curing process. Higher temperatures accelerate the process, while lower temperatures prolong it. For optimal results, work in a temperature range of 65-80°F (18-27°C).
Application Tips:
- Apply a Thin Layer: To avoid excessive squeeze-out and achieve faster setting times, apply a thin layer of Gorilla Glue onto the metal surface.
- Use Clamps or Firm Pressure: To ensure a strong bond, clamp or hold the glued parts together firmly for at least 30 minutes. This prevents movement or shifting during the initial setting process.
- Allow Sufficient Curing Time: While initial tack may be achieved within 10-30 minutes, leave the glued metal undisturbed for a minimum of 24 hours for full curing.
Curing Process:
- Continued Curing: The curing process of Gorilla Glue continues even after the initial set. It typically takes 24 hours for Gorilla Glue to fully cure on most surfaces, including metal. During this time, avoid any stress or strain on the glued parts.
- Influence of Humidity and Temperature: Factors such as humidity and temperature can affect the curing time of Gorilla Glue. Higher humidity levels can accelerate the process, while lower temperatures may prolong it.
Factors That Influence the Setting Time of Gorilla Glue on Metal
Gorilla Glue is a popular choice for bonding metal surfaces due to its exceptional strength and versatility. However, achieving a quick and efficient bond requires an understanding of the factors that influence the setting time of this adhesive. In this article, we will explore these factors in detail and provide expert tips to optimize the bonding process.
Surface Preparation:
Proper surface preparation is crucial for Gorilla Glue to set quickly on metal. Ensure that the surface is clean, dry, and free from contaminants like oil, grease, or rust. Any residue on the surface can hinder bond formation and delay the setting time.
Temperature and Humidity:
Temperature and humidity levels play a significant role in determining the setting time of Gorilla Glue on metal surfaces. Higher temperatures accelerate curing, while lower temperatures slow it down. Similarly, high humidity prolongs the process, while low humidity speeds it up. Consider these environmental factors and adjust accordingly.
Application Technique:
The application technique affects the setting time of Gorilla Glue. Applying a thin, even layer of glue ensures better contact between the adhesive and the metal, leading to faster bonding. Avoid excessive glue or uneven application, as this can result in longer setting times.
Type of Metal:
Different metals have varying surface characteristics that impact the setting time of Gorilla Glue. Metals like aluminum or stainless steel have more reactive surfaces, promoting faster curing. In contrast, metals like copper or brass may require more time for the adhesive to set due to their lower reactivity.
Thickness of Glue Layer:
The thickness of the glue layer applied to the metal surface influences the setting time. Thicker layers take longer to cure as they require more time for air exposure and moisture evaporation. For optimal bonding, apply a thin, even layer of Gorilla Glue on metal surfaces.
Pressure Applied:
Applying pressure during the curing process enhances bond strength and expedites the setting time. Maximizing contact between the adhesive and the metal using clamps or weights can reduce setting time. Follow the manufacturer’s instructions regarding pressure application.
Drying Time vs. Full Cure:
While Gorilla Glue may dry within a specified setting time, achieving a full cure takes longer. Allow additional time for complete curing before subjecting the bonded metal to heavy loads or stress.
Initial Tack of Gorilla Glue on Metal
When it comes to bonding metal surfaces, Gorilla Glue reigns supreme. Renowned for its unrivaled strength and adaptability, Gorilla Glue forms an unbreakable bond that stands the test of time. In this article, we will delve into the secrets behind achieving a robust initial tack when using Gorilla Glue on metal.
Step 1: Surface Preparation – A Clean Canvas
Before applying Gorilla Glue, it’s imperative to cleanse the metal surface thoroughly. Banish dirt, moisture, and any oily residues using a mild detergent or degreaser. Remember, a pristine surface lays the groundwork for superior adhesion and a tenacious bond.
Step 2: Roughen the Surface – Unleash the Beast
Unleash the full potential of Gorilla Glue by roughening the metal surface ever so slightly. Embrace the power of sandpaper or a wire brush to create a tactile terrain that amplifies grip. More surface area means more clout for the glue to cling onto, resulting in an ironclad bond. But beware, gentle roughening is all it takes to conquer this quest.
Step 3: Apply Gorilla Glue – The Art of Precision
The time has come to wield Gorilla Glue. Begin by applying a thin, calculated layer onto one of the surfaces yearning to be united. Exercise restraint, my friend, as excessive foaming weakens bonds. Remember, less is more in this adhesive dance.
Step 4: Press Firmly – A Fusion of Forces
Forge an unbreakable alliance by pressing the two surfaces together with unwavering force. Ensure they align seamlessly as you channel your inner strength. This pressure activates the adhesive’s power and kindles an initial tack that means business. As time passes, the bond strengthens, solidifying your triumph.
Step 5: Allow for Curing Time – The Art of Patience
Though Gorilla Glue begins its magic within 1-2 hours, patience is the architect of a mighty bond. Allow the glued metal pieces to bask in their glory for a minimum of 24 hours before subjecting them to the trials and tribulations of life. For lasting strength, let time weave its enchantment.
Step 6: Safety First – The Guardians of Adhesion
As Gorilla Glue works its alchemy, ensure proper ventilation to tame its noxious fumes. Shield your eyes and skin from inadvertent contact, donning protective gloves to honor safety’s creed. Remember, a triumphant bond arises from vigilant care and respect for precautionary measures.
How to Achieve Maximum Bond Strength with Gorilla Glue on Metal
Gorilla Glue is renowned for its exceptional bonding capabilities, making it a popular choice for metal surfaces. To ensure the strongest and most durable bond, proper surface preparation, careful application, and sufficient curing time are crucial. This article will outline the step-by-step process to achieve maximum bond strength when using Gorilla Glue on metal.
Step 1: Thoroughly Clean the Metal Surface
Before applying Gorilla Glue, it is imperative to remove any dirt, grease, rust, or other contaminants from the metal surface. A mild detergent or a solvent like acetone can effectively clean the surface, ensuring a pristine foundation for the adhesive. Thoroughly rinse and allow the surface to dry completely.
Step 2: Roughen the Surface for Enhanced Adhesion
To maximize bond strength, gently roughen the metal surface using sandpaper or a wire brush. This creates a slightly textured surface that provides more area for the glue to grip onto. By sanding in one direction, you create micro-grooves that further enhance adhesion.
Step 3: Apply Gorilla Glue Sparingly
Gorilla Glue’s potent adhesive properties mean that a thin layer is sufficient for a strong bond. Applying too much glue can lead to excess squeeze-out and compromise the bond’s integrity. Apply a thin and even layer of glue to one of the surfaces you wish to bond.
Step 4: Clamp or Securely Hold the Pieces Together
After applying the glue, firmly press the two metal surfaces together. Depending on the size and weight of the objects being bonded, utilize clamps or other securing methods to maintain pressure while the glue sets. This ensures optimal bonding by providing sufficient pressure between the surfaces.
Step 5: Allow Ample Curing Time
Curing time for Gorilla Glue on metal varies based on temperature, humidity, and glue layer thickness. To achieve maximum bond strength, adhere to the instructions provided by Gorilla Glue. Generally, allowing a minimum of 24 hours for full curing is recommended. Note that colder temperatures or higher humidity may extend the curing time.
Step 6: Test the Bond Strength
After the designated curing time has passed, evaluate the bond strength by applying gentle pressure or stress to the bonded area. A strong and durable bond will withstand this test without any signs of weakening or separation. If any concerns arise regarding the bond strength, consider reapplying Gorilla Glue or seeking professional advice.
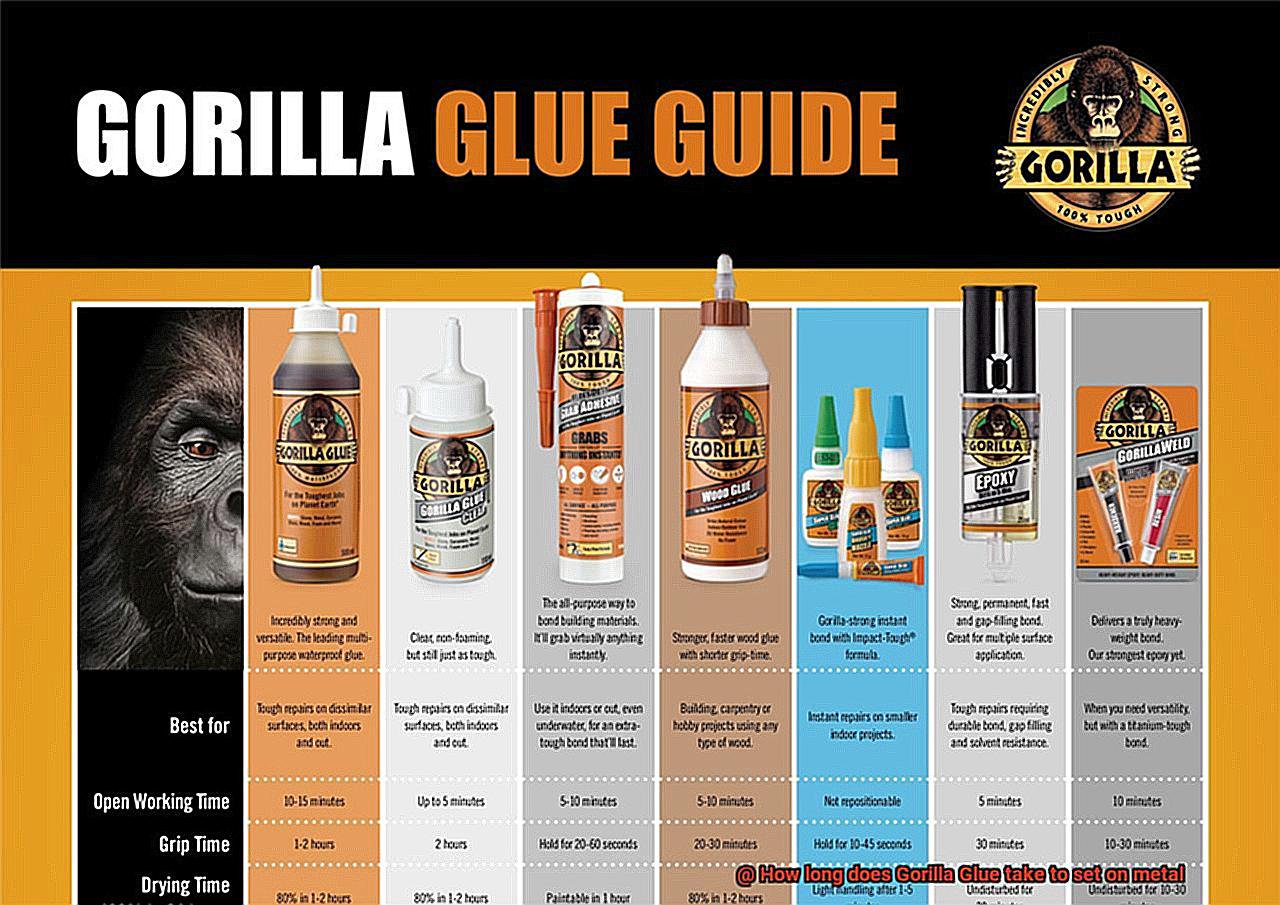
Different Variants of Gorilla Glue and Their Setting Times
When it comes to creating strong bonds on metal surfaces, Gorilla Glue offers a range of variants that are specifically designed for this purpose. These variants have their own unique characteristics and setting times, ensuring that you can find the perfect adhesive for your specific project.
- The Original Gorilla Glue: Known for its versatility, strength, and durability, the Original Gorilla Glue can bond a variety of materials, including metal. It has a setting time of approximately 24 hours on metal surfaces. This ample curing time allows the glue to fully cure and create a robust bond that will withstand the test of time.
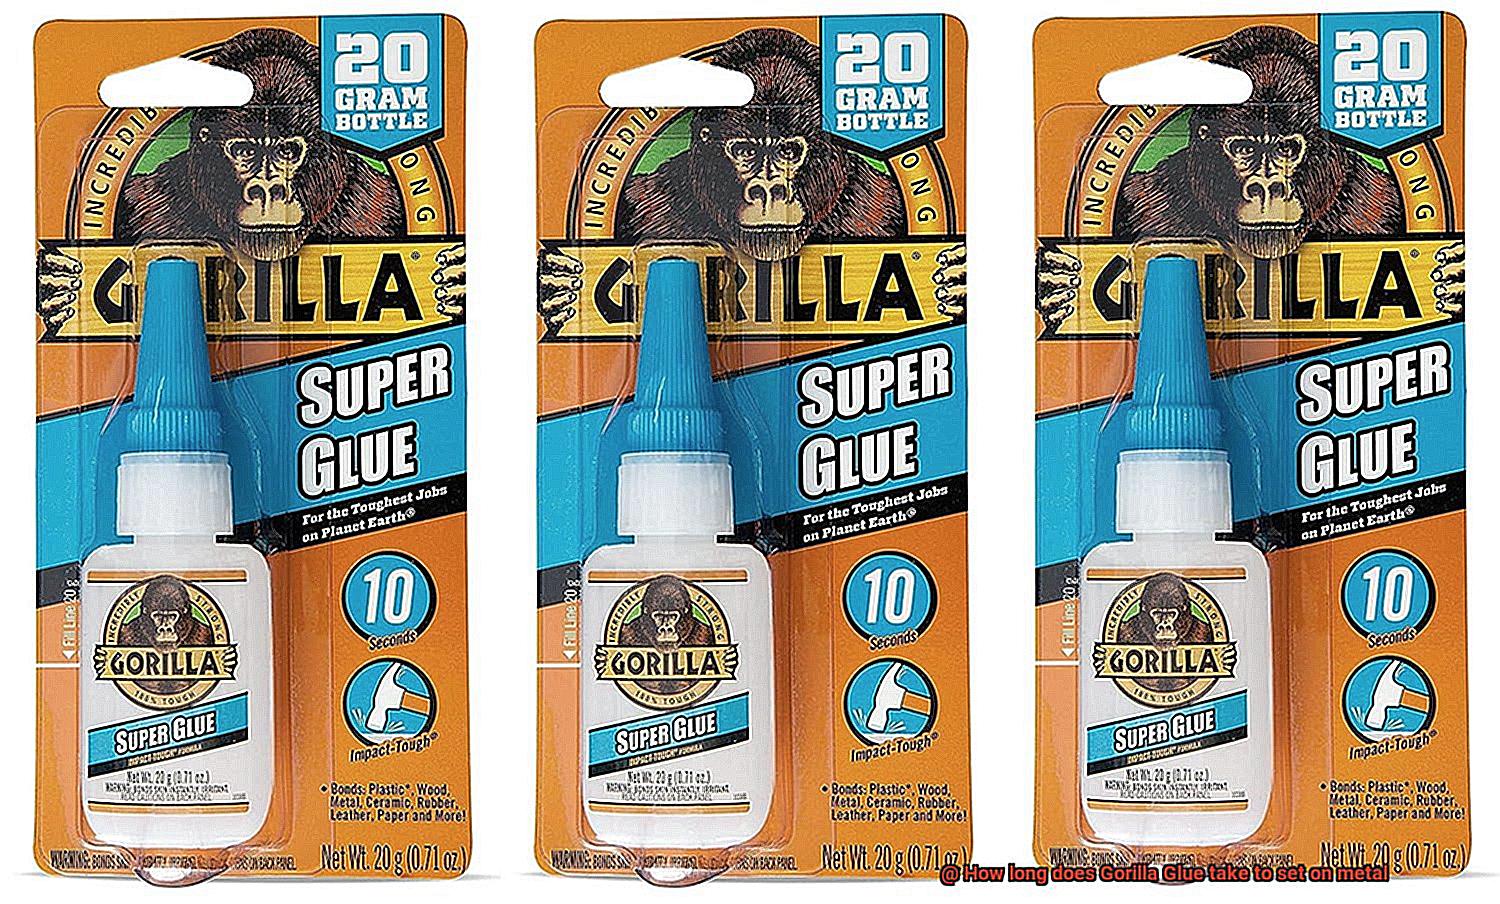
- Gorilla Super Glue Gel: If you’re looking for a faster setting time, Gorilla Super Glue Gel is an excellent choice for bonding metal surfaces. Unlike the Original Gorilla Glue, this variant sets much faster, usually within 10 to 30 seconds. This quick-setting feature makes it ideal for quick repairs or projects where time is of the essence.
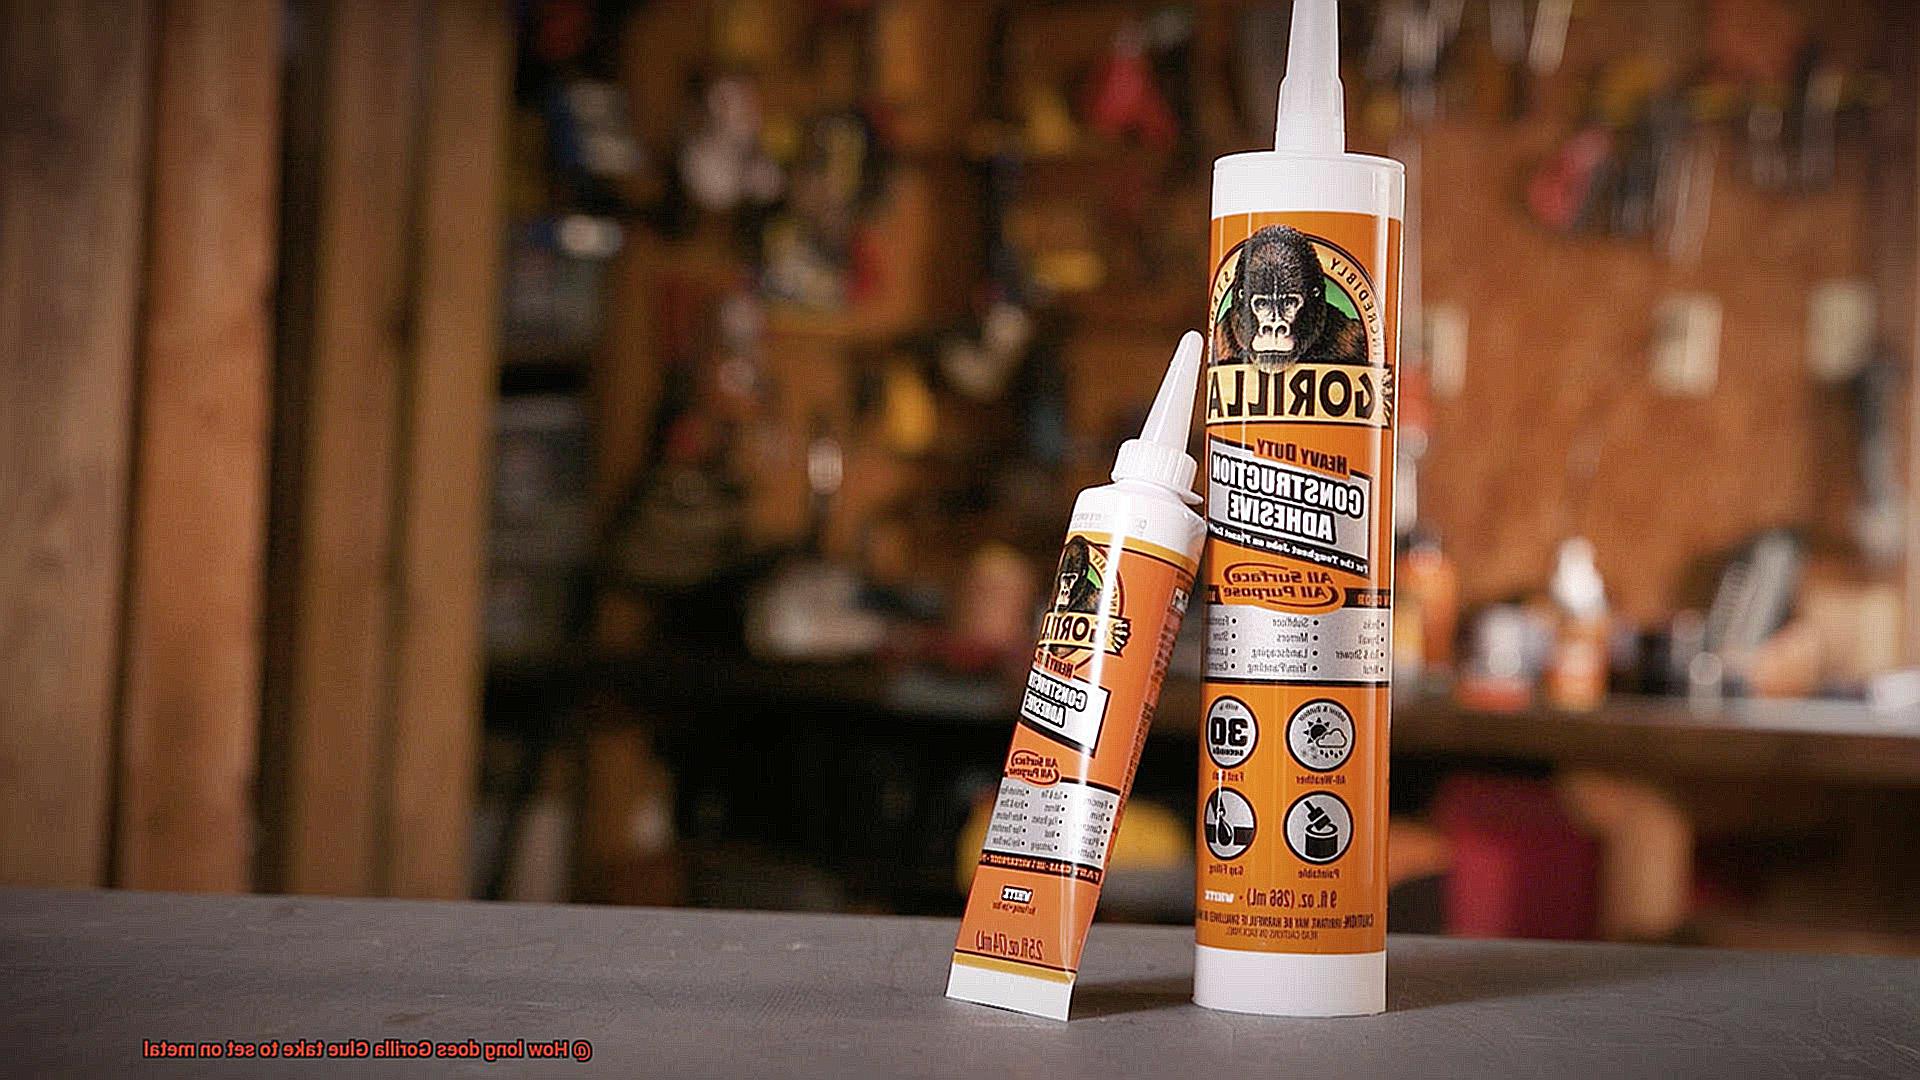
- Gorilla Weld: For heavy-duty applications, Gorilla Weld is a specialized variant formulated specifically for bonding metal surfaces. It provides an incredibly strong bond that can withstand even the toughest conditions. The setting time for Gorilla Weld on metal is around 4 to 6 hours, giving you enough time to work with the adhesive and ensure a proper bond.
It’s important to note that the setting time may vary depending on factors such as temperature, humidity, and the surfaces being bonded. To ensure a successful bond, it is recommended to follow the instructions provided by Gorilla Glue for each specific variant.
Before applying any Gorilla Glue variant to metal surfaces, it’s crucial to properly prepare the surface. Make sure the metal is clean and free from any dirt, oil, or rust. You can use a degreaser or sandpaper to remove any contaminants and create a textured foundation that will enhance the bond.
Accelerating the Curing Process with Pressure or Clamping
Are you tired of waiting for hours for your glue to dry? Do you need a quick solution to bond metal surfaces together? Well, look no further because I have the secret to speeding up the curing process of Gorilla Glue on metal surfaces – pressure and clamping.
The curing process of Gorilla Glue refers to the time it takes for the adhesive to fully harden and reach its maximum strength. While Gorilla Glue is known for its strong bond, it can take several hours to cure completely. But by applying pressure or using clamps, you can significantly accelerate this process.
Pressure or clamping works by exerting force on the glued parts, ensuring that the adhesive is in close contact with both surfaces. This tight contact allows for better adhesion and a quicker curing time, resulting in faster and stronger bonds between metal surfaces.
When using pressure or clamping techniques, it is crucial to hold the glued parts securely together without any movement. This can be achieved by using adjustable clamps or applying constant pressure using heavy objects. The goal is to maintain consistent pressure on the glue joint throughout the curing process.
The duration of pressure or clamping will vary depending on various factors such as the type and thickness of metal being bonded, temperature, humidity, and the specific Gorilla Glue product used. Generally, it is recommended to apply pressure or use clamps for at least 1-2 hours. However, for optimal results and maximum bond strength, leaving them in place for a longer period, preferably overnight, is advisable.
It is essential to follow the instructions provided by Gorilla Glue carefully when using pressure or clamping techniques. Some specific products may have different recommendations or requirements for curing times with pressure. Adhering to these guidelines ensures that you achieve the best possible bond strength.
While pressure or clamping can speed up the initial curing process, it is important to note that the adhesive may continue to strengthen over time. To avoid compromising the bond, it is advisable to refrain from subjecting the bonded metal to excessive stress or load until the glue has fully cured, typically 24 hours or longer.
Ensuring Clean, Dry, and Non-Contaminated Surfaces for Quicker Bonding
In this ultimate guide, we will divulge the secrets to ensuring a clean, dry, and non-contaminated surface for quicker bonding with Gorilla Glue. So, let’s dive in.
Step 1: Prepare the Surface
To achieve optimal bonding with Gorilla Glue, it is imperative to banish any dirt, dust, oil, grease, or other residues from the metal surface. Gently scrub the surface with a soft brush or cloth using a mild detergent or degreaser. Rinse thoroughly with clean water to eliminate any remnants of the cleaning agent.
Step 2: Thorough Drying
Moisture is the sworn enemy of adhesive bonding. Before applying Gorilla Glue, ensure that the metal surface is bone dry. You can air dry it or use a clean towel. For those who crave speed, employ a hairdryer on low heat—just be cautious not to overheat the surface.
Step 3: Eliminate Loose Paint or Rust
Creating a smooth and pristine surface is vital for superior adhesion. Bid farewell to any loose paint or rust by gently sanding or scraping them away before applying Gorilla Glue. This crucial step guarantees a robust and long-lasting bond.
Step 4: Handle with Tender Care
Beware of direct contact between bare hands and the metal surface. Our natural oils and sweat can contaminate the area, impeding the adhesive’s performance. Safeguard against this issue by donning gloves or using clean tools during application.
Step 5: Temperature and Humidity Matters
Temperature and humidity wield significant influence over Gorilla Glue’s curing time on metal surfaces. Adhere to the manufacturer’s guidelines regarding the ideal temperature and humidity conditions for application and curing. This step is non-negotiable for achieving outstanding results.
Testing Gorilla Glue Before Use on Important Projects
When it comes to important projects, ensuring the reliability and durability of materials is crucial. That’s why conducting thorough testing of Gorilla Glue before using it on metal surfaces is essential. In this article, we will explore the significance of testing Gorilla Glue, including surface preparation, bond strength evaluation, testing different metals, considering environmental conditions, and assessing the appropriate quantity and final appearance. By following these steps, you can maximize the chances of project success and achieve outstanding results every time.
Surface Preparation:
Proper surface preparation is a critical first step before applying Gorilla Glue. It involves thoroughly cleaning the metal surface to remove any dirt, dust, grease, or rust. This ensures a clean and smooth surface for the glue to adhere to. If needed, use a degreaser or sandpaper to achieve optimal results.
Bond Strength Evaluation:
To determine how well Gorilla Glue bonds to your specific metal surface, conduct a test on a scrap piece of similar metal. Apply a small amount of glue according to the provided instructions and observe its adhesion. Applying pressure or pulling on the glued area allows you to evaluate bond strength and detect any signs of weakness or failure.
Testing Different Metals:
Each metal may have different bonding characteristics with adhesives. Therefore, it is crucial to test Gorilla Glue on various metals to understand its performance in different scenarios. Some metals might require additional surface treatments or primers for improved bonding. Testing on different metals allows you to determine the best approach for your specific project.
Environmental Considerations:
Temperature and humidity can affect the curing time of Gorilla Glue. Thus, it is important to conduct tests under different conditions to identify any variations in bonding performance. This step guarantees that the adhesive will work effectively in various environments.
Appropriate Quantity and Appearance Assessment:
Gorilla Glue expands as it cures. Using excessive amounts can cause overflow or push bonded materials apart. To determine the appropriate quantity required without risking any damage, test with small amounts of glue. Additionally, evaluate the appearance of the bond after the glue has fully cured. Check for discoloration, excess glue residue, or uneven bonding to ensure a professional and pleasing final result.
qivw4DTs3wo” >
Conclusion
When it comes to Gorilla Glue and metal, the question on everyone’s mind is how long does it take for this powerful adhesive to set? Well, my friends, let me tell you that patience is key. You see, Gorilla Glue is not your average everyday glue – it’s a force to be reckoned with. And when it comes into contact with metal, it forms an unbreakable bond that can withstand the test of time.
But how long does this bond take to form, you ask? Well, my fellow DIY enthusiasts, I’m here to give you the lowdown. The setting time for Gorilla Glue on metal can vary depending on a few factors. First and foremost, make sure you’ve properly prepared the surface by cleaning it thoroughly and removing any rust or debris. This will ensure maximum adhesion and a stronger bond.
Now, let’s get down to business. On average, Gorilla Glue takes about 24 hours to fully set on metal surfaces. Yes, you heard that right – a whole day. But trust me when I say that good things come to those who wait. During this time, the glue undergoes a chemical reaction that transforms it from a liquid state into a solid mass of strength.
So what do you do while waiting for this miraculous transformation to occur? Well, my dear readers, I suggest finding another project to keep yourself occupied. Maybe tackle that bookshelf you’ve been meaning to assemble or finally organize your tool shed. Time flies when you’re busy.
Once the 24-hour mark has passed, you’ll be left with a bond so strong that even Superman would struggle to break it (okay maybe not Superman, but you get my point). Whether you’re repairing broken metal jewelry or creating intricate sculptures out of scrap metal pieces, Gorilla Glue will be your trusted companion throughout the process.
In conclusion, my friends, patience is indeed a virtue when it comes to Gorilla Glue and metal. Allow it the time it needs to work its magic, and you’ll be rewarded with a bond that will stand the test of time. So go forth, my fellow DIY enthusiasts, and let your creativity soar with the help of Gorilla Glue.