Whether you’re a DIY pro or just like to tinker around with repairs, finding the right adhesive is key to getting the job done right. And if you’re on the hunt for a glue that can handle anything, look no further than Q bond adhesive. This stuff is seriously impressive and can tackle all kinds of projects.
One of the best things about Q bond adhesive is its ability to bond different materials together. It doesn’t matter if you’re fixing a busted metal hinge, patching up a cracked plastic surface, or even reattaching a piece of shattered ceramic – Q bond adhesive has got your back. This stuff sticks like crazy and creates a bond that’ll last longer than your last relationship.
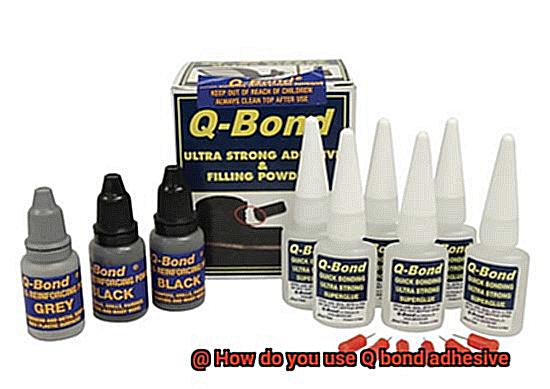
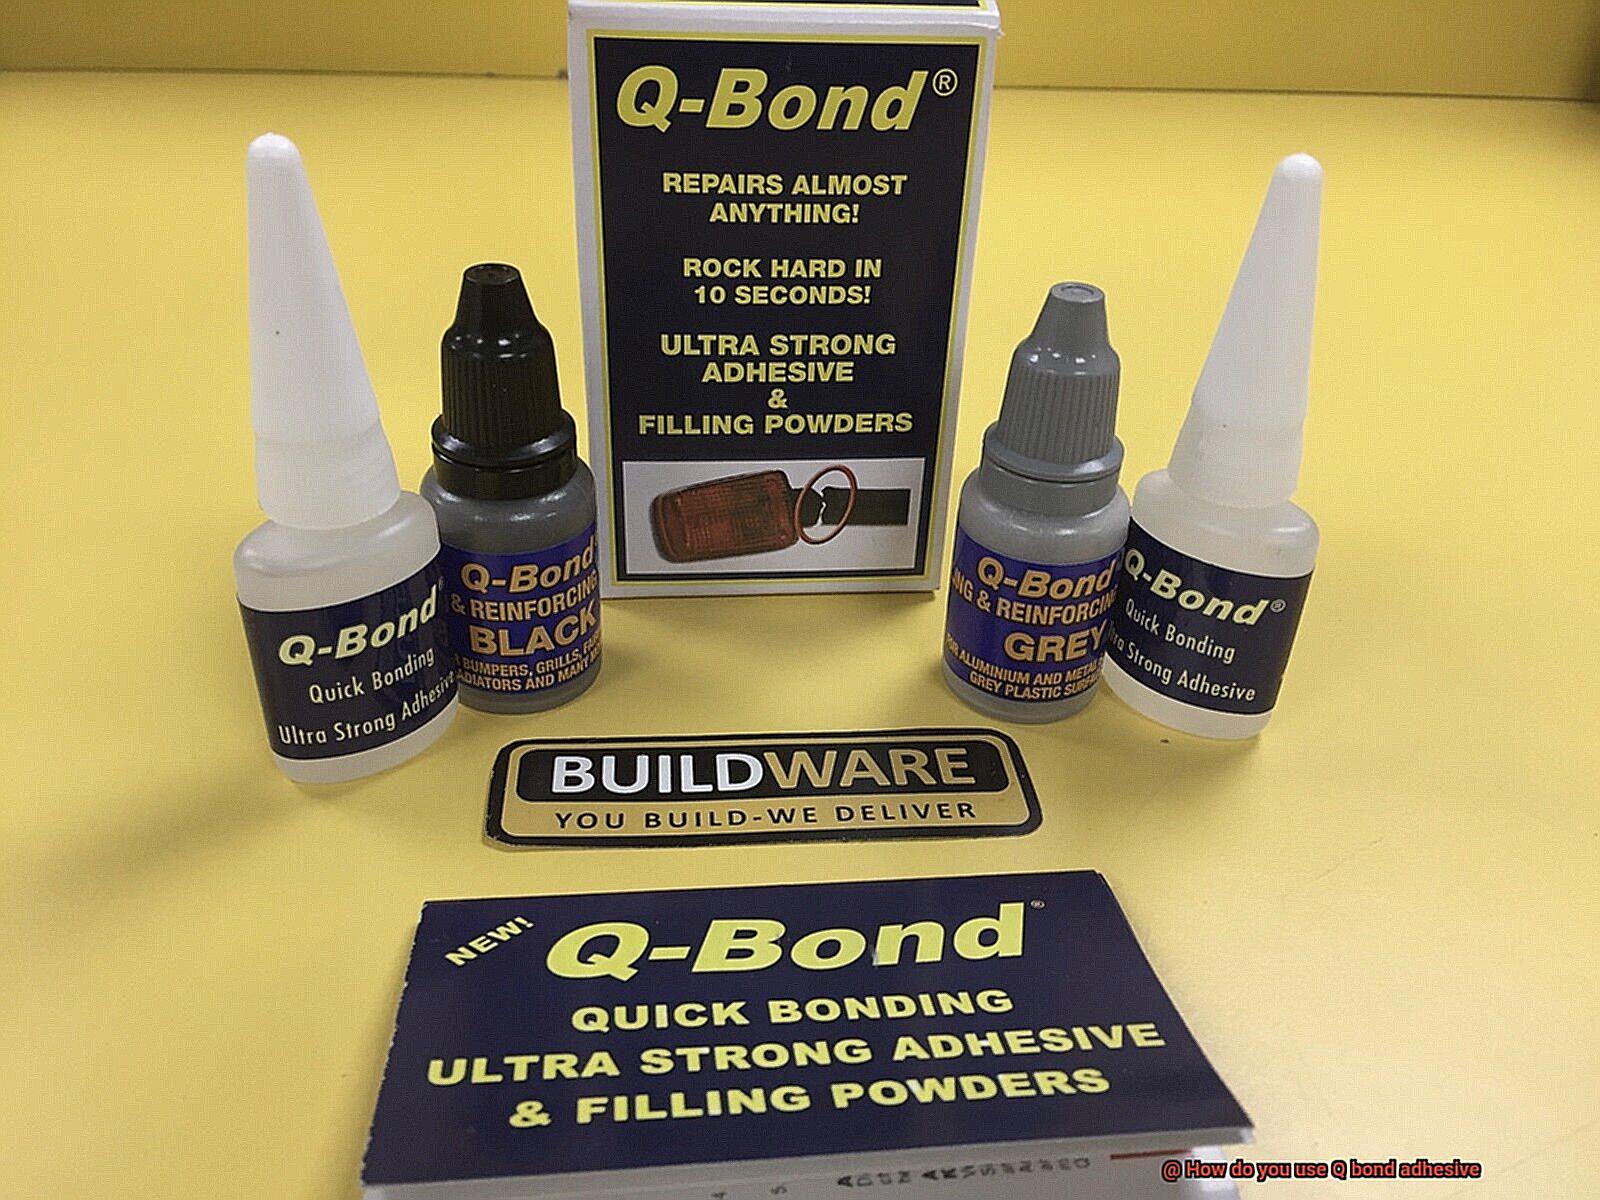
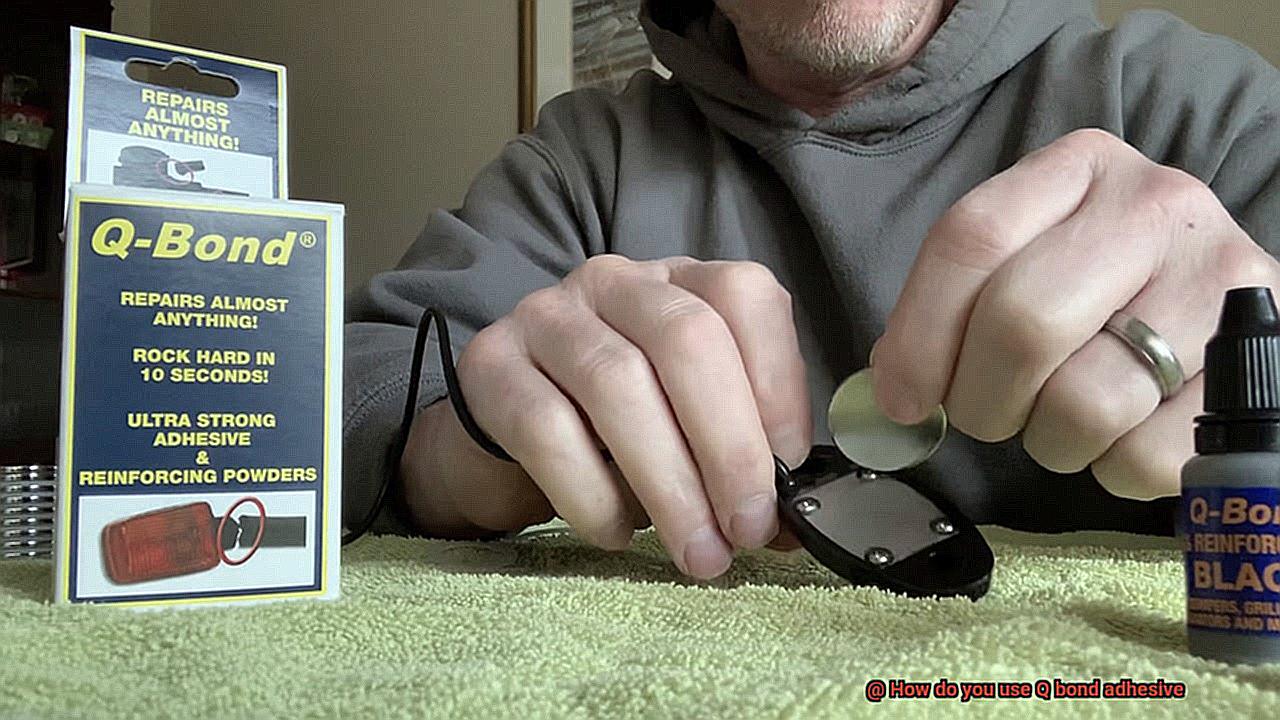
But here’s what really sets Q bond adhesive apart: it’s got this dual-component formula that makes it super strong. There’s a bonding compound and a reinforcing powder that you mix together to create this thick paste. Once you slap that paste on whatever you’re fixing, it starts setting in just minutes. Talk about speedy repairs.
And get this – Q bond adhesive isn’t afraid of anything. It can handle heat, water, and most chemicals without breaking a sweat. That means you can use it indoors or outdoors without worrying about it losing its grip. Need to fix a leaky pipe? No problemo. Have a broken car radiator? Easy peasy lemon squeezy – just whip out the Q bond adhesive and save yourself some serious cash.
Now let’s talk about some real-life examples of how awesome Q bond adhesive is. Picture this: you accidentally smash your favorite ceramic mug into pieces (cue sad violin music). Instead of crying over spilt coffee, grab your trusty Q bond adhesive and work some magic – before you know it, that mug will be whole again.
Or maybe your toolbox has a wobbly metal handle that’s driving you nuts. Slap on some Q bond adhesive, give it a few minutes, and voila – you’ve got a handle that’s as sturdy as Thor’s hammer.
Honestly, the possibilities with Q bond adhesive are endless. Whether you’re fixing up stuff around the house like lamps or furniture, tackling car repairs, or even getting crafty with some DIY projects – this glue has got your back. Its crazy strong bonding powers, combined with its ability to take on anything Mother Nature throws at it, make Q bond adhesive a must-have in any repair kit. So next time something breaks, don’t stress – just reach
Preparing the Surfaces
Contents
- 1 Preparing the Surfaces
- 2 Applying the Liquid Adhesive
- 3 Sprinkling the Powder Activator
- 4 Pressing the Surfaces Together
- 5 Strengthening the Bond with Additional Layers of Adhesive
- 6 Curing Time and Avoiding Stress on Bonded Surfaces
- 7 Refining the Bond with Sanding or Shaping
- 8 Versatility of Q Bond Adhesive for Different Applications
- 9 Conclusion
In the world of glue adhesives, a strong and durable bond is the holy grail. That’s why surface preparation is the secret ingredient to success. In this article, we will delve into the reasons why cleaning, degreasing, and roughening surfaces before using Q bond adhesive are essential for achieving a flawless application.
By following these steps, you can rest easy knowing that your adhesive will cling securely and endure the test of time.
The Power of a Clean Slate:
Before applying Q bond adhesive, a thorough cleansing of the surfaces is paramount. It’s simple – any trace of dirt, dust, or grease can disrupt the adhesive’s ability to adhere effectively. By banishing these contaminants, you create a pristine canvas for the adhesive to attach to, resulting in an unbreakable bond. Soak up the grime with a mild detergent or soap-water concoction, ensuring a thorough rinse with clean water.
The Magic of Degreasing:
In some cases, surfaces stubbornly cling to grease or oil stains that defy ordinary cleaning methods. Enter degreasing – the ultimate solution to this sticky situation. Armed with a compatible solvent or degreaser, you can effortlessly banish any lingering residue. Remember to follow the manufacturer’s instructions for safe and effective use of the degreaser.
Roughening: The Art of Adhesion Enhancement:
Once the surfaces are clean and grease-free, it’s time to unleash the power of roughening. This step is crucial in optimizing the adhesive’s grip on the materials being bonded. By gently sanding the surfaces with fine-grit sandpaper, you create a textured landscape that offers more surface area for the adhesive to cling to. However, tread carefully – avoid sanding too aggressively or creating deep scratches that may compromise material integrity.
Drying: The Final Touch:
After the meticulous cleaning, degreasing, and roughening process, it’s imperative to allow the surfaces to dry completely before applying Q bond adhesive. Moisture can meddle with the adhesive’s curing process, jeopardizing the strength of the bond. Use a clean cloth or paper towel to blot any excess moisture, and exercise patience – especially in humid environments – as you wait for the surfaces to dry thoroughly.
Applying the Liquid Adhesive
Q bond adhesive is here to save the day with its unbeatable strength and durability. Whether you’re working with metal, plastic, or wood, this liquid adhesive guarantees a secure and long-lasting bond.
But before we dive into the application process, let’s talk about the importance of prepping your surfaces. Cleanliness is key to achieving the best results. Grab a mild detergent or solvent and give those surfaces a thorough cleaning. Get rid of any dirt, grease, or debris that could interfere with the adhesive’s effectiveness. Trust me, taking this extra step will pay off in the end.
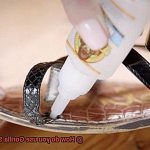
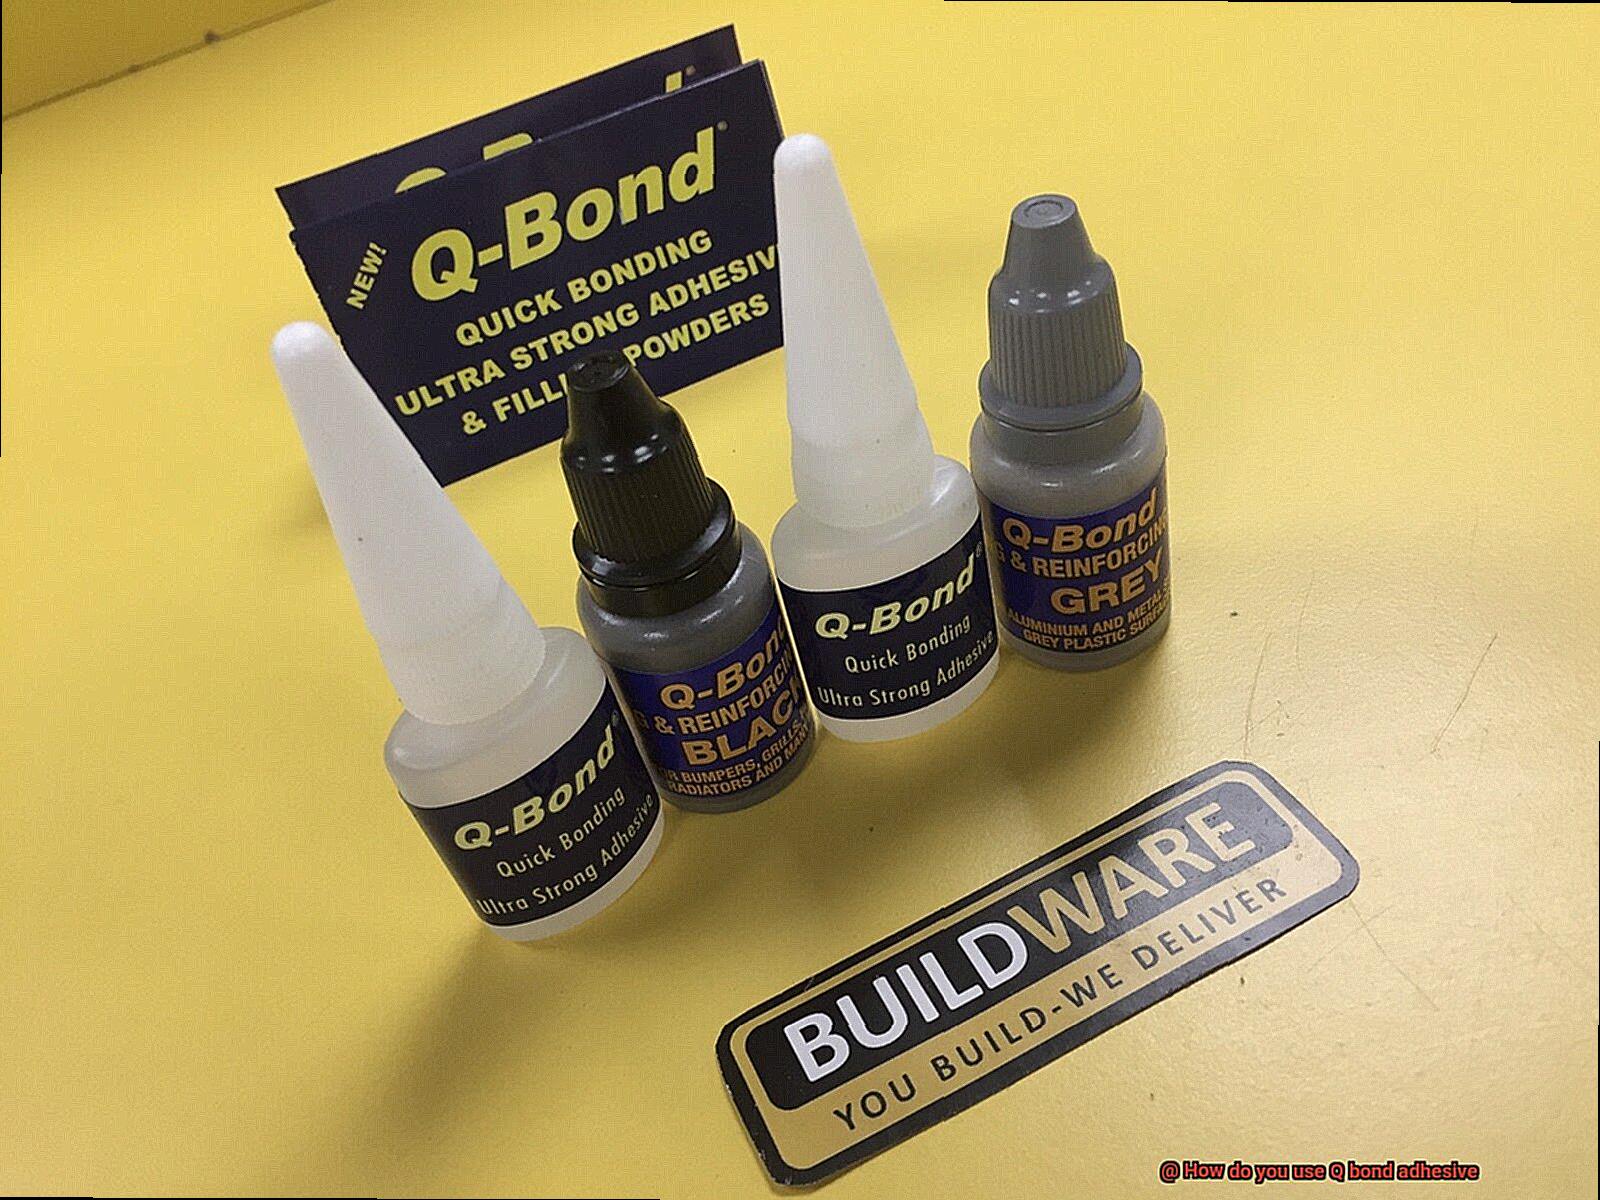
Now that your surfaces are squeaky clean, it’s time to mix the Q bond adhesive and activator. This adhesive comes in two separate bottles, each containing one component. Squeeze out equal amounts of each component onto a clean mixing surface. Take a plastic spatula or a similar tool and blend them together until they are perfectly mixed.
With the adhesive and activator combined, it’s time to apply the mixture. Grab a brush or an applicator tool and spread a thin layer of the adhesive onto one of the surfaces you want to bond. Make sure to apply it evenly for optimal results.
Once the adhesive is applied, align the two surfaces and press them firmly together. Apply constant pressure for a few minutes to ensure a strong bond. If needed, use clamps or other tools to hold everything in place while the adhesive cures.
Now comes the waiting game. The curing time for Q bond adhesive can vary depending on factors like temperature and humidity. Refer to the manufacturer’s instructions for specific curing times. Generally, you can expect full curing within 24 hours.
After applying Q bond adhesive, don’t forget to clean up any excess immediately using a solvent or acetone. This will prevent unwanted residue or marks on your bonded surfaces.
And one last thing to remember: proper storage is essential for maintaining the effectiveness and shelf life of Q bond adhesive. Keep it in a cool and dry place, away from direct sunlight or extreme temperatures.
Sprinkling the Powder Activator
Sprinkling the powder activator is a crucial step in using Q bond adhesive effectively. This magical ingredient is the Robin to Q bond adhesive’s Batman, working together to create a bond that’s as strong as steel. But what exactly is this powder activator?
The powder activator is a key component of the adhesive system. It acts as a catalyst, kickstarting the bonding process and ensuring a bond that’s durable and long-lasting. Think of it as the secret ingredient that takes Q bond adhesive to the next level.
To properly sprinkle the powder activator, it’s important to prepare the surfaces first. Clean and dry surfaces are essential for optimal adhesion. You don’t want any dirt or grease interfering with your superhero-like bonding powers.
Once your surfaces are prepped, take a small amount of the powder activator and sprinkle it directly onto one of the surfaces you want to bond. Remember, a little goes a long way – using too much can actually hinder the bonding process.
After sprinkling the powder activator, it’s time to bring in the other surface. Carefully align it with the first surface and apply gentle pressure. Hold the surfaces together for a few seconds to allow the adhesive to start working its magic.
Different adhesives may have specific instructions, so always read and follow the manufacturer’s guidelines. Some products may require a specific drying time before applying pressure, while others may have different ratios of adhesive to powder activator. So be sure to do your research and be a responsible adhesive superhero.
Pressing the Surfaces Together
Pressing the surfaces together is a crucial step in using Q bond adhesive effectively. This process ensures that the adhesive creates a strong bond between the two surfaces being joined. Let’s explore some key points to consider when pressing the surfaces together:
- Alignment: Before pressing the surfaces together, it is important to ensure that they are properly aligned. Imagine trying to fit a square peg into a round hole – it just won’t work. Take a moment to ensure that the edges and corners of both surfaces are matched up perfectly. This guarantees a tight and secure bond that can withstand even the toughest challenges.
- Apply pressure evenly: When pressing the surfaces together, it is essential to apply pressure evenly across the entire area. Uneven pressure can result in weak spots or gaps in the bond, which is definitely not what we’re going for. So be sure to distribute the pressure evenly, allowing the adhesive to spread evenly as well. This creates a bond that’s as strong as Hercules himself.
- Use clamps or weights: Depending on the size and weight of the objects you’re gluing, using clamps or weights can be a total game-changer. These trusty tools hold the surfaces in place while the adhesive dries, ensuring they don’t shift or separate during the bonding process. It’s like having your very own glue superheroes keeping everything in line.
- Follow instructions: Different adhesives may have specific instructions regarding how long and how much pressure should be applied when pressing surfaces together. It is important to read and follow these instructions carefully to achieve optimal results. The manufacturer knows best, so be sure to follow their guidance for successful bonding.
- Time and patience: After pressing the surfaces together, resist the urge to rush off and show off your newly glued creation. Take a deep breath and give the adhesive time to dry and cure properly. Patience is key here because rushing this process can weaken the bond and leave you with a less durable connection. So sit back, relax, and let that adhesive work its magic.
Strengthening the Bond with Additional Layers of Adhesive
In this comprehensive guide, we will delve into the art of augmenting the strength and resilience of your adhesive bond by incorporating additional layers of Q bond adhesive. Whether you’re a seasoned DIY enthusiast or a professional in need of a sturdy bond, this expert advice will equip you with all the necessary knowledge to create a connection that can withstand any challenge.
Step 1: Prepping for Success
Before embarking on the layering process, it is vital to ensure that the initial layer of Q bond adhesive has fully cured. While it may take around 10 minutes to cure, for optimal results, exercise patience and allow it at least an hour to cure completely. Remember, haste can be the enemy of durability.
Step 2: Sand and Shine
To establish a strong foundation for additional layers, gently sand the surface where the adhesive will be applied. This simple act roughens up the texture, amplifying the bond strength. Following this, meticulously clean the surface to eliminate any lingering dust, dirt, or grease. A pristine surface is the cornerstone of a formidable bond.
Step 3: Layer by Layer
Using either a brush or the applicator provided in your Q bond adhesive kit, apply a thin layer of adhesive onto the sanded and cleaned surface. Exercise patience and ensure even coverage for an impeccable result.
Step 4: Partial Cure and Repeat
Allow the first layer to partially cure for approximately 5 minutes until it reaches a tacky consistency. This coveted tackiness is what establishes a powerful connection with subsequent layers. Now it’s time to repeat the process for each additional layer, applying them after partial curing until you achieve your desired strength.
Step 5: Striking the Perfect Balance
Remember, more layers don’t always equate to a stronger bond. It is crucial to find the delicate equilibrium between adding enough layers for strength and preserving the bond’s integrity.
Tailor your approach according to your specific bonding requirements and the materials at hand to determine the optimal number of layers.
Step 6: Full Cure and Thorough Inspection
After applying all the layers, grant the adhesive ample time to fully cure as per the manufacturer’s instructions. Typically, this process takes several hours or even overnight. Once cured, meticulously inspect the bonded area for any imperfections or gaps. If necessary, apply additional layers or touch-ups to ensure a flawless and robust bond.
Curing Time and Avoiding Stress on Bonded Surfaces
In this journey, we will unravel the secrets behind mastering the art of achieving a robust and long-lasting bond using Q bond adhesive. By understanding the significance of curing time and stress-free surfaces, you will be equipped to elevate your adhesive application skills and triumph over any bonding challenge. Let’s dive into this fascinating world.
Curing Time: The Waiting Game
Curing time is a critical factor that should not be underestimated in adhesive application.
This period allows the adhesive to dry and harden completely, ensuring maximum strength. Temperature and humidity can influence the curing time, so it is essential to adhere to the manufacturer’s instructions for optimal results.
Patience is key here, as applying stress prematurely on bonded surfaces can jeopardize the durability of the bond.
Secure it in Place: Apply Pressure.
During the curing process, ensuring that bonded surfaces remain secure is of utmost importance. This can be achieved by using clamps or other means of applying pressure if necessary.
By doing so, you assist the adhesive in creating a firm and unwavering connection between the surfaces.
Avoid Stress, Preserve Strength
To maintain the integrity of your bond, it is crucial to avoid any unnecessary stress on the bonded surfaces during the curing period. Excessive movement or handling can disrupt the bonding process and weaken the connection. Treat your project with care, allowing it the time and space it needs to forge an unbreakable alliance.
Temperature Matters: Handle with Care
Temperature variations have a significant impact on both curing time and bond strength. Extreme temperatures can lead to rapid or delayed curing, jeopardizing the quality of the bond. It is vital to store and apply Q bond adhesive within the recommended temperature range specified by the manufacturer. By doing so, you ensure optimum bond performance.
Cleanliness is Key
Before applying Q bond adhesive, cleanliness is paramount. Ensuring that the surfaces to be bonded are free from any contaminants such as dirt, oil, or grease is crucial. Thoroughly cleaning the surfaces paves the way for a strong and enduring bond.
Refining the Bond with Sanding or Shaping
In the world of gluing and bonding, achieving a strong and seamless bond is the key to success. That’s where the magic of sanding or shaping surfaces before applying Q bond adhesive comes into play.
In this blog post, we will delve into the significance of this process, explore the techniques involved, discuss the types of materials that can be used with Q bond adhesive, and provide some expert tips for achieving a bond that will stand the test of time.
Preparing the Surfaces: The Foundation of a Strong Bond
Before diving into the application of Q bond adhesive, proper surface preparation is essential. Sanding or shaping creates a rougher texture, enhancing adhesion.
Armed with sandpaper or a sanding block, begin by eliminating any existing coatings, debris, or imperfections that may hinder the bonding process. Start with coarse grit sandpaper and gradually work your way up to finer grits for a smooth finish.
Shaping for an Enhanced Fit: Perfecting the Puzzle
Shaping surfaces is another crucial aspect of refining the bond. By altering contours or edges, you can improve the fit and create more contact points for the adhesive. Use your trusty tools like files, rasps, or rotary tools with precision to carefully shape those surfaces. Ensure proper alignment, avoiding any gaps or uneven areas that could compromise the strength of the bond.
Cleaning for Optimal Adhesion: The Clean Slate
Once sanding or shaping is complete, it’s time to clean those surfaces thoroughly. Remove any lingering dust or debris that might sabotage your efforts. A clean and dry surface is essential for optimal adhesion. Employ a clean cloth or compressed air to ensure a pristine canvas ready for bonding.
Applying Q Bond Adhesive: The Moment of Truth
With prepared surfaces in hand, it’s time to apply Q bond adhesive following the manufacturer’s instructions. Spread the adhesive evenly, avoiding excess amounts that may result in messiness or squeeze-out. To ensure the best results, clamp or hold the surfaces together firmly as recommended during the curing process.
Refining the Bond After Curing: The Finishing Touches
Sometimes, further refinement is necessary even after the adhesive has cured. Sanding or shaping can be done cautiously to perfect the appearance or fit of the bonded surfaces. Exercise skill and caution, using appropriate tools and techniques to avoid compromising the bond or creating weak spots.
Versatility of Q Bond Adhesive for Different Applications
Q Bond adhesive is the ultimate solution for all your fixing needs. This versatile adhesive is a game-changer when it comes to bonding different materials together. Let’s dive into the world of Q Bond and explore its endless possibilities.
Automotive repairs are a breeze with Q Bond adhesive. Whether you’re dealing with cracked plastic parts, bonding metal surfaces, or repairing damaged car panels, Q Bond has got your back. Its strong bond and quick curing time ensure that your car will be back on the road in no time.
And the best part? Q Bond can withstand high temperatures, water, oil, and most chemicals, guaranteeing long-lasting and durable results.
But Q Bond doesn’t stop at automotive repairs. It’s also a superhero in the world of household fixes.
From fixing broken ceramics to repairing wooden furniture, Q Bond can handle it all. Its ability to work on both porous and non-porous surfaces makes it a versatile choice for any material.
Plus, its easy sanding and painting properties mean that your repair job will seamlessly blend in with its surroundings.
Now, let’s talk about how Q Bond works its magic. This adhesive comes in a two-part system, consisting of an adhesive resin and a black reinforcing powder. Simply apply the resin to the surface and sprinkle the powder on top to create a strong bond. Within minutes, the adhesive cures and provides a reliable and permanent repair solution.
And fear not, DIY enthusiasts. Q Bond is not only effective but also safe to use. It is non-toxic and user-friendly, making it suitable for everyone from professional technicians to weekend warriors.
QD3ZRwBsJFk” >
Conclusion
Using Q bond adhesive is a straightforward process that requires just a few simple steps. To begin, ensure that the surfaces you plan to bond are clean and free of any dirt or debris. Next, apply a small amount of the adhesive to both surfaces using the provided applicator or a brush.
Then, firmly press the two surfaces together and hold them in place for a few seconds to allow the adhesive to set. Finally, let the bond cure for at least 24 hours before subjecting it to any stress or strain.
Q bond adhesive is known for its strong and durable bonds, making it suitable for a wide range of applications. Whether you need to repair broken items or create new ones, this adhesive can be relied upon to provide long-lasting results. Its versatility allows it to bond various materials such as metal, plastic, wood, ceramic, and more.
One of the key advantages of using Q bond adhesive is its quick curing time. Unlike some other adhesives that may take hours or even days to fully cure, Q bond sets rapidly, allowing you to continue with your project without unnecessary delays.
Another notable feature of Q bond adhesive is its resistance to water and extreme temperatures. Once cured, the bond created by this adhesive remains strong even when exposed to moisture or high heat. This makes it ideal for both indoor and outdoor applications where durability is crucial.
In addition to its practicality and reliability, Q bond adhesive also offers ease of use. The applicator allows for precise application of the adhesive without creating a mess or wasting any product. Furthermore, the compact size of the packaging makes it convenient to carry around and use whenever needed.
To conclude, using Q bond adhesive is a simple yet effective way to achieve strong and long-lasting bonds between various materials. With its quick curing time, resistance to water and extreme temperatures, as well as ease of use, this adhesive proves itself as a reliable choice for all your bonding needs.