Ready to take on your next woodworking project?
Contents
- 1 Preparing the Surface for Gluing
- 1.1 Step 1: Clean the Surface
- 1.2 Step 2: Remove Existing Finishes or Coatings
- 1.3 Step 3: Smooth Out Rough Areas
- 1.4 Step 4: Ensure Surface Dryness
- 1.5 Step 5: Fit Pieces Together Tightly
- 1.6 Step 6: Consider Using a Primer or Wood Conditioner
- 1.7 Step 7: Follow Application Instructions
- 1.8 Step 8: Test Compatibility
- 2 Stirring the Glue for Consistency
- 3 Applying the Glue to the Surface
- 4 Pressing and Clamping the Pieces Together
- 5 Drying Time of Elmer’s Carpenter’s Wood Glue
- 6 Removing Excess Glue After It Dries
- 7 Safety Precautions When Using Elmer’s Carpenter’s Wood Glue
- 8 Cleaning Up with Water
- 9 Conclusion
Look no further than Elmer’s Carpenter’s wood glue – the ultimate adhesive for bonding and strengthening your wooden creations. In this blog post, we’ll walk you through the process of using this trusted and reliable glue.
First things first, make sure those surfaces are squeaky clean, free from any dust or grease. Then, apply a thin layer of glue to one surface and press those pieces together with all your might.
Give it some time to dry (we know, patience is not always our strong suit). For optimal results, grab those clamps and keep the pieces tightly held together until they’re completely dry.
With these simple steps and a little bit of elbow grease, you’ll be amazed at what you can achieve with Elmer’s Carpenter’s wood glue.
Preparing the Surface for Gluing
When it comes to woodworking projects, choosing the right adhesive is crucial for ensuring a durable and long-lasting bond. Elmer’s Carpenter’s wood glue is a favorite among DIY enthusiasts and professionals alike.
However, to achieve optimal results, proper surface preparation is key before applying the glue.
In this comprehensive guide, we will take you through the steps of preparing the surface for gluing, providing expert tips and tricks to help you achieve consistently strong bonds.
Step 1: Clean the Surface
To begin, thoroughly clean the surface you plan to glue. Rid it of any dust, dirt, or grease using a mild detergent and water solution. This step is vital as it enhances the glue’s adherence, leading to a stronger bond.
Step 2: Remove Existing Finishes or Coatings
If there are any existing finishes or coatings on the surface, such as paint or varnish, it is essential to remove them prior to gluing. Depending on the type of finish, use sandpaper or a chemical paint remover to ensure a clean and bare surface that promotes optimal adhesion.
Step 3: Smooth Out Rough Areas
Achieve a better bonding surface by smoothing out any rough or uneven areas on the surface using sandpaper. This step eliminates potential weak spots in the bond and provides an overall stronger foundation.
Step 4: Ensure Surface Dryness
Before applying the glue, ensure that the surface is completely dry. Excessive moisture can compromise the adhesive properties of the glue and weaken the bond. Allow ample drying time after cleaning or any previous treatments.
Step 5: Fit Pieces Together Tightly
For gluing two pieces of wood together, it is crucial to ensure a tight fit. Secure the pieces in place using clamps or weights while the glue dries. This added pressure guarantees a strong bond that will withstand the test of time.
Step 6: Consider Using a Primer or Wood Conditioner
When working with porous woods or materials with high moisture content, consider using a primer or wood conditioner before applying the glue. This step enhances adhesion and strengthens the bond, ensuring a reliable result.
Step 7: Follow Application Instructions
Always refer to the instructions provided on the Elmer’s Carpenter’s wood glue bottle for specific guidance on application and drying times. Prioritize stirring the glue well before use to achieve the desired consistency.
Step 8: Test Compatibility
Before applying the glue to the entire surface, conduct a compatibility test on a small area. This step ensures that the glue adheres well to your specific material and helps you assess its performance.
Stirring the Glue for Consistency
In the world of woodworking, where strength and durability are paramount, the glue you choose can determine the success or failure of your creations. Elmer’s Carpenter’s wood glue has earned a reputation as a superhero adhesive, capable of forging unbreakable bonds.
But before you embark on your woodworking project, there is one crucial step you must not overlook: stirring the glue for consistency.
In this comprehensive guide, we will delve into the importance of stirring and provide step-by-step instructions on how to achieve the perfect glue consistency.
Why Stirring is Vital:
- Ensuring Uniform Distribution: The key to a robust bond lies in thoroughly mixing all the components of the glue. Elmer’s Carpenter’s wood glue, with its liquid form, is susceptible to settling or separation over time. By stirring, you guarantee that every particle is evenly distributed, resulting in a bond that can withstand the test of time.
- Banishing Air Bubbles: Like tiny saboteurs, air bubbles can undermine even the strongest adhesive. Stirring the glue diligently helps to eliminate these potential weak spots that may have formed during storage or transportation. By removing air bubbles, you fortify the overall strength of the adhesive, ensuring your woodworking project remains unyielding.
Mastering the Art of Stirring:
- Assemble Your Arsenal: Prepare yourself with a clean and dry stirring tool – whether it be a trusty wooden stick or a reliable plastic spatula.
- Dance with Grace: Insert your chosen tool into the glue container and execute a gentle swirling motion. Ensure that your dance reaches every nook and cranny of the container, from its bottom to its sides. This elegant motion allows for thorough mixing without introducing unwanted air into the mixture.
- Beware Overzealous Stirring: Like a maestro conducting an orchestra, it is crucial to strike the perfect balance. Vigorous stirring may lead to the creation of additional air bubbles, sabotaging your efforts. Remember, a gentle swirl is all it takes to achieve the desired consistency.
- The Art of Adjustment: Should the glue appear too thick or lumpy, fear not. You possess the power to adjust its consistency. Adding a small amount of water can help thin it out, but tread cautiously. Always refer to the manufacturer’s instructions and never exceed the recommended water-to-glue ratio.
- Seal the Fate: After completing your stirring masterpiece, remember to seal the glue container tightly. This final act prevents drying or evaporation, ensuring that your adhesive remains in prime condition for future projects.
Applying the Glue to the Surface
In this article, we will walk you through the steps necessary to ensure your glue application is top-notch, allowing your projects to stand the test of time. So grab your apron, roll up your sleeves, and let’s dive into the art of applying glue to the surface.
Step 1: Prepare Like a Pro
Before embarking on the gluing process, take a moment to meticulously prepare your surfaces. Cleanliness is key to achieving a solid bond, so ensure they are clean, dry, and free from any debris or dust. Grab that trusty brush and diligently sweep away any obstructions, leaving your surfaces primed for gluing.
Step 2: The Power of Pressure
To maximize the strength of your bond, unleash the power of pressure. Consider utilizing clamps or other methods to apply even pressure while the glue dries. This technique will securely hold the surfaces in place, preventing any unwanted movement during the drying process. It’s like giving your bond an extra boost.
Step 3: Shake It Up.
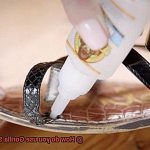
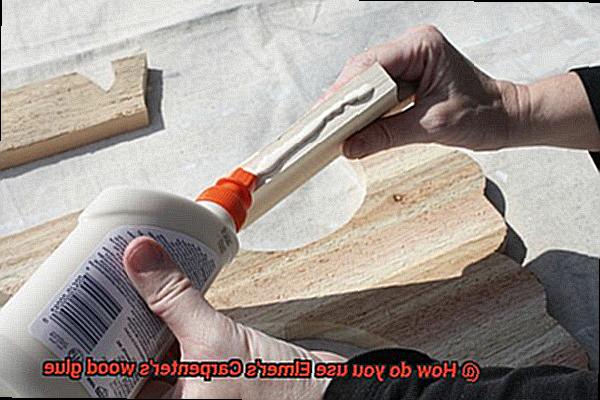
Give that bottle of Elmer’s Carpenter’s wood glue a vigorous shake before opening it. By doing so, you ensure that all the components are thoroughly mixed and ready for action. Now, with precision and confidence, gently squeeze the glue onto one of the surfaces you’re bonding. Remember, for optimal results, a thin and even layer is recommended. However, rough or porous surfaces may require a slightly thicker layer.
Step 4: Smooth Operator
After applying the glue, channel your inner maestro and swiftly spread it out over the surface using a brush or putty knife. This step guarantees comprehensive coverage, ensuring that every part is treated with the adhesive. Be swift, though, as Elmer’s Carpenter’s wood glue dries relatively fast, and timing is of the essence.
Step 5: The Perfect Union

Now, with unwavering precision, carefully align and press the two surfaces together, applying firm and even pressure. This crucial step ensures maximum contact between the surfaces, ultimately strengthening the bond. If clamps are part of your arsenal, tighten them just enough to hold the surfaces firmly but avoid over-tightening, which can result in excess glue being squeezed out.
Step 6: Cleanliness is Next to Bondliness
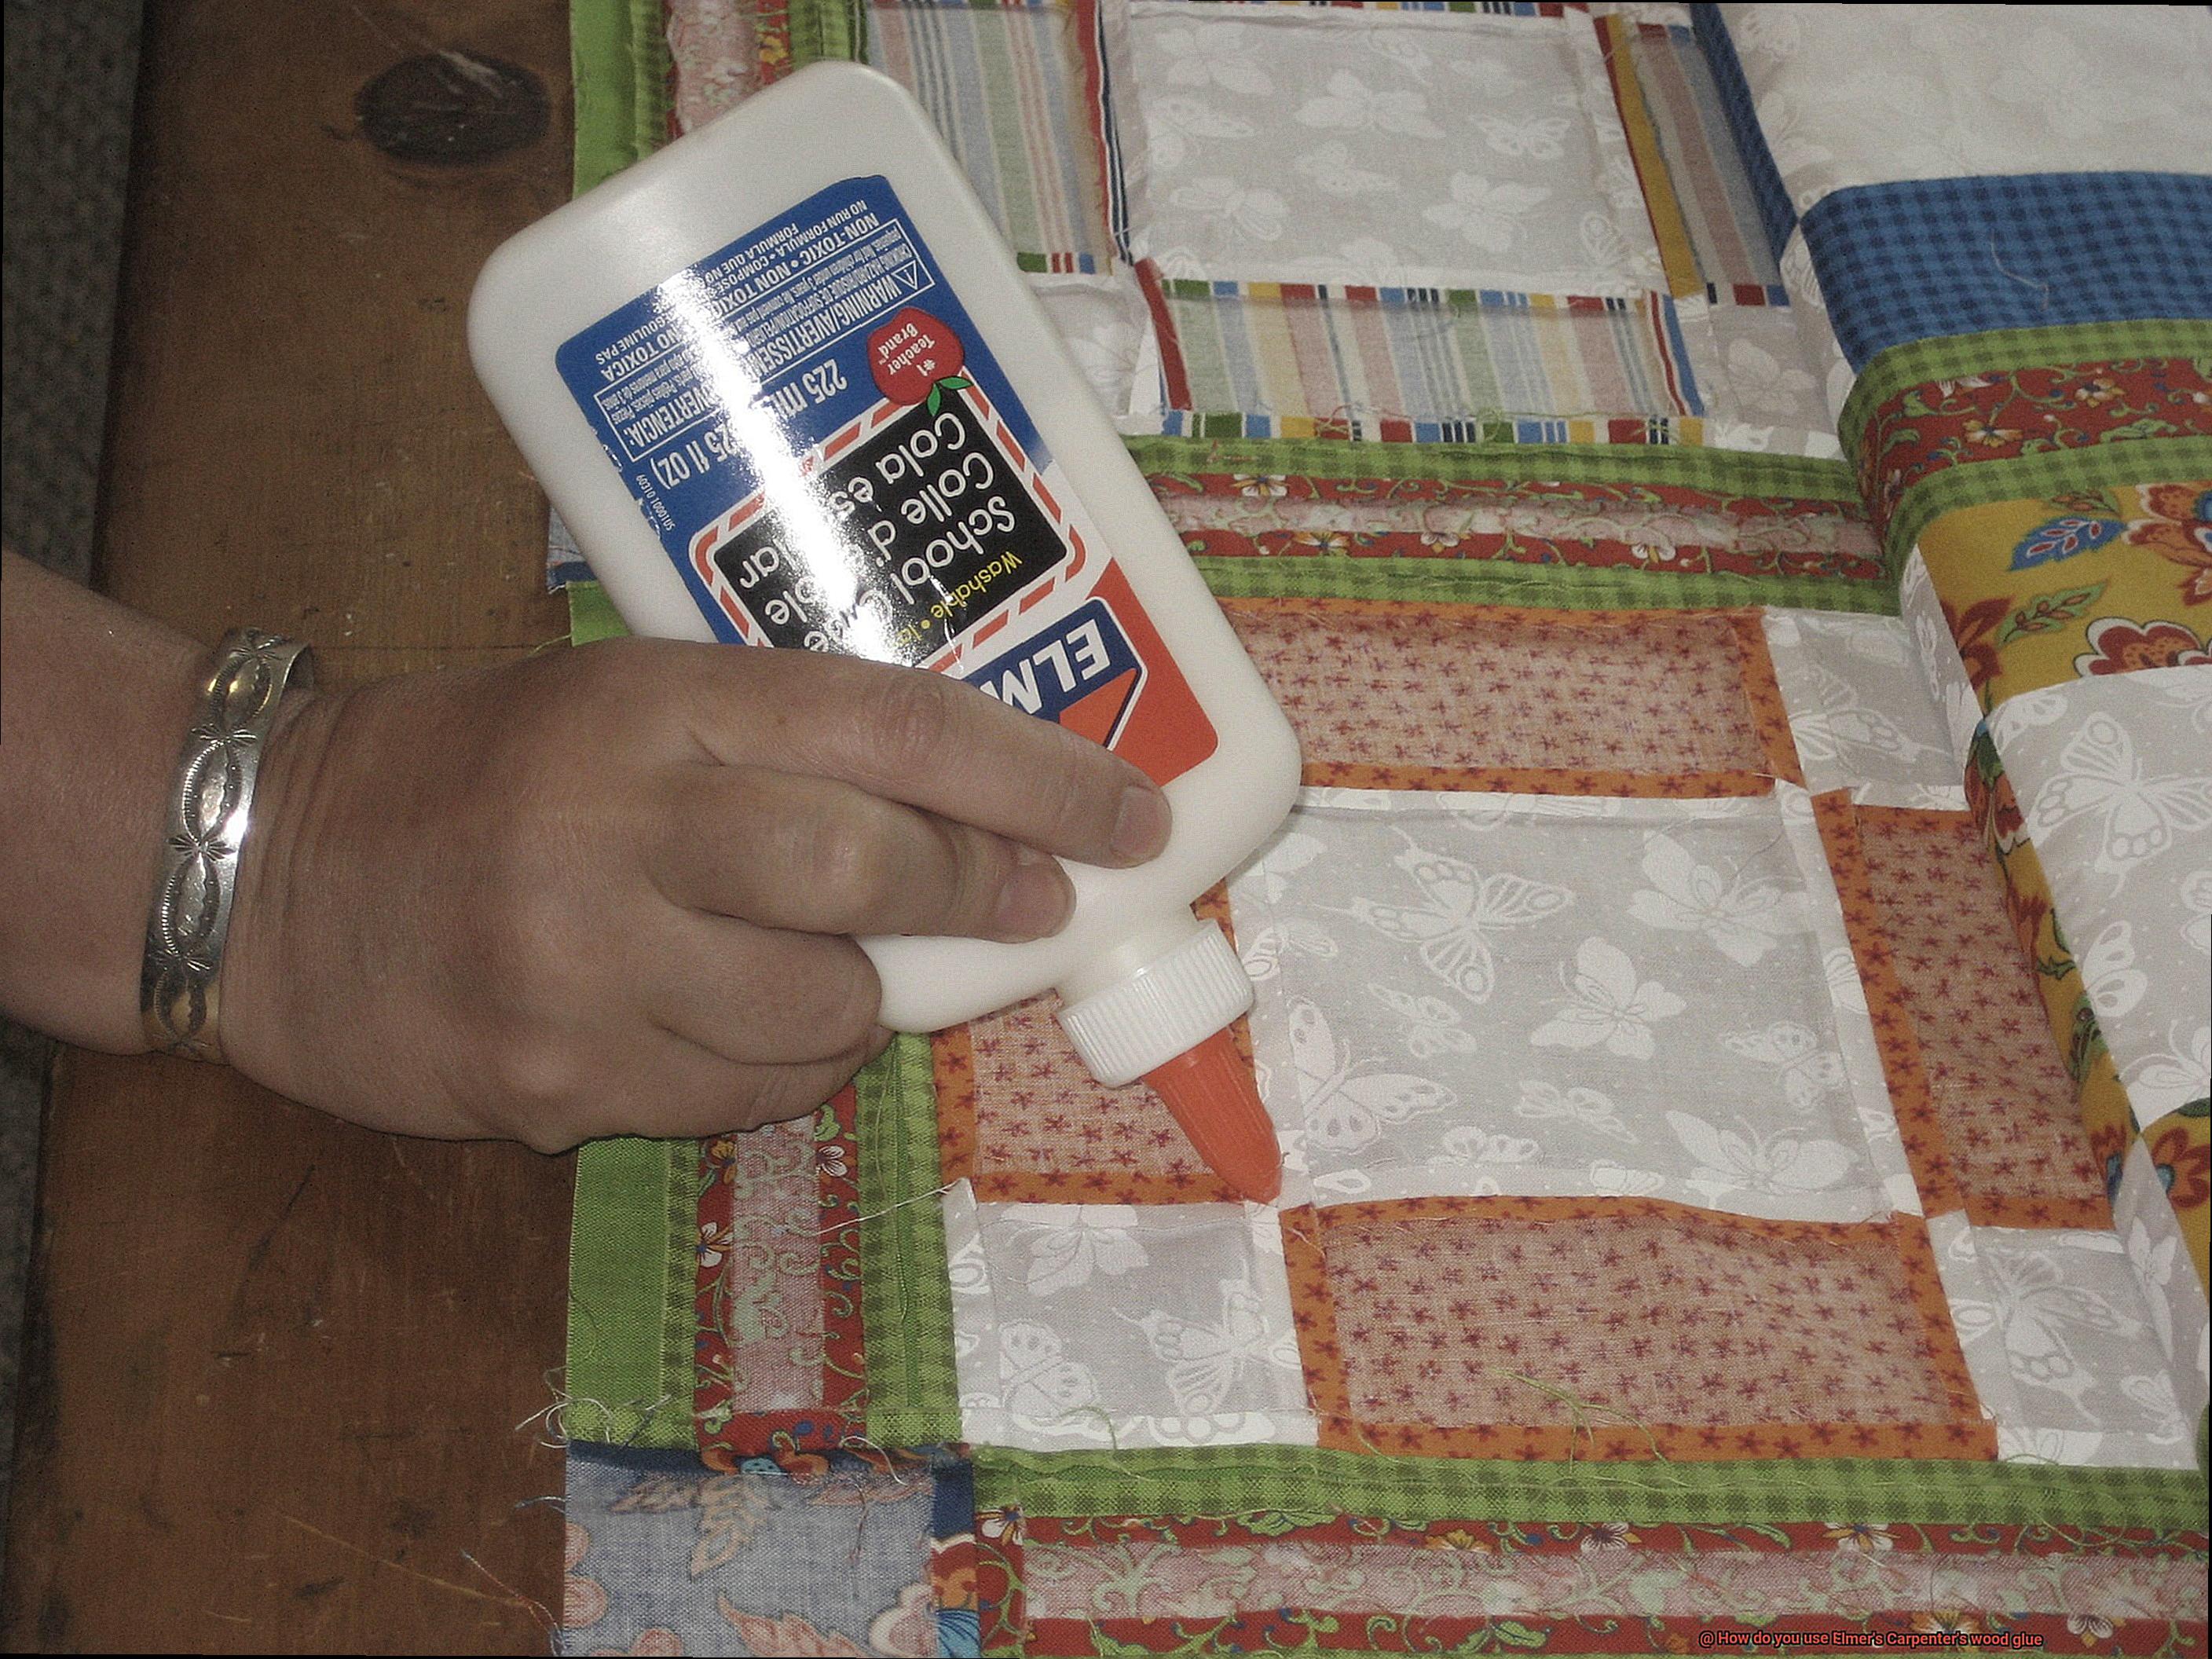
Remember to promptly clean up any excess glue with a damp cloth or sponge before it dries. Elmer’s Carpenter’s wood glue is water-soluble when wet, making cleanup a breeze. However, once it dries, removing excess glue becomes more challenging and may require sanding or scraping. So act swiftly to maintain a clean and professional finish.
Pressing and Clamping the Pieces Together
In this guide, we will explore the process of using Elmer’s Carpenter’s wood glue to achieve a bond that’s as strong as Hercules himself.
To start off, let’s prepare our surfaces. Just like a clean canvas sets the stage for a masterpiece, clean and dry wood surfaces are essential for a successful bond. Grab a damp cloth and wipe down those surfaces, removing any pesky dust or debris. Take your time and let them air dry completely – these extra minutes will pay off in the end.

Now it’s time to dive into Elmer’s Carpenter’s wood glue, the superstar of adhesives. This remarkable glue spreads like butter and dries clear, ensuring a flawless finish every time. Grab a brush or spreader and apply a thin, even layer of glue to one of the surfaces. No need to go overboard here – too much glue can create a mess and weaken the bond we’re after.
With our glue applied, it’s time for the magic moment – joining our pieces together. Take your time with this step and ensure everything lines up perfectly. If adjustments or alignments are needed, now is the time to make them. Remember, precision is key.
Now comes the crucial step of applying pressure to create that rock-solid bond. Enter the clamps. Strategically place them along the glued joint, ensuring equal pressure across the entire surface. But hold your horses. Don’t overtighten those clamps – we want a strong bond without any weak spots or excess glue oozing out. To protect your precious wood surface from clamp jaws, consider using scrap pieces of wood or protective pads. Safety first, my friends.
With our clamps in place, it’s time to let the glue work its magic. Check the packaging for the recommended drying time and be patient. This is where anticipation builds. Resist the urge to disturb your glued pieces during this crucial period. Keep them stable and undisturbed on a flat, level surface. Trust me, it’s worth the wait.
Once the recommended drying time has elapsed, it’s time to free your creation from its clamping prison. Carefully remove the clamps and inspect that bond with a keen eye. If you spot any gaps or weak spots, don’t worry – it’s not the end of the world. Simply reapply some glue, repeat the pressing and clamping process, and you’ll be good to go.
Drying Time of Elmer’s Carpenter’s Wood Glue
We’ve all been there, eagerly anticipating the moment when our adhesive bonds solidify and our projects take shape. In this guide, we will delve into the world of Elmer’s Carpenter’s wood glue and unlock the secrets to achieving optimal drying results.
Temperature is a key player in the drying time of Elmer’s Carpenter’s wood glue. As temperatures rise, the glue molecules become energized, facilitating the evaporation of moisture and accelerating the drying process. So, if you’re working in a chilly workshop, consider adding a touch of warmth by using a space heater or placing your project near a cozy heat source. This little trick will hasten the drying time and bring your creations to life even faster.
But beware. Humidity can either be your ally or your foe when it comes to drying time. Excessive moisture in the air can impede evaporation and prolong the drying process. If you find yourself in a humid environment, fret not. You can combat this challenge by employing a trusty dehumidifier or setting up fans to enhance air circulation. These tactics will ensure that your wood glue dries promptly, allowing you to move on to the next stage of your masterpiece.
The quantity of glue applied also affects drying time. It’s essential to strike a balance between too little and too much glue. A meager amount may result in feeble bonds, while an excess can lead to messy oozing and extended drying time. The secret lies in applying a thin, even layer of glue, ensuring optimal adhesion and efficient drying. This delightful equilibrium will guarantee that your projects stay intact while avoiding any sticky situations.
Now that we’ve unraveled the mysteries behind drying time, it’s time for some bonus tips to enhance your wood glue experience:
- Follow the manufacturer’s instructions: Each brand may have specific recommendations for application and drying time. Adhering to these guidelines will guarantee the best results for your project.
- Clean surfaces thoroughly: Before applying glue, ensure that your wood surfaces are pristine, free from dust and debris. This immaculate canvas will lay the foundation for a robust bond and seamless drying.
- Embrace the power of clamps and pressure: During the initial drying period, consider using clamps or applying gentle pressure on the glued surfaces. This technique will forge a sturdy bond and minimize any risk of separation.
- Patience is key: Allow sufficient drying time for your wood glue to work its magic. Rushing the process may compromise the integrity of your project. So sit back, relax, and let time do its thing.
- Tidy up before it dries: Elmer’s Carpenter’s wood glue is water-based, offering a convenient advantage. You can effortlessly clean up any excess glue with water before it dries, maintaining a polished and professional finish.
Removing Excess Glue After It Dries
Fortunately, there are several effective methods to tackle this issue and achieve a clean and professional finish.
One method is to use a sharp chisel or scraper, particularly useful when working with wood. Gently scrape off the dried glue, taking care not to damage the surrounding wood. Controlled movements and patience are key to avoiding any mishaps.
Another option is to employ sandpaper or a sanding block. Start with coarse grit sandpaper and gradually progress to finer grits until the glue is completely removed. This technique works wonders on wood surfaces, but may not be suitable for other materials.
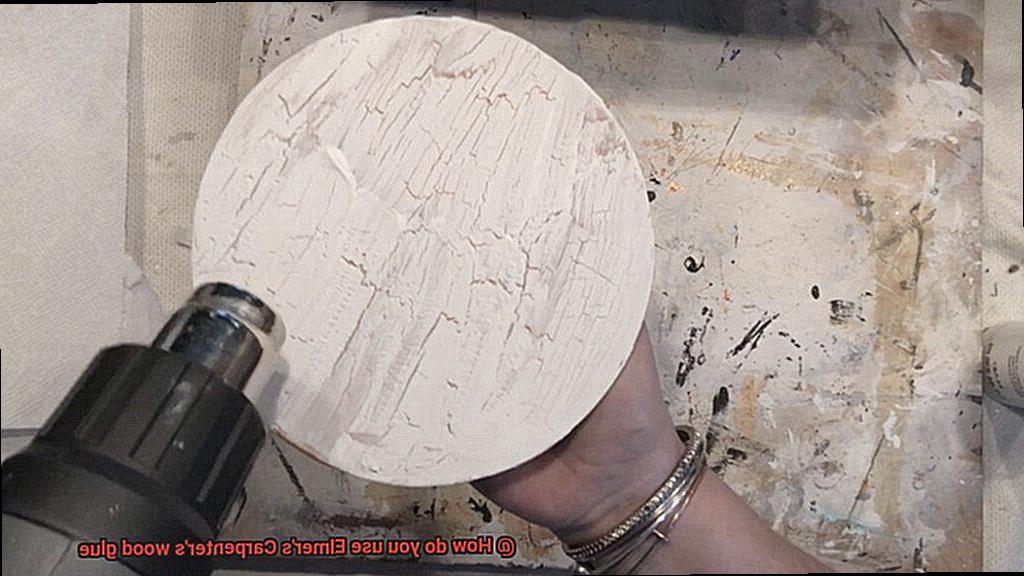
For stubborn glue residue, applying heat can prove helpful. A hairdryer or heat gun on low heat can soften the dried glue, making it easier to remove. Once softened, gently scrape or sand off the glue and reveal a clean surface.
Specialized glue removers are available for surfaces like fabric or plastic, where scraping or sanding may not be viable. These removers are designed to dissolve and eliminate dried glue without causing any damage. Always follow the instructions provided on the product for optimal results.
After removing the excess glue, it’s crucial to clean the area with a damp cloth or sponge to ensure no residue remains. Before attempting any glue removal method, it’s wise to test it on a small, inconspicuous area first to prevent any potential damage.
Prevention is key in avoiding excess glue altogether. Apply an appropriate amount of glue and wipe away any excess before it dries. Using clamps or other methods to hold materials together during the drying process can also help minimize excess glue.
Safety Precautions When Using Elmer’s Carpenter’s Wood Glue
Woodworking projects are both challenging and rewarding, but safety should always be the top priority. When working with Elmer’s Carpenter’s wood glue, it is important to take certain precautions to ensure a safe and enjoyable experience. In this article, we will discuss essential safety guidelines to follow when using this adhesive.
Read and Follow Instructions:
Start by carefully reading and following the manufacturer’s instructions provided with the wood glue. These instructions contain specific safety information and usage guidelines that must be followed for your safety.
Work in a Well-Ventilated Area:
Ensure you work in a well-ventilated area when using Elmer’s Carpenter’s wood glue. The fumes emitted can be strong, so open windows or use exhaust fans to improve air circulation. Fresh air will help minimize your exposure to these fumes.
Protect Your Skin and Eyes:
To protect your skin, wear gloves when handling the glue. In case of accidental contact, wash the affected area immediately with soap and water. It is also crucial to shield your eyes by wearing protective goggles or glasses. If any glue comes into contact with your eyes, rinse them thoroughly with water and seek medical attention if necessary.
Avoid Inhaling Fumes:
To minimize inhalation of glue fumes, especially in enclosed spaces, wear a mask or respirator designed for chemical fumes. This precaution is particularly important if you are working with wood glue for an extended period.
Keep Out of Reach of Children and Pets:
Store Elmer’s Carpenter’s wood glue in a secure location where it cannot be accessed by children or pets. The glue is not meant to be ingested and can be harmful if swallowed. Ensure that it is safely stored away from curious hands or paws.
Promptly Clean Up Spills:
Accidental spills happen, but it is important to clean them up promptly. Wipe away any excess glue with a damp cloth or sponge before it dries and becomes sticky, potentially causing accidents. Always keep your work area clean and tidy to avoid slips or falls.
Proper Disposal:
Dispose of any unused or expired wood glue according to local waste disposal guidelines for chemical products. Do not pour the glue down the drain or throw it in the regular trash. Follow the recommended procedures to ensure environmental safety.
Cleaning Up with Water
Woodworking projects are a source of excitement and fulfillment, but let’s face it – gluing wooden pieces together can sometimes lead to sticky situations. Fortunately, Elmer’s Carpenter’s wood glue is here to save the day.
One of the many advantages of this popular adhesive is its ability to be easily cleaned up with water. So, if you find yourself in a glue predicament, worry not. I am here to guide you through the process of cleaning up Elmer’s Carpenter’s wood glue with water.
First things first, before diving into the cleanup process, make sure to allow the glue to dry completely. This may require some patience as it typically takes around 24 hours for the glue to fully set and create a strong bond between the wood pieces. Once it is dry, it’s time to use water to remove any excess or spilled glue.
To kickstart the cleanup process, gather some clean water and a trusty damp cloth or sponge. Dampen the cloth or sponge with water and gently dab it onto the glued area. Remember, our goal is not to rub the glue as this may spread it around and make our cleanup job even more challenging.
As you dab the glued area with water, you’ll notice that the glue starts to soften and become more pliable. At this point, it’s time to bring in your fingers or a scraper tool. Carefully scrape away the softened glue, being mindful not to apply too much pressure that could potentially damage the wood surface.
Don’t be discouraged if you don’t remove all traces of glue in one go. Sometimes, a little persistence is needed. So keep dabbing with water and scraping until your wood surfaces are gleaming and free from any remnants of glue. Depending on the amount of glue present, you might need to repeat this process multiple times – but hey, it’s all part of the woodworking journey.
Once you have successfully removed all the excess glue, give yourself a pat on the back. But hold on, we’re not done just yet. Take a clean, dry cloth and wipe down the area to remove any remaining moisture. This final step ensures that your wood surfaces are left clean and ready for your next woodworking adventure.
It’s important to note that while Elmer’s Carpenter’s wood glue can be easily cleaned up with water, it’s always best to prevent spills and excess glue in the first place. So use the glue sparingly and apply it accurately to avoid any unnecessary cleanup headaches.
Conclusion
To effectively utilize Elmer’s Carpenter’s wood glue, follow these simple steps:
- Prepare the surfaces: Ensure that the wood surfaces you plan to bond are clean, dry, and free from any dust or debris. This will guarantee a strong and durable bond.
- Apply the glue: Squeeze a generous amount of Elmer’s Carpenter’s wood glue onto one of the surfaces. The adhesive is thick and viscous, making it easy to control and apply exactly where you need it.
- Spread evenly: Use a brush or spreader to evenly distribute the glue over the entire surface. This ensures that every inch is covered with a thin, even layer of adhesive for optimal bonding.
- Join the pieces: Press the two surfaces together firmly and hold them in place for a few minutes to allow the glue to set. The strong initial tack of Elmer’s Carpenter’s wood glue means you won’t have to worry about your project falling apart.
- Clamp if necessary: For larger or more complex projects, consider using clamps to hold the pieces together while the glue dries completely. This will provide additional support and ensure a secure bond.
- Clean up excess glue: Wipe away any excess glue with a damp cloth before it dries. Once dried, Elmer’s Carpenter’s wood glue becomes transparent, so any residue left behind will be noticeable.
- Allow drying time: Give your project ample time to dry and cure completely before subjecting it to stress or pressure. Follow the instructions on the bottle for recommended drying times based on your specific application.