A true champion in the world of construction. But let’s face it, getting old and new concrete surfaces to stick together like glue can be a real head-scratcher. Fear not, my friend. That’s where our hero, concrete bonding adhesive, swoops in to save the day.
Concrete bonding adhesive, also known as the magical elixir of adhesion or the secret sauce for success, is a specialized substance that works wonders in creating a chemical bond between existing and fresh concrete surfaces. With its superpowers, this adhesive takes your concrete game to a whole new level.
Imagine repairing cracks with ease, breathing life into worn-out concrete, or even constructing new structures with confidence. Concrete bonding adhesive does all that and more. It boosts strength like a superhero pumping iron at the gym, fights off delamination like a knight protecting his castle walls, and shields against moisture like an umbrella on a rainy day.
This incredible adhesive isn’t just limited to one trick either. It can tackle a variety of projects like a jack-of-all-trades. From fancy concrete overlays to patching up imperfections with finesse, from installing tiles like an artist to anchoring heavy machinery like a boss – this adhesive does it all.
So buckle up and get ready for an adventure as we dive into the nitty-gritty of using concrete bonding adhesive. We’ll walk you through the essential steps and sprinkle some expert tips along the way so you can unleash its full potential. Get ready to conquer your concrete dreams and achieve mind-blowing results.
Stay tuned because we’re about to reveal the secrets behind this vital aspect of construction that’ll leave you feeling like you’ve discovered buried treasure. Let’s make some magic happen together.
What is Concrete Bonding Adhesive?
Contents
Concrete bonding adhesive is a powerful glue designed specifically for bonding concrete surfaces together. It creates a chemical bond between existing concrete and new materials, ensuring a secure and long-lasting connection. This adhesive enhances adhesion by filling in imperfections and pores on the concrete surface, providing a smooth foundation for the new material to adhere to.
Here are key points about concrete bonding adhesive:
- Types: Concrete bonding adhesive comes in liquid, paste, and spray forms. The choice depends on the project, materials, and personal preference.
- Surface Preparation: Proper preparation is crucial. Clean the surface, removing dirt and debris with a wire brush or broom. Use a degreaser for oil or grease stains.
- Application: Apply the adhesive evenly using a brush, roller, or sprayer, making sure to cover the entire area to be bonded.
- Drying Time: Allow the adhesive to become tacky before proceeding, usually within 15-30 minutes. Test by lightly touching it; if it feels sticky but doesn’t transfer, it’s ready.
- Bonding Surfaces: Firmly press the surfaces together once the adhesive is tacky. Apply even pressure across the entire area for a strong bond. Use additional support like clamps or braces for larger objects until the adhesive cures.
- Curing Time: Let the adhesive cure for at least 24 hours before subjecting it to stress or load. Follow manufacturer’s instructions for specific curing times.
- Storage: Store adhesive in a cool, dry place away from sunlight and extreme temperatures to maintain effectiveness and prolong shelf life.
Preparing the Surface for Bonding
Preparing the surface for bonding is a vital step in using concrete bonding adhesive effectively. It sets the foundation for a strong and durable bond between the existing surface and the new layer of concrete or other materials. By following the proper surface preparation techniques, you can enhance adhesion, minimize the risk of bond failure, and ensure the longevity of the bonded area.
To begin, it is crucial to thoroughly clean the surface. Dust, dirt, grease, or any other contaminants can hinder the bonding process. Use a broom or vacuum cleaner to eliminate loose debris. Then, employ a mild detergent or degreaser to scrub away stubborn stains or grease spots. Rinse the area with water and allow it to fully dry before proceeding.
Once the surface is clean, it is important to address any weak areas. Utilize a wire brush or chisel to scrape away peeling paint, crumbling concrete, or loose particles. This step establishes a solid foundation for the adhesive and prevents future issues such as cracks or delamination. A strong bond starts with a sturdy surface.
Next, consider roughening the surface. This is especially crucial when working with smooth or non-porous surfaces like glazed tile or polished concrete. You can achieve this by sanding, shot blasting, or grinding to create a rough texture that promotes better bonding. Think of it as giving the adhesive something to grip onto.
After roughening the surface, make sure to remove any dust or debris created during the process. These sneaky particles can compromise your bond. A trusty vacuum cleaner or compressed air can come to your rescue here.
In some cases, pre-wetting the surface may be necessary. This is particularly true when dealing with highly absorbent surfaces like porous concrete. Spraying water onto the surface just before applying the adhesive helps control the absorption rate and prevents the adhesive from losing its bonding powers too quickly. We want that adhesive to stick around for a while.
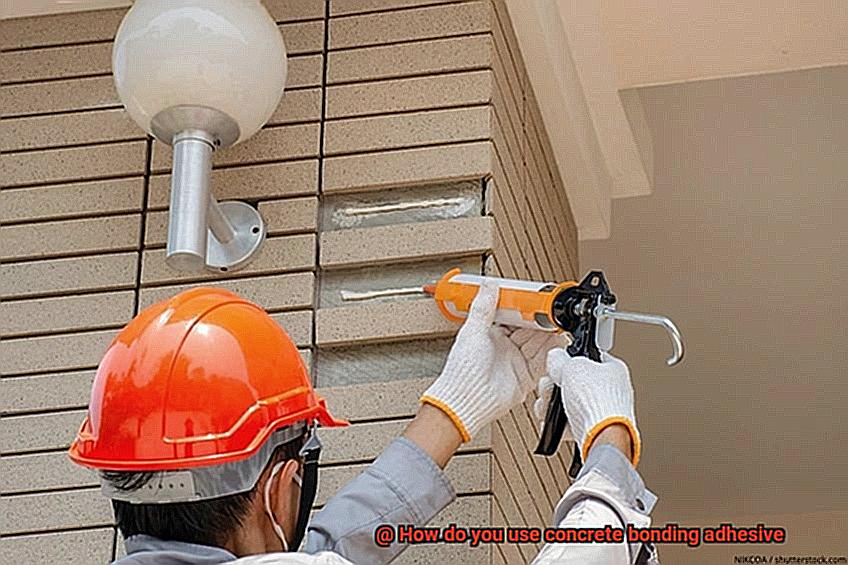
Now that you’ve prepped the surface like a pro, it’s time to apply the concrete bonding adhesive. Follow the manufacturer’s instructions for mixing and applying the adhesive. Use a brush or trowel to spread a thin and even layer onto the prepared surface. Uniformity is key for proper coverage.
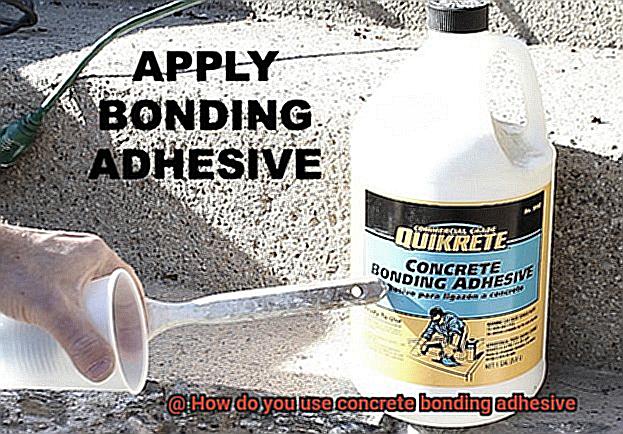
It’s important to note that different types of concrete bonding adhesives may have specific requirements for surface preparation. Always refer to the product’s instructions and recommendations for the best results. Think of it as following the superhero’s secret recipe for success.
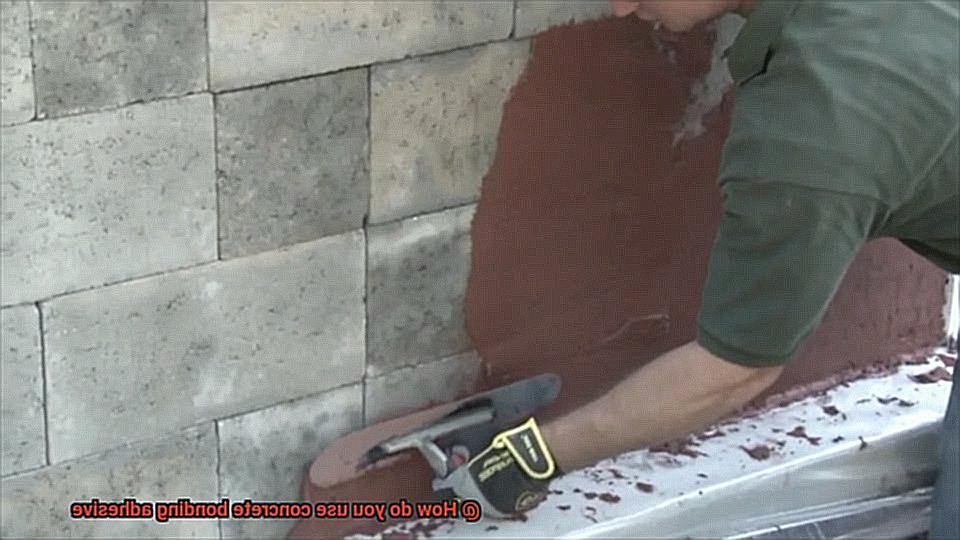
Applying the Adhesive
Applying the adhesive is an essential step in bonding concrete surfaces together, ensuring a durable and long-lasting connection. To achieve optimal results, it is crucial to follow a comprehensive guide that covers all aspects of the application process.
The first step in applying the adhesive is surface preparation. This involves thoroughly cleaning the surface to remove any loose debris, dirt, or contaminants. A stiff brush or pressure washer can be used to effectively clean the surface. It is important to ensure that the surface is completely dry before proceeding to the next step.
Safety precautions should always be prioritized when working with adhesives. Protective gloves and goggles should be worn to safeguard against potential splashes or spills.
When it comes to applying the adhesive, it should be done with an even and generous distribution. A brush or roller can be used for this purpose. Starting from one end of the surface and working towards the other, complete coverage should be ensured. Edges and corners should receive special attention to guarantee a secure bond.
Different adhesives may have specific temperature requirements, so it is crucial to carefully read and follow the manufacturer’s instructions. These instructions may include information on temperature range, drying time, and any special considerations for the specific adhesive being used.
After applying the adhesive, it is important to allow it to dry for the recommended amount of time before proceeding with further construction steps. The drying time can vary depending on factors such as the adhesive used, humidity levels, and temperature conditions.
Prompt clean-up of any excess adhesive or spills is essential to prevent unwanted residue and ensure a clean finish. A solvent recommended by the adhesive manufacturer should be used for this purpose.
In some cases, multiple coats of adhesive may be necessary, especially when bonding thick concrete surfaces or as instructed by the manufacturer. The number of coats required should be followed according to the manufacturer’s instructions.
Proper storage of the adhesive is crucial for maintaining its effectiveness. It should be stored in a cool and dry place, away from direct sunlight or extreme temperatures. The manufacturer’s recommendations for storage conditions should be followed.
Testing if the Adhesive is Ready
Testing if the adhesive is ready is a critical step in using a concrete bonding adhesive. It ensures that the adhesive has reached its optimal curing point and will create a strong and durable bond between surfaces. To determine if the adhesive is ready, there are several steps and guidelines to follow.
Firstly, it is crucial to carefully read and understand the manufacturer’s instructions before applying the adhesive. Different adhesives have different curing times and application methods, so it is essential to know the specific requirements for the adhesive being used.
One method to test if the adhesive is ready is by performing a tack test. Lightly touch the adhesive with a finger or a gloved hand. If the adhesive feels sticky or tacky to the touch, it is not yet ready for bonding. Wait until it no longer feels sticky before proceeding.
Another method is to conduct a pull test. Apply a small amount of force on the adhesive bond and check if it holds firmly. If the bond easily breaks or separates, it indicates that the adhesive is not yet ready for use.
Factors such as temperature, humidity, and substrate type can affect curing time. Adhesive manufacturers usually provide guidelines regarding curing times, so it is advisable to refer to these recommendations.
Allow sufficient curing time for the adhesive before subjecting it to any stress or load. Prematurely applying stress to the bond can result in weak adhesion and compromised durability. Follow the recommended curing time provided by the manufacturer.
In some cases, adhesives may require additional curing time before they reach their maximum strength. This can be determined by consulting the manufacturer’s instructions or performing further tests such as a hardness test.
When testing if the adhesive is ready, it is important to take safety precautions. Perform the tests in a well-ventilated area and use proper protective equipment if necessary. Some adhesives may emit fumes or have specific safety requirements.
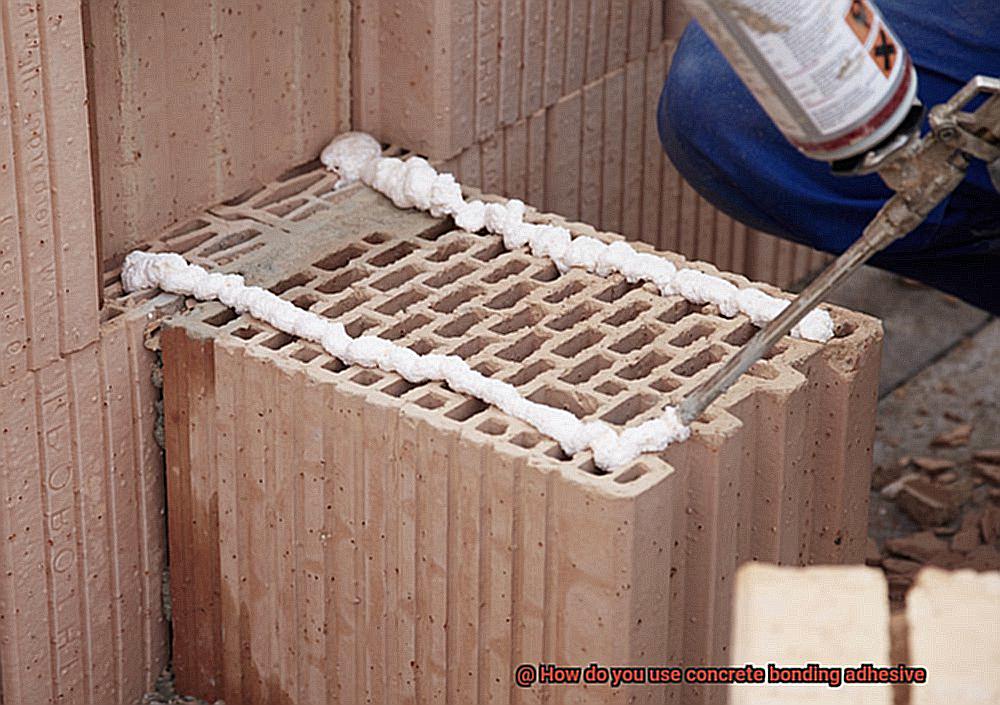
If the adhesive does not cure properly or does not meet the desired strength requirements, it may be necessary to remove and reapply the adhesive. Follow the proper removal procedures recommended by the manufacturer.
Pressing the Surfaces Together
Pressing the surfaces together is a crucial step when using concrete bonding adhesive. It is the key to achieving a strong and durable bond that will stand the test of time. Without applying pressure, the bond may not be as secure, leaving you with a subpar result.
To ensure the best outcome, follow these step-by-step guidelines:
- Prepare the surfaces: Before applying the adhesive, take the time to thoroughly clean the surfaces. Remove any dirt, dust, or debris that may hinder the bond. A brush or vacuum can help eliminate loose particles. Additionally, if there are any uneven areas or gaps, consider using a leveling agent or fillers to create a smooth and even surface.
- Apply the adhesive: Using a brush or roller, apply a thin layer of adhesive evenly on both surfaces. Follow the manufacturer’s instructions regarding application technique and drying time for optimal results.
- Align and press: Carefully align the surfaces together, ensuring they fit perfectly. Then, press them firmly to establish contact between the adhesive and the surfaces. This step is critical for a strong bond.
- Secure with clamps or weights: Maintain pressure while the adhesive sets by using clamps or placing weights on top of the bonded surfaces. This will provide additional reinforcement and help guarantee a reliable bond.
- Avoid excessive pressure: While it’s important to apply enough pressure for proper adhesion, be cautious not to exert excessive force that could cause the adhesive to squeeze out excessively.
- Allow drying time: Follow the manufacturer’s recommended drying time before removing any clamps or weights. Patience is crucial at this stage as it allows the adhesive to cure fully and create an unyielding connection.
- Test the bond: Once the adhesive has dried completely, test its strength by gently pulling or applying light pressure. This simple test will give you peace of mind knowing your bond is secure.
Curing Times for Maximum Strength
Curing times for maximum strength are a critical consideration when working with concrete bonding adhesive. The process of curing involves the adhesive drying and hardening, which ultimately determines its strength and durability. To achieve the best results, it is essential to allow sufficient time for the adhesive to cure properly before subjecting it to any stress or load.
The specific curing time for concrete bonding adhesive can vary depending on several factors, including temperature, humidity, and the type of adhesive used. In general, most adhesives require at least 24 hours to cure fully. However, in some cases, this timeframe can extend up to 48 hours or even longer.
Temperature plays a significant role in the curing process. Higher temperatures can accelerate the curing time, while lower temperatures can slow it down. It is crucial to follow the manufacturer’s instructions regarding the recommended temperature range for optimum curing. By doing so, you can ensure that the adhesive cures effectively and reaches its maximum strength.
Humidity levels also impact the curing process. Higher humidity helps retain moisture within the adhesive, promoting better curing. On the other hand, low humidity can cause the adhesive to dry too quickly, leading to weaker bonds. It is essential to maintain a moderate level of humidity during the curing process to ensure maximum strength.
While the adhesive may appear dry on the surface within a few hours, it does not mean that it has fully cured. The drying time refers to the period it takes for the adhesive to lose its wetness and become touch-dry. However, full curing requires additional time for the chemical reactions within the adhesive to complete and achieve maximum strength.
In certain circumstances, it may be necessary to extend the curing time beyond what is recommended by the manufacturer. This is particularly true when dealing with heavy loads or harsh environmental conditions. Allowing additional curing time ensures that the adhesive has reached its maximum strength and can withstand potential stresses.
To facilitate proper curing, it is important to avoid exposing the bonded area to excessive moisture or extreme temperatures during the initial curing period. Such conditions can interfere with the adhesive’s ability to cure fully, resulting in weaker bonds. Additionally, it is necessary to refrain from subjecting the bonded area to any stresses or loads until the adhesive has fully cured.
Proper Surface Preparation is Essential
Proper surface preparation is not just a suggestion, it is an absolute necessity when using concrete bonding adhesive. Without it, your adhesive may fail to create a strong and durable bond, leading to costly repairs and potential safety hazards. Here’s why proper surface preparation is essential:
- Cleanliness: A clean surface is crucial for adhesive effectiveness. Dirt, dust, oil, and loose particles can prevent the adhesive from properly adhering to the surface. By thoroughly cleaning the surface with a broom or brush and using a degreaser or detergent to remove any oil or grease stains, you ensure that the adhesive has a clean canvas to work with.
- Repair: Any cracks or imperfections in the surface must be addressed before applying the adhesive. These imperfections can weaken the bond and compromise the overall strength of the adhesive. By filling these cracks with a suitable concrete patching compound and allowing it to dry, you create a smooth and even surface for the adhesive to adhere to.
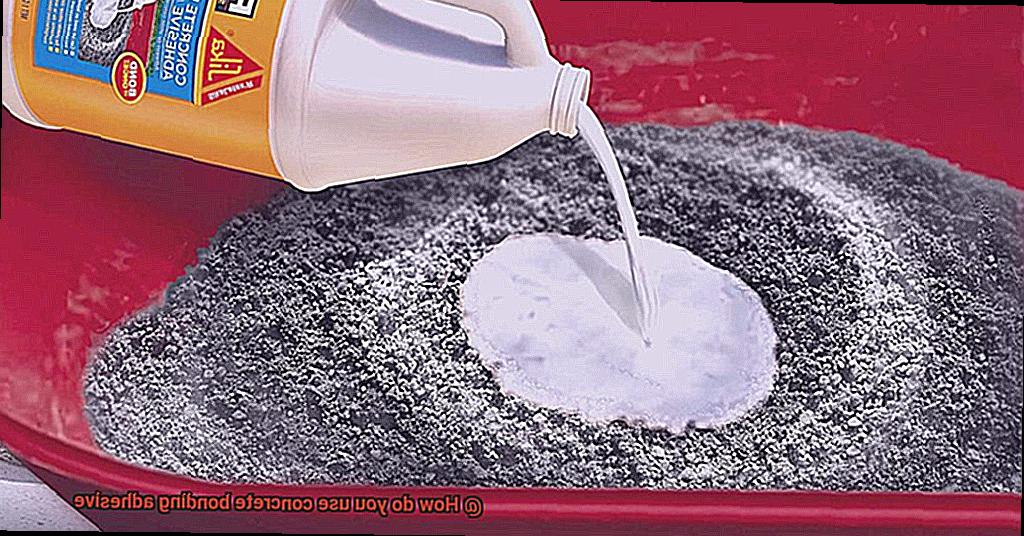
- Dampening: In hot and dry conditions, rapid moisture absorption from the adhesive can weaken its bond. Dampening the surface with water before applying the adhesive helps to prevent this by slowing down the absorption process. The surface should be damp but not wet for optimal bonding.
- Following instructions: Different types of concrete bonding adhesives may have specific application guidelines and drying times. It is crucial to read and follow the manufacturer’s instructions carefully to ensure proper bonding and maximum strength. Ignoring these instructions can result in weak bonds and compromised performance.
- Curing time: Once the adhesive has been applied, it needs sufficient time to dry and cure. This can vary depending on factors such as adhesive type and environmental conditions. Waiting at least 24 hours before subjecting the bonded surfaces to any stress or load ensures that the adhesive has fully cured and is ready for use.
Storing Concrete Bonding Adhesive Properly
Proper storage is key when it comes to concrete bonding adhesive. Follow these guidelines to ensure that your adhesive remains effective and ready for use when needed.
- Find the perfect spot: Store the adhesive in a cool, dry place. Extreme temperatures and high humidity can negatively impact its quality. Aim for a temperature range of 50°F to 80°F (10°C to 27°C) to maintain optimal conditions.
- Seal it tight: Keep the container tightly sealed when not in use. This prevents air and moisture from entering, which can cause the adhesive to dry out or become contaminated. Securely close the lid after each use.
- Stack it up: If you have multiple containers of adhesive, stack them on pallets or shelves. This protects them from moisture or damage that could occur if they come into direct contact with the floor.
- Keep it away from the light: Store the adhesive away from direct sunlight or any heat sources. Exposure to sunlight or excessive heat can cause the adhesive to deteriorate more quickly.
- Check the expiration date: Before using the adhesive, always check the expiration date on the container. Using expired adhesive can lead to less effective bonding, so it’s best to avoid it altogether.
- Store leftovers properly: If you have leftover adhesive after completing a project, seal the container tightly and store it in a cool, dry place. However, keep in mind that opened adhesive may have a shorter shelf life compared to unopened adhesive.
- Follow instructions: Always follow the manufacturer’s instructions for storing concrete bonding adhesive. Different brands or types of adhesives may have specific storage requirements, so it is important to read and follow the instructions provided.
ewRIJ_Km1Nk” >
Conclusion
Concrete bonding adhesive is a crucial component when it comes to ensuring the strength and durability of your concrete projects. To use this adhesive effectively, there are a few key steps you need to follow.
Firstly, prepare the surface by cleaning it thoroughly. Remove any dirt, dust, or debris that may hinder the adhesive’s ability to bond with the concrete. A clean surface is essential for achieving optimal results.
Next, apply a thin layer of the bonding adhesive onto the prepared surface using a brush or roller. Make sure to spread it evenly and cover the entire area that will come into contact with the new concrete.
Once applied, allow the adhesive to become tacky. This usually takes around 15-30 minutes, but refer to the manufacturer’s instructions for specific drying times.
After the adhesive has reached its tacky state, you can proceed with pouring or applying your new concrete layer. Ensure that you work efficiently as the adhesive’s tackiness will diminish over time.
When placing your new concrete layer, press it firmly onto the bonded surface to create a strong connection. Use tools such as trowels or floats to smooth and level the concrete as desired.
Finally, allow ample time for curing and drying according to standard concrete practices before subjecting your project to heavy loads or foot traffic.
In conclusion, using concrete bonding adhesive is a straightforward process that requires proper surface preparation, even application of adhesive, allowing it to become tacky before placing new concrete layers, and allowing sufficient curing time.

